Film cameras
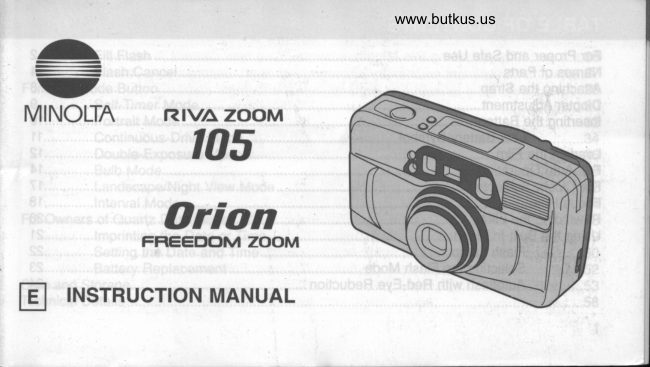
Minolta RIVA Zoom 105Minolta Orion Freedom Zoom User manual
User manual for Minolta RIVA Zoom 105Minolta Orion Freedom Zoom. 62 pages in English. Read the original PDF, download or print a copy without registration.
62 pagesEnglish10.8 MB PDF
Loading your manual…Open PDF directly
Document details
- Brand
- Minolta
- Model / document
- Minolta RIVA Zoom 105Minolta Orion Freedom Zoom
- Document type
- User manual
- Language
- English
- Pages
- 62
- File size
- 10.8 MB
- Category
- Film cameras
- Document date
- Not specified in catalog
Search available document text
Find a term, then jump to its page in the original PDF. Image-only pages may not be searchable; check the PDF for exact wording and diagrams.
Page 1 · Read text
()

MINOLTA. RIVA ZOOM

105

Orion

FREEDOM ZOOM

E| INSTRUCTION MANUAL

www.butkus.us
View original page 1
Page 2 · Read text
ama: A ha lh
For Proper and Safe Use.
Names of Patts nn
‘Attaching the Strap.
Diopter Adjust ment..
Inserting the Battery
Low-Battery Symbol........
Loading the Film......
Full-Auto Operation
For Closer Subjects...
Focus Hold
Rewinding the
Using the Builtn Flash...
Flash Lamp
Selecting the Flash Mode...
Autoflash with Red-Eye Reduction
View original page 2
Page 4 · Read text
Venmo @mike-butkus-camera  Ph. 2083
PayPal Name  Lynn@butkus.org      www.PayPal.me/lynnbutkus
View original page 4
Page 5 · Read text
t& i - g& d  e { @ i rd oa* g E# - } }. r # .diei@ } - e r@ ffi& 6                                           rL$q##:; "M
Thank you for purchasing this Minolta camera. Your new camera is equipped with
functions which will suit your every photographic need. Before using your new camera,
please take the time to read and understand all warnings, cautions, and instructions.
               IwnnNrNG                 fI

 Batteries may become hot or explode due to improper use.
 . Use only the batteries specified in this instruction manual.
 . Do not install the batteries with the polarity (+/-) reversed.
 . Do not subject batteries to fire or high temperatures.
 . Do not attempt to recharge, short, or disassemble.
  . Tape over lithium battery contacts before disposal. Follow local codes for battery
   disposal.

2
                                                                           *,1
View original page 5Page 6 · Read text
www.butkus.us
                                                        ry

 Keep batteries or things that could be swallowed away from young children. Contact a
 doctor immediately  if an object is swallowed.
Use caution, accidents may occur when using this product near young children.
lmmediately remove the batteries and discontinue use  if...
 ' the camera is dropped or subjected to an impact in which the interior is exposed.
. the camera emits a strange smell, heat, or smoke.
Do not disassemble. Electric shock may occur  if a high voltage circuit inside the
product is touched. Take your camera to a Minolta Service Facility when repairs are
required.
The lens retracts when the camera is turned off or Auto Power Off is activated.
Touching the lens barrel while  it is retracting may cause injury.
                                                                             l
View original page 6Page 12 · Read text
www.butkus.us

Use the diopter adjustment to customize the viewfinder for your eyesight. The diopter
adjustment range is from -3 to +1 diopters.
                          1. Point the camera at a brightly  lit subject or a
                        white wall.
                          2. While looking through the vieMinder, turn the
                         diopter-adjustment  dial until the focus frame
                      appears sharp.
View original page 12Page 13 · Read text
www.butkus.us             Your camera uses one 3-volt CR123A or DL123A lithium
                              battery.
                           1. Open the battery-chamber door using a coin or
                          similar object.


                          2. Insert the battery according to the + and                                                         -
                     marks inside the battery chamber, then snap
                        the door closed.
View original page 13Page 14 · Read text
www.butkus.us

Low Battery Symbol
                         Lgw-battery symbol appears.
                       Power is sufficient, but the battery will have to be replaced
                           soon.

                         Low-battery symbol blinks.
                         Replace the battery. The shutter will lock and the lens does
                           not retract until the battery is replaced.

       Power Off: To conserve power, the camera automatically turns off if it is not'  Auto
   operated for more than 8 minutes. The lens barrel will retract.


                                                                                              11
View original page 14Page 15 · Read text
use only 35mm, DX-coded film rated lso 50 to 3200.                     .  ISO 400 film is recommended  for best results'
        Film  mm35
tor   Cobr            Prints            . Always load and unload film in subdued light.
                     . Do not use Polaroid instant 35mm film. Winding
                     problems may occur.


                      1. Slide the back-cover release down to open the
                  back cover, then place the film cartridge into
                    the film chamber.
View original page 15Page 16 · Read text
www.butkus.us
2. Extend the film tip to the O l-nffU  r-t
                  lays flat.
  making sure itWffi3. Close the back cover.
. The film automatically advances to the first frame and
  o__j appears in the data panel.

 o--E- will blink in the data panel and the shutter will
 remain locked if the film has been loaded improperly.
 Opbn the back cover and repeat the loading procedure.

                                                       13
View original page 16Page 17 · Read text
1. Press the main switch to turn the camera on.


             www.butkus.us


                           2. Hold the camera steady.
                              . Make sure your fingers and the strap are not blocking
                             the flash, AF windows, or other camera features.
                              .  For vertically framed pictures, hold the camera so the
                                flash is on top.
                              .  Focus may not be accurate if the lens barrel is
                                obstructed.
14MM
View original page 17Page 18 · Read text
www.butkus.us
3. Look through the, viewfinder and push. the
  zoom lever toward W (wide angle) to zoom out
   gr toward T (telephoto) to zoom in.. The focal length appears in the data panel while the
  zoom button is pressed, then is replaced.by the frame
   counter.

4. Align your subject within the focus frame, then
  press the shutter-release button partway down
  so the green focus lamp glows.
. When the orange flash lamp blinks, the flash is
   charging.
                           Continued on following page.
                                                    15
View original page 18Page 19 · Read text
5. Press the shutter-release button all the way
                   down to take the picture.
                             .  Press the shutter-release button with a slow steady
                          squeeze, never a quick jab.
                             . The flash will fire automatically in low-light situations.
                             . The film is automatically advanced to the next frarne.


16
View original page 19Page 20 · Read text
www.butkus.us

 lf the green focus lamp blinks and the shutter is locked,
your subject is closer than the minimum focus distance of
1.0m (3.3 ft.).
Close-framing Guides
When your subject is at the minimum focus distance,
compose your picture within the close-frarning guides using
Focus Hold if necessary (p. 18).

     rr+>


                                                    17
View original page 20Page 21 · Read text
Subjects outside the focus frame may not be in focus. Use
Focus Hold to ensure accurate focus.


1. Align your subiect within the focus frame.
View original page 21
Page 22 · Read text
www.butkus.us

2. Press and hold'the shutter-release button
  partway down so the green focus-lamp glows.


3. Without lifting your finger, recompose the
   picture, then press the shutter release button
   all the way down to take the picture..  Lift your finger from the shutter-release button to cancel
   focus hold.


                                                    19
View original page 22Page 23 · Read text
The film will rewind automatically after the last frame has
                     been exposed.
                                            open the back      n      When 0 appears and O blinks,      U        cover and remove the film.  ;O:                             . When the camera starts rewinding, the lens will retract.


                   Manual Rewind
                  To begin rewind before the end of the roll, turn
                      the camera on, then gently press the rewind
                     button using a pen.

www.butkus.us
View original page 23Page 25 · Read text
The orange flash lamp will glow when the built-in flash is
                           charged.
                   When the orange flash lamp blinks quickly and I  blinks in
                          the data panel, the flash is charging. Wait until they glow,
                         then take the picture.

                   When the orange flash lamp blinks slowly, your scene is
                          too dark for a sharp hand-held picture. Use flash or place
                          the camera on a tripod.

                                                 lf the flash lamp does not appear, flash is not necessary
                       and the flash will not fire.


22
View original page 25Page 27 · Read text
Use the buifi-in flash's red-eye reduction mode to reduce
the red-eye effect when photographing people or animals in
low-light situations.
1. Press the flash-mode button until    appears                                                           ^,t"'
   in the data panel.
. Warn your subject(s) that the red-eye reduction lamp will
   illuminate before the picture is taken.
2. Align your subject within the focus frame, then
  press the shutter-release button partway down.
. The red-eye reduction lamp will glow.
View original page 27
Page 28 · Read text
www.butkus.us

3. Press the shutter-release button all the way
  down to take the picture.


                                                25
View original page 28Related documents and language editions
MinoltaPDF
Minolta Freedom Tele/AF-Tele Superinstruction
User manual
30 pages · EnglishRead →
MinoltaPDF
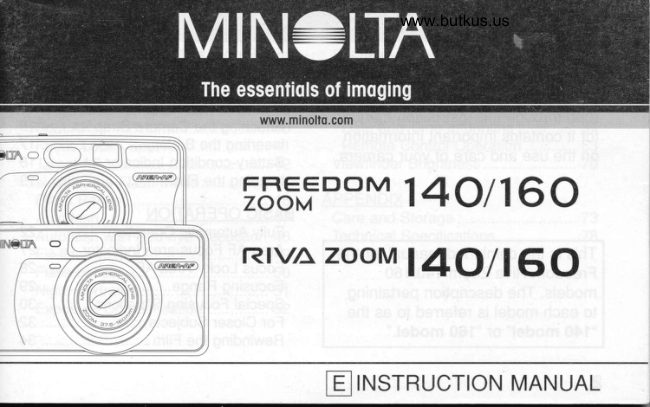
Minolta Freedom Zoom 140 / 160Minolta RIVA Zoom 140 / 160
User manual
80 pages · EnglishRead →
MinoltaPDF
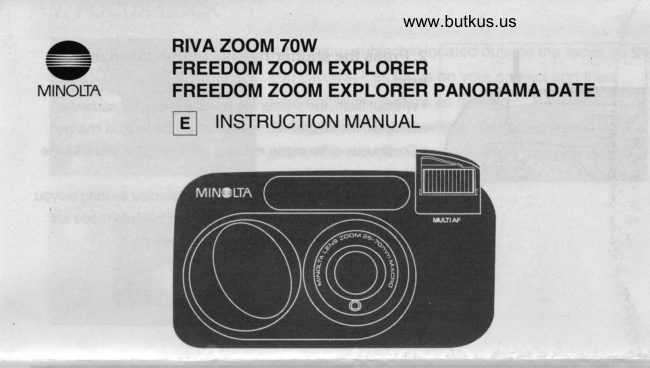
Minolta Riva Zoom 70WMinolta Freedom Zoom Explorer
User manual
32 pages · EnglishRead →
MinoltaPDF
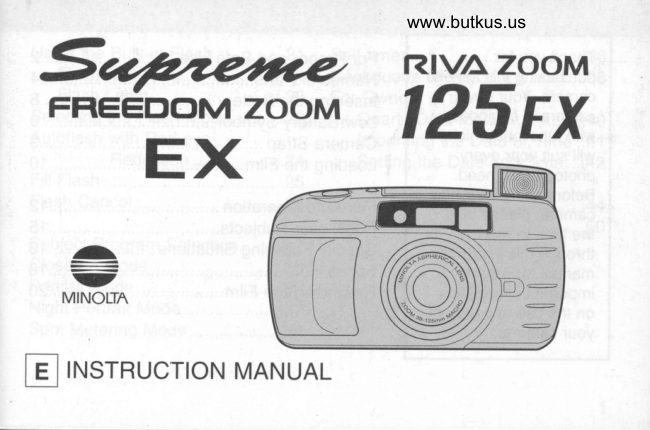
Minolta Supreme Freedom Zoom EXMinolta RIVA Zoom 125 EX
User manual
54 pages · EnglishRead →
MinoltaPDF
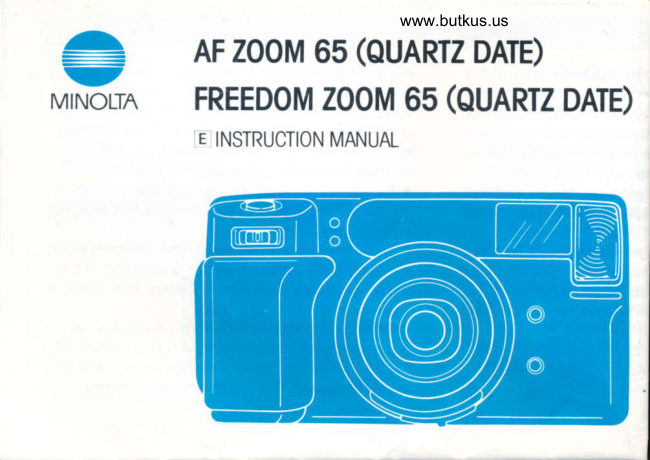
Minolta AF Zoom 65Minolta Freedom Zoom 65
User manual
45 pages · Not specifiedRead →
From the M. Butkus archive. Original publisher and archive notices are retained.
Check the model and edition against your equipment.
PDF verified 2026-10-10.