Film cameras
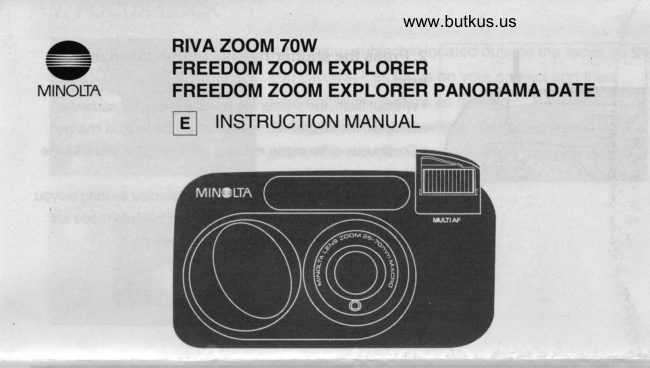
Minolta Riva Zoom 70WMinolta Freedom Zoom Explorer User manual
User manual for Minolta Riva Zoom 70WMinolta Freedom Zoom Explorer. 32 pages in English. Read the original PDF, download or print a copy without registration.
32 pagesEnglish9.2 MB PDF
Loading your manual…Open PDF directly
Document details
- Brand
- Minolta
- Model / document
- Minolta Riva Zoom 70WMinolta Freedom Zoom Explorer
- Document type
- User manual
- Language
- English
- Pages
- 32
- File size
- 9.2 MB
- Category
- Film cameras
- Document date
- Not specified in catalog
Search available document text
Find a term, then jump to its page in the original PDF. Image-only pages may not be searchable; check the PDF for exact wording and diagrams.
Page 1 · Read text
www.butkus.us
             RIVA ZOOM 7OWc           FREEDOM ZOOM EXPLORER
MINOLTA-         FREEDOM ZOOM EXPLORER PANORAMA DATE
           E_l TNSTRUCTTON MANUAL
View original page 1Page 2 · Read text
NAMES OF PARTS

1 . Shutter-release button
2. Date buttons (DATE model only)
3. Data panel
4. Subject-program selector
5. Self-timer/Drive-mode button
6. Flash-mode button
7. Flash*
8. Back-cover release
                                                                                                  9*9. Viewfinder window*                             10*
10. Metering window*                         12. Self-timer lamp
11. Lens*                                     13. Autofocus windows*
View original page 2Page 4 · Read text
Venmo @mike-butkus-camera  Ph. 2083
PayPal Name  Lynn@butkus.org      www.PayPal.me/lynnbutkus
View original page 4
Page 5 · Read text
Venmo @mike-butkus-camera  Ph. 2083
PayPal Name  Lynn@butkus.org      www.PayPal.me/lynnbutkus
View original page 5
Page 6 · Read text
DATA PANEL
                        t_l_t_                         !' EnlinHtlHnn                                       V  V  V       rirrr
                                                                                                                  lllllrlEOMm[n
                        13121110987
1 . Flash-mode indicator                     8. Film-cartridge mark
2. Self-timer indicator                         9. Landscape-mode indicator
3. Continuous-drive indicator                       1 0. Night-portrait-mode indicator
4. DaIeftime display (DATE model only)     1 1. Macro-mode indicator
5. Low-battery symbol                                 1 2. Full-auto-mode indicator
6. Frame counter                                        1 3. Subject-program pointer
7. Film-transport signals
View original page 6Page 7 · Read text
www.butkus.us
Thank you for purchasing a                                      1. A1TACHING THE STRAP
Minolta camera and welcome to the
wonderful world of photography. This
camera is equipped with functions
which will suit your every
photographic need. Before using
your new camera, please take the
time to read through this instruction     Attach the strap as shown.
manual for  it contains important
intormation on the use and care of
your camera.
View original page 7
Page 8 · Read text
LOW-BATTERY SYMBOL

                                                           lf the blinking low-battery symbol appears in the data
                              panel with the other indicators, you can still use the
                           camera, but the battery will have to be replaced soon.


                                                              lf the blinking low-battery symbol appears alone, you
                           cannot use the camera untilyou replace the battery.
                        The shutter cannot be released.    =-El(


LOADING THE FILM CONT.

                                   1. Slide the back-cover release down to open the
                        back cover and place the film cartridge into the
                               film chamber.
                                2. Extend the film tip to the "FILM Tlp" mark
                        making sure that  it lays flat.


      www.butkus.us      ffiru
View original page 8Page 10 · Read text
2. INSERTING THE BATTERY

                          Your camera uses one 3-volt CR123A or DL123A
                                 lithium battery that supplies power for all camera
                              operations.
                                   1. Open the battery cover using a coin or similar
                               object.
                                 2. Insert the battery according to the + and - marks
                              inside the battery chamber and snap the cover
                            closed.
                                              . Before removing an old battery, make sure the camera is
                                                off.


3. LOADING THE FILM

                        Use only 35mm, DX-coded film rated ISO 25 to 3200.
                  We recommend ISO 400 or higher for taking telephoto        tti,tIiJ'l]'"," IX
                           photographs or pictures in low light.
                                            . Always check the film window to make sure there is
                          no film in the camera before opening the back cover.
                                              . Always load and unload the film in subdued light.
                                         . Do not use Polaroid instant 35mm film. Winding
                          problems may occur.
View original page 10Page 11 · Read text
www.butkus.us
3. Close the back cover.
. The film automatically advances to the first frame and  1
appears in the data panel.


lf the film has been loaded improperly, 0 will blink in
the data panel and the shutter will remain locked.
Open the back cover and repeat the loading
procedure.
View original page 11
Page 12 · Read text
4. FULL-AUTO OPERATION

                                   1. Press the ON/OFF button to turn the camera on.
                                                    . To conserue power, the camera automatically tur:ns off if it is
                                    not operated for more than three minutes.
                                 2. Hold the camera steady.
                                              . Make sure your fingers and the strap are not blocking the
                                       flash, metering windows or other camera features.
                                              . Do not hold the flash down; the shutter may not release.
                                              . For veftically framed pictures,hold the camera so the flash is
                            on top.
                                              . Do not hold the lens barrel;focus may not be accurate.


FULL-AUTO OPERATION coNr.
                                   5. When the green focus lamp glows, gently press
                            the shutter-release button all the way down to take
                            the picture.
                                                    . The flash will automatically fire in low light.
                                                    . The film automatically advances to the next frame.

                     When your subject is closer than 1m (3.3 ft.) at 70mm,
                                          first lock focus on your subject, then compose your
                                  picture within the close-framing guides. See "Focus
                             Lock" section.
View original page 12Page 13 · Read text
www.butkus.us
5. FILM REWIND

                        The film will rewind automatically after the last frame
                         has been exposed.
                    When 0 appears and @ blinks, open the back
                          cover and remove the film.


                      To begin rewind before the end of the roll, turn the
                       camera on and gently press the rewind button
                           using a pen or similar object.


6. USING THE BUILT-IN FLASH

When you turn on the camera, the built-in flash is set to autoflash mode (^,t- or *t'P  )
and willfire in low light.


        tso 100    tso 400   FLASH RANGE
                          The range of the built-in flash depends on the film         0.5-6.0m    0.5-12m28mm      20 in.-20  ft. 20 in.-39  ft.  speed and focal length you are using. To ensure
         0.5-2.5m    0.5-5m    proper exposure, make sure your subject is70mm       20 in.-8 ft.  20 in.-16  ft.                                 positioned within the flash range.
View original page 13Page 14 · Read text
FLASH MODE SELECTION

                           Besides autoflash mode 1^t";, autoflash with red-eye
                              reduction (^tP ), manual fill{lash (+ ) or
                                flash cancel (,9,) can be selected.
                           Press the flash-mode button until the desired
               www.butkus.us     indicator appears in the data panel.
                AUTOto


MANUAL FILL.FLASH +

                        The flash willfire with every shutter release regardless
                                 of lighting. This can be used to reduce harsh,
                                 unflattering shadows on your subject's face or
                                  illuminate your subject when  it is back-lit.
                           Press the flash-mode button until + appears in the
                          data panel and take the picture.
 tb sc
View original page 14Page 15 · Read text
www.butkus.us
3. Look through the vievufinder and press the W
side of the zoom controlto move towards
wideangle or the T side to mbve towards
telephoto.
4. Align your subject within the focus frame and
press the shutter-release button partway down.


.  lf the green'focus lamp blinks, your subject is closer
than the minimum focusing distance of 0.5m (20 in.)
and will not be in focus. The shutter cannot be
released.
.  lf the subject is very close to the camera, the green
focus lamp will glow, but the picture will not be in
focus.
. With Macro mode, you can take pictures as close as
40cm (16 in.). See "Macro" section.
View original page 15
Page 16 · Read text
CAUTION
. lf rewind stops before the film has been completely rewound and all indicators blink,
DO NOT OPEN THE BACK COVER, insert a fresh battery and press the rewind
button.


                                                                    \-
 ffi          FLASHLAMP                              \
                                              . The orange flash lamp will glow whenever the built-in
                                flash is on.
                                              . When the orange flash lamp blinks slowly, your
                          scene is too dark for a sharp hand-held picture. Use
                                flash or place the camera on a tripod.
                                              . When the orange flash lamp blinks rapidly, the flash
                                        is charging. Wait until it glows steadily and then take
                             the picture.
View original page 16Page 17 · Read text
www.butkus.us

RED.EYE REDUCTION   AUTOt<E

                                     ln this flash mode, the flash will fire a few shotl bursts   t@   AUTO    v          before the main flash burst to reduce the "red-eye"
                                   effect which occurs when photographing people in low *'c soW                                         light.
                           Press the flash-mode button so that A.l,P appears
                                   in the data panel and take the picture.
                                         . Before taking the picture, warn the people you are
                            photographing that the flash will fire a few short bursts
                               before the picture is taken.
                                                    . The orange flash lamp will blink indicating pre-flash.

                     Main Flash

FLASH CANCEL €'
                        The flash will not fire. This mode should be used when
                            photographing twilight scenes or subjects that are
                           beyond the flash range.
                           Press the flash-mode button until 6r appears in
                            the data panel and take the picture.
                                                    . When the flash rs canceled, shutter speeds may be slow;
     e,                        placing your camera on a tripod is highly recommended.
  *'c so     ry
View original page 17Page 18 · Read text
7. FOCUS LOCK

                     When your subject is located outside the focus frame,
                         you can first lock focus on your subject and then
                         recompose the picture as desired.
                                   1. Align the subject within the focus frame and
                          press the shutter-release button partway down
                                   until the green focus lamp glows.
1o
o

8. SUBJECT.PROGRAM SELECTION

                           Subject-Program Selection allows you to tailor the"
                           camera's fully automatic operation to suit the subject.
                                                     It provides optimal camera settings for closeups
                           (Macro M), porlraits at night (Night-Portrait E), and
                                 distant subjects (Landscape [n).
                           Press the subject-program  selector until the
                            pointer is next to the desired indicator.
                                                    . After you take a picture in one of the subject-program
                            modes. the camera will return to Full-Auto mode.
View original page 18Page 19 · Read text
www.butkus.us
MACRO MODE M cor.rr.
                                 2. Align your subject within the focus frame and
                          press the shutter-release button partway down
                                   until the green focus lamp glows.
                                          . In Macro mode, your subject must be within 40cm
                              (16 in.) and 1 m (3.3 ft.) of the camera. The green
                            focus lamp will blink  if your subject is outside this
                           range and the shutter cannot be released.
                                        .  lf the subject is very close to the camera, the green
                             focus lamp will glow, but the picture will not be in
                                 focus.


NIGHT.PORTRAIT MODE EI
                                 Night-portrait mode sets a slow-shutter speed to
                                correctly expose a dark background, such as a sunset
                               or night scene, while flash properly exposes the
                             foreground.
                                   1. Press the subject program selector until the
                             pointer v is next to E.
                                                 . Shutter speeds may be too slow for sharp hand-held
                                     pictures; placing the camera on a tripod is highly
 +o^ g[^ @lMH[n     recommended.
                                              . Manual fill-flash is set and cannot be changed, but red-eye
                                  reduction can be selected.
View original page 19Page 20 · Read text
LANDSCAPE MODE M

                                     In this mode, focus is set to infinity.  lt can be used to
                           ensure sharp focus for landscapes and other distant
                               subjects, and should be used when photographing
                            through glass.
                                   1. Press the subject-program selector until the
                              pointer v is next to En.
                                                    . At twilight or night, place your camera on a tripod to avoid    13
                                        blur caused by camera shake.
                                              . Flash-cancel is set and cannot be chanoed. roo glc


9. SELF-TIMER MODE C)

                        The electronic selftimer will delay release of the
                               shutter for approximately 10 seconds after you press  ^,.$-*{, v
                             the shutter-release button. This enables you to take +b
                           group photographs with yourself included.
                                 1. Place the camera on a tripod and press the self-
                          timer/drive-mode button until {) appears in the
                          data panel.
                                 2. Align your subject within the focus frame.
View original page 20Page 21 · Read text
www.butkus.us
                                  2. Without lifting your finger, recompose the
                              picture and press the shutter-release button all the
                     way down to take the Pictufe.
                                                   . This camera incorporates the Multi-Beam AF system.
                       When your subject is not in the focus frame, the side beams
                                focus the camera on your subject, instead of the background.
                                   Tlre position of the side beams is affected by focal length.
                                 For this reason, focus lock is recommended when your
                                  subject is not in the focus frame.


www.butkus.us

MACRO MODE M
                             This mode enables you to take pictures of subjects as
                             close as 40cm (16 in.).
                                 1. Press the subiect program selector until the
                             pointer v is next to M.
                                                    . Approximately two seconds after you select Macro mode
                                 the lens will zoom to 70mm and lock.
                                                    . Autoflash mode is initially set, but any other flash mode can
                            be selected.
View original page 21Page 22 · Read text
3. Without lifting your finger, recompose the
                             picture so your subiect is aligned within the close-
                         framing guides.
                                4. Press the shutter-release button allthe way
                     down to take the Picture.


                                  2. Align your subject within the focus frame and
                          press the shutter-release button partway down.4o                             3. When the orange flash lamp and green focus
                        lamp glow, press the shutter-release button allthe
                     way down to take the picture.o
View original page 22Related documents and language editions
MinoltaPDF
Minolta Freedom Tele/AF-Tele Superinstruction
User manual
30 pages · EnglishRead →
MinoltaPDF
Minolta Freedom Zoom 140 / 160Minolta RIVA Zoom 140 / 160
User manual
80 pages · EnglishRead →
MinoltaPDF
Minolta RIVA Zoom 105Minolta Orion Freedom Zoom
User manual
62 pages · EnglishRead →
MinoltaPDF
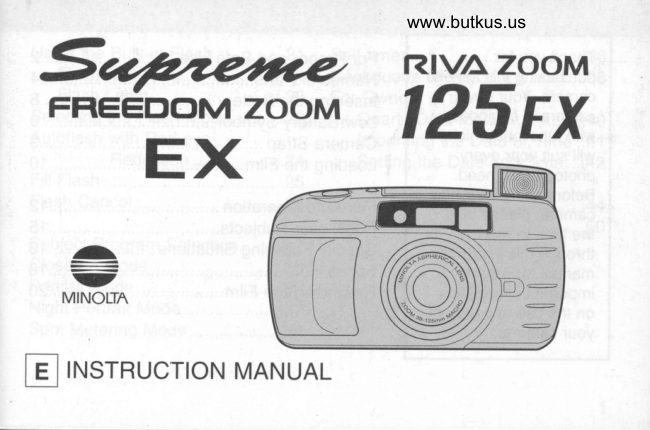
Minolta Supreme Freedom Zoom EXMinolta RIVA Zoom 125 EX
User manual
54 pages · EnglishRead →
MinoltaPDF
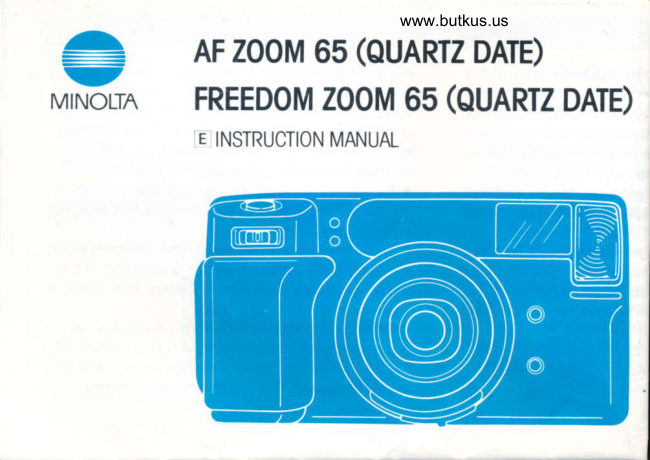
Minolta AF Zoom 65Minolta Freedom Zoom 65
User manual
45 pages · Not specifiedRead →
From the M. Butkus archive. Original publisher and archive notices are retained.
Check the model and edition against your equipment.
PDF verified 2026-10-10.