Film cameras
PENTAX Auto 110 SUPER User manual
User manual for PENTAX Auto 110 SUPER. 42 pages in English. Read the original PDF, download or print a copy without registration.
42 pagesEnglish2.9 MB PDF
Loading your manual…Open PDF directly
Document details
- Brand
- Pentax
- Model / document
- PENTAX Auto 110 SUPER
- Document type
- User manual
- Language
- English
- Pages
- 42
- File size
- 2.9 MB
- Category
- Film cameras
- Document date
- Not specified in catalog
Search available document text
Find a term, then jump to its page in the original PDF. Image-only pages may not be searchable; check the PDF for exact wording and diagrams.
Page 3 · Read text
www.orphancameras.com
THE PENTAXAUTO 110 SUPERSYSTEM

The PentaxAuto 110 Superis an extremelylight and portable
camerathat can be tucked neatly into a pocket or carriedin
the palm of the hand for unsurpassedpicturetakingease.The
Auto 110 Superis an SLR (Single-lens-reflex)camerathat uses
110 cartridgefilm.  lt combinesthe convenientsizeand easy
loading of the 1 10 format with the technicaladvantagesof
the SLR lens system.The advancedand fashionabledesignof
the Auto 110 Super will provideunlimitedenjoymentand
enable quick and easy, foolproof picture taking-anytime,
anywhere.
View original page 3
Page 5 · Read text
ruNs WtW
ru?5PEcr]-fGAI www.orphancameras.com
Type                 TTL metering 1 10 AE SLR camera with bayonet mount  f or
                                                                i nterchangeable lenses.
Film Type-Cartridge-loading               1 1O f ilm.
NegativeFormat-13mm           x 17mm.
Lens-Pentax-1                 10 24mm t/2.8;47-degree angle of view; 25.5mm filter
                         threads. Focusing Range: 0.35m--.
LensMo u n t -110 b a y o n e t m o U n t ; 8 o .d e g re e se ttin g a n g | e .
Viewfinder-Eye-|eve|pentaprismfinderwithquick-returnmirror.
Focusing-Centra|sp|it-imagefocusingspotsUrroundedbymicroprism
                            c o l l a r i n ma tte f ie lo .
Viewfinder Information-Green   LED indicates adequate shutter speed (minimum of
                         1/45 sec.at tl2.8l; yellow LED indicatesslow shutter speed
                           (lessthan 1 i45 sec.) requiring use of tripod or auto flash to avoid
                     camera shake.
                        Magnification: 0.75X showing 87% of the picture area.
B at t ery Ch e c k -Vi e w f i n d e r L E D s f a i | to | ig h to n d e p re ssin g sh u tte rb u tto n when
                            batteries are low.
Exposure Metering-Center-weighted,      TTL metering at full aperture via SPD cell.
                    EV Range from 3 (approx. 1 sec.at f 12.81to 17 (approx.'l /400
                            s e c .a t f / 18 ) with IS O/A S A 1 0 0 film.
2
View original page 5Page 6 · Read text
www.orphancameras.com
                       An exposurecompensationvalue of +1.5EV (3X aperture valuel
                                       is possible by pressing the exposure compensation button
                             located on the front of the camera.
   Film Speed Setting-Automatic         set for available 1 1O-cartridgefilms.
   Shutter               Programmedelectronic behind-the-lensshutter.
   Self-Timer--='--Built-in             electronic self-timer with interrupt function. Releases
                                                     . shutter in 10 seconds.
   Shutter/Aperture Range-1/400  sec. attl18  - 1 sec. att12.8 with ISO/ASA 100.
   Film Advanc              Single 144-degreestroke of  f ilm advance lever advancesfilm
                            a single frame; 55-degreepre-advancesetting.
   Exposure Counter-Frame       number appears in back cover window.
   o t h e r F e a t u r e s - A u t o m a t i c f | a s h s y n c h W i t h A F 1 3 O P o r A F 1 o o P a t 1 / 6 O s e c '
                  iis,'l1iil'ii,ffijlilJ::":i'r,'::li:1Tft,1I                             strap hook, battery holder, winder capability, etc.I
I  po*er Source-Two           1.5V alkaline (LR44) or silver-oxide(SR44) batteries.
   Dimensions-With          24mm t/2.8 lens:99mm(W) x 58mm(H) x 46mm(D)
                           With 24mm f/2.8 lens: 1789 (6.3 ozs.) lessbatteries.


                                                                                                                                       ltaii&;i,#                             ,.    .,::-          .:..#S$liJI*''"'
View original page 6Page 7 · Read text
www.orphancameras.com

                  O Shutter mode selector
                   O Shutter release button
                   O F ilm advance lever
                   O self-timer operation
                                                                        i n d i c a t o r
                  O g xposu re compensation
                          bu tton
                   O F lash sy nch -shoe cap
                   O  r lash contact pin
              @ wrist strap hook
                   O F o c u s i n g r i n g
              @ Oistance scale index
                        G) t-ens release button
              @ Aack cover release
              @ S h u t t e r / m i r r o r b o x m o d u l e
                          (E V iewf inder eyep iece
                        (D f ilm cartridge chamber
                         (D eattery holder
              @ gack cover window
              @ Winder contact term inats
              @  f ilm cartridge ch am ber
              @ r i t m d r i v e c o u p l e r
                                       (l) f ripod socket
View original page 7Page 9 · Read text
www.orphancameras.com

                                                                2.  Open back cover.
For details, refer to the appropriate
section of this manual.


1. Set the shutter mode selector to the "A"
   (Automatic) position.                                  3. Remove battery holder.
View original page 9Page 10 · Read text
www.orphancameras.com


                   7. The numeral "1"  will appear in the back
                   cover window.
View original page 10Page 11 · Read text
www.orphancameras.com
                10.  Steps 7 & 8 do not apply when using the
                  P F  l e n s .


                 1 1 . C o n f i r m a g r e e n l i g h t a p p e a r si n t h e v i e w fi n d e r
                 when you depressthe shutter button halfway.
View original page 11Page 12 · Read text
www.orphancameras.com
12.  Tnen, gently press the button all the way and      14. tne end of the roll has been reached when
     take the photograph.                               an "X"  appears in the back cover window.


                                                      15. Turn the f ilm advancelever untit
13. Turn  f ilm advancelever for next exposure.            appears,then remove the f ilm cartridge.
View original page 12Page 14 · Read text
www.orphancameras.com

"A" standsfor automatic shutter or
automatic exposure. Always set the
shutter mode selectorat "A"   f or normal
shooting.
"L, standsfor shutter button lock.
Once set, the shutter is not releasedeven
if you depressthe shutter button.
"S" standsfor self-timer. For the self-
timer operation, refer to page 29.
View original page 14
Page 15 · Read text
www.orphancameras.com

1. Push down the back cover release,
open the back cover and remove the
battery holder from inside the
battery chamber.
2.  Insert the (-) side of one of the
batteriesinto the opened side of the
holder. Then, turn the holder over and
do the same with the other battery.
The (-) side of both batterieswill
correspond with the (-)  indication on
top of the holder when inserted properly.
View original page 15
Page 16 · Read text
www.orphancameras.com
                3.  Insert the loaded holder - curved-
              side first-back into the battery
            chamber. Proper contact will be
           made no matter which battery is on
               top as long as batteries have been
              insertedinto the holder properly.


           N . B .
            The Auto 110 Super does not use
            manual shutter operation. The camera
             must be loaded with batteriesfor the
               shutter and "AE"  function to operate.
              Before taking pictures, always check
               the condition of the batteriesby
              looking at the LED indicatorsin the
            camera viewf inder
                                               1 3
View original page 16Page 17 · Read text
www.orphancameras.com

Under normal usage, one set of
A l k a l i n e b a t t e r i e s w i l l   l a s t a b o u t
one year.  lf batteries are inserted
improperly,  or  if they have become
w o r n ,  t h e L E D    i n d i c a t o r   l a m p s  i n
t h e v i e w f i n d e r w i l l  f a i l  t o   l i g h t w h e n
you depress the shutter release halfway.
Should batteries requ ire replacement,
replace BOTH  at the same time with
e q u i v a l e n t 1 . 5 V A l k a l i n e o r S i l v e r -
oxide batteries.
 lf the shutter mode selector is at the
"L"  position when checking the                        ffib a t t e r i e s , n o L E D    l a m p s w i l l   l i g h t .


1 4
View original page 17
Page 18 · Read text
f earrenY PREcAUTluNswww.orphancameras.come*****"--          "
Remove the batteries from the
;;;;.        if You will not be using it
for a long time'
Oo noa take apart or charge a dead
 ;-.i;;;,   or throw  it into a fire' as it
maY exPlode. AlwaYs keep the
 i"ri"ii..   out of the reach of infants'
 il.i.,    ii  ,rt" batteries go dead while
 t-fl"t" i. film in the camera' f irst
 *i"J  art" film, then,Point the lens'
 Oo*n*utO and oPen the back cover
  in a srraAeOlocation to avoid
 possible light leakage' then remove
  ih"  b"tt"tY case and rePlace the
  batteries, taking care not to move
   il;   iil;;"'tridle'    close the back
       and be sure to wind the film
  "ou"r,again before start shooting'                                               1 5
View original page 18Page 19 · Read text
www.orphancameras.com

1. Insertthe f ilm cartridgeas shown.
2. Closethe back cover.
The 1 10 cartridgef ilm automatically
adjuststhe camera to the correct
 I SO/ASA speed ( | SO/ASA 641100 or
ISO/ASA 400) upon loading.
No manual film speedsettingis
required.
ISO/ASA 400 f ilm is appropriatefor
photographingdark subjectsor when
you desirea fast shutter speed.
Otherwise,we recommend ISO/ASA
64 or 1 00.
View original page 19
Page 20 · Read text
www.orphancameras.com

Turn the f ilm advancelever about 4
times until the numeraa"1" appears
in the back cover window. You are
now ready to take your  f irst picture.
After each exposure,turn the film
advance lever to cock the shutter
for the next exposure.
You may also use a winder to advance
the film (seepage351.
View original page 20
Page 22 · Read text
www.orphancameras.com

split-imageappearsto glitter or be
f ragmented,likewise,adjust the focus
ring until f ragmentationand glitter
disappear.
When focusing,be careful to position
your eye at a right angle to the center
of the viewfinder so as to avoid
darkeningof the split-imageor
m icroprism.Otherwise,th is cou ld
make it diff icult to accuratelyfocus.
For thosewho f ind focusingdiff icult
becauseof poor eyesight,corrective
eyepiecesare available(seepage 37).
View original page 22
Page 23 · Read text
www.orphancameras.com

Set the shutter mode selector to the
" A" (Automatic) Position.
 It is possibleto shoot with the
cameraheld in your hands when the
greenLED lightsup in the lower
right corner of the viewfinder when
you depressthe shutter release
button halfway. lf the subject to be
photographedis dark and the yellow
LED f lickers,the shutter speedwill
be slower,so you should use either
a tripod or one of the Auto Flashes
 tAF 100P or AF130P) to prevent
blu rring.
View original page 23
Page 25 · Read text
I rtE UAII,|ET'|A
XnvLuilrrr               www.orphancameras.com


   Horizontal position     2.  Vertical position        3.  Vertical position
                                     {shutter releasebutton on top}      (shutter releasebutton  at bottoml
View original page 25Page 26 · Read text
www.orphancameras.com

It is important to hold the camera      CAUTION: Do not touch the f lash
properly in order to take blur-f ree       contact pin with your  f inger when
photos. Practiceholding and            holding the camera.lf you do, the
operating the camera before inserting    shutter speedwill be automatically
your f irst f ilm cartridge.                 set at approx . 1160 sec.with ISO/ASA
The photos (seep. 22) show the        100 f ilm, and an incorrect exposure
basicholding positions.No matter      may result.
which position you use, be sure to
grip the camera steadily with both
hands,hold the camera gently
againstthe face in a f ixed position,
and relax the rest of your body in
a secureposture. Brace the elblow
of the arm supporting the camera
againstyour body. You may also use
a tree or building, etc. as support.
Always push the shutter release
button gently.
View original page 26
Page 27 · Read text
www.orphancameras.com
When nearingthe end of the f ilm roll
U2 or 24 exposures),be sure to
check the f ilm window. An "X"  will
appearwhen you advancethe film
after usingthe last exposureon the
roll. After that, althoughthe shutter
can be released,no photographwill
be ta ken .
Advancethe film approximately 3
exposures'worth past "X,"  until I
or Wnn appearsand the f ilm stops.
Do not attempt to force the f ilm to
advanceany further.
Open the back cover and remove
the f ilm for processing.


24
View original page 27
Related documents and language editions
PentaxPDF
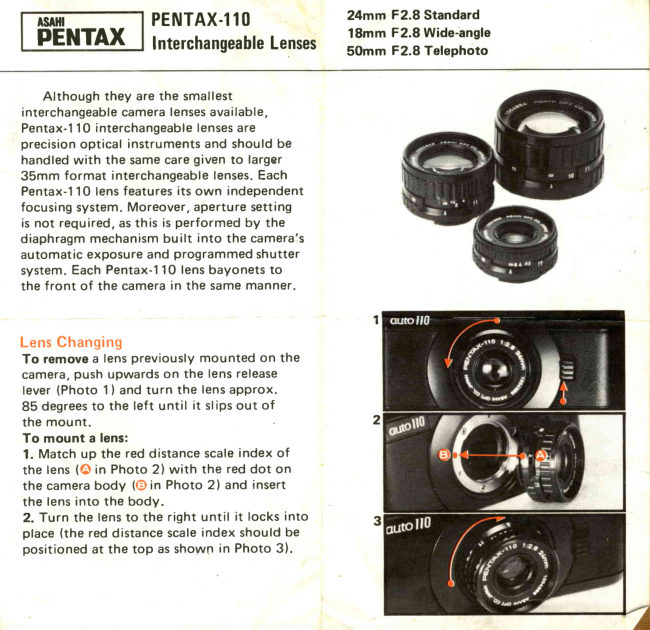
Pentax Auto 110 Lenses
User manual
3 pages · EnglishRead →

PentaxPDF
PENTAX AUTO 110
User manual
17 pages · Not specifiedRead →
PentaxPDF
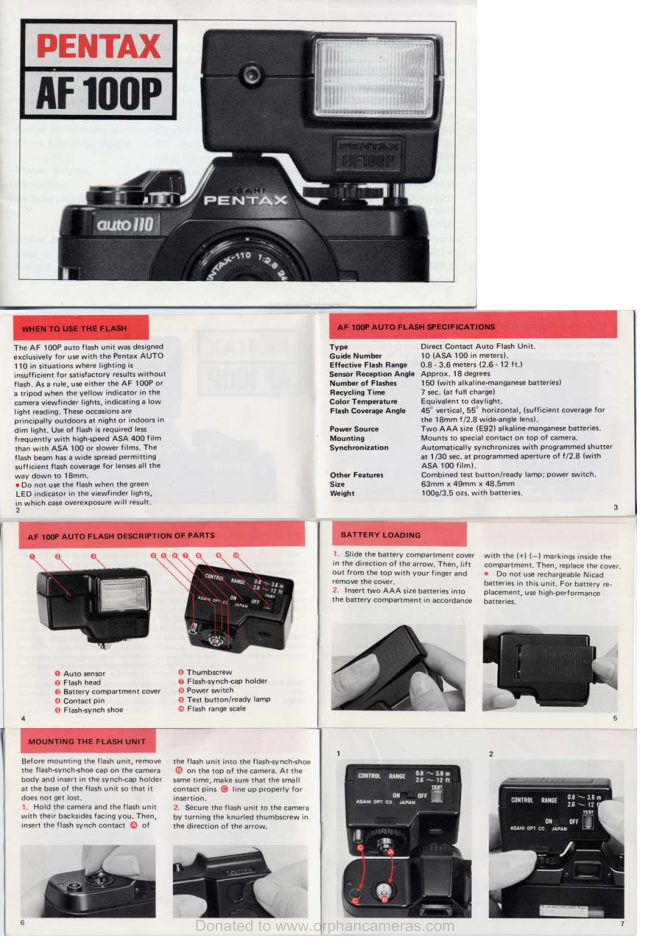
Pentax Auto 110 AF 100P Flash
User manual
4 pages · Not specifiedRead →
PentaxPDF
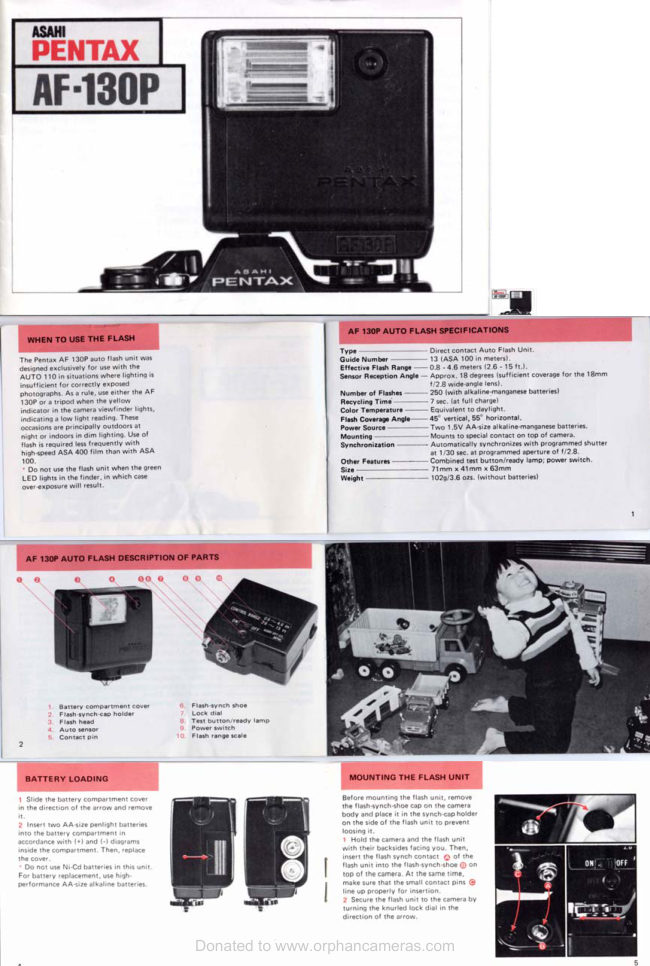
Pentax Auto 110 AF 130P Flash
User manual
3 pages · Not specifiedRead →
PentaxPDF
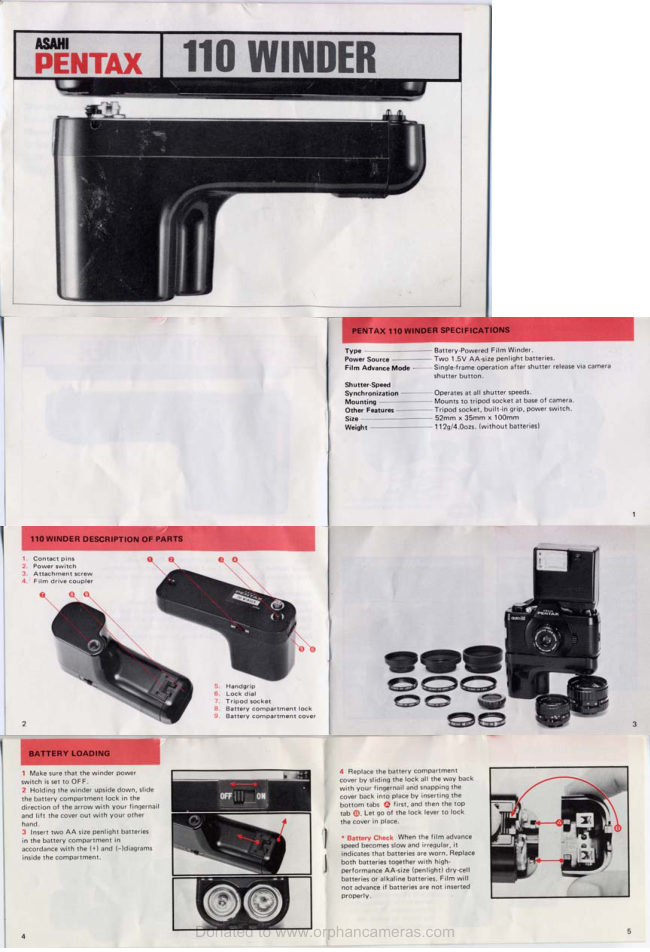
Pentax Auto 110 Winder 1
User manual
3 pages · Not specifiedRead →
PentaxPDF
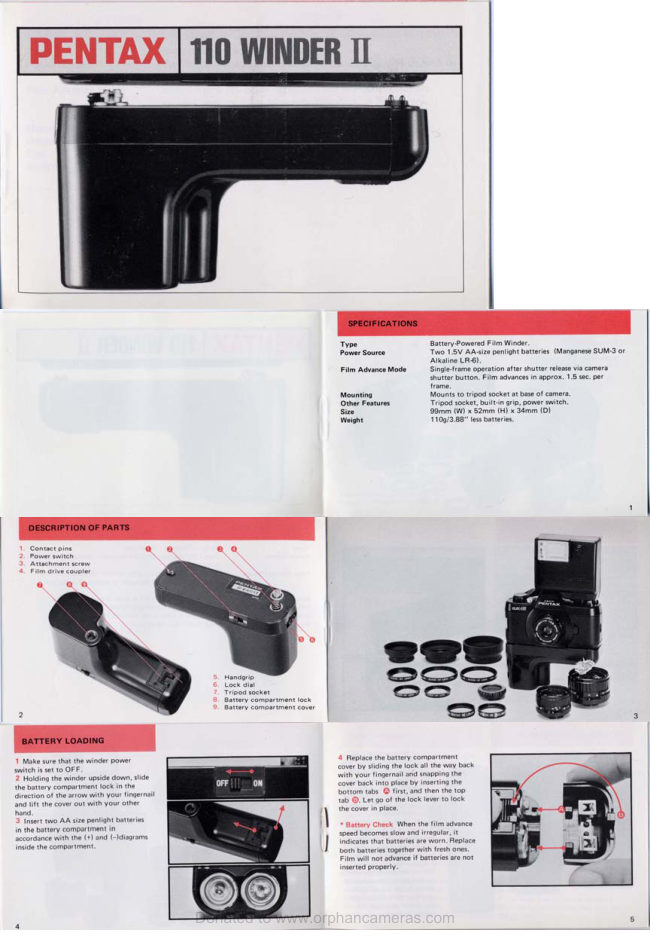
Pentax Auto 110 Winder 2
User manual
3 pages · Not specifiedRead →
From the M. Butkus archive. Original publisher and archive notices are retained.
Check the model and edition against your equipment.
PDF verified 2026-10-10.