Film cameras
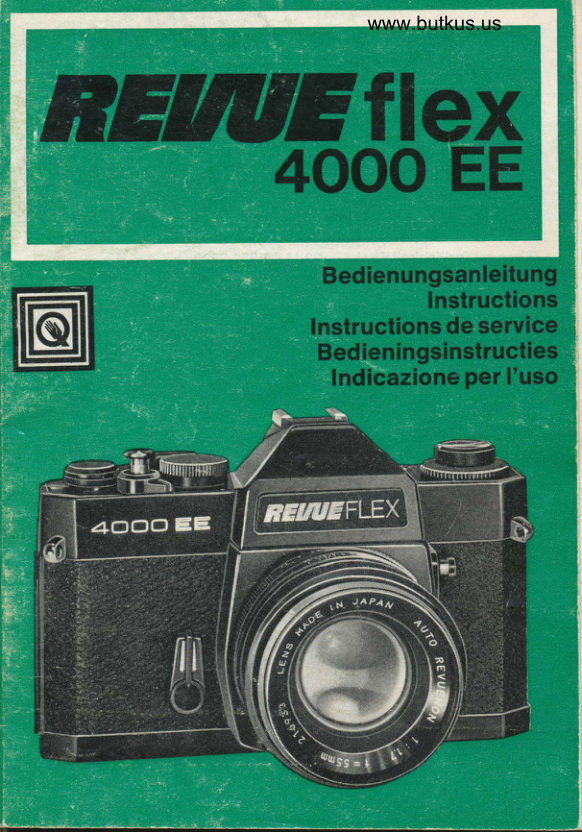
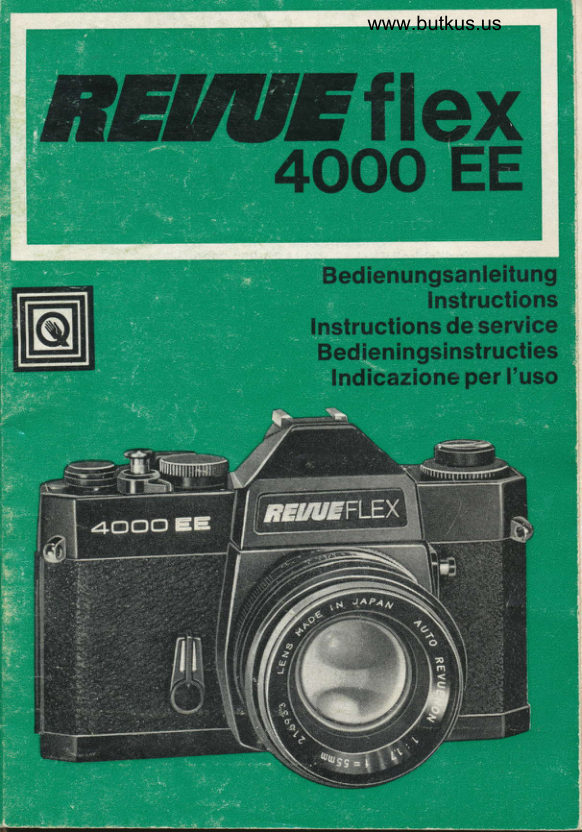
Revueflex 4000 EE User manual
User manual for Revueflex 4000 EE. 15 pages in German. Read the original PDF, download or print a copy without registration.
15 pagesGerman4.1 MB PDF
Loading your manual…Open PDF directly
Document details
- Brand
- Revue
- Model / document
- Revueflex 4000 EE
- Document type
- User manual
- Language
- German
- Pages
- 15
- File size
- 4.1 MB
- Category
- Film cameras
- Document date
- Not specified in catalog
Search available document text
Find a term, then jump to its page in the original PDF. Image-only pages may not be searchable; check the PDF for exact wording and diagrams.
Page 8 · Read text
Tecfinical Data:
Camera type:     Single-lens reflex camera 24 x 36 mm
                    with electronically controlled exposure
Objective
mounting:         Screw M 42
View finder:        Pentaprism viewfinder with Fresnell
                     lens and microprism
Shutter:            Metal focal plane shutter, electromagnetically
                     controlled
Shutter speed:   Automatic,2 seconds   112000 second                                        -                         (infinitely variable shutter speed settings)
                 Manual  . . . B, 1 second - 1l20O0secondLight meter:    TTL meter with central metering system
                 equipped with silicon cell
Film speed:        DrN 15-33 (ASA-3200)
Self timer:         6-10 seconds
Synchronisation:    FP and (X :  1/100 sec.)
Power source:      6 V battery Mallory PX-28
Dimensions:
(Body only)        .145 mm wide x 97 mm high x 54.5 mm deep
Weight
(Body only)        760 g
Brief instructions
Fit battery
Insert film
Adjust DIN/ASA film speed
Set shutter speed ring at "Automatic
Adjust aperture number
Focus object sharply
Press shutter trigger
Battery
lnserting the battery:
1. Release the battery cover by turning anti-clockwise with the help
   of a coin (Fig. 1).
2. Insert the battery (6 V) with the plus pole upwards as shown by
  the mark on the battery cover.
3. Refit the battery cover by turning clockwise fuily (Fig. 2). pay
   attention that the battery is correcily installed and cheCk polarity
  (+/-). The camera only operates when a battery is fitted.
                                                                15
View original page 8Page 9 · Read text
www.butkus.us
 Checking the battery
 Check the battery when
 a new battery is installed
 the camera has not been used for some time
 the camera has been used continuously for a number of hours.
To check the battery look through the viewfinder and press the
 battery test button (Fig. 3). lf the battery is in good working order
 the lightmeler pointer swings over to the black rectangle area next
 to the shutter speed (1/30 sec.) of the viewfinder shutter speed
 indicator, (Fig. 4). lf the lightmeter pointer remains below this
 area, the battery needs rePlacing.
 Note:
Testing of the battery consumes current and reduces the battery
 life, therefore avoid unnecessary or repeated battery testing. The
shutter does not work if the battery charge is low or if no battery is
fitted in the camera.
Insert!ng the film
Miniature lilm 24 x 36 mm (20 or 36 exposures).
 Pull out the film rewind knob until the back of the camera is
released, then open the back fully, (Fig. 5). Insert the film cartridge
and press rewind knob in again. lt may be necessaryto turn the knob
slightly until it engages in the film cartridge reel. Thread the start
of the film into the slot of the winding reel. Press the film down
slightly onto the teeth of the film transport roller and actuate the
film transport lever (Fig.6). When the upper and lower film perfora-
tions have engaged correctly in the teeth of the film transport roller,
close the back of the camera securely. Actuate the film transport
lever until the number 1 is at the pointer in the exposure counter
window. The camera is ready to take the first snap (Fig. 7).
lmportant:
lf the double exposure prevention lever is engaged the shutter
cannot be opened. Move the lever to the left (Fig. B).

Film speed setting
the The DIN/ASA film speed is shown on the film carton or in the
operating instructions supplied with the film. Adjust the DIN/ASA
film speed according to the marking line by turning the DIN/ASA
film speed setting ring (Fig. 9). lf a different type of film is used
to the previous one, the DIN/ASA film speed setting ring has to be
moved back accordingly.
16
View original page 9
Page 10 · Read text
Shutter speed setting
The REVUEFLEX 4000 EE is equipped with an electromagnetic
controlled shutter for automatic exposure and also for manual
operation.
To adjust the camera for automatic shutter speed selection turn
the shutter speed setting ring until the "Auto" mark registers with
the indexing line on the camera body. For manual exposure turn
the shutter speed setting ring until the desired shutter speed
registers with the indexing line on the camera body (Fig. 10).
Aperture setting
The aperture number setting is carried out in the usual manner
by turning the aperture setting ring until the desired number re-
gisters with the red indexing mark on the objective ring (Fig. 11).
lf the shutter speed setting ring is at "Auto", the shutter speed  is
adjusted by the electronic metering system to ensure correct expo-
sure of the film. Turn the aperture setting ring on the objective to
position A (auto). Observe the object for photographing through
the viewfinder and turn the focus ring on the objective until the
image in the microprism screen is in the centre of the viewfinder
and is sharp and clear.
Automatic light meter
The light meter On/Off switch is connected with the film transport
system. lt is therefore necessary to actuate the film transport lever
first. Set the shutter speed setting ring at "Auto" (Fig. 12) and
preselect the aperture number as desired for the photograph.
Bring the object into good focus. Press the shutter trigger as slowly
and gently as possible. When the shutter trigger is half depressed
the light meter shows the correct shutter speed for the light condi-
tions according to the aperture number selected (Fig. 13). On
further depressing the shutter trigger the shutter is opened for
the shutter speed shown in the viewfinder.
Light meter readings
1. Over-exposure
  Over-exposure is shown by the pointer if it is in the upper
  hatched range of the viewfinder scale. lf this is the case, the
  aperture number has to be reduced until the pointer moves in
  the shutter speed scale. lf the pointer does not move into that
   scale, a grey filter has to be used (Fig. 14).
2. Correct exposure
    lf the light meter pointer stays within the scale (marked arrow),
  the correct exposure results. One will find from photographs
                                                                17
View original page 10Page 12 · Read text
trast or very bright backgrounds, e. g. snow, sea, mountains, are
typical examples. In cameras with an electronic shutter this can
Cause an error to occur in that the exposure system follows the
variations in light strength continuously right up to the actual expo-
sure of the film. As a remedy for such conditions, the exposure
storage system has been provided.
Use of the exposure storage:
1. Focus the object sharply.
2. Depress the shutter trigger half way and measure the light on
  the major part of the object for photographing, excluding any
  unnecessary light from the side or background. Then press the
  exposure storage button, which memorises the light value for
  the actual object
3. Keep the exposure storage button pressed and locate the object
   in the viewfinder as desired. Fully depress the shutter trigger for
  the photograph.

Exposure correctlon
In special cases, such as over-exposure, compensation for this
can be provided by moving the DIN/ASA scale back. The following
is recommended as a guide for determination of the correct length
of exposure:
1. Red index 2/3 over-exposure.
2. Red index 1/3 over-exposure.
3. White index correct exposure.
4. Orange index 1/4 under-exposure.
5. Orange index 2/3 under-exposure.
lf, for example, over-exposure (2/3) is desired, set 21 DIN at the
white index. 19 DIN is next to the 2/3 index. Move 19 DIN back to
the white or normal DIN position. In this manner it is possible to
balance between 17 and 25 DlN, (Fig. 20). After the exposure the
correct DIN value has to be selected again.

Manual exposure
lf the shutter speed setting ring is not positioned at automatic, the
shutter speed has to be adjusted manually.
The correct exposure can be selected by two methods:
l.Adjust the desired shutter speed at the setting ring. Press the
  shutter trigger and observe the light meter in the viewfinder.
                                                                19
View original page 12Page 13 · Read text
www.butkus.us   Rotate the aperture ring until the pointer coincides with the
   relevant shutter speed value at the scale in the viewfinder.
  2. Adjust the desired aperture number at the objective. press the
    trigger slightly and observe which shutter speed is shown in the
    viewfinder.- Adjust this time setting at the shutter speed setting
   ring (Fig. 22). ff over-exposure or under-exposure is desired in
   special cases, one of the two possible methods should be selec-
   ted. Then turn the aperture adjustment ring until the light meter
   pointer is over the shutter speed shown in the viewfinder. This
   causes over-exposure  (Fig. 21).
   Vice versa, under-exposure results if the pointer is below the
   shutter speed shown.
 The shutter speeds should be set manually in the following casas:
 1.lf a special shutter speed is necessary tor a certain object.
 2. lf exposure balance is necessary,  i. e. in the event of under-
   exposure or over-exposure.
 3. For time settings (B).
 4. lf flash photographs are necessary.
 Multiple exposures
The shutter can also be cocked without film transport. This permits
double or multiple exposures for one picture. Morint the camera on
a tripod in order to ensure correct location. Take the first snapshot
 in the usual manner. Before moving the film transport rever move
the.multiple exposure switch fully to the left. A reo signal appears
in the viewfinder to show that the film transport l6ver can be
actuated but only the shutter will be cocked ario tne film will not
be transported. For the second exposure of the same picture, press
the trigger again. After the triggei has been actuated the muttipte
exposure button jumps back to its original position again automati-
cally, in order to avoid unintentional doubl6 exposur6s. lf a further
exposure of the same picture is desired, repeat the same proce-
dure (Fig. 22).

Focus depth
The depth of the focus is the nearest and farthest extremes af the
range directly in front of and behind the actual obiect which will
appear sharp in the.photograph. The depth of focus i6 controlled bythe aperture. The                       thd aperture, the weaker- t|re oeptn or                    ,largerfocus, and the smaller the aperture, the greater the depth of focus.
set the objective to the.desiied aperture-at the apertuiJ io;ustmeni
ring. Depress the shutter trigger half way and 6bserve th'e
20                                                             "u;""i
View original page 13Page 14 · Read text
lfr
through the viewfinder. ln this manner the range of focus in the
picture can be checked before the actual exposure.

Depth of focus scale
The depth of focus scale shows (after focussing) the approximate
range in which the photograph will be sharp. Determine the rele-
vant two aperture numbers on the depth of focus scale. The
distance between these two aperture numbers on the focus adjust-
ment ring is the range of sharpness for your photograph (Fig.23).

Self-timer
lf the self timer is used, the shutter is triggered after a time lag of
between 6 and 10 seconds. When using the self timer the camera
naturally has to be mounted on a tripod or other firm mounting.
Move the self timer lever fully to the left. Actuate the film transport
lever. The self timer starts running as soon as the trigger is pressed
Fig.2q.  lf the self timer is used with the camera set for automatic
exposure, the camera eye piece has to be covered with the cap
supplied with the camera in order to prevent influence of the light
meter system due to extraneous light.

Flash photography
Electronic flashes or flash guns with flash bulbs or cubes can be
used. The REVUEFLEX 4000 EE has a flash mounting (accessory                                                  -asmounting base with integral flash contact) as well     standaril
sockets for X and FP synchronisation (Fig. 25).
Electronic flash units and flash guns with centre contact can be
used without a connecting cable. As the mounting base is only
designed for X-synchronisation, the electronic flaJh unit with X
(1/100 sec.) or slower shutter speeds can be used. The aperture
number is selected according to the aperture number table on the
flash unit (Fig. 26).

Gare of the camera
Protect the camera from dust, rain, moisture and excessive heat.
Never touch the actual objective. To clean the objective breathe
 fightly onto  it and wipe lightlywith a soft non-fuzzing cloth or optic
paper. Do not use a spectacles cleaning cloth-as this could
scratch the lens.
A wide range of accessories are shown in the Foto euefle cata-
logue.
                                                                                                       2'l
View original page 14Related documents and language editions
From the M. Butkus archive. Original publisher and archive notices are retained.
Check the model and edition against your equipment.
PDF verified 2026-10-10.