Film cameras
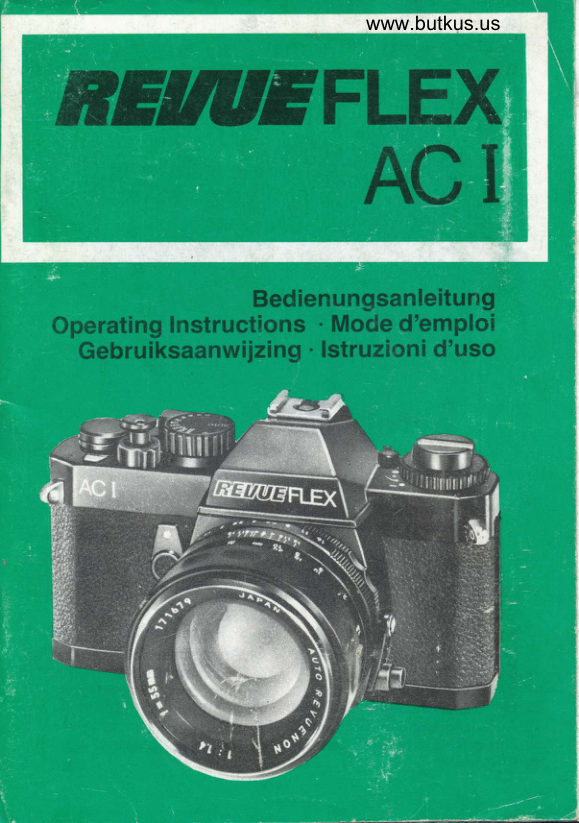
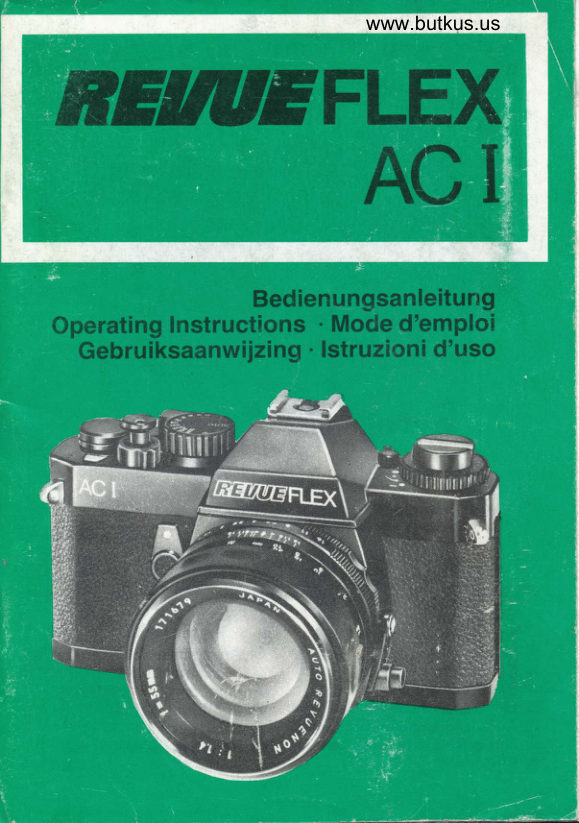
RevueFlex AC1 User manual
User manual for RevueFlex AC1. 16 pages in English. Read the original PDF, download or print a copy without registration.
16 pagesEnglish3.9 MB PDF
Loading your manual…Open PDF directly
Document details
- Brand
- Revue
- Model / document
- RevueFlex AC1
- Document type
- User manual
- Language
- English
- Pages
- 16
- File size
- 3.9 MB
- Category
- Film cameras
- Document date
- Not specified in catalog
Search available document text
Find a term, then jump to its page in the original PDF. Image-only pages may not be searchable; check the PDF for exact wording and diagrams.
Page 2 · Read text
Beschreibung
      Entfern u n gsei nstel   I ri n g    @ Filmriickspulknopf/,o @ Selbstausl6ser                    Entriegelung d.
 @ Trageriemen6se                  Kamerartickwand,@      Filmzd h lwerk        @ Einstellrad ftir
 @ Au sl6ser (Ko m bitaste)/             Filmempfindlichkeit
     Auslosesperre       @ Blendenring
 @ Filmtransporthebel      @ Blendenumschaltung Auto/
 @ Einstellrad fUr                    Manuell
      Belichtungszeit       @ Schiirfentiefenskala
 @ Aufsteckschuh mit      @ Synchrokontak! (X)
      Mitten kontakt (X-Sync.)    @ Speichertaste (Memory)
 @ Hebel fiir Okularabdeckung
View original page 2Page 4 · Read text
Bitte spenden Sie 2,50 Euro, um diese Website über E-Bay zu unterstützen ... www.PayPal.me/butkusView original page 4
Page 9 · Read text
Operating Elements
@ Focusing ring        @ Depth-of-field scale
@ Self-timer          @ Synch socket (X)
@ Carrying strap eyelet     @ Memory key
@ Exposure counter      @ Film compartment
@ Combined shutter release/   @ Viewfinder eyepiece
   double exposure prevention  @ Battery test signal
@ Film advance lever      @ Film sprocket
@ Exposure dial        @ Take-up spool
@ Accessory shoe with hot   @ Film pressure plate
   shoe contact (X synch)    @ Back cover
@ Black-out lever for eyepiece  @ Power winder sockets
@ Film rewind knob/camera   @ Rewind release
   back release        @ Film guide
@ Film speed dial       @ Focal plane shutter
@ Aperture setting ring     @ Tripod socket
@ Auto/manual aperture     @ Battery compartment cover
   selection

Technical Data
Camera type  :      Automatic single reflex camera (24x36 mm)
                   with diaphragm presetting, electronically con-
                       trolled metal focal-plane shutter
Lens mou'nt:      M42 screw mount
Viewfinder:        Focusing screen with split image and micro-
                   prism ring, green LED signal for battery test,
                    shutter speed, shutter speed scale
Shutter:            Special SEIKO metal focal-plane shutter, ver-
                          tical, 4-1l10OO sec. and B, mechanical func-
                      tion at X 0/100)
Exposure meter:   TTL meter with central metering system,
                two Silicon Blue Cells
Film speed:        DrN 15-36 (ASA 25-3200)
Self-timer:         7 -12 secs.
Synchronization  :   X:1/1OO sec.
Power source  :                              silver-oxyde batteries (Mallory MS 76                        .2.x.l.5V                   H, item no. 2608)
Dimensions:       140 mm x 90 mm x 52 mm (wxhxd)
(body only)

                                                        13
View original page 9Page 10 · Read text
' Weight:        625 g            www.butkus.us
    (body only)
    (Subject to revision in the event of technical improvements)

    Brief Instructions
      Fit the batteries
     Insert the film
    Set the DIN/ASA film speed
    Set the shutter speed dial to "AUTOMATIC"
    Preselect the aperture
    Focus the lens
    Depress the shutter release

    Batteries
     Inserting the batteries  :    '    1. Release the battery compartment cover by turning it counter-
       clockwise, with a coin (fig. 1).
    2. Insert the batteries (two 1.5 V batteries, item no. 2608) with
       plus poles inwards. Observe the marks inside the battery com-
       partment (fig. 2).
    3. Replace the battery compartment cover and turn it clockwise,
       as much as possible.
   Testing the Batteries
   Remember to check the battery power.  . . .
t  when new batteries are installed,   when the camera has not been in use for a lengthy period of time,
   when the camera has been in use during several hours.
   To check the battery power, slightly depress the shutter release
    (5).  lf the batteries are in perfect condition, the green LED test
     light glows on the viewfinder eyepiece (fig. 3).  lf the test light
     fails to glow, the batteries must be replaced (type Mallory MS 76
   H,2x1.5V, item no. 2608).

   Film Loading
   Use a 24 x 36 mm film.
     Pult out the film rewind knob (fig. a) to retease the camera back
    14
View original page 10Page 11 · Read text
cover. Swing out the back cover, insert a film cartridge and press
 the film rewind knob in again.
  lf necessary, turn the knob slightly until the rewinding pin engages
  in the film spool. Thread the end of the film into the slot on the
 take-up spool. Press the film slightly onto the sprocket teeth and
 operate the film advance lever (fig. 5). When tne upper and lower
 perforations have correctly engaged with the sprocket teeth, firmly
 close the back of the camera.
 Operate the film advance lever and the shutter release alternately
 until the number 1 appears in the exposure counter, opposite the
 pointer (fig. 6)  ;
 The camera is now ready for shooting.
 NOTE
 When the double exposure prevention is locked, the shutter can-
 not be released. For release, move the double exposur€ pr€V€D.
 tion off the "L" position (fig.7).

Memory Holder
on the back of the camera there is a memory holder for inserting
the flap of the film roll in use, your visiting card or any other note
 (fis. 8).

Film Speed Setting
The DIN/ASA film speed is stated on the frlm package or in the
operating instructions accompanying the film cartridge. To set
the DIN/ASA film speed, turn the film speed dial until the desired
setting lines up with the index mark (fig. g).
Note
correct DIN/ASA film speed setting is important for proper me-
asurement of exposure time.

Shutter Speed Setting
The REVUEFLEX AC I is equipped with an electromagnetically
controlled shutter for automatic exposure or manual opeiation.
To adjust the camera for automatic shutter speed selection, turn
the shutter speed dial until the AUTO marking lines up with the
                                                            15
View original page 11Page 12 · Read text
www.butkus.usexposure, turn theindex mark on the camera body. For manual
shutter speed dial urttil the desired shutter Speed is opposite the
index mark on the cmera body (fig. 1O).

Setting the Aperture
The aperture is selected by turning the aperture setting ring until
the desired f-number lines up with the red index mark on the lens
ring. When the shutter speed dial is set to AUTO, the electronic
metering system will adjust the shutter speed, to ensure correct
exposure of the film. Turn the aperture setting ring on the lens
to A (Auto) position (fig. 11).

Focusing
Frame the subject in the viewfinder (18).
The split image rangefinder in the middle of the viewfinder allows
to exactly focus the image by turning the focusing ring (1) (fig. 12
and 13).

Automatic Exposure
Set the shutter speed dial to "AUTO"  (fig. 10) and preselect the
f-number as required for shooting. Now press the shutter release,
slowly and gently. When the shutter release is depressed half of
its way, the exposure meter is activated and the pointer indicates
the correct shutter speed for the existing light conditions and the
selected f-number (fig. 1a). On further depression of the shutter
release the shot is taken with the shutter speed given in the view-
finder.

Exposure Meter Pointer
1. Over-exposure
   Over-exposure is indicated when the pointer is in the upper
   hatched zone of the viewfinder scale (fig. 15). In this case, the
   f-number must be increased until the pointer moves back to the
   shutter speed scale.
2. lf the exposure meter pointer stays within the scale, correct
   exposure is given. When using the camera, you'll find out that
   the automatic shutter speed selection is coupled with the aper-
   ture and the DIN/ASA film speed. When the f-number is                   I
16
                                                d
View original page 12Page 13 · Read text
changed, the shutter speed is modified accordingly. Now, if
    the electronic system selects a speed too fast or'too stow for
    the subject to be taken, the f-number is to be changed until a
    suitable shutter speed is selected (fig. 16).
      lf the pointer moves in the zone below 1730 sec., the use of a
    tripod is recommended unless a lower f-number can be set.
 3. Under-exposure
   under-exposure  is indicated when the pointer moves in the
   lower hatched zone of the shutter speed scale. For compensa-
    tion, select a larger aperture, i.e. a lower f-number.  tt the po-
    inter fails to return, use an additional light source or a flash unit     (fis. u).
Exposure Correction
 lf over-exposure or under-exposure  is intended, exposure com-
 pensation can be provided by resetting the DIN/ASA scale.
The following is recommended as a guide for setting the intended
variation (fig. 18)  :
     1:3/3 under-exposure
     2:213 under-exposure
    3=U3 under-exposure
      4:cofr€Ct exposure
    5:U3 over-exposure
     6=213 over-exposure
     7:313 over-exposure
Exampfe :   lf an over-exposure of 213 is desired for a DrN 21 tilm,
           set DIN 21 to line up with the index mark 6.
Manual Exposure
lf the shutter speed dial is net in the "automatic,, position, the
shutter speed must be adjusted manually. For correct exposure,
there are two possibilities:
1. Adjust the desired shutter speed on the shutter speed diat.
   Dep/ess the shutter release and observe the exposure meter in
   the'viewfinder. Now turn the aperture setting ring until the
   pointer in the viewfinder lines up with the manually set shutter
   speed.
2. Adjust the desired diaphragm on the lens. slightly ddpress the
   shutter release and observe which shutter speed is shown in
                                                                     17
View original page 13Page 14 · Read text
the viewfinder. Adjust this speed onwww.butkus.usthe shutter speed dial
    (fig. 10)"
      lf ove-exposure or under-exposure  is deslred in special cases,
   change the diaphragm or shutter speed accordingly.
   Exposure should be set manually, if a special shutter speed is
   necessary for a specific subject.
   For time-exposures (" B ") or flash photography, the exposure
   must be set manually.

Depth-of-field
The depth-of-field is the zone that appears sharp in the picture.
The depth-of-field is determined by the diaphragm. The wider the
aperture, the shallower is the depth-of-field. The smaller the
aperture, the greater the depth-of-field.

Depth-of-field Scale
The depth-of-field scale shows the approximate range between
two apertures that will appear sharp in the picture (fig. 19).

Exposure Memory
REVUEFLEX AC has a built-in automatic exposure system which
under normal conditions delivers perfectly exposed pictures.
There may, however, be some unfavourable lighting situation for
which the normal exposure is insufficient, such as in case of sub-
jects with high contrasts or a bright background (e.g. snowy
landscape, sea, mountains). Therefore, an exposure memory has
been provided.
How to use the exposure memory:
1. Slightly press the shutter retease and read the light on the major
    part of the subject, excluding any superfluous lateral or back-
   ground illumination. Now depress the exposure memory
   button (fig. 20) to memorize the exposure setting.
2. Keep the exposure memory button depressed and frame, the
   subject in the viewfinder.
   Then completely depress thc shutter release.                                                                    $lfI
                                                                                                                                                                                      *'l
                                                                                                                                                                               .rl
                                                                                                                                                                                                                                                                                                                                              eilslt8                                                                                                                                                                                          :{l
                                                   T
View original page 14Page 15 · Read text
Self-timer
           lf the self-timer is used, the shutter is released with a 7_12sec6.
       delay.
      For self-timer operation, the camera should be mounted on a       tripod or some other firm support.
     Move the self-timer completely to the teft. As soon as the shutter
       release is depressed, the self-timer starts running (fig. 21). when
      using the self-timer with the camera set to nuroMeltc exposure,
     be careful to black out the eyepiece with the lever placed beside
           it (also in case of time exposures). This will prevent extraneous
       light from influencing the exposure meter system.

     Flash Photography
    You can use both electronic flashes and ftashguns with bulbs or     cubes.
    REVUEFLEX Ac I has_an accessory shoe (hot shoe contact) aswell
     as a standard socket for X synchronization (tig. 22).
      Electronic flash units with hot shoe contact can be used without a     connecting cord, with the shutter speed setting ..x,, (ul00 sec.).
    The corresponding f-number is serected from the diaphragm scaie
    on the flash unit.
     For connection of flash lamps type Fp or M, use the standard
     socket and adjust the shutter speed to 1-.|5 sec., as may be re-     quired;
i;  Unloading the Film
    when the number of the last exposure appears in the exposure
     counter window opposite the index marking, the end of film is
     reached.
      l.  Press the film rewind release (2b) on the bottom of the camera
          (fis. 23).
    2. Fold out the film rewind crank on the rewind knob (fig. 2a).
    3. Turn the film rewind crank in direction of arrow, to the right.
     When the film is rewound into the cartridge, a slight resistance
          is noted. stop rewinding when there is no moie resistance.
     Now completely pull out the film rewind knob, open the camera
       back cover and remove the film cartridge (fig. 4).

                                                            19
View original page 15Page 16 · Read text
www.butkus.usPower-driven Film Advance
The REVUEFLEX AC body is designed to allow for connection of
the power winder REVUE motor 35 (item no. 1401) enabling motor-
driven shooting of single or series pictures.

Camera Care
Protectyour camera from dust, rain, moisture and excessive heat.
Never touch the lens. To clean the lens, breathe on it and wipe it
gently with a clean, lintfree cloth or lens tissue. Never use a
glass cleaning cloth, it might scratch the lens.


 20
View original page 16
Related documents and language editions
From the M. Butkus archive. Original publisher and archive notices are retained.
Check the model and edition against your equipment.
PDF verified 2026-10-10.