Camera accessories
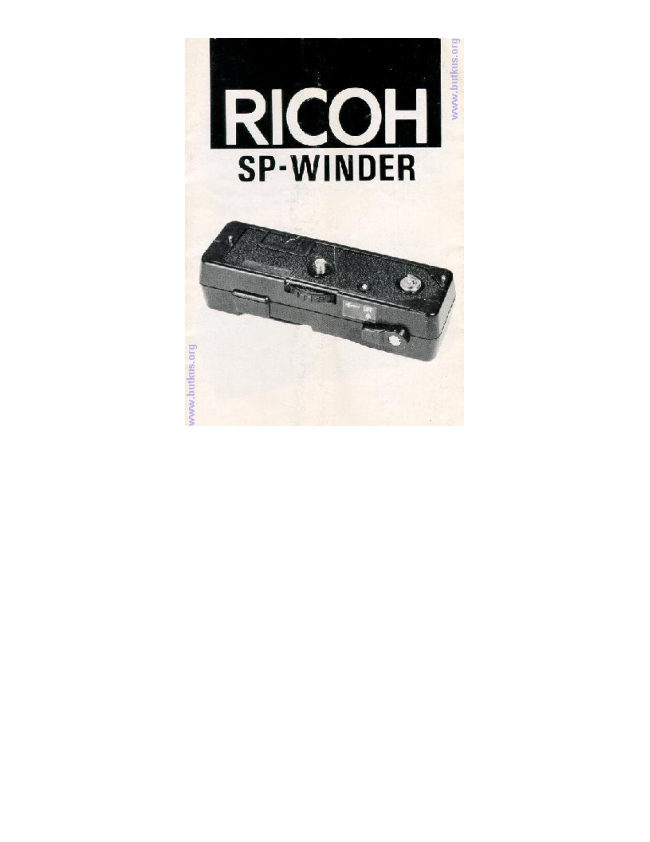
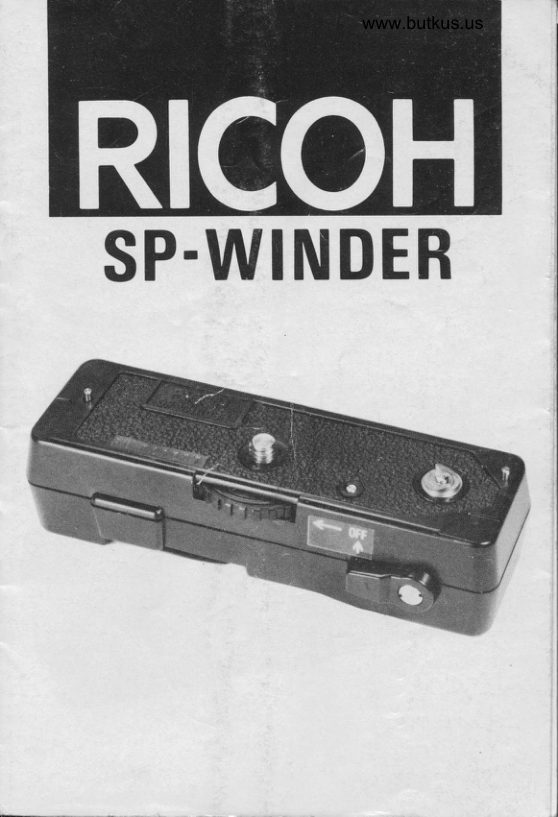
Ricoh SP Winder User manual
User manual for Ricoh SP Winder. 8 pages in English. Read the original PDF, download or print a copy without registration.
8 pagesEnglish0.5 MB PDF
Loading your manual…Open PDF directly
Document details
- Brand
- Ricoh
- Model / document
- Ricoh SP Winder
- Document type
- User manual
- Language
- English
- Pages
- 8
- File size
- 0.5 MB
- Category
- Camera accessories
- Document date
- Not specified in catalog
Search available document text
Find a term, then jump to its page in the original PDF. Image-only pages may not be searchable; check the PDF for exact wording and diagrams.
Page 4 · Read text
5. Film Rewind Release Button

6. Wind Crank Compartment

7. Tripod Socket

8. Wind Crank
View original page 4
Page 5 · Read text
ATTACHING THE WINDER


        1. Turn the Attachment Knob (2) in the opposite direction to the arrow. As the screw engages in the
        tripod socket. check that the Positioning Pins (1) are correctly inserted in the camera's positioning pin
       pockets. Then tighten the Attachment Knob to lock into position. (Fig. 1)

TENSIONING THE SPRING MOTOR


        1. Pull out the Wind Crank (8) and turn it in the direction of the arrow until it stops. (Fig. 2)

     When the Spring Motor is fully wound. put the Wind Crank back into position. (Fig. 3)
View original page 5Page 6 · Read text
* If the film has not been advanced one frame. or if the Film Advance Coupler is not engaged. the
       Spring Motor will start operating as soon as the Wind Crank is put back in position.

          It will continue to operate until the film is advanced or the Film Advance Coupler engages.


SHOOTING

        1. Push the ON/OFF Switch (3) down until the red mark is visible. (Fig. 4)

        2. Set the aperture, distance and shutter speed according to the instruction booklet with the camera.

        3. Press the shutter release button and shoot.

        4. When you release the shutter release button. the Winder will advance the film by one frame.

      * Approximately 10 frames can be advanced with each full tension of the Winder.

REWINDING THE FILM


        1. Push the Film Rewind Release Button (5) under the Winder upwards with your finger. When you
        release the button. it will return to its former position. but the film rewind release button on the camera
        will stay locked in position. (Fig. 5)

        2. Pull up the film rewind crank on the camera and turn it in the direction of the arrow to rewind the
        film. ( Fig. 6)

      * If the film ends midway through a frame, the Film Rewind Release Button may not stay locked in
        position. In this case, keep the Film Rewind Release Button pressed with your finger as you rewind the
        film.
View original page 6Page 7 · Read text
DETACHING THE WINDER


        1. Push the ON/OFF Switch up until the red mark is covered. (Fig. 7)

        2. Turn the Attachment Knob on the Winder in the direction of the arrow and remove. (Fig. 8)

      * If you have the winder unattached from the camera, with the switch on, and the wind crank is in the
       compartment, the spring motor will unwind.

      * Repeated operation of the Winder's ON/OFF switch. when the camera is not being used. will cause the
       spring motor to gradually discharge.

MAINTENANCE

After use, gently wipe the dirt and dust off with a soft cloth.

      * If the Winder is not going to be used for a while. set the ON/OFF Switch to ON to discharge the
      Winder. then keep it in the OFF position.

      * Do not leave the Winder in high temperature or humidity.

      * Any sudden change of temperature will cause condensation to form inside the Winder.
View original page 7Page 8 · Read text
SPECIFICATIONS

Applicable cameras:
RICOH 500ME 500RF, 500ST. 500ZF

Drive system:
Spring motor

Number of frames advanced:
Approximately 10 frames when fully wound

Exposure counter:
With exposure counter on the camera

Rewind system:
Manual rewind by camera's rewind lever

Tensioning the spring-winder:
By turning the wind-crank (20 times)

Mount:
Attached via the camera's tripod socket

Tripod socket:
Underneath the winder

Dimensions:
114 mm (width) x 29 mm (height) x 36 mm (depth)
4.5" x 1.1 " x 1 4"

Weight:
1559 (5.5 oz)
View original page 8
Related documents and language editions
From the M. Butkus archive. Original publisher and archive notices are retained.
Check the model and edition against your equipment.
PDF verified 2026-10-10.