Flashes & lighting
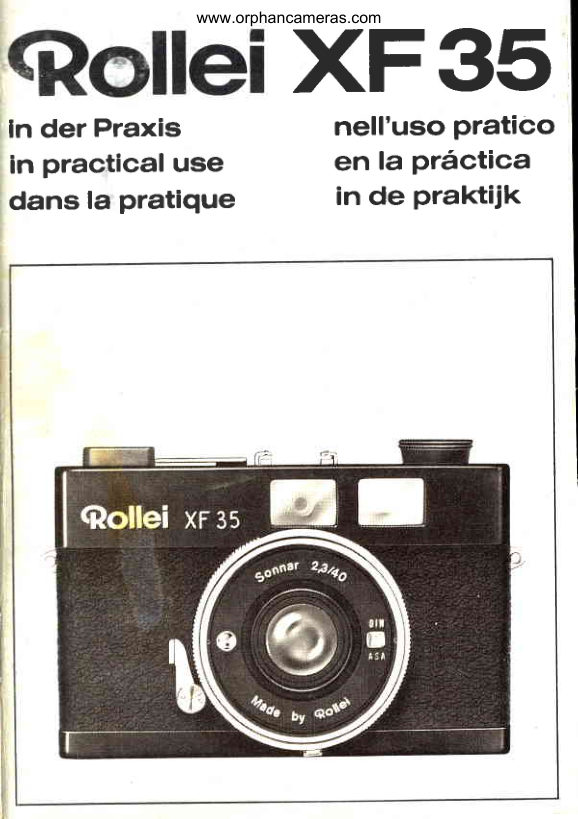
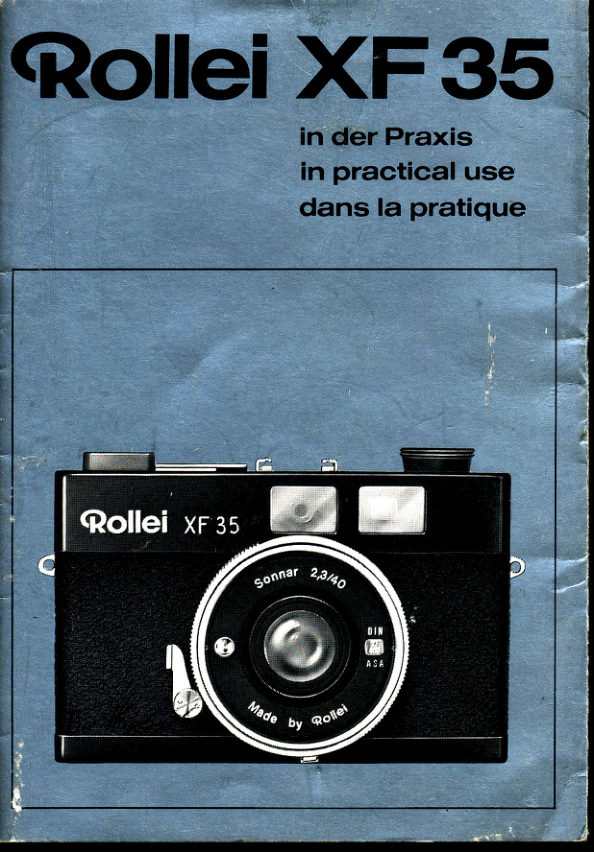
ROLLEI XF35 AND 100XL FLASH User manual
User manual for ROLLEI XF35 AND 100XL FLASH. 23 pages in English. Read the original PDF, download or print a copy without registration.
23 pagesEnglish1.5 MB PDF

Loading your manual…Open PDF directly
Document details
- Brand
- Rollei
- Model / document
- ROLLEI XF35 AND 100XL FLASH
- Document type
- User manual
- Language
- English
- Pages
- 23
- File size
- 1.5 MB
- Category
- Flashes & lighting
- Document date
- Not specified in catalog
Search available document text
Find a term, then jump to its page in the original PDF. Image-only pages may not be searchable; check the PDF for exact wording and diagrams.
Page 3 · Read text
Table of Contents    Congratulations.. .                                    P a r t sL i s t i n g . . . .                                           . . 2 - g
      And welcome to the fun of Rollei     BeforeYour FirstPicture            ......4-5
       photography. The  Rollei XF35    D a y l i g h Pt h o t o g r a p h y . . .                   . . . . . . 6 - 9
      camera outfit you have chosen     Taking Flash Pictures                .10-12
      combinesadvancedcameradesign    R e w i n d i ntgh e F i l m                                . . . . . . 1 3
        with ease of operation.Exposureis      SpecialFeatures                                          . ..14
       automaticin daylightas well as with               l m p o r t a n Mt a i n t e n a n clen s t r u c t i o n .s. . . . . . . 1 5
       the Rollei 100XLelectronicftash.             lf You Have a Problem                16-17
       Please take a few minutes to read   W a r r a n t yI n f o r m a t i o .n. . .                       . . . 1 8 - 1 9
        this instructionmanual.              F l a s hG u i d e - N u m b eTra b l e                     . . . . . 2 0
I             lf you have any questions after
       reading this booklet, call Rollei's
      Consumer Affairs Department at
             our toll-freenumber:
      (800)s25-8189


                               www.orphancameras.com
View original page 3Page 5 · Read text
PartsListing
  1 Lens cap                                       14 Viewfinder
  2 Rewindknob                                       15 Window for  bright-line view-
  3 Shutter release with thread for                              f inder
   cable release                      16 Window for rangefinder
  4 Film advance lever                    1 7 Accessoryshoe
 5 Exposurecounter                     1 8 Focusing ring, with scale in
 6 Ridged ring for fitm speed setting            meters and feet
 7 Window for film speed                19 Distancescale
 8 Setting ring release                  20 Focusingindex
 9 Setting ring for automatic control,        21 1/t"thread tripod socket
   long time exposure and automatic        22 Cocking lever for self,timer
      f lash                              23 Film rewind crank
10 White dot for automatic setting           24 Film rewind lock button
11 Carryingstrap                       25 Lens
12 Eyeletfor carrying strap                26 Cover for battery compartment
13 Thread for accessorylens hood,
    filter or close-uplens

                           www.orphancameras.com
View original page 5Page 6 · Read text
BeforeYour First Picture
                                     REWIND KNOB   SPROCKETS


                    BATTERY
coMPARTMEII-_fi    coMpARrMENr      covER                         -,
Insertingthe Battery
The Rollei XF 35 camera exposure system is                           TAKE-UP
powered by a PX-625 battery. To  insert the      Film Loading     CATCHbattery, remove the battery cover from the
bottom of the cameraby turning it almost % of a       The Rollei XF35 uses 35mm film. To load
turn counter-clockwisewith a coin. Before        the film, pull the rewind knob until the
insertingthe battery supplied with the camera       camera back pops open.
outfit, wipe  it with a rough cloth. Insert the
battery with the + side facing the cover. The
battery should be good for about a year of
normal use. Replacementsare availableat most
camera stores or department store camera
sections.
4
View original page 6Page 7 · Read text
REWIND                        TAKE-UP REEL          SHUTTER KNOB      SPROCKETS
                                FILM                             FILM ADVANCE
                                                          LEVER                            LEADER


              SPROCKET  TAKE-UP FILM CASSETTE              HOLE      CATCH                      ;il-'yo3fl,'*"'
                                       To start the film properly,turn the ridged
Hold the rewind knob all the way up while       edge of the take-upreel in the direction of
you  insert the film cassette, with the        the arrowbelowthe reel.Windjust enough
protrudingend down, in the film chamber         to engage the film in the top and bottom
under the knob. Now, depressthe rewind        sprockets. Check again that the film is
knob. Then place the film leader -  the        securely on the take-up reel, then close
tapered end of the film -  under the take-        the cameraback and snap it shut. Depress
up catch with approximately1/tinch of the         the shutter and advancethe film. Repeat
film extendingbeyond the catch.                  until the number 1 appears in the film
                                          counter window.
                             www.orphancameras.com
View original page 7Page 8 · Read text
Daylight PhotographyWithout Flash

                         R I D G E D                                                              WHITE
                         ASA                                 DOT
                         SETTING
                         R I N G                                                                SETTING
                         ASA                                   R I N G
                          INDICATOR                            RELEASE
                     WINDOW
                                                                SETTING
                                                               R I N G
                                       VIEW OF BOTTOM OF CAT./ERA
Setting the ASA Speed
In order for the camerato operateautomatically,     Automatic Setting
you have to "tell it" what kind of film it is using       The settingcontrol is on the bottom of the
accordingto the film's speed (ASA rating).First,       camera. For automatic exposuredaylight
check the film speed which is indicatedon the         pictures, the      (automatic) on  thef ilm box and cassette.Set the speed by turning                                                                                                                                                                                                                                                            'jIIII                                               setting ring should be oppositethe whitethe ridged black ring that surrounds the lens                                              dot on the front of the camera. To set.until the yellow ASA number of the film you are
using is alignedwith the indicatorin the window.       depressthe setting ring releasewith your
(The white DIN numbers refer to the European       thumb, and turn the setting ring with the
rating system not used in the U.S.)                 fingersof the same hand.
6
View original page 8Page 10 · Read text
To Focus


                                FOCUS
                                   R I N G
                                                OUT OF FOCUS


Your Rollei XF35 has an easy-to-usedouble image
focusing system. Turn the focus ring until the
double images in the center focusing area of the
viewfindermerge and form a single solid image.
NOTE: Check that the lens cap is removed.
                                                                      IN FOCUS
YOU NOW ARE READYTO TAKE PICTURES.
8
View original page 10Page 11 · Read text
Takingthe Picture


     Hold the camerawith a firm, but relaxed,grip and depressthe shutter button until you hear a
      definite click. (Figuresillustratethe proper grip for horizontaland verticalshots.)After each
     shot you must wind the f ilm with the advanceleverby swingingthe leverawayf rom the camera
     body for its full travel;this also cocks the shutter.

      PhOtO  FaCt  (Your Rollei XF35 ls "Talking to you.'')
       Though your camera is automatic,the shutter speed and lens opening are indicatedin
        the viewfinderfor your informationas you advancein your hobby.The numbersin white'lI      are shutter speeds,properly read as fractions of a second. For instance,if the needle
1       points to 250,your camera is going to exposeat 1/25Aof a second,a short exposurethat    ,
                                                                           (1/30of                                                                                a                                                              indicates30                                                                                             lf                                                       the needle                                            mid-stride.                                                 in                  action                     such                           as a runner             stop l      would                                                                                           to hold                                        going                                                              be careful                                                      longer                                                        exposure;              you                                                       to be a                        warned                                    there is                   are being       second)
        the camerasteady.The numbersdisplayedagainstthe white backgroundindicatethe
        lens openingthe camerahas set.
                               www.orphancameras.com                                                       I
View original page 11Page 12 · Read text
Taking FlashPictures


                             Mount the Flash                                                                                  IIInsert Batteries                        Placethe flash unit in the accessoryshoe
                                         on top of the cameramaking sure the flashfnsert two AA alkaline batteries into the
f lash  unit  battery compartment. (See           is fully forward in the shoe.
diagram inside the compartment.)
1 0
View original page 12Page 13 · Read text
Setting the Guide Number on CameraII
il


                              VIEW OF BOTTOM OF CAMERAIr
      Determinethe correct guide number (GN) from the flash guide number table on Page20, orI      on the black flash unit decal, according to the ASA speed of the film you are using.
      Set the yellow guide number (GN) below the camera lens by pushing the setting ring release
      and turningthe ring until the correctnumberis oppositethe whitedot.The cameramustbe set
      on a guide number to use the flash for correct exposure.
                               www.orphancameras.com                          11
View original page 13Page 14 · Read text
Turnon the Flash              Focus


                                        Focus for distance in the same way as
                                              without flash (see page 8 of instruction
                                          manual.) The  focusing ring  will be
                                            automaticallylimited to the range of the
                                                flash and film in use. (Focusing range
                                            information is included in the chart on
                                      Page 20.)Take the picture by pressingthe
                                                shutter release. lt  will  take about  I
                                        seconds for the flash to "recycle."When
                                             the orange light glows again,the flash is
                                           ready to  take another picture. When
                                                finished,turn the flash off by moving the
                                             switch left to "0."
Turn on the flash withwith                                                lf the f lash takeslongerthan30 secondsto
the switchon the lower                           recycle, replace the batteries. A set of
right back of the flashunit (moveswitchto         fresh AA alkaline batteriesshould last for
the right "1" position.)An orangelight will        about 200 flashes. Use only alkaline
glow when the flash is ready to use.             batteriesin the flash unit.
1 2
View original page 14Page 15 · Read text
Rewindingthe Film

After you have completed the last picture,
the lilm must be rewound back into the
film cassette before opening the camera.

To rewind the film, depressand hold the
rewind button completelyin. Unfold the
rewind lever (being careful not to pull up
the knob).Turn the rewindleverclockwise
untilthe film is fully rewoundback intothe
film cassette.(Note: the rewind knob will
turn f reelywhen the f ilm is in the cassette.)
Open the cameraby pullingup the rewind                                                     REWIND
knob until the camera back pops open.                        BUTTON
Your  exposure  counter   will   reset
automatically.


                           www.orphancameras.com                       1 3
View original page 15Page 16 · Read text
CABLESpecial Features                                                              RELEASE
 self rimer: Your camera allows you to take your own picture                THREAD
with the self-timer.Move the setting ring to ,,A',for Oayiigntor
the correct guide number for electioniCftasn.put thscimera
on a tripod, then aim and focus.Cock the timer by pressingthe
lever all the way down. press the shutter releaseand stdp in
front of the camera. when the s'etf-timerlever rises to the
upright position(in about 10 seconds),the cameratakesthepicture.
                                                SELF
Time Exposures: The Rollei XF35 can take long        T I M E R
exposureson the "8" (time exposure) setting. These       LEVER          TRIPOD
exposures are best with the camera mounted on a    ..8'' SETTING FOR       SOCKET
tripod to preventcamera movement.press the setting  TIME EXPOSURE                                                                 SETTINGring    release          under                 the                    lensand                             turn                                the                                     setting                                             ring untii                                                                R I N G                                       ,,B""8"     is      opposite               the                  white                          dot.                                           politio-n,                                In the                                              tne                                                              RELEASE
lens is always fully opened (lens opening t/2.3). The
correctexposuretime should be determinedby using a                        SETTING
hand-held light meter. For best results,screw a cable                      R I N G
releaseinto the thread on the shutter button to reduce
cameramovement.Aim and focus as usual.Then hold
the shutter button or cable release down for the
predeterminedexposure time.                    VIEW OF BOTTOM OF CAMERA
1 4                                                                  I
View original page 16Page 17 · Read text
lmportantMaintenanceInstructions
       1.  Your camera battery (PX-625,availableat most camera stores or departmentstore camera
             ,  sections)should be good for about ayear. You should changethis batteryannually.
      2.  The 100XLelectronicflash uses two AA alkaline batteries.To get the best servicefrom
         your batteries,rememberto turn off the flash if more than two minutesare likelyto elapse
         between flashes.
      3.  Clean the camera by wiping the exterior with a soft cloth, and clean glass surface with
         photographiclens tissue, Never use chemicallytreated tissues made for eyeglasses,as
 }         this will damageyour lens. Removedust from the interiorwith a soft brush.
      4.  Protectthe camera against water, strong sunlight, extreme heat and vibration.*
      5.  Your camera uses 35mm film for 20,24 or 36 exposures.Color reversalf ilm (for slides),
          color negativef ilm (for color prints)and blackand white negativef ilm (for blackand white
           prints) may be used in this camera.
       6.  Replacethe lens cap betweenshooting sessionsto protect the lens and conservebattery
         power.
i*
                               www.orphancameras.com                           1 5
View original page 17Page 18 · Read text
lf You Have a Problem
                                                           Possible Cause
        doesn't release                                          Film advance lever not fullv
 Meter needle doesn't move                                  Battery not making contact
                                                Dead battery
                                                           Battery missing or incorrectly installed
Film advancelevel binds and stoDs                        End of film
     is comoleted
       rmages In
                                              Camera locked on Guide Number and subiect is outside the
                                                                  flash focusi
              not glow on                                    h not on
                                                              Battery dead
                                                          Battery incorrectlyinstalled
                     but flash
                       or overex                                              not correctly
                                                                        ring not on "A"
Flash picture under or                                            ng nng set on
                                                           Picture taken before flash had
Picturepartly or completely blurred                              bject out of focusing range or automatic flash range
                                                     Focusingwas forgotten
                                                     Fast-movingobjects photographedin poor lighting conditions
                                              Camera movementat slow shutter soeeds
Film counter keeps going after last frame                        Film not loaded properly
                                                               Sprocket  holes torn or film pulled out of cassette

                                                               mproperly  loaded  tilm
                                                           Lens cap  left on camera
View original page 18Page 19 · Read text
advance lever all the wa
Wipe battery contact  or clean
Replace battery with new PX-625
Check that battery is correctlY in
Check film counter.   lf you have reached the
    Film" (page 13)
Move ba-cksol-at  tite sublect is at least 3.5 feet from camera
Move so that subiect lies within the flash focusing range
   (ConsultGuide Numbertable -  page 20)

Replace batteries
Check that battery position matches         inside flash unit
           unit fully into camerashoe                   ng In same

Turn setting ring to "A"
     proper                          ln camera
Do not take flash oicture until           on flash                  flash is reacly
Alter subject camera distancewithin         range
Focus camera creafully
Take these pictures in brighter light or use a film with a higher speed (ASA rating).
 Hold camera very steady at slow speeds
        to see that rewind knob turns on
 Be more careful and gentle with advancelever. Removefilm in absolutedarkness
   and olace film in           container for processin g
         properly
Remove lens cap before
                           www.orphancameras.com
View original page 19Page 20 · Read text
Qollei OF AMERICA,lNC. FULL ONE YEAR WARRANTY
  Rollei warrants this product to be free from defects in material and workmanship  for a period of one (1) year.
 WHAT ROLLEI WILL DO
  lf this product  fails because of defects in material or workmanship  within one year from date of original
 purchase, we will repair or replace the product without charge to you within a reasonable time. Parts and service
 labor are included.                                                          I HOW TO OBTAIN SERVICE
  lf this product needs service, take  it, or package  it carefully and mail  it, to the nearest Rollei of America, Inc.             I
 Service Center listed.
  In your package t/ou must include a bill of sale or other dated prool of original purchase and a note describing
 the problem. To help us locate the problem, please also include all accessory items, such as cords, chargers or
 batteries, related to the product and any sample pictures you may have that show the problem.
 Completing and mailing the owner's registration card is not necessary to obtain warranty coverage.
 LIMITATIONS
 This warranty shall not apply  if  it is shown by Rollei that the defect or malfunction was caused by damage
 resulting from operation of the product contrary to the instructions contained  in the owner's manual, or any
 misuse or abuse of the product by a consumer or if the product shows evidence of battery or chemical corrosion.
 Also, this warranty does not cover any def ect which has occurred as a result of any modif ication made by anyone
 other than Rollei.
 Excluded from this warranty are fuses, lamps, non-chargeable batteries, and similar disposable items.
 Rollei's sole responsibility shall be lo repair or replace this product within the terms stated above. ROLLEI
 SHALL NOT BE LIABLE FOR ANY CONSEQUENTIAL DAMAGES RESULTING FROM ANY BREACH OF ANY
 WARRANTY, EXPRESS OR IMPLIED, APPLICABLE TO THIS PRODUCT. Since some states do not allow the
 exclusion or limitation of consequential damages, this limitation may not apply to you.
 This warranty gives you specilic legal rights, and you may also have other rights which vary from state to state.
1 8
View original page 20
Page 21 · Read text
ROLLEISERVICEAND REPAIR
In caseyour equipmentshouldeverneed repair,you shouldsendthe cameraorflashtooneof
the RolleiServiceCenterslisted below. Pleaseincludea letterdescribingthe problemin detail,
and if possible,a samplepicture or slide.
lf your equipmentis stillunderwarranty(seepage18),be sureto enclosethe statementor other
proof of sale showing the purchase date.
Packyour equipmentsecurely in a sturdy carton large enough for a least3 inchesof resilient
material on all sides for shock protection. Insure the package sufficientlyto cover loss or
damagein transit.We recommendthe use of United ParcelService(UPS).
On repairssent to Rollei after the one-yearwarranty period, you will be providedwith a free
quotation before repair work is started.
Rolleicannot assume responsibilityfor film left in cameras.Unlessit servesto demonstratea
particularproblem,pleasebe sure to removeit f rom your camera.Any cameracontainingfilm
should be conspicuouslymarked.
           Qollel of America, Inc. Service Centers
     RolleiService                RolleiService              RolleiService
    1140 E. FranklinAve.       201 E. Main St.           5501 So. Broadway
     El Segundo, CA 90245         Little Falls,NJ 07424         Littleton,CO 80121
AS PROOF OF PURCHASE,BE SURE TO RETAIN YOUR STATEMENTSHOWING ITEM
PURCHASEDAND THE PURCHASEDATE.
                              www.orphancameras.com                       1 9                           I
View original page 21Related documents and language editions
From the M. Butkus archive. Original publisher and archive notices are retained.
Check the model and edition against your equipment.
PDF verified 2026-10-10.