Film cameras
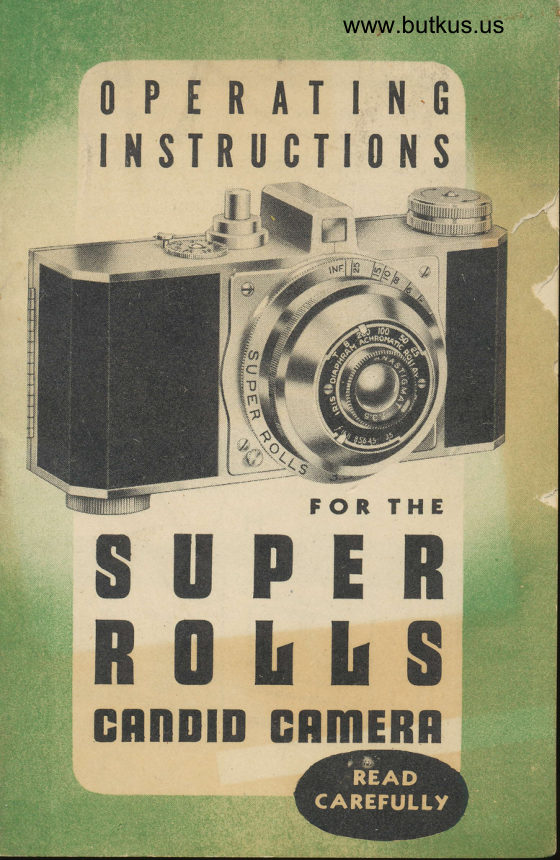
Rolls User manual
User manual for Rolls. 9 pages in English. Read the original PDF, download or print a copy without registration.
9 pagesEnglish1.3 MB PDF
Loading your manual…Open PDF directly
Document details
- Brand
- Rolls
- Model / document
- Rolls
- Document type
- User manual
- Language
- English
- Pages
- 9
- File size
- 1.3 MB
- Category
- Film cameras
- Document date
- Not specified in catalog
Search available document text
Find a term, then jump to its page in the original PDF. Image-only pages may not be searchable; check the PDF for exact wording and diagrams.
Page 2 · Read text
HOW TO USE YOUB
 n0LlS
    CAMENA
For Tcrking Better Pictures


     cAMERA MFG. co.[of$
View original page 2Page 3 · Read text
PROPER METHOD OF LOADING
     YOUR ROLLS CAMERA

    Camercr must be loqded in the shqde'
  Never let bright light hit the lilm roll, either
  before or qfter sncpping your pictures'
"   Hold the bock ol the cqmerq towcrd you'
  Push down the lock button on the end, crnd
  pull off the back.
   Make sure the empty spool is in the lelt
 hand compcrtment, with  its notched end
  ploced in the winding knob. There is only
  one wcty this sPool lits.
    Place the lilm in the right hcrnd compcrt'
  ment. Breqk the secrl on the roll. Now, slowly
  pull the red poper towcrrd the empty spool'
  Insert tcpered end of the pcper in the wide
   slot in the spool. Fold it over. Turn the wind-
  ing knob q few turns to the right, so the pctper
  stqrts to roll onto the empty spool.
    Replcce the bqck in its proper position on
  the cqmerq, cnd gently sncrp it in plcce. Be
  sure it fits snuglY.
                            www.butkus.us
View original page 3Page 4 · Read text
HOW TO WIND THE FILM
     As you turn the winding knob, closely
     watch the red windows. In these openings
     you will see thqt your lilm is in proper posi'
      tion. Turn the winding knob slowly until the
      figure I cppecrs in the center of the lower
t     red window mqrked (1). The cqmerc is now
     recdy for use.


I       Top Recding 2 -)
        Lower Recding I '+


                                                                                        I'
      As soon os you have sncpped your picture,
      slowly turn the winding knob until the number
        I recppears in the window marked (2). You
     ore now recrdy to snap the second picture.
t          ' Then slowly turn the winding knob until
      the number 2' on the film qppeqrs in the red
     window mqrked (1). Then snop the picture,    *    " qnd slowly turn the film until number 2 on
      the lilm qppeqrs in the window mqrked (2).
View original page 4Page 5 · Read text
The same process is repected lor cdditional
shots. When number 8 cppecrs in the center
of (2) window you qre tcking your l6th pic-
ture, completing the roll.
 Now turn the winding knob until the roll
of film (including the red pqper protecting  it)
is entirely wound on the left-hcnd spool.
  In the shode caain open bcck of cqmerct
(sqme operction crs when locding), qnd re'
move the roll of film. Secl the roll  with,
gummed tcpe you will lind on the end of the
roll, so thot it cqnnot9r..fva    unwind.

  HOW TO TAKE PICTURES
  Keep the cqmerq firmly agcinst the fqce,
with the viewlinder close to the eye. Frqme
the subject you ore photogrcphing within the
viewlinder. The picture you see in the linder
is the picture thqt will qppear on your film.
Mqke sure the cclmercr is held level; not tipped
ot cny ongle.
  Best results qre hqdiwhen photogrcphing
children, dogs, etc., by holding the cctmercl
down level with the center of the subiect.
  In tcking pictures oI people or obiects, it
is advisqble to stqnd qs close to them cS,."
possible, cnd still 9et the desired imcAe you
wish to photogrcph within the lrqme of .your
viewlinder.             www.butkus.us
View original page 5
Page 6 · Read text
LIGHT CONDITIONS
    Take snopshots with your back to the sun,
  with the subject lully lighted. This insures
  cleqr, sharp pictures. If light shines into thb
  lens, your picture may be indistinct.
   Press down on the shutter releqse with
  steody, even pressure. Do not ierk the cqmerq
  in your eqgerness to snqp the picture. Do not
  ottempt to tqke pictures indoors without proper
 flood lights.
'f

       TIME EXPOSURES
   In taking time exposures, first move the
 exposure control from ,,fnst.,, to ,,Time.,, This
 lever is on the outer rim, lower right, of the
 nqme piate qs you look into the lens.
                           #  Do not hold the cqmerq in your hcnd when
 tcking time exposures. Rest it on q firm tcble
 or similqr support to prevent movement. After
 properly froming your subject in the view-
 finder, press the shutter releqse, keeping yout
finger on it for the time of exposure desired;
then remove your linger from the shutter
releqse.
   If you qre not toking qny more time ex-
posures, return lever to its origincl position
mqrked "Inst."
View original page 6Page 7 · Read text
EXTRA FILM COMPARTMENT
  Your genuine Rolls Cqmerq is provided
'with c specicl compcrtment for cr spcre lilm.
With this fecture you cqn hove a reserve roll
oI lilm hcndy ct oll times. When recdy to
use this extrq roll oI lilm, Iocd ond unlocd
the ccmerq in the sqme mqnner os the ori$-
ncl procedure.

 THTS IS YOUR. R.OLLS
        Study It Caretu[Iy


    @ Rollox lens
    @ Exposure lever
    @ Time exposure lever
    @ Viewwww.butkus.uslinder             fitm winding knob    @
View original page 7Page 8 · Read text
FITMS
         Your Rolls Ccmercr Uses Any Stcndard
            Vest Pocket Size Film ls/ax2Vz"
                        (4xGVz crn)

      Scnre lOc cr Boll by Always Buying
  KNOGEN FITM
         Size G27-13/s x2r/2" Only 20c
       Fcrstl Clecn! lmproved Superchrome
                    Type!

    Developing clnd Printing
              Your KroEer Roll Developed
                    :  cnd 16 Lcrio Prints
         40c Complete
      gilr"lHrilHlfr"ryiigf               Rffi
      Scnre With Complete Picture Service
                        by
    KROGER
        World's Lcngest Film Retailer

ffi
View original page 8Related documents and language editions
From the M. Butkus archive. Original publisher and archive notices are retained.
Check the model and edition against your equipment.
PDF verified 2026-10-10.