Sewing machines
Singer 221K Featherweight — User manual
User manual for Singer 221K Featherweight. 20 pages in English. Read the original PDF, download or print a copy without registration.
20 pagesEnglish1.1 MB PDF
Loading your manual…Open PDF directly
Document details
- Brand
- Singer
- Model / document
- Singer 221K Featherweight
- Document type
- User manual
- Language
- English
- Pages
- 20
- File size
- 1.1 MB
- Category
- Sewing machines
- Document date
- Not specified in catalog
Contents
- Cover1
- To Pack up The Outfit2
- Electric Connections2
- Singerkight3
- To Remove and Replace the Bulb3
- To operate the Machine4
- To Ensure Perfect Action of the Machine5
- To Remove the Bobbin Case and Bobbin5
- To Remove and Replace Bobbin Case Base6
- To Wind the Bobbin7
- To Thread the Bobbin Case8
- To Replace the Bobbin Case9
- To Set the Needle10
- Upper Threading11
- To Prepare for Sewing12
- To Commence Sewing12
- To Remove the Work13
- To Regulate the Tensions13
- To Regulate the Length of Stitch and Direction of Feed14
- Basting15
- To Change the Pressure on Material15
- To Turn a Corner15
- To Sew Flannel or Bias Seams15
- To Oil the Machine16
- To Lubricate the Motor19
- Hints20
Search available document text
Find a term, then jump to its page in the original PDF. Image-only pages may not be searchable; check the PDF for exact wording and diagrams.
Page 1 · Read text
? Porm K5710
: aa)

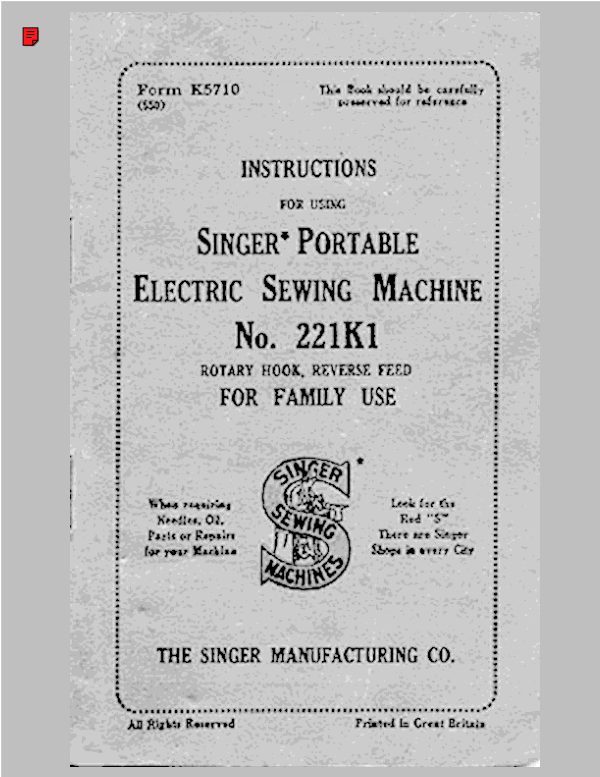
INSTRUCTIONS

SINGER* PORTABLE
: ELECTRIC SEWING MACHINE :
No. 221K1

ROTARY HOOK, REVERSE FEED

FOR FAMILY USE

Whos regsiring Leek foe ths

Readies, O2, Red “S :
Parts or Repaire Thare see Seger :
for your Machlan ! RRR) Sbeee every Cay E
View original page 1
Page 2 · Read text
To Pack up the outfit

Fig. 1 Carrying Case

When placing the machine in its case, have the balance wheel
at the right hand side of case and see that the base of the
machine is at the right of the cleat at the bottom of the case
Electrical Connections

Unwind the long electric cord supplied with the machine. Push
the socket plug at one end of the electric cord as far as it will
go to the three-pin terminal block at the right of the machine,
as shown in Fig. 8. Attach the plug at the other end of the cord
to the nearest electric point. Place the foot controller in a
convenient position on the floor and the machine is ready for
operation.
View original page 2
Related documents and language editions

SingerPDF
Adjuster's for the Singer Model 20
Service manual
19 pages · EnglishRead →

SingerPDF
Singer 101-4 & 101-12
User manual
56 pages · EnglishRead →

SingerPDF
Singer 101-4 & 101-12 (black and white scan)
User manual
54 pages · EnglishRead →

SingerPDF
Singer 115
User manual
36 pages · EnglishRead →

SingerPDF
Singer 127 & 128
User manual
18 pages · EnglishRead →

SingerPDF
Singer 12K
User manual
12 pages · EnglishRead →

SingerPDF
Singer 15
User manual
36 pages · EnglishRead →

SingerPDF
Singer 15-125
User manual
38 pages · EnglishRead →

SingerPDF
Singer 15-22
User manual
13 pages · EnglishRead →

SingerPDF
Singer 15-30 / 15-87 & Generic 15 Class (rotated for printing)
User manual
14 pages · EnglishRead →

SingerPDF
Singer 15-30 / 15-87 & generic 15 class machines
User manual
14 pages · EnglishRead →

SingerPDF
Singer 15-86
User manual
24 pages · EnglishRead →
From the ISMACS International. Original publisher and archive notices are retained.
Check the model and edition against your equipment.
PDF verified 2026-10-11.