Toy sewing machines
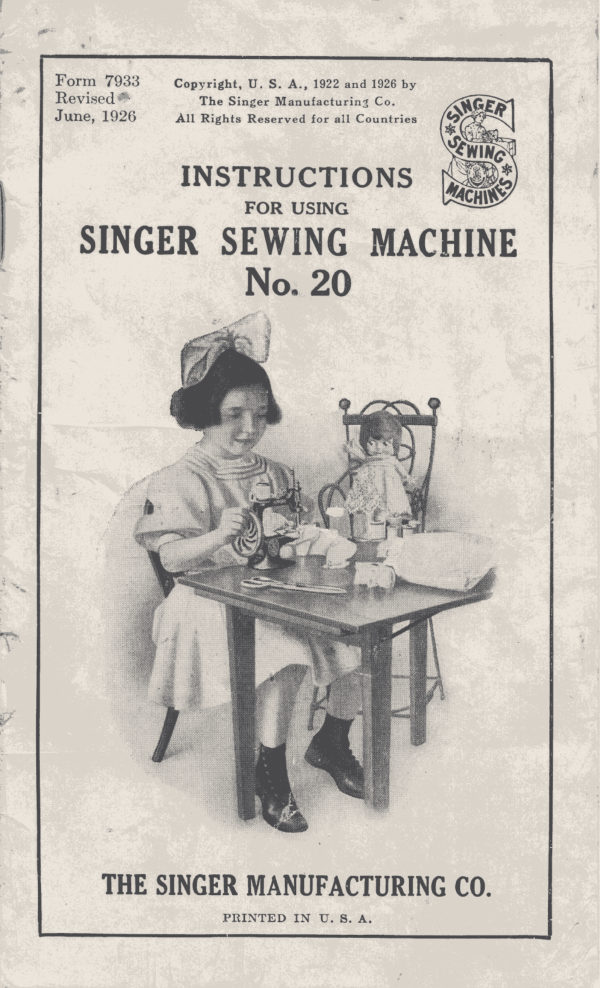
Singer Model 20 (1926 revision) — User manual
User manual for Singer Model 20 (1926 revision). 8 pages in English. Read the original PDF, download or print a copy without registration.
8 pagesEnglish6.3 MB PDF
Loading your manual…Open PDF directly
Document details
- Brand
- Singer
- Model / document
- Singer Model 20 (1926 revision)
- Document type
- User manual
- Language
- English
- Pages
- 8
- File size
- 6.3 MB
- Category
- Toy sewing machines
- Document date
- Revised 1926
Search available document text
Find a term, then jump to its page in the original PDF. Image-only pages may not be searchable; check the PDF for exact wording and diagrams.
Page 3 · Read text
3
       To Fasten Machine to Table
              or other Furniture
  Place the machine on the table or desk as shown
in Fig. 2, adjust the clamp  (I, Fig.  2) on the base
of the machine and firmly tighten the clamp screw
 (J,  Fig.  2) against the underside of the table  or
desk  to fasten the machine  in  position.   Then
tightly screw the driving handle (H, Fig. 2) into its
position at the right of the hand wheel (G, Fig. 2).
            Needles and Thread
  Needles for Machine No. 20 are of Class and
Variety 24 x 1 and four of these needles of size 14
are furnished with each machine.   Finer or coarsers
needles, as shown below, can be purchased from any
Singer shop or Singer salesman.
     Relative Sizes of Needles and Thread
                                     SIZES
       CLASSES  OF WORK           or    COTTON   SILK
                             NEEDLES

                                                                                                                                                                                 ,   Very fine  silks, chiffons,            9       200r    000
     lawns, batiste,  etc.              3    $8   888
   Fine silk goods, lawns, linens,        11       100   000
     cambrics, muslins, etc.                                  .      1 1       90   000
   Shirting, sheetings, muslins,         14       80   00
     dressmaking, etc.                                      14       60    A
   Light woolen goods, flanneis,        16       00    B
     heavy silk, etc.                   16                             ,  30    D

  .The size of the needle to be used should be deter-
mined by the Size of the thread which must pass free—
ly through the eye of the needle  to  ensure  the
successful use of the machine.
           To Set the Needle
  Turn the hand wheel (G, Fig. 2) over from you
until the needle bar (T, Fig.  2) moves up  to  its
hlghest  point.   Loosen the set screw (Q, Fig. 2)
in the lower end of the needle bar, take out the old
needle and put the new needle up into the bar as
far as it will go with its flat side toward the right
and the long groove in the needle at the left, then
firmly tighten the set screw (Q).


                                                                                                                                                                                                                             ”x
View original page 3Page 4 · Read text
4
         To Thread the Needle
                       (SEE FIG. 3)
  Turn the hand Wheel  (G, Fig.  2, page 2) over
from you until the needle bar (T,  Fig. 2) moves

                      «ISPOOL              a


              FIG.  3.  THREADING‘ THE NEEDLE

up to its highest point.  Place the spool of thread
on the spool pin, pass the thread from the Spool
toward you through the two holes  (1 and 2)  in
the thread pull-off, to the left and down through            umthe hole  (3) in the nipper lever.  Draw the thread
to the left under the end of the nipper lever and pass
it over between the tension discs  (4), up through
the hole  (5)  in the machine,  from right to left
through the hole (6) near the upper end of the needle
bar, down and from left to right through the eye
of the needle.  Draw about two inches of thread
through the eye of the needle With Which to com-
mence sewing.
View original page 4Page 5 · Read text
5
         To Commence Sewing
  Raise the presser foot (N, Fig. 2, page  2) by
turning up the presser bar lifter (R, Fig. 2).  Place
the material beneath the presser foot and lower the
presser foot.  Lay the forefinger of the left hand
gently on the end of the thread and turn the hand
wheel (G, Fig. 2) over from you in the direction in—
dicated by the two arrows on the hand wheel at the
right until the first stitch is made.  Then place the
end of the thread back under the presser foot and
commence to sew.
          To Remove the Work
  Sew two stitches past the end of the seam and
stop the machine with-the needle bar (T, Fig. 2)

                                                             $:


       FIG.  4.  DRAWING THE THREAD THROUGH THE
                              '              NEEDLE BAR
at its highest point, then with the left hand draw
a finger length of thread to the left through the hole
near the upper end of the needle bar as shown in
Fig. 4.  With the right hand, using a pair of scis-
View original page 5Page 6 · Read text
6
sors, draw the slack thread to the right through
the eye of the needle as shown in Fig. 5, then pull                                       .                                                                     ‘


   FIG. 5.  DRAWING THE THREAD THROUGH THE NEEDLE
the thread upward from the work, the presser foot
being down, and cut the thread close to the goods
as shown in Fig.  6.  Raise the presser foot, pull


    FIG. 6.  CUTTING THE THREAD CLOSE To. THE Goons
the work from you and the end of the. thread will
be drawn through the loop as shown m Fig.  7.


                                                                                                                             5,353.                                                   a m    ”     ’ W w   7/72   7/2}                                                                     l  ;",.                   1/44”J._.| J.‘  |_|./
      1»M                     $-wl         c.»
   Fm. 7.  S'rrrcnme FASTENED AT THE END or A Sun
View original page 6Page 7 · Read text
To Fasten Off the Stitching in the Work
  When it is necessary to fasten off the last stitch
in the work, stop the machine with the needle in
the work, place the fingers on the material close
to the presser foot to prevent the work from mov-
ing, raise the presser foot and take one more stitch
in the last hole made and stop the machine with
needle bar at its highest point, then with the left
hand draw a finger length of thread to "the  left
through the hole near the upper end of the needle
bar as shown in Fig.  4, page  5.  With the right                                     .
hand, using a pair of scissors, draw the slack thread
to the right through the eye of the needle as shown
in Fig.  5, then pull the thread upward from the
work and cut the thread  close to the goods as
shown in Fig. 6.  Pull the work from you and the
end of the thread will be drawn through the loop
as shown in Fig. 8.

                                                             / /5    4 <7} fiW/f/ix\

       FIG. 8.  STITCHING FASTENED OFF IN THE WORK


     To Change the Length of Stitch
 The length of stitch  is regulated by the lever
(K, Fig. 2, page 2) under the cloth plate. To make
a longer stitch, move  this lever away from you.
To make a shorter stitch, move the lever toward
you.
View original page 7Page 8 · Read text
8                                             r:


                                                                                                                   (“a
   To Regulate the Tension on the Thread
   The tension on the thread is automatic and sel-
 dom requires changing.  When the needle is at its
- highest point, the nipper lever (D, Fig. 2, page 2)
  is raised and the tension on the thread is released
  so as to allow the needle bar to draw off sufficient
  thread for the next stitch.  The tension is regulated
 by the thumb nut (C, Fig. 2) at the front of the
  tension discs.  To increase the tension, turn this
 thumb nut over to the right.  To decrease the ten-
  sion, turn the thumb nut over to the left.
          To Use the Cloth rGuide
   To ensure accurate guiding of the work when
 sewing close to the edge of the goods, the cloth
 guide (P, Fig.  2, page 2) should be used.  Fasten
 the cloth guide to the cloth plate of the machine
 by means of the clamping thumb screw (0, Fig. 2),
  inserting the thumb screw into the screw hole in the
  cloth plate.  The cloth guide can be adjusted to


                                                                                                                                                                                                                        ‘.\ bring the edge of the goods as close to the line of
                                                                                                                                                                                                                                                                                                                                                                                                                                                                                                                                       ~_-...,_‘ stitching as desired.   If  desired, the cloth guide
 can be removed from the machine.
           To Oil the Machine                     “6
   The machine should be oiled occasionally with
 the sewing machine oil eSpecially prepared by the
 Singer Sewing Machine Company.  This oil can be
 purchased from any Singer shop or Singer sales-
 man.  Apply one drop of oil at each of the places
 where a part of the machine moves against another
  part.
View original page 8Related documents and language editions

SingerPDF
Adjuster's for the Singer Model 20
Service manual
19 pages · EnglishRead →

SingerPDF
Singer 101-4 & 101-12
User manual
56 pages · EnglishRead →

SingerPDF
Singer 101-4 & 101-12 (black and white scan)
User manual
54 pages · EnglishRead →

SingerPDF
Singer 115
User manual
36 pages · EnglishRead →

SingerPDF
Singer 127 & 128
User manual
18 pages · EnglishRead →

SingerPDF
Singer 12K
User manual
12 pages · EnglishRead →

SingerPDF
Singer 15
User manual
36 pages · EnglishRead →

SingerPDF
Singer 15-125
User manual
38 pages · EnglishRead →

SingerPDF
Singer 15-22
User manual
13 pages · EnglishRead →

SingerPDF
Singer 15-30 / 15-87 & Generic 15 Class (rotated for printing)
User manual
14 pages · EnglishRead →

SingerPDF
Singer 15-30 / 15-87 & generic 15 class machines
User manual
14 pages · EnglishRead →

SingerPDF
Singer 15-86
User manual
24 pages · EnglishRead →
From the ISMACS International. Original publisher and archive notices are retained.
Check the model and edition against your equipment.
PDF verified 2026-10-11.