Film cameras
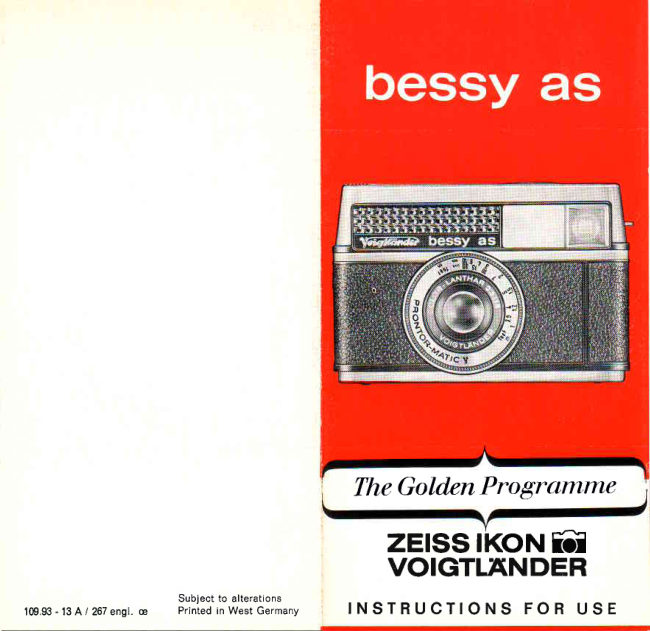
Voigtlander bessy as User manual
User manual for Voigtlander bessy as. 5 pages in German. Read the original PDF, download or print a copy without registration.
5 pagesGerman0.6 MB PDF
Loading your manual…Open PDF directly
Document details
- Brand
- Voigtländer
- Model / document
- Voigtlander bessy as
- Document type
- User manual
- Language
- German
- Pages
- 5
- File size
- 0.6 MB
- Category
- Film cameras
- Document date
- Not specified in catalog
Search available document text
Find a term, then jump to its page in the original PDF. Image-only pages may not be searchable; check the PDF for exact wording and diagrams.
Page 1 · Read text
The Golden Programme
                   zErssrKON tol
                    VOIGTLANDER

                             Subject to alterations
10993 - 13 A / 267engl. e       Printed in West Germany          I N S T R U C T I O N SF O R U S E
View original page 1Page 4 · Read text
For instant loading of film . . .                 Photographyis so simple
                                                      with the bessy as
                                                       Distance
Open camera                                        There are twoways of setting the subject distance:
back                                                       turn the ring (1) so as to bring the appropriate feet
Press up lock (11),                                          or meter value opposite the setting mark A  or
and open back.                                           position the appropriate distance symbol into the
                                                       centre of the vertical field in the viewfinder.
                                                             6     ( 4ft.)  -  portrait
                                                          im   ft 1 ft.)  :  group
                                                                      iA  (ss ft.)  :  tandscapeInsert Kodapak               -l
cartridge
Then close camera
back until it locks                       Isecurely. This      aoperation auto-
matically sets
the correct film
speed (DlN or
ASA).Turn film       t_ sT-"
advance wheel                                           Bright-frame viewfinder
until it stops                                     The bright-line frame in the viewfinder (8) clearly
                  " 1 "                                          indicates what you  will get on the  picture. AtT h e n u m b e r
now appears                                           close shooting distances, the parallax is automati-
in the indicator                                              cally corrected.
window and you                                     Making the exposurecan make the                                               You need not worry about the setting of the lensfirst exposure.                                                         aperture -  the built-in exposure meter takes careAfter each                                                                of that quite automatically.exposure, rotate
the film advance                                  The presence of this exposure automation is to be
wheel until it                                      seen in the colour indicator at the right side of the
stops.                                                  viewfinder (see illustrationabove). lf this indicator
                                              shows only GREEN, or  predominantly GREEN,
When the last picture has been taken . . .                 depress the shutter release (6), and your exposure
turn  film  advance wheel  (9)  until  the  yellow           is made. The shutter speed is 1/125th second.
paper trailer on the film has completely passed                    l m p o r t a n t !            l f   t h e   i n d i c a t o r s h o w s p r e d o m i -
by the indicator window (12). Then open camera         nantly RED, or only RED, your lighting conditions
back and remove film cartridge.                          are no longer adequate for satisfactory exposures.
View original page 4Page 5 · Read text
Flash Photography                                  been removed by a slight pull. Please replace the     "bessyThe            as" has the big advantage, that you          flash guard before firing the flash.
 can photograph with individual flash bulbs (AG-1/        Dispose of the used flash bulb by pressing the
AG-3 B) as well as with flash cubes. The flash         button on the base of the reflector to the side. the
 unit  is of the battery-capacitor type. The current         flash guard being first removed again.
 is supplied by a 15 volt flash battery, which  is
 inserted  in the base of the camera as follows:
 press sideways on the base-plate in the direction     @ Shooting with flash cubes
 of the arrow marking (13), and  lift up the base-           All flash cubes will fit the push-onsocket (4). After
 plate on the opposite side. The battery must be         exposing and releasing the shutter release (6), the
 positioned so that its plus-pole engages against         flash cube automaticallyrotates so as to bring the
the spring grip.                                          next lamp into the firing position.
                                          When all four lamps have been fired, pull the cube
                                                     from the socket and insert a new one.


@ Shooting with single flash bulbs
By pressing the flash symbol on the reflector (3),
the latter swings out. This automaticallyresets the
shutter to 1/30 th second, and the automatic aper-
ture control for flash also comes into operation.
This means that the correct aperture is set quite
automatically for  each shooting distance. For
bounce flash (against a ceiling of normal height
or a highly reflective wall) the reflector can be
swung out sideways by a further 90 degrees.

                                                   Please Note: In order to set the shutter to 1/30th
                                                 second and to  bring the   f lash automation into
                                                            operation, it is necessary to swing out the reflec-
                                                                   tor (3) into the direct flash position (see illustra-
                                                                      tion), even when flash cubes are used.
                                             Do not attempt to use the two flash forms simul-
                                                          taneously. You must choose between one or the
                                                           other -   either single flash bulbs of the type AG-l
                                                               or AG-3 B, or flash cubes.
                         www.orphancameras.com
The flash bulb is pushed into  its socket in the
reflector, the rounded flash guard having  f irst
View original page 5Related documents and language editions
From the M. Butkus archive. Original publisher and archive notices are retained.
Check the model and edition against your equipment.
PDF verified 2026-10-10.