Film cameras
Voigtlander Vitoret L User manual
User manual for Voigtlander Vitoret L. 8 pages in English. Read the original PDF, download or print a copy without registration.
8 pagesEnglish3.1 MB PDF
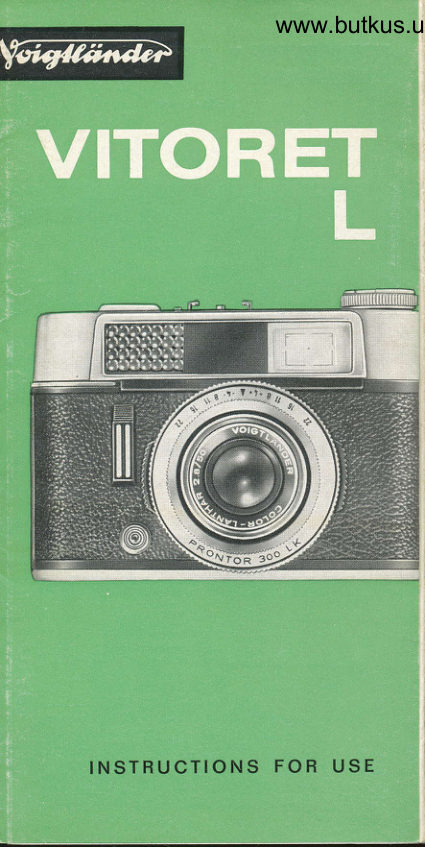
Loading your manual…Open PDF directly
Document details
- Brand
- Voigtländer
- Model / document
- Voigtlander Vitoret L
- Document type
- User manual
- Language
- English
- Pages
- 8
- File size
- 3.1 MB
- Category
- Film cameras
- Document date
- Not specified in catalog
Search available document text
Find a term, then jump to its page in the original PDF. Image-only pages may not be searchable; check the PDF for exact wording and diagrams.
Page 4 · Read text
www.butkus.us
 Lightmeter setting                                      Distance setting
@ Preselect shutterspeed   Turn shutterspeed       On the distance scale, between the numbers, there
 ring (7) and set selected speed above white         are three red symbols for rapid focusing:
 marking. Thc speeds of 1/no, 1/'rzs, 1/to, and 1/:o wi  llbe properly released in the shutter mechanism        O (+'/, feet) = Portraitswhen pressing the release button.                V (11 feet) :  Group
When setting for "8" the shutter will stay open as        C (33 feet and above) = landscapes.
long as the release button is kept depressed. For          Either the feetscale or the snapshot symbols canthis purpose the camera has to be mounted on a        be used for focusing (1).tripod and a cable release has to be used (15).
@ Adjusting the aperture    View subject thru f inder and turn aperture-ring-  by using the two
black handles until the green pointer covers the
lightmeter pointer in the viewfinder (see drawing
below).
Now the correct aperture has been auiomatically
set according to the preselected shutter speed.            f--l

                                           Not
                                                aligned            l_'l

                                              The Crystal-Frame Finder
                                                        frames clearly the complete picture and shows the
                                                           subject in life-size.
                                       On short subject distance the two small
                                                                            lines within the finder indicatethe limitations  ffil::r                                      of the picture area    between 3 and 7 feet
                                                                                                      -  vertically.lf the green pointer cannot beIcovered with the                either horizontally or
lightmeter pointer within the aperture field (22 . .   .
2.8) it is not possible to take a photograph with
the selected shutter speed under the respective       The Rapid-Windlight conditions. Another shutter-speed  will have to
be selected. Sometimes the green pointer may       Always turn one full swing thus cockinq the
disappear altogether indicating that the existing          shutter, transporting the film, and advancing the
light conditions are unfavorable for picture taking.        frame counter. There is always a double exposure
                                                         prevention in connection with the shutter release.Normally, lining up of the two pointers is done in
the finder. Viewing the control window from above
would only be of advantage for determininq the
depth of field after setting the correct aperture.       The Shutter Release
The lining up of the two pointers should, however,
always be checked by viewing thru the finder just         Press quickly, but smoothly, never jerk the release
before taking a picture for possible correction.         This may otherwise result in blurred pictures.
View original page 4Page 5 · Read text
Aperture and Depth of Field
The depth of field is that zone of the overall
picture which is suffieciently and sharply rendered
in front, as well as behind the focused distance.
 It is read off from the distance in feet opposite the
selected aperture value on the depth of field scale
(2) to the distance setting opposite the same
aperture value on the other side of the A mark.


Flash Shots
The camera is X-synchronized. The flashgun is
connected with the camera by the flash-post (16).
When using bulbs, shutter-speed  will be 1/ro. With
an electronic flash unitall shutter-speeds up to r/soo
can be used.
The Guide number of the respective flashbulbs
or flash unit has to be used for determining the
correct aperture when taking flash pictures. This
can be done by either using the dial on the back
of the flash unit or by dividing the distance into
the guide number.
Example:
   Distance              in feet             19               = go: 10 : g aperture.                     80   Guide number


Small accessories you will find useful
o  lf you should find  it difficult to judge the subiect
distance, the Voigtliinder rangefinder will make it
easier. lt slips right into the accessory-shoe and
will relieve you of this trouble.
o Voigtliinder  filters for black and white or color
films are available in various colors and densities.
c For close-up shots there are two focar-lenses
available. The PROXIRECT will help you with
close-up focusing.
r The lenshood not only keeps out stray-light,
whichwill spoil the picture sharpness and contrast,
but is also useful for protecting the lens from rain
and snow during "bad weather" shots.
View original page 5
Page 7 · Read text
Loading the camera
. Press spring catch (5), open camera back and
pull rewind knob all the way out (6). See No.   I
r Attach film to the take-up spool (19) with one
hole of the perforations. Pull the film across the
film channel, drop film casette into place, and push
the rewind knob all the way down. See No.  ll
I Press down button (13) and turn take-up spool
 lt the milled edge until both sides of the perfora-
 lion are engaged on the sprocket of the transport
$pindel (20). Now close camera back. See No.  lll
o Turn film counter (17) until the diamond mark 0
sn th,e 36 exposure, respectively the O on the
110 exposure, appears opposite the red dot. Now
operale rapid wind (12) and release (!)  alter-
nitively until the counter is set to either 36 or 20.
Nowth-e counterwill automatically showthe number
of frames left each time the film is advanced.

Film Adance control
Once the film has been properlyloaded,the rewind
knob should turn anti-clockwise With every film
advance stroke. The turning of the rewind knobwill
start after about 3 to 6 frames depending on the
film tension in the cartridge.

Unloading the camera
Press down button (13) and hold in that position.
Swing out crank and return film (6) until the I mark,
respectively O mark appears once again in the
counter window. Release button, open camera
back, pull rewind know all the way out, and remove
cartridge.

Changing partly exposed film
Make a note of the last frame taken, then remove
and reinsert the partly exposed film just as de-
scribed above. Then press down shutter release,
 let go, press again and keep depressed. Now wind
the-film thru the camera until the counter shows
that frame number last exposed. Let go shutter
release and advance one frame. Now the rest of
the film can be exposed in the usual fashion.
View original page 7
Page 8 · Read text
l')
                    www.butkus.uiJjl'1Guarantee
                                                                                                                                                                                                                                                                                                                                                  'r"tt
ln common with all other Voigtliinder products, a                              ;l
guarantee certificate is enclosed with this camera.                  1
                                                                                                                                                             riPlease check that your dealer duly fills in and
stamps this certificate. Only then will you be sure
that if the camera needs attention within the
duration of the guarantee   as shown on thecertificate    that this will be- given free of chargeby one of -our appointed service agents or by the
factory itself.
Keep the guarantee  certif icate even after the
expiry date.-ln case of loss you will need to refer
to the camera and lens numbers registered on
the certificate.
View original page 8Related documents and language editions
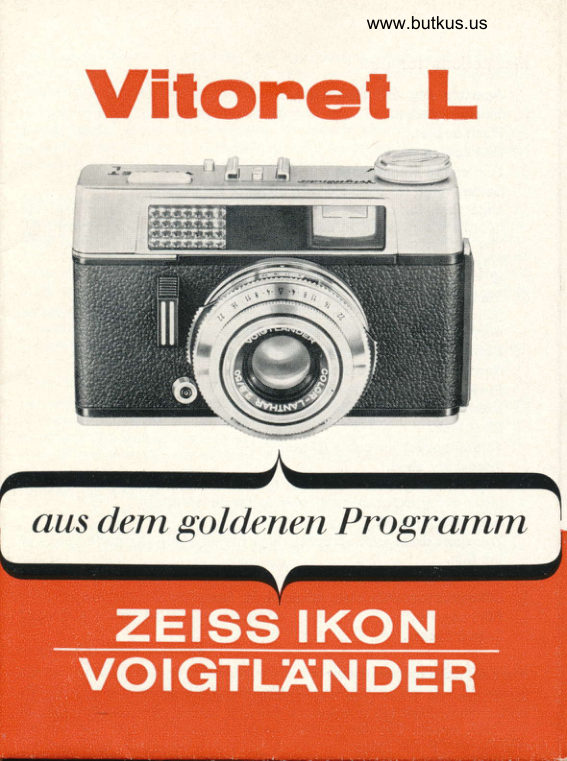
From the M. Butkus archive. Original publisher and archive notices are retained.
Check the model and edition against your equipment.
PDF verified 2026-10-10.