Light meters
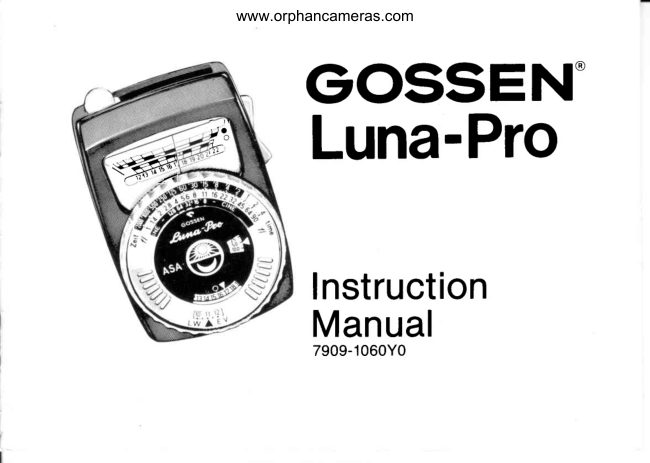
Gossen Luna-Pro enlarger text User manual
User manual for Gossen Luna-Pro enlarger text. 2 pages in English. Read the original PDF, download or print a copy without registration.
2 pagesEnglish0.2 MB PDF
Loading your manual…Open PDF directly
Document details
- Brand
- Gossen
- Model / document
- Gossen Luna-Pro enlarger text
- Document type
- User manual
- Language
- English
- Pages
- 2
- File size
- 0.2 MB
- Category
- Light meters
- Document date
- Not specified in catalog
Search available document text
Find a term, then jump to its page in the original PDF. Image-only pages may not be searchable; check the PDF for exact wording and diagrams.
Page 1 · Read text
Gossen Light meter enlarger attachment.

How to operate the attachment

Focus the negative critically on the enlarging easel and determine the desired
composition. Place the Luna-Pro with the Attachment flat on the easel so that
the square measuring window is within the most important section of the
projected negative; the surrounding area [white area around the measuring
window] will facilitate this considerably.

Shift the measuring window to one of the darkest areas still showing adequate
detail if the projected image, i.e. an area which is to be light with still
distinguishable details in the positive. In other words - you expose for the
high lights.

Film speeds, diaphragm stops, shutter speeds and EV values as normally set or
read on the Luna-Pro are meaningless when elnarging. You are now working only
with the needle deflection on one of the upper linear scales. The needle
reading will serve for the determination of the Calibration Value which leads
to correct exposure. This value is established as follows:

Adjuct the enlarging lens to your ususal "working f-stop". Place the Luna-Pro
with the Enlarging Attachment window under the decisive area (as indicated
above). Now read the needle deflection of the Luna-Pro. If - as sometimes is
the case - the needle does not come to rest on a scale line, open or close the
enlarging lens [diaphragm] slightly until the needle is exactly on a scale
line (for example: 15). This slight adjustment will make all subsequent
operations more convenient and reliable.

Remove the meter from the easel and make a test print (step exposure) in the
accustomed manner; develope normally and select the best exposed strip. The
exposure of this strip (for example: 20 seconds) becomes the calibration value
for the combination of needle deflection, grade of paper and time of
development - in this case 20 seconds for needle deflection 15.

For correct exposure of any other enlargements, using the same grade of paper,
simply adjust the enlarger lens opening to obtain the needle deflection 15.
For future reference, note the calibration "20 sec - meter 15" on the box of
enlarging paper.

Naturally, other papers, or papers of other contrast grade, have a different
sensitivity and require different exposure. When relative exposure information
is not available from the paper manufacturer, you simply stablish the vatious
calibrations yourself.
View original page 1
Page 2 · Read text
Scale adjustment
Occasionally, the enlarging lens may not be opened wide enough or closed down
enough to reach the standard needle deflection. In that case, you simply
settle on a different needle deflection and adjust the exposure time
correspondingly, keeping in mind that each step UP on the scale halves the
calibration value, each step DOWN doubles it. For the "20 sec - meter 15"
calibration given as an example here the corrections would be:

Scale (needle): 13 14 15 16 17
Exposure: 80 40 20 10 5 seconds
View original page 2
Related documents and language editions
GossenPDF
Gossen Luna Pro Electronic
User manual
33 pages · EnglishRead →
GossenPDF
Gossen Luna-Pro
User manual
33 pages · EnglishRead →
GossenPDF
Gossen Luna-Pro microscope attachment
User manual
9 pages · EnglishRead →
GossenPDF
SUPPLEMENTAL Gossen Luna Pro
User manual
13 pages · EnglishRead →
GossenPDF
Gossen Luna-Pro enlarger attachement
User manual
16 pages · Not specifiedRead →
GossenPDF
Gossen Variable Angle Attachment
User manual
6 pages · Not specifiedRead →
From the M. Butkus archive. Original publisher and archive notices are retained.
Check the model and edition against your equipment.
PDF verified 2026-10-10.