Sewing machine accessories
Greist Automatic Decorator Zig-Zag Attachment — User manual
User manual for Greist Automatic Decorator Zig-Zag Attachment. 44 pages in English. Read the original PDF, download or print a copy without registration.
44 pagesEnglish15.6 MB PDF

Loading your manual…Open PDF directly
Document details
- Brand
- Greist
- Model / document
- Greist Automatic Decorator Zig-Zag Attachment
- Document type
- User manual
- Language
- English
- Pages
- 44
- File size
- 15.6 MB
- Category
- Sewing machine accessories
- Document date
- Not specified in catalog
Search available document text
Find a term, then jump to its page in the original PDF. Image-only pages may not be searchable; check the PDF for exact wording and diagrams.
Page 3 · Read text
The Automatic Decorator

As the owner and user of the new Automatic Decorator, you are to be
congratulated. You have an attachment which has assembled beneath its
cover the results of 88 years of sewing machine attachment invention, devel-
opment, refinement, and success. It is sturdy, attractive, and efficient. With
only a bit of care, it will give you years of satisfactory service.

Although this new Automatic Decorator was designed primarily to produce
a variety of decorative stitches, it also can be used for practical finishes.
By making certain adjustments, the stitches may be changed from simple
zigzag ones to more intricate stitch patterns. And the amazing thing is that
this conversion can take place without removing or interchanging any of
the parts.

The possibilities for creating new and pretty trimmings are unlimited. It
requires just a little practice and imagination. A few ideas for using each
of the stitch patterns are given in this booklet. But do experiment, so that
such items as your household linens, children's clothes, blouses, skirts,
jackets, aprons, and scarves can be given a distinctive and original touch.

Be sure your machine is clean and in good working order-see page 23.                                                         3
View original page 3
Page 4 · Read text
Parts and Their Functions
Before using the Automatic Decorator, be sure to
read the instructions in this booklet carefully. Become
familiar with the various parts. Know the function of
each lever, handle, knob, and opening.
   A. LOCKING HANDLE- controls locking mecha-
   nism. In locked position, it allows selected stitch
   pattern to be made. In unlocked position, it allows
   the stitch pattern to be changed. It must always
  be in unlocked position when shifting the selector
  handle (L).
   B. STITCH WIDTH ADJUSTING KNOB-controls
   width or the sidewise travel of the decorative
   stitch. Knob is loosened so that it can be moved
   forward or backward as desired. After adjustment
  has been made, it should be tightened securely.
   C. NUMBERS (1-4) ON LEFT SIDE OF DECORATOR
    —used as guide in setting width of stitch pattern.
  Number 1 indicates the narrowest stitch; number
   4, the widest.
   D. FORK ARM-straddles needle clamp hub to pro-
   vide motion of attachment.
View original page 4Page 5 · Read text
E. TIMING-SCREW-loosen when making timing
adjustment.
F. POINTER-to indicate position of the fork arm
when timing.
G. SETTING KNOB-controls starting point of each                G
stitch pattern and position of foot.
H. SIGHT HOLE-opening in cover which is used                                      H
when starting the stitch pattern.
I. SELECTOR HANDLE-selects the stitch patterns
#1-#8.
J. NUMBERS— (1-8)—on right side of Decorator
 indicate different stitch patterns and correspond to
 designs shown on cover.
K. LEVER-regulates type of stitching; in "D" po-                          D FE
sition, decorative stitching in "S" position, regular
stitching.
L. CLAMPING SCREW-fastens Automatic Decora-                                                          Automatic Deat                                          ww tor to the presser bar of the sewing machine.
M. ADAPTOR-fits the Automatic Decorator to the
 presser bar of the sewing machine.           N  K
 N. FOOT-moves material from side to side.
                                                            5
View original page 5Page 6 · Read text
Attaching the Automatic Decorator

               With presser bar up and the needle at its high-
                 est point, remove presser foot and thumb screw
               from machine. Keep presser bar and needle in
D             these positions when putting Decorator on
                machine.

               Hold Decorator in back of machine. Guide into
                 position so that adaptor (M) fits around presser
              bar and fork arm (D), which is up as far as
                              it will go, straddles needle clamp hub.

               Securely fasten the adaptor (M) to the presser
               bar with the clamping screw (L) which is fur-
              nished with the attachment, using a screw
                 driver.

           Be sure that Decorator remains squarely on
             machine at all times.
View original page 6Page 7 · Read text
Preparing Your Machine for Decorative
                  Stitching
Before beginning to stitch, a few adjustments
must be made to the Automatic Decorator and
your sewing machine to achieve best results.
TENSIONS. Although no specific rule can be
given for the adjustment of the upper and lower
tensions, it is usually considered best to have
the upper tension slightly looser than the bobbin
tension or the tension used for normal straight
stitching. Sometimes, both the upper and lower
tensions have to be loosened in order to keep
the fabric from puckering. A good rule to follow
when starting is to record the position of the                                                                                      Л...Л...Л.
upper tension for straight sewing and loosen
approximately a quarter turn. For the wider
 stitch patterns, it may be necessary to further
 loosen the upper tension or both tensions. Return
tensions to original positions for regular sewing.
                                                    7
View original page 7Page 8 · Read text
PRESSURE ON FOOT. To permit the cloth to
                                    zigzag freely, it is sometimes necessary to
                                    adjust the pressure on the presser bar. The
                                  exact amount of pressure will depend on the
                                  type of fabric being used. Start your sewing
                                       with pressure half-way down and make further
                                  adjustments according to the directions given
                                         in your sewing machine instruction booklet,
                                                                        if necessary.
                          FEED DOGS. If the Decorator is being used on
                                  a foreign built machine, it is sometimes neces-
                                    sary to lower the feed dogs in order to improve
                                  the appearance of the stitch pattern and to
                                    prevent any injury to the fabric. Some machines
                                   are provided with a knob or lever which allows
                                  the feed dog to be lowered. If your machine
                               has this feature, set the lever at half-way posi-
                                            tion and make further adjustments as necessary.

8
View original page 8Page 9 · Read text
TIMING. This attachment has been properly
                                                       POINTER
timed at the factory. However, due to machine
variations, it may be necessary to retime your                     TIMING SCREW
Decorator to YOUR machine to achieve best
results.

After fastening the Automatic Decorator to the
machine, set the selector handle at #1 for the
zigzag stitch pattern and the stitch width ad-
 justing knob at #4 for the widest setting. Insert
a piece of light paper under the foot, and lower
the presser bar. Turn handwheel slowly and
observe height of needle point when foot first              If needle is still inserted in test
moves. Needle point should be approximately        material when foot begins its
⅒ of an inch above material or even with the       movement, loosen timing screw
top of the foot, when foot first starts to move.        (E) and raise needle to move
 If needle is higher than this, attachment should        pointer toward "H". Tighten
be retimed. To do this, rotate handwheel until        screw (E), and readjust if neces-
needle is at its highest position. Loosen timing        sary. Once this attachment is
screw (E), and turn handwheel again until        timed to YOUR machine it should
 pointer is slightly toward "L". Tighten screw (E),        never have to be reset.
test, and readjust if necessary.
View original page 9Page 11 · Read text
3. Holding attachment securely from the back,
 pull selector handle (I) toward you so that it
can be raised or lowered. Bring the handle in
 line with the number of the stitch pattern chosen.
Release the selector handle.

 4. Return locking handle (A) to its locked posi-
tion by pushing it backward slightly, and then
to the right toward the Decorator. As this is
done, the handle will spring forward into the
slot marked "lock".                               L


             •

              4  3
            UNLOCK

                                                              11
View original page 11Page 12 · Read text
Adjusting for Width and
                                       Length of Stitch

                             Each of the stitch patterns may be varied by
                                changing the width and length of the stitch.
                                However, it should be remembered that the
                                   thickness of the fabric will also affect the ap-
                                  pearance of the stitches.

                             The width of the pattern is controlled by the
                                        adjusting knob (B). In order to make the neces-
                                      sary adjustments, raise the presser bar and the
                                       Decorator. Then loosen the adjusting knob and
                                        slide it forward or backward as desired. The
                                  numbers (1-4) act as guides. Number 1 indicates    4 3 2
                                       the narrowest stitch, number 4, the widest one.
                                Put the forward edge of the slide, which is
                            marked with a black diagonal line, directly
                              under the desired number. Tighten knob
                                           securely.
12
View original page 12Page 13 · Read text
The length of the stitch pattern is controlled
by the stitch regulator on the sewing machine.
For stitches close together, set the regulator
for a short stitch; for stitches far apart, set the
regular for a long stitch.

    Adjusting for Straight Stitching                      K

 It is possible to adjust the attachment for straight
 stitching without removing it from the machine.
On the front edge of the Decorator, there is a
lever (K) and near it are the letters "D" and
"S". For straight stitching, the lever is placed
to the right or "S" position; for decorative
stitching to the left or "D" position. This ad-
 justment should be made when needle is in
up position.

                                                              13
View original page 13Page 15 · Read text
H


       Starting the Stitch Pattern

On the top of the Decorator is the Setting Knob
(G) and the Sight Hole (H). To start at the be-
ginning of the design of any of the eight stitch
patterns, turn the knob in the direction indicated
by the arrow on the cover until the white line
(1) on the turning black part inside is in align-
ment with the black line (2) on the cover and
with the line (3) on the metal plate visible in the
sight hole. This indicates the beginning of the
pattern. The Automatic Decorator must be up
when making this adjustment.

                                     3     2

                                                                    15
View original page 15Page 16 · Read text
Changing the Pattern

                                          Interesting, varied, and original designs may be
                                    created by changing from one to another of the
                                   decorative stitches to form a decorative motif.
                              To change from one stitch pattern to another
                                     the following steps are necessary:

                                                                                  wwwwwwwww                      1. Lift presser bar so that Automatic Decorator
                                         is up.
                                          2. Stop the needle as it starts on the down
                                          stroke.
             w"w                              3. Place the locking handle in the "unlock"
                                               position.
                                          4. Move selector handle to pattern number
                                         desired.
                                         5. Return locking handle to "lock" position.
 w.w.
                                            6. Turn setting knob counterclockwise so that
                                            the white line in the sight hole is in line with
                                      the black line on the cover and on the metal
                                         plate as described on page 15.16
View original page 16Page 17 · Read text
Helpful Suggestions

TESTING. After fastening the attachment to the
machine and before starting to sew, place a
small piece of the material from the finished
article in sewing position under the attach-
 ment. Lower the attachment, turn the sewing
 machine hand wheel several times to make
 sure the attachment is positioned correctly and
does not interfere with the needle.

TENSIONS. The Automatic Decorator will give
best results when machine tensions are properly
 set for this attachment. Starting with your ma-
 chine tensions set for normal stitching, loosen
 the top tension part way and test stitch. Keep
 experimenting until a pleasing stitch is achieved.
Do not make your top tension too loose, since
looping thread will result in the design.

                                                               17
View original page 17Page 18 · Read text
THREAD. No special type of thread is needed
                                     to create a lovely effect. Mercerized cotton
                                  thread, number 50, as well as the special
                               machine embroidery thread works nicely.

                           PRESSURE ON FOOT. For decorative stitching to
                             be most effective it is necessary to have the
                                   pressure on the foot at the mid-way point. You
                           may need to experiment with the pressure ad-
                                     justment to determine which setting is the best
                                          for the stitch and fabric you are using. If the
                                      pressure is too heavy, the fabric may be scarred.
                                                          If the pressure is too light the foot will glide
                                   over the fabric without moving it and a narrow
                                         stitch or no pattern will be the result.

                            PREPARATION OF FABRIC. Usually, it is advis-
                                  able to baste or pin a strip of organdy, lawn,
                                        tarlatan, tissue paper, or interfacing material
                                       to the underside of the fabric when trimming
                                a single thickness of cloth. This keeps the mate-
                                                  rial from puckering. It can be removed by cut-
18
View original page 18Page 19 · Read text
ting close to the stitches when the stitching is
completed. Of course, for a firm fabric, such as
felt, this will not be necessary.

STITCHING. Before beginning to stitch, be sure
that both the upper and lower threads are under
and in back of the Decorator. Keep the material
smooth as it is placed under the foot. Hold the
two threads until a few stitches have been made
in order to prevent tangling of threads. OPER-
ATE MACHINE SLOWLY AND AT A UNIFORM
SPEED. Guide the fabric lightly so that it can
be moved freely from side to side by the foot.
When stitching a curve, carefully raise the
presser bar, leaving the needle in the material,
and turn the fabric the desired amount so that
the design may be followed. The upper thread
should be drawn to the wrong side of the article,
and the threads tied when the stitching has
been completed.

                                                              19
View original page 19Page 20 · Read text
INSUFFICIENT THREAD. In case a thread breaks
                                        or the bobbin becomes empty, the work should
                                be removed from the machine and the stitches
                                          of the incomplete stitch pattern ripped out. The
                                       setting knob should be adjusted, in order to
                                           start the stitch pattern at the beginning of the
                                       design. Then the work should be put under the
                                    Decorator and the needle lowered so that the
                                            stitch pattern can be picked up at the proper
                                     place. Now the presser bar can be lowered
                                and stitching continued.

                          TURNING A CORNER. When approaching a
                                     corner, stop the machine at the end of the
                                            last complete stitch pattern that can be made
                                  before the corner is reached. The lever (K)
                                   should then be shifted to the "S" position, and
       пит.                  the stitching continued to turning point. Be sure
                                          to count the number of straight stitches taken.
                                   With the needle in the fabric, raise the presser
                                    bar and turn the work. Lower the presser bar.
20
View original page 20Page 21 · Read text
Begin to stitch, taking the same number of
 straight stitches in the new direction. Then re-
turn the lever to "D" position.

 PRECAUTIONS. One important thing to remem-
ber is the fact that the Decorator should not be
 operated without a piece of fabric under the
 foot when the presser bar is down. In case
the Decorator is being left on the machine when
 it is not being used, it is wise to leave the
 presser bar down and the foot resting on a                                       wwww                   дні пул
piece of cloth.
                                                            w"w"
 In case the Decorator is being used on a                 AAAAAforeign          built           machine,                                        it is                      sometimes                                 necessary
to  lower        the           feed dog                         in                       order to                            improve     ЛЛЛЛЛЛЛЛ
the appearance of the stitch pattern and to
prevent any injury to the fabric. Some machines
are provided with a knob or lever which allows
the feed dog to be lowered.

                                                           21
View original page 21Page 22 · Read text
GUIDING. When making several rows of deco-
                                         rative stitches, the outside of the foot of your
                                    Automatic Decorator can act as a guide for you.
                             By guiding the outside edge of the foot along
                                 a previously stitched row, you will be able to
                             make straight rows of decorative stitching with-
                                     out using guide lines. Your stitches will be ap-
                                  proximately ½" apart.


22
View original page 22Page 23 · Read text
Breaking of Thread

Thread breakage may be caused by a rough
hole in the needle plate, by needle striking the
edge of the hole in the plate, or foreign matter
such as dust or lint in the bobbin case. See
your Sewing Machine Instruction Book for

cleaning instructions.


                                                              23
View original page 23Page 24 · Read text
1                        Ways to Use the Zigzag Stitch Pattern (1)

                              The versatility of the zigzag stitch is amazing.
                                Not only can it be used for delicate embroid-
                                  ered designs, but it also can be employed for
                                           practical seam lines in knitted fabrics and lace.
                                                           It offers an effective way to appliqué, to join
                                       lace, to top-stitch seams in order to reinforce   Change in width of stitch
                            and decorate them, to make tucks, and to
                                     decorate lace.

                                       Different effects may be created by varying
            (Short)                     the length and width of the stitch and the ten-
                                       sions. The shape of the stitch pattern and the
                                    distance between the stitches is governed by
                                 the stitch regulator. The longest stitch will          (Medium)
                             spread the stitches apart, forming a wide
                                    angle, whereas the shortest stitch will bring
            (Long)                  them close together, changing a swaying line.
                                            into a smooth, satiny one.   Change in length of stitch
24
View original page 24Related documents and language editions
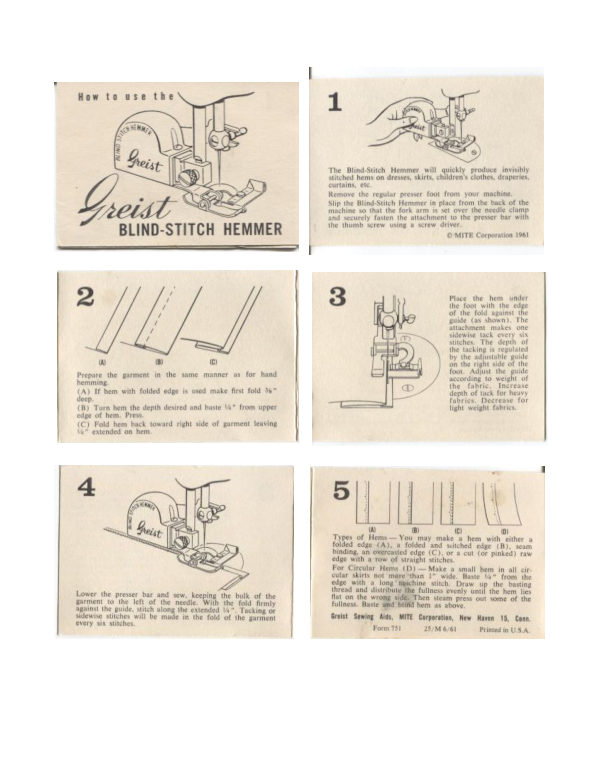
GreistPDF
Greist Blind-Stitch Attachment
User manual
1 pages · EnglishRead →

GreistPDF
Greist Buttonholer
User manual
22 pages · EnglishRead →
GreistPDF
Greist Long Shuttle Buttonhole Attachment
User manual
16 pages · EnglishRead →
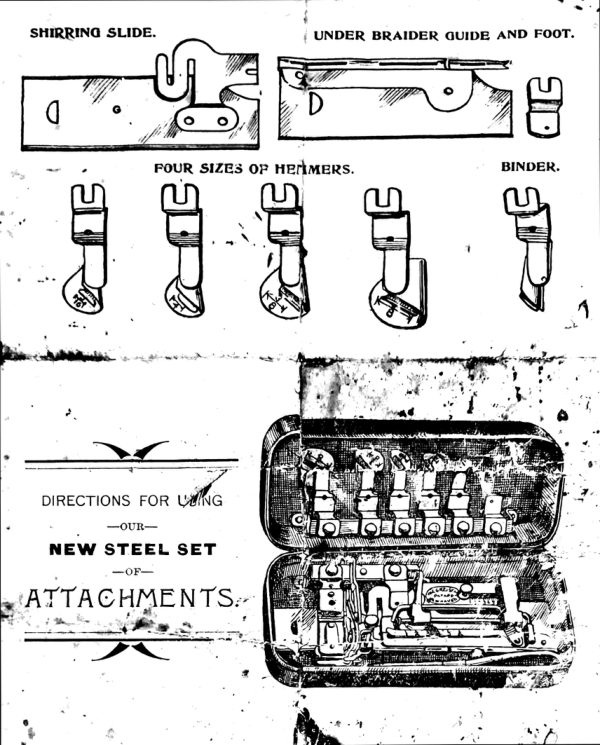
GreistPDF
Greist Top Clamp Attachments in Steel Box (black and white scan)
User manual
2 pages · EnglishRead →
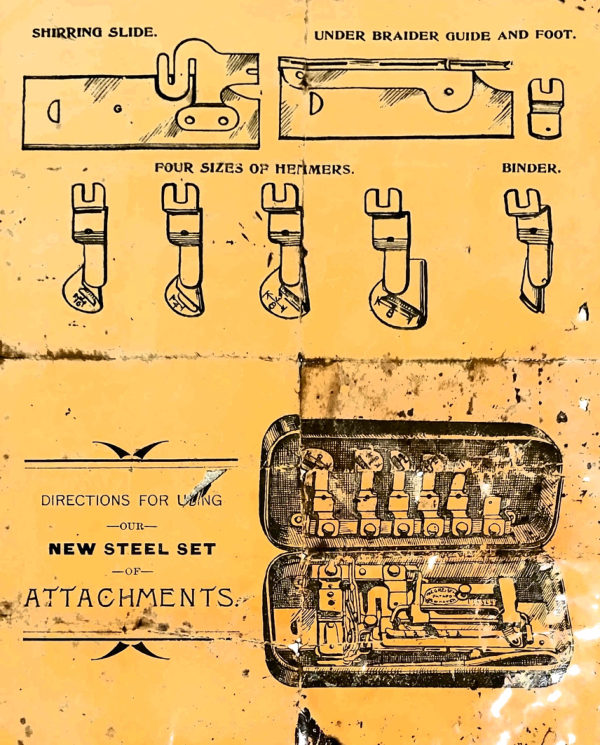
GreistPDF
Greist Top Clamp Attachments in Steel Box (color-corrected scan)
User manual
2 pages · EnglishRead →
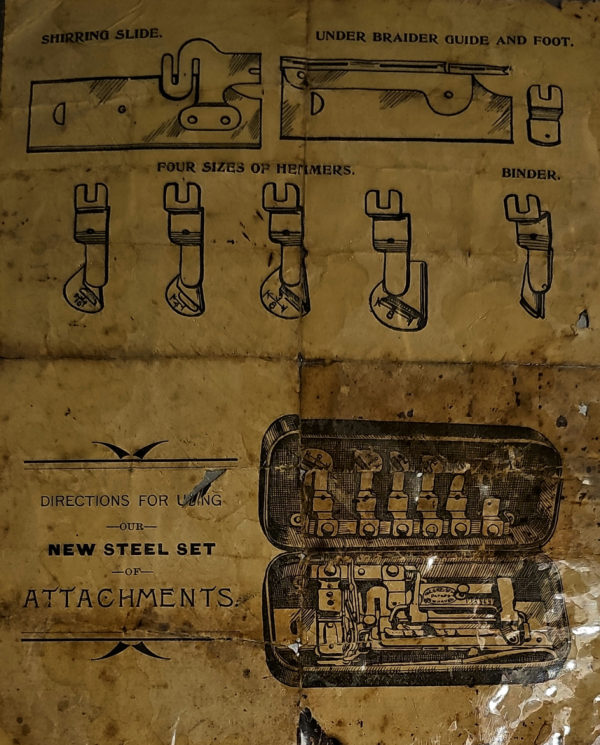
GreistPDF
Greist Top Clamp Attachments in Steel Box (original scan)
User manual
2 pages · EnglishRead →
From the ISMACS International. Original publisher and archive notices are retained.
Check the model and edition against your equipment.
PDF verified 2026-10-11.