Lenses & filters
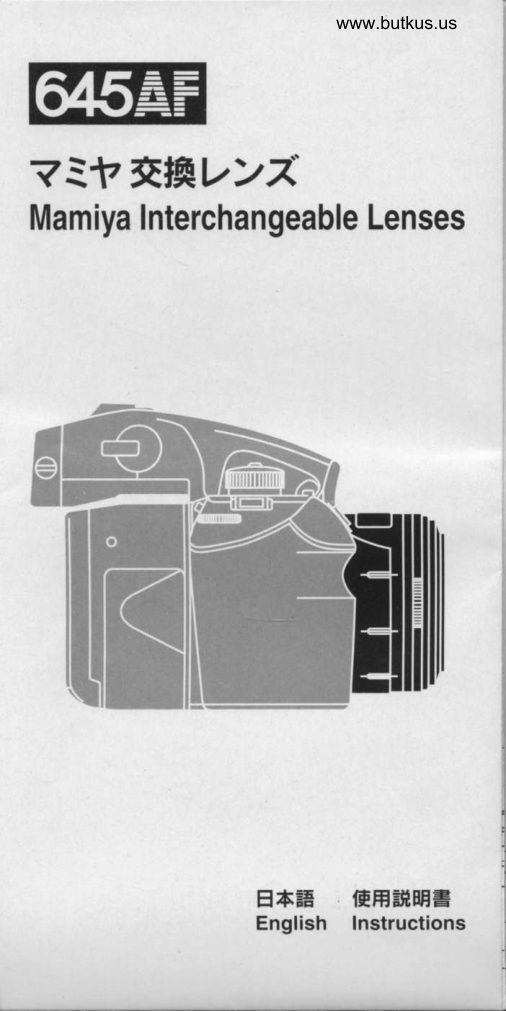
Mamiya 645AF Interchangeable lenses User manual
User manual for Mamiya 645AF Interchangeable lenses. 10 pages in English. Read the original PDF, download or print a copy without registration.
10 pagesEnglish1.9 MB PDF
Loading your manual…Open PDF directly
Document details
- Brand
- Mamiya
- Model / document
- Mamiya 645AF Interchangeable lenses
- Document type
- User manual
- Language
- English
- Pages
- 10
- File size
- 1.9 MB
- Category
- Lenses & filters
- Document date
- Not specified in catalog
Search available document text
Find a term, then jump to its page in the original PDF. Image-only pages may not be searchable; check the PDF for exact wording and diagrams.
Page 1 · Read text
www.butkus.us

 a'!
   *&v>7
Mamiya Interchangeable Lenses"it,


         E6E  EHfiIEI
                   English Instructions
View original page 1Page 5 · Read text
Thank you for purchasing a Mamiya product.
  To use the camera at its maximum performance, read the
   instruction manual thoroughly before use so that you can use         The aperture value is controlled on the camera.
  the camera correctly based on full understanding  of its                 Set the exposure mode setting dial to "Av" (iris-priority AE),
  functions and controls.                                             then rotate the dial aperture ring to set the desired aperture
   After reading, retain the manual in an easily accessible                   value. The aperture value can be varied in 1/2 steps. lfig E)
   location for future reference.
                               rr#r#ffiI'ililryt        The Depth-of-field  refers to the total area which will appear  in  [tt                                                                        focus. This area increases when the lens aperture is de-
  Attaching                                                     creased (f/8..11 ..16..22) and decreases when the aperture is
   1. Remove the camera's body cap and the lens's front/ rear caps.                                                                         increased  (f/8..s.6..4..2.s). (Fig E)
   2. Mount the lens.                                          The Depth-of{ield value is indicated by the Depth-of-field
     Align the lens's alignment dot 6 with the camera's align-              scale engraved on both the left and right-hand sides of the
    ment dot @, fit the lens into the camera and rotate the lens           reference mark on the lens.
      in the direction of the arrow until  it stops. When a click
    sound is generated, the lens is mounted onto the camera.
     (Fig II)
  *During AF operation, do not touch the rotary parts such as the
    distance ring.                                          When the focus ring is pulled forward, the mode switches to
  Removing                                                          the manual focus mode, and "@" is displayed on the
  While holding down the lens release button @, rotate the lens           external liquid crystal display panel when the shutter release
   in the direction of the arrow until it stoDs, and release the lens           button is half-pressed.  (Fig E)
  from the camera. (Fig E)
         removing                   the lens from the camera body, protect them by  *Atter                                                E&M,    l.        Eewpwx@leq, --   ,              ,._     ;.'W               the caps.     attaching
                                                                                   hood with the Indicator Line O on the  *To prevent contact failure or corrosion, do not leave stain,                  1. Align Mark i- on the
    scratch or fingerprint on the electronic contacts.                               lens, and fit the hood to the lens front ring.
                                                                               2. Fix the Lens Hood by rotating  it in the direction of the arrow.
                                                                       (The Lens Hood can be removed by rotating  it in the opposite
                                                                                      direction.) lFig E)
  645AF Interchangeable Lenses
                                          Optical     Angle of  Minimum                  Focus      Minimum Focusing                                           Equivqlent local                          Dimension
            Lens             Construction   View    Aoerture  Diaphragm                             Distance       Magnif ication  Area Coverd      length 35mm     Filter Size  Lens Hood      Weioht
e     AF4smm F2.8          9 7elementsorouDs      74       22     Automatic     Autol\4anualFocus     45cm          0.1 3x     31 0x41 Bmm    29mm    67mm    Screw-in    73.5x/492o/mm
                                                                                 Auto Focus                                                                    65.5x77mm
       AFssmm F2.8           6 qroups     o+        1Z     Automatic               45cm          0.1 8x    226x305mm     34mm    58mm    Screw-in      442o
                                    6 elements                                          Auto Focus                                                                   49-5x77mm
       AF8omm F2.8           5 qroups      47"      22     Automatic                70cm          0.1 5x    279x377mm    50mm    58mm    Screw-in      3OOo
                                                      / elements                                          Auto l-ocus                                                                                                                                                                                                                                                                                                                                    I xoor
@   AF ULD21omm F4 lF       5 orouos       19'      32     Automatic        l\4anual      200cm         0.1 3x    332x448mm     128mm    58mm      Built-in       750q
                                                                                          Auto Focus                                                                                       21 3x99mm
    AF APO 300mm F4.5 lF     8 qroups       14       32     Automatic               300cm        0.1 1x     371 x500mm     182mm    77mm      Built-in            1 43Oo

    English
View original page 5Page 9 · Read text
M'ffi
1. To use in the horizontal position, line up the center of the
   distance scale € with the lens support's mount mark O and
   fasten in place. (Fig B)
2. To use in the vertical position, line up the center of the dis-
   tance scale @ with the gap in the lens support @ and fasten
    in place. lrig tr)


O A frequently used product should be inspected periodically
  at your nearest Mamiya service center.
O Handle the lens carefully, taking care not to drop  it or hit  it
  against an object.
O the lens is not waterproof. When it is moistened, wipe with
  a clean, dry cloth. lf it is exposed to a salt breeze, moisten a
  clean cloth, wring  it well and wipe the lens with it.
O To prevent affecting the mechanism and film, do not leave
  the equipment  in a place where chemical gas of naphtha-
  lene, formalin, etc. is produced. The surface finish may be
  deteriorated   if it comes in contact with a solvent.
O When the lens surface or viewfinder  is stained with dirt or dust,
  remove  it with a blower or sweep gently with a lens brush.
O When the lens surface or viewfinder is stained with a
  fingerprint or greasy object, wipe it gently with a clean, soft
  piece of gauze. lf the stain cannot be removed or the glass
  component becomes moldy, please consult your nearest
  Mamiya service center.
O Wnen the equipment has not been used for a long period
  or before taking an important picture, always try shooting to
  make sure that they function normally. In case of a problem,
  have your nearest Mamiya service center inspect them.
O Wnen the equipment  will not be used for a long period of
  time, remove batteries to prevent malfunction..
View original page 9Related documents and language editions
From the M. Butkus archive. Original publisher and archive notices are retained.
Check the model and edition against your equipment.
PDF verified 2026-10-10.