Film cameras
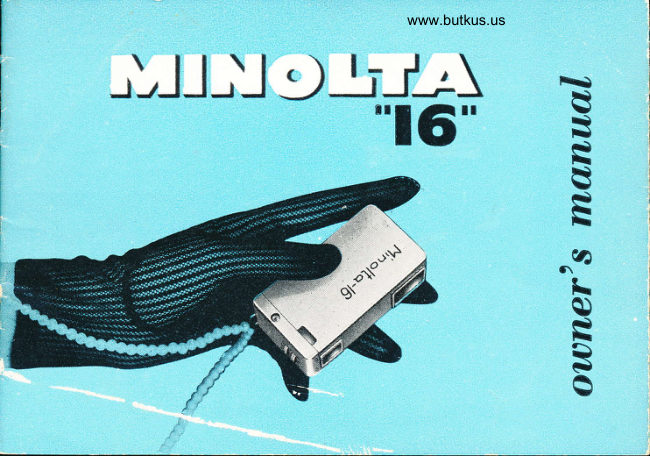
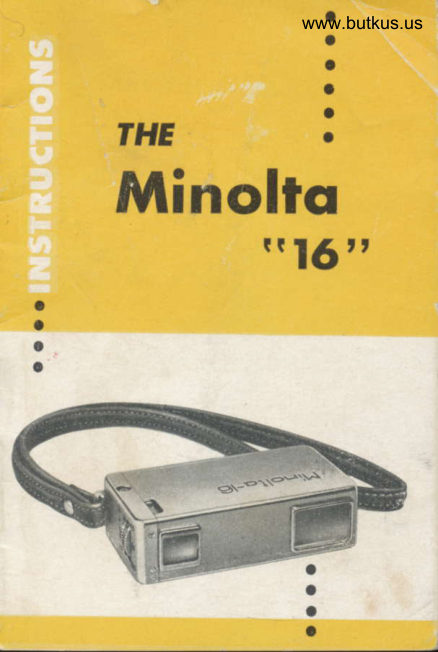
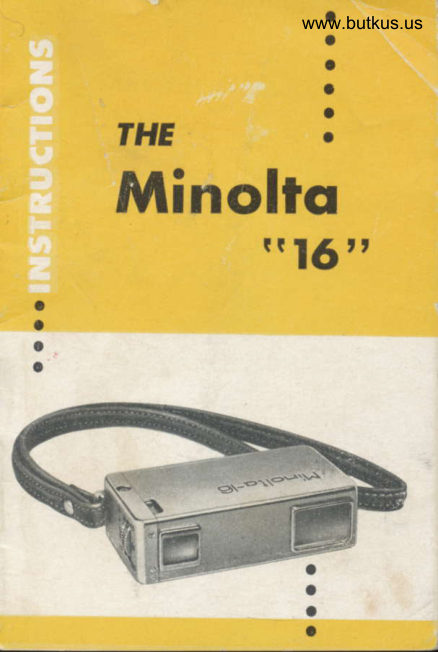
Minolta "16" User manual
User manual for Minolta "16". 26 pages in English. Read the original PDF, download or print a copy without registration.
26 pagesEnglish6.5 MB PDF
Loading your manual…Open PDF directly
Document details
- Brand
- Minolta
- Model / document
- Minolta "16"
- Document type
- User manual
- Language
- English
- Pages
- 26
- File size
- 6.5 MB
- Category
- Film cameras
- Document date
- Not specified in catalog
Search available document text
Find a term, then jump to its page in the original PDF. Image-only pages may not be searchable; check the PDF for exact wording and diagrams.
Page 7 · Read text
www.butkus.us


4. PRESS RELEASE (F): That's alt there is ro         5. PUSE TOGETEER: Pushcamera back into
   taking a picture,                                                  built-in case as far as it will go.
6. PULL OUT: Pull camera out of case as far as it
   will go and as you did in 2. This advances  film,         7. TAKD YOURNEXT PICTURE: Tosnapyour
  cocks shutter, and counts film-all automatically.         next picture, simply repeat Steps 2,3, and 4.
View original page 7
Page 8 · Read text
Hold camera either horizontally
or vertically, arichoring it to your
brow. The important thing is to
hold the camera absolutely steady
at the moment you press the
release button, Never tip or jerk
your finger .on the release. In.
stead, squeeze it gently.
View original page 8
Page 9 · Read text
www.butkus.us


                               'l'lri'\lrr:,,it.r     "lii"   l.r  ()r1ri)1.'lrl\  -rtrr lrr,rrrizIrl  i,'r  il;r.lr  l)rr trtrt\.
                            1\'ir,'rt  rr-,',1 r..rtir  tltr'  \lrn,'ltir    ll;rlrv   lil;i.,!i   rir-., rrlrlrl  ,)n I'ir{f
                           l:1, llt('rr    iili';linl,,:l      111! lillltl;rii')tlr-.     lftr.,,rrillr;rrl     il:tsh  ir:lt
                           {;lr)  i)r'irt{:r(-llt'(l  lo  tli('(;llrl,'rir     i,r  }r'r1(l irt lorrr   }r;rntl
                           5l-llttt('r   il)tr'(i   :llIrrirl    l)i'  :r'l   ill 1 ljl  ilr  I  .itlrji.l,tnriilrr:,,;t     llrr'
                      lr'pe  ,r1 ll;irlt   irullr       it c   , it.rrt       l-r'ti\   r)l)(.ittnI  o!   IJ stop
                      is  (l('ltlrr)int'{i    l)\'rr'f('r{ing    lo  gul{lr'\l     cf   tllr.li    llrrilr  t1'pr,

                                                                                                  Advisoble speeds tor flosh bulbs
                                                                                 ond electronic flosh unils
TRI-X
Film
View original page 9Page 11 · Read text
www.butkus.us


                                                               1. Pull camera (A-) out of built-in case fBl as
                                                             far as it  rvill go.
2" Depress clasp (C) so that canera can be pulled
   entirely out of case.                                       3. Lift tilm door on other side of camera.
View original page 11Page 12 · Read text
4. Drop in film magazine                                   5. Close film door


         6. If door does not close,  it is because magazine   T Tocorrectthis'pushslidingplate(F)inslightly
         has not gone all the way in.                            arld try to press film in' If  still unsuccessful'                                                          push sliding plate in again slightly, and repeat.
                                                             This will work everytime.
12
View original page 12Page 13 · Read text
Mike Butkus   DigitallyDN:email=mike@butkus.org,Date:cn=Mike2026.04.26signedButkus,by20:54:58Mikeo, ou=Butkus.org,Butkusc=US-04'00'                                   www.butkus.us


  a
      8. Turn number dial (D) counter clockwise until         9, Slide camera back into built-in case, deprssing
        the letter "'S'lines up with the red line,                clasp (C)"

                              trT\,..:)                       E''


      10. Catch (G) (which moves up and dowo when        11. Move camera out and in twice. Number 20 will
       clasp is pressed) should be seated in the        now app€ar in Counter Dial Window, showing
       opening to the right of the Film Counter         you have 20 pictures to take. pull camera out
      Window as shown above"                         a third time and take J.our fi.st picture.        IJ
View original page 13Page 14 · Read text
1. Keep taking pictures til the 'O'  appears in the        2. Now push camera in and out of case three
  Counter L)ial Window.                                    rimes-untjl an "E" appears in the Counter Dial


3. Depress Clasp (A) and pull camera out of         4. Open film door and remqve magazine'  That's
   built-in cover- as you did when loading.                     all there is to it!
View original page 14
Page 18 · Read text
FLASH AND TRIPOD
                                                           ADAPTER CLAMP
                 'l'trc Nlinolta  []:rL1,' l"l;rs]tgtrn  r5 (llgincer!:d  for  irrdoor pl]otus   lt
              is coltr,enietttlr'  l.ltrrictl  in  itII  lrtira(.ti\'c  vin}'l  zi;lpererl  (.:trr}'ing          The Minolta Clamp secures the Baby
           casr.  'l'llc  Nlrnolta Babv  I"lashgult  is an  extrclllcly    (orllpact           Minolta Flashgun or any tripd  to
                                                                  your Minolta "16", This unique            uni(  !vilh    tllc   rlli,dcrlr  lt.C    ' long Iife  battcr)   '  design antl  a
              {:rn rypt, coll;ipsiblc reflei't('r'  lV}rcn folclcd into its ('itsc' the [Jaby           "wraparound" clamp safely locks
              Iil;rslrgun is  itr;l  ;tlrortl  lltt'  s;itttt  iil(':rs    tlle  till)'Nllnoltlr    "lt;"             the camera and accessories together.
1Ql9
View original page 18Page 19 · Read text
www.butkus.us'


    MINOTTA FILTER BANK
       To bring out truer tones, and give you better looking
            pictures.
         There are 4 filters in this unique, handy pack:
          1. Ultra-violet Filter-for  daylight photographs, to
           improve distant scenes by eliminating haze effects.
         2. No. 80 A Filter-converts daylight type Kodachrome
           or Anscochrome  for use with  photoflood  lights
               indoors.
          3. Yellow Filter-to deepen sky tones, bring out cloud
              effects, and for  better tonal rendition of bright
            outdoor scenes-particularly on sea, snow or sand.
          4. Filter 81 A-to be used with electronic flash.    19
View original page 19Page 20 · Read text
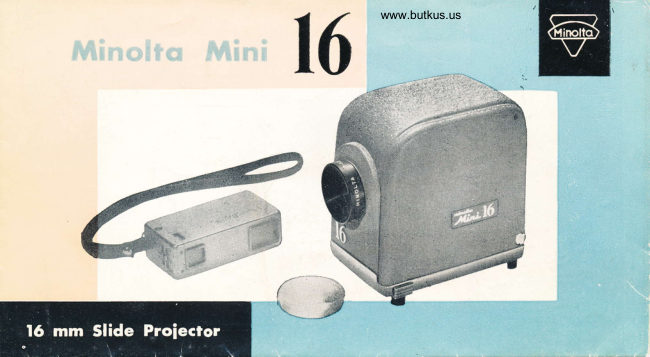
For          The Minolta Mini Pro;ector is a compact, light-weight projector of unique design.                            Like the tiny Minolta "16" which provides "big camera" performance in subminiature
        Color            size, the Mini Projector is engineered to give "big projector" performance.  It  casts
         Slides         unusually brilliant on-screen images with its short focal-length f:2.5  lens. Its                               projection rivals many 500 watt -".liiner  of much greater size. Carriers for the
                              Minolta "16" slides and 35 mm frames, are available for the Mini Projector. ln
                              addition, accessory automatic slide-changers and film strip carriers make the
                              Minolta Mini Projector a versatile instrument for both amateur and professional.
20
View original page 20Page 21 · Read text
www.butkus.us


Frlr  ili{e $'ith  hliritlr:i    "iti'    iilrri.   it  iiril   lr'r.
v;rir exceiienl  i,nlrrgrr!r{!}ts    rrJr to  irrT     irt
ir.2e.1ri thr  ixtseiruard.  tlr,rrtple"tt.  rrrtli   f:il.i
Zr:,  il]ilI     (rr;rlr'{l  lii)kk1}r   l[r'ls    Ir:i1;lir:,;ili
stfrps  {lilrvi\   tr,   f:  Ii.   'l'}r0 tnlirrgt'r    |ilrrrt:;
rri!illfrletq rvirlr  lti  rrnt  {riirr  t':rrricr:rnrl     i1r}
\\'tli    i)itltr
View original page 21Related documents and language editions
From the M. Butkus archive. Original publisher and archive notices are retained.
Check the model and edition against your equipment.
PDF verified 2026-10-10.