Film cameras
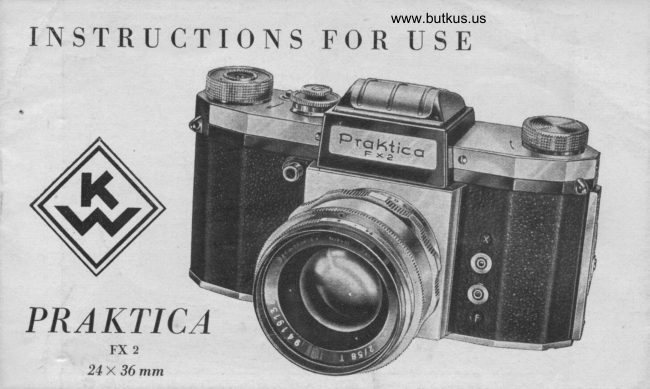
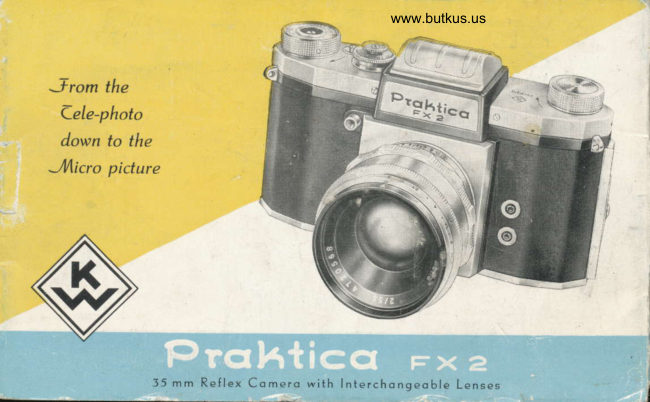
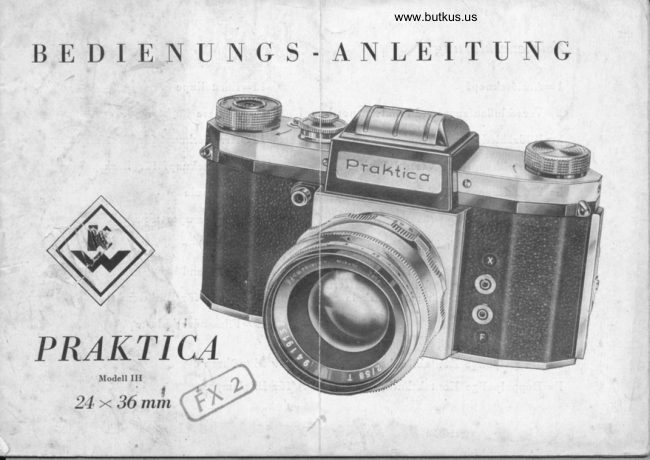
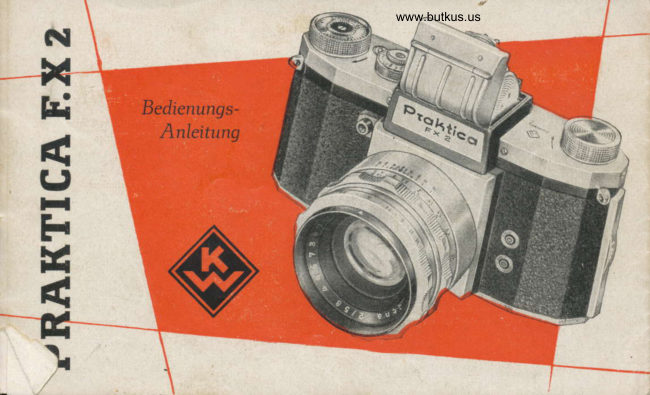
Praktica FX 2 User manual
User manual for Praktica FX 2. 15 pages in German. Read the original PDF, download or print a copy without registration.
15 pagesGerman2.5 MB PDF
Loading your manual…Open PDF directly
Document details
- Brand
- Praktica
- Model / document
- Praktica FX 2
- Document type
- User manual
- Language
- German
- Pages
- 15
- File size
- 2.5 MB
- Category
- Film cameras
- Document date
- Not specified in catalog
Search available document text
Find a term, then jump to its page in the original PDF. Image-only pages may not be searchable; check the PDF for exact wording and diagrams.
Page 2 · Read text
Dear  Photo  Friend!
The miniature reflex camera ,,Praktiea FX 2", a masterpiebe of German
craftsmanship. has proved a means of dieelosing rhe extremely versatile
and wondrous territoriee of photography.
The advantagea of the single-lens reflex camera syEtem become particularly
obvious in rhe Praktica Fx 2. Already before the exposure, the eubject
is visible, free from parallax error, in the groundglass image, making it
possible to predetermine depth of fiel<i and picture composition with
utmost accuracy.
Interchangeable leneee of various foeal lengtbs in the Praktica FX 2 open
up a wide ranse of applicability for tele-photo, elose.up, and micro work.
To complete the finder rystem, a eupplementary revereible prism can be
ineerted into the finder hood, revealing an upright, correct.sided image.
View original page 2
Page 3 · Read text
www.butkus.us
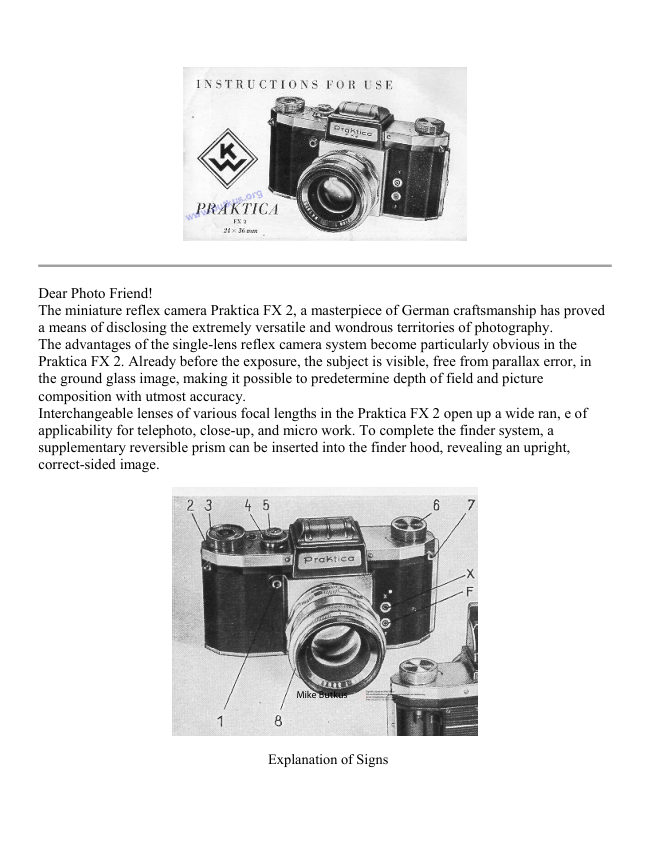
Explanation, of Slgns
 I : Releese knob                         9:Lighthood eap
2:Knob for winding the shutter and         l0: Magnifying lens
    transporting the film
                                                                   Il:  Rear fin,der masL
3 :Picture-counting  disc
                                        12:Latch button for lighthood
4:Knob for setting the shutter speeds
                                       13: Release knob for rewind
5:Knob for setting the speed group,s           medranism
6:Film  rewin,d.knob                    14:Film spool
7:Loope to hold the neek-;trap             l5:Film  transport sprocket
B: Iuterdrangeable lens with rotatable       16: Picture gate
   rings for Betting distance and
   diaphragmo an.d with distance,              l7: Camera back
   diaphragm and depth-of-field  scales
                                            lB: Catdr for camera back
X:  llipolar contact sodret (X contact)       19:Film pressure plate
F: Bipolar contact sod<et (F contact)
View original page 3Page 4 · Read text
Bitte spenden Sie 2,50 Euro, um diese Website über E-Bay zu unterstützen ... www.PayPal.me/butkusView original page 4
Page 6 · Read text
www.butkus.us
Inserting the fiIm
 The camera ba& is                          by pushing the_ kno,b No. LB in the direction of the arrow. Qpcn                        -unlocke-d the camera back, take it off, and pull out the rewind knob No. 6.
 The. film cartridge- must be placed into the empty &amber with the beginning of the film
 projec-ting in_ the direction of the picture gate. Pull the beginning of the film aiay from the
 cartridge and fix it into the empty spool on the right-hand side of th" camera.
 It  is important that the sprodcet teeth catdr both pe,rforated edges of the film. Wind the shutter hy rotatin,g knob No. 2.
Make sure that the film lies straight on film guide and sprocket, link the camera bacl< into
the right-hand groove and close it down. fhe fitm pt"rrrr""-plat" *ori b" f"rf""tlybetore the cameia back is closed.                                                                 "l*;
Afte-r having closed the camera back, make two blank exposures. The rewind knob 6 mlsthereby turn in the. opposi'te direction of the arrow mark. Wh"r, all these manipulations have
been p-erfol-"-d, the counting mechanism has to be set to stroke No. l, and the camera isready for the first exposures.
Changing the              fil^
Following the 36th exposure, a certain re,sistanee will be notice,d in winding the ,shuttera sign that the whole fiF                                       i. exposed an,d has to be rewound into the cartridle. This i. dor,u-!y pressing d-own the little button 13 and at the same turning the rewin,d-kno,b 6 in thedirection of the arrortr.
The    beginning^of                 the                        film                             will slip                                      of                                       the cartridge                                                          audibly,                                                    and                                                               the rewin,ding                                                                                procedure                                    -out  completed.is           Open                     camera                  the                             back                              and                                        remol'e                                                  the"cartridg"                                                                *ith                                                                 thr;;p"r"d                                                                                                        f;ri.-"'-..
View original page 6
Page 7 · Read text
Shutter and Jilm transPoft
a) Winiling the shutter
  A full rotation of the knob 2 as far as it wiil go ttl the right (clockwise) winds the shu.ttet,   advances the film to the next frame, and ,*irrgt the reflex mirror into the light'ray level
                                                         o t  pressed in- while the lshutter  is   of the lens. Take care that the release knob I is n
    fr"i"g *oor,d         not built-in self'tirners must be either wound up or removed frorn
'   the lu-""u befote"p.-,1'"ythe shutter is cocked.
b) Setting the shutter speeds
   The ,f""d, are set by means of the adjusting knob 4 and the supplementary knoib 5. The
    ,speed disc is engraved with                                                               l/zrth secoh,d, and' F  (I/+oth),          blad< fig,rres for the short speeds from_l/aooth to                                                        l/roth to Llz secondo         with r"i  figures for the long speeds frorn
        and with 'ob" setting for time i*posor",. of any desired length.
                                                                       sec., and F  the red ff'iangle df the    Iyith the shutter set to the speed,s of l/rooth to l/zrth
   supplementary knob 5 must point towards the black triangle on the camera top'
                                  lfioth to rlz sec., the red triangle orr the supplementary knob   When set to the speeds of
   must point to the red triangle on the camera top.         o'B"                  can be used in both positions.   The               'setting                                                                                                             in. There                                                                               arrd                                                                                          click it                                                    number                                                          desired                                            ring-4,,1r.,rn                                                                      it to                              outer        set the speeis, lift the   To                                                           -the                                                                                         speed                                                              between                                                                     the                                                Ll'zsth second,                                            a dot                                          marked                                            by                              1/z and'                         for    is onlv             """alz ""ui-ttolealzs.    ,,.r-bers
                                                                                                    the   The speed klob^nd may be turned in both directions eithet before or after winding up
     shuttet'.
View original page 7Page 8 · Read text
www.butkus.us
c) Releasing the shutter
   The exposure is ma,de by gently pressing in the knob 1. In order to avoid blurring the
    picture, the knob should not be let loo,se until the shutter has run ,down. At the ooB"
    setting, the shutter knob must be pres,sed as long as the exposure is to last. For the use
   of a wire release, the knob is provided with a thread into whic} the release can be screwed.
  A special wire release is supplied with the camera for long time expo,sures in the ooT'o
   setting (e. g. in night photography).
Lens and Shutter
a) Press button No. 12, and the lighthood will spring up, uncovering the finder lens. When
   the shutter is wound up, a bright, clear image will appear on the ground-glass surface of
   the finder. By turning the distance meter ring on the lens mount, you can focus the lens
     t_o ,the greatest possible ,sharpness. Focusing should be performed with the diaphragm at    full opening, and the lens stopped down to the desired ape,rture immediatily Fefore
   making the exposure.
  To facilitate focusing, the camera is equipped with a magnifying lens, whidr i,s swun:g into
   operating position by means of lever I0.
   When_LLsing the magnifying lens, a di,stance of 15 to 25 mm. between the eye and the lens
   should be ob,served. Only then will the image on the ground-glass be perflctly clear.
  The eye'level viewfin,der in the lighthood is very handy for sports snapshots. To disen,gage
   the sp-ortsfinder,- swing out the flap in the fiont of the fighthood- cap (9), bring"tf,e
   magnifying lens int'o working position and draw out the fi"dei mask at the'back.
View original page 8Page 10 · Read text
d\ The Penta Prisrn                              www.butkus.us


i
l
       An accessory to the Praktica is the Penta Pri,sm. Look into_it and you will see an upr,ight,
         non'reversed, enlarged groung-glass image, free from parallax error.
       The Penta Prism is fitted into the o-pen_lighthood of the eamera from above, wh,ile the             Iat'{-' butt-on                              is being depressed, whe-reupon it is bolted by pushing the f"rt""i"!                       -(r2)       knob to the front.
       The very- considerable-advantagee,offered by_the Penta Priem moet certainlyJ compensate for
         the emall discrepancy in eize on the upper edge of the ecreen image.
View original page 10Page 11 · Read text
e) The mirror
   The mirror is a very sensitive element in the camera, and it must be protected from even
   the slighte,st ,damage. Use only a very soft-haired brush to remove any possible unclean'
    liness from the mirror surface.
 f) Lenses uith d.iaphragtn-presetting  deuice
    'Io preset the aperture de.sired for the exposure, draw the milleil ring directly behintl
   the diaphragm ,scale backward, holding the diaphragm ring    whidr has before been
   adjusted to the desired number    with the other hand and-setting the red index tlot    against the diaphragm number drosen.-    The milled ring, when springing back into positirrn
    gets couple,d with the diaphragm ring. For focusing, the diaphragm ring can now be set
   to the full aperture and, without changing the position of the camera, turne,d back, until              :     it stops at the preset diaphragm number, for exposing.
Close up Photography                                                                         tr{
The helical focusing mount of the standard lenses permit approaching your object up to about
50 cm (20'). For exposure.s at shorter distances you will have to use extension tubes. These
are inserted, singly or combined, between camera and lens. Tubes I to 3 together yield a
picture ratio of I  : l.  Possibilities of combination, and distance values, are shown on chart
opposite.
Color Filters
with any type of mount ean be used in the PRAKTICA  (i. e. screw-inandslip-on  mounts).
'Ihe same refers to sunshades.
View original page 11Page 14 · Read text
www.butkus.us
     Negatiae lVlaterial
     The PRAKTICA takes perforated 35 mm fflm, available either in cartridges or in bulk film.
     The length of film in a cartridge is equal to 36 exposure6? sometimeso lrowevero cartridges with
       half lengths are use,d. If you fill your own caesettes or cartridges, you need 1.60 meters (6'5")
      for 36 exposures. You may, of courseo use shorter lengths if you wish to.
      Color film is sold in  exactly the same lengths and pad<ages as black-and-white film. The
    PRAKTICA is just the camera for color photography, for by pre-viewing your image in all its
      natural color on the ground-glass screen, you are able, to a very great extent, to judge the
       effect of the final picture. Also, the lenses of the Praktica are color-corrected.
    Photomicrography
      requires a special attachment for eonnecting the camera to the mieroteope. For negativee to
t     be enlarged on an especially large scale, the ground glass is available with a clear glass ring     and with hairline cross.
    IIow to take care of your Pralttica
      T'he camera is proteeted by the Everready Case. The case protects the camera also during
      the exposure without causing any inconvenience whatever. The camera should always be kept
      in the case, rvith the lens screwed in. It must be kept spotlessly cleano especially all the parts
      coming into contact with the film. Use a very eoft-haired brush for cleaning.
      Never touch the lens surfaces with your fingers. Theyo too, are to be du,sted only with a soft.
      haired brush. This does no harm to the bluish anti-reflex coating.
View original page 14Page 15 · Read text
.TICA  if' you tr""t   it  U"at.y. fn"
PRAKTICA is a masterpiee of precision lno"k-"rr.hip-Useand rvill only then be able tL meetyour requirements if you follor the Instructions  f or       carefully.
bo not irrt."f""" with-the mechanism of the camera. Apply to the manufacturere if repairs
become necessary. Subsequent oiling or greasing of the camera may lead to functional distuib-
ances or decrease the quality of th"e piJt,rres. "Should you desire any further information or
adviceo please write to'the iactory.


     VEB KAMERA-WERKE NI EDERSEDLITZ
                           Dresden A 17, Edgar.Andr€-Stra6e 56


t1ll9l14 EMz 4s6 3                                                                                                       tr 8240t56
View original page 15Related documents and language editions
PrakticaPDF
Praktica FX 2 - Color
User manual
32 pages · EnglishRead →
PrakticaPDF
Praktica FX 2 andere
User manual
13 pages · GermanRead →
PrakticaPDF
Praktica FX2
User manual
33 pages · GermanRead →
PrakticaPDF
Praktica FX2 camera
User manual
7 pages · GermanRead →

PrakticaPDF
For of Praktica FX2
User manual
31 pages · Not specifiedRead →
From the M. Butkus archive. Original publisher and archive notices are retained.
Check the model and edition against your equipment.
PDF verified 2026-10-10.