Industrial sewing machines
Singer 29-4 — User manual
User manual for Singer 29-4. 17 pages in English. Read the original PDF, download or print a copy without registration.
17 pagesEnglish3.4 MB PDF
Loading your manual…Open PDF directly
Document details
- Brand
- Singer
- Model / document
- Singer 29-4
- Document type
- User manual
- Language
- English
- Pages
- 17
- File size
- 3.4 MB
- Category
- Industrial sewing machines
- Document date
- Not specified in catalog
Search available document text
Find a term, then jump to its page in the original PDF. Image-only pages may not be searchable; check the PDF for exact wording and diagrams.
Page 1 · Read text
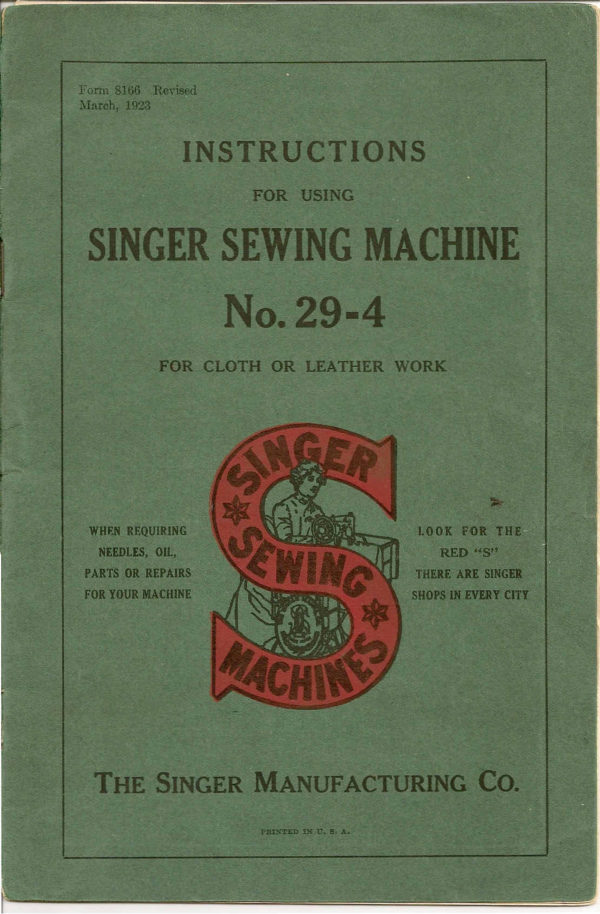
Form 8168 Revised
March, 1923

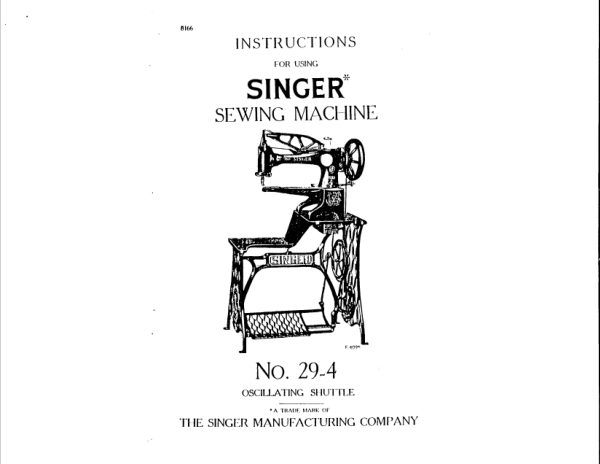
| INSTRUCTIONS

FOR USING

: SINGER SEWING MACHINE
| No. 29-4

FOR CLOTH OR LEATHER WORK

>

‘WHEN REQUIRING LOOK FOR THE

NEEDLES, OIL, RED “$7
PARTS OR REPAIRS THERE ARE SINGER
FOR YOUR MACHINE SHOPS IN EVERY CITY

THE SINGER MANUFACTURING Co.

2
View original page 1
Page 4 · Read text
Purchasing of Parts and Needles
                Supplies of parts and needles for Singer machines can be
           purchased at any Singer shop or ordered by mail.   If orders are
            sent by mail, money or a post office order covering their value,
            including postage, should be enclosed and the order Will then be
          promptly filled and forwarded by mail or express.


                      COPYRIGHT, U. S. A., 1914 AND 1923, BY Tm: SINGER MANUFACTURING Co.
                              ALL RIGHTS RESERVED FOR ALL Coux’rmnsi—
View original page 4Page 5 · Read text
DESCRIPTION
   Machine No. 29-4 is intended for use in manufacturing and
repairing  shoes, and  is  also useful  for stitching other articles
made of leather or cloth.   It has one needle and one shuttle and
makes the lock stitch.
   The machine has a cylinder bed which enables it to stitch
articles of cylindrical shapes and which adapts it especially for
sewing boots and shoes.   A detachable table can be furnished
when desired, an extra charge being made for  it.  This table
 is very convenient when flat work is being stitched.

              To Operate the Machine
    Raise the feeding foot.  Place your feet upon the treadle and
with the right hand turn the balance wheel over toward you; this
will start the machine.  ‘Continue the motion thus begun by an
alternate pressure of heel and toe, until a regular and easy move-
ment is acquired and the balance wheel kept in continuous rotation
by use of the feet alone.
   When you are thoroughly familiar with thetreadle movement,
and can restart the machine without turning the balance wheel in
the wrong direction, place a piece of material under the feeding
foot, let the foot down upon it, and operate the machine in this
way until you have become accustomed to guiding the material.

                  Needles and Thread
    Needles for Machine No. 29-4 are of Class and Variety 29X3
for cloth, or 29X4 for leather, and are made in sizes, Nos. 11, 13,
14, 16, 17, 18, 19, 21, 22 and 23.  The size of needle to be used
should be determined by the size of the thread which must pass
freely through the eye of the needle.   If rough or uneven thread
is used or if it passes with difliculty through the eye of the needle,
the successful use of the machine will be interfered with.
    Orders for needles must specify the quantity required, the
size number,  also the  class and  variety numbers separated by
an X.  The following is an example of an intelligible order:
        “100 No.  16, 29 X3 Needles,” for cloth.
        “100 No.  16, 29X4 Needles,” for leather.
    The best results will be obtained in using the needles fur-
nished by the Singer Sewing Machine Company.
View original page 5Page 7 · Read text
5

upon the stud A and turn the needle plate as shown in Fig. 3.
Turn the balance wheel until the point of the shuttle is nearest
you, then lift out the shuttle and bobbin With the thumb and fore—
finger; turn the shuttle downward and the bobbin will drop out.

               To Wind the Bobbin
     Place the spool of thread on the spool pin and pass the end of
the thread into the centre hole in the bobbin; then place the


                        FIG.  4. Wmumo THE BOBBIN
bobbin on the bobbin winder spindle and press it on as far as it
will go, having the slot in the side of the bobbin at the right.
Loosen the thumb screw on the bobbin winder and push it down
until the rubber ring presses against the rim of the balance wheel,
then tighten the thumb screw.
    Raise the feeding foot and run the machine, at the same time
guiding the thread with the finger as shown in Fig. 4.  When
the bobbin is sufficiently wound stop the machine, pass the thread
into the  slot; in the edge of the bobbin and take off the bobbin,
loosen the thumb screw on the winder, turn it up and tighten the
screw.
View original page 7Page 8 · Read text
6

              To Thread the Shuttle


                                  Take the bobbin in the
                                        right hand, the slot in the
                                   edge being at the bottom,
                                     allow about two inches of
                                     the thread  to hang  free
                                 from the bobbin.


  Hold the shuttle in the
left hand with the wide
opening up,  let the end
of the thread pass down
through the shuttle  (see
Fig. 5) and drop the bob-
bin into it.

1


                                  Turn the shuttle over
                                         in the fingers, holding the
                                   bobbin in  it,  and  draw
                                    the thread into the slot
                                          in the edge of the shuttle
                                 and under the end of the
                                      tension spring (see Fig. 6);
                                    then   pass   the  thread
                                   through the delivery eye
                                  which is in the upper edge
                    Fro. 7                   of the shuttle (see Fig. 7).
View original page 8Page 9 · Read text
To Replace the Shuttle
    After threading, turn the balance wheel until the shuttle
carrier lies at the right hand, then with the point of the shuttle


                                                                                                                      t Ivor

                 FIG.  8.  SHUTTLE THREADED AND REPLACED

nearest you and pointing toward the right, drop the shuttle and
bobbin into the recess provided for it, and turn back the needle
plate to its sewing position.


                To Set the Needle

    Turn the balance wheel over toward you until the needle bar
moves up to its highest point; loosen the lower screw in the needle
clamp and put the needle up into the clamp as far as it will go
with the long groove to the left and the eye directly in line with
the machine bed, then tighten the screw.  The upper screw in the
needle clamp is for use only when it is necessary to setasmall needle
nearer to, or a large needle farther from the shuttle by loosening
the screw and moving the clamp to the right or left.
View original page 9Page 10 · Read text
8

              To Thread the Needle
    Place the spool of thread on the spool pin so that when the
thread is drawn off, the side of the spool nearest you will turn to


                      FIG.  9.  THREADING THE NEEDLE//
the right.  Raise the wire in the oil cupon top of the arm, pass the
thread under it and press the wire back in position; then pass the
thread around the back of the pin which is near the tension discs,
and from back to front and right to left between the tension discs,
into the thread eyelet (see Fig. 9) and up and from front to back
through the hole in the take-up lever;  Draw about 10 inches of
thread through the holein the take-up lever and pass it down
through the hole which runs through the centre of the needle bar,
using the notched threading wire which  is furnished with the
machine.  Then pass the thread from left to right through the eye
of the needle.  Draw about three inches of thread through the eye
of the needle with which to commence sewing.
View original page 10Page 11 · Read text
9

               To Oil the Machine
    The machine must be thoroughly and carefully oiled at the
places designated by arrows  in  Figs. 10 and  11, and when in
constant use oil should be applied frequently.


                                                                                                               ,    , ,;;?—   — I,     :"~i\‘,'
    _%~


             FIG.  10.  OILING PLACES lN MACHINE AND STAND
View original page 11Page 12 · Read text
10

               To Prepare for Sewing
    With the left hand hold the end of the needle thread, leaving
it slack from the hand to the needle, turn the balance wheel over


            an                            en       ~ 73“

                                                     ,f‘


    2.2;                                      ill   i   .         l}

                                                                                                                                                                                                                                    Il   I             l             r
     My"I   5»             ,
      fi‘4


              FIG. 12.  DRAWING UP or THE UNDER THREAD

toward you until the needle moves down and up again to its
highest point, thus catching the under thread; draw up the needle
thread and the under thread will come up with it through the
hole in the needle plate  (see Fig.  12).  Lay both threads back
under the feeding foot.

               To Commence Sewing
    Place the material beneath the feeding foot, lower the foot
upon  it and commence to sew, turning the balance wheel over
toward you.
               To Remove the Work
    Let the needle bar rest at its highest point, raise the feeding
foot, then draw the material backward about 3 inches and cut
the threads close to the work.  Leave the ends of the threads
under the feeding foot
View original page 12Page 13 · Read text
11

                         Tensions
    For ordinary stitching the upper and under threads should be
locked in the centre of the thickness of the material, thus:
          wee-raga;
                          FIG.  13.  PERFECT STITCH

      If the tension on the upper thread is too tight, or if that on the
under thread is too loose, the thread will lie straight along the
upper surface of the material, thus:

               FlziljfilzlETE

                      FIG.  14.  TIGHT UPPER TENSION

      If the tension on the under thread is too tight or if that on the
upper thread is too loose, the thread will lie straight along the
under side of the material, thus:


                      FIG.  15.  Loose UPPER TENSION


              To Regulate the Tensions
    The upper thread tension is regulated by the thumb nut at the
top of the tension discs; to increase the tension turn over to the
 right, or to the left to decrease.  The under thread tension  is
 regulated by the screw near the end of the shuttle tension spring;
 to increase the tension turn over to the right, or to the left to
 decrease. When the under thread tension has been cnce properly
 adjusted it is seldom necessary to change it, as a correct stitch can
 usually be obtained by varying the upper thread tension.

                 To Turn a Comer
     Stop the machine and turn the balance wheel over toward
 you by hand until the feeding foot is raised, then turn the work
 as desired using the needle as a pivot.
View original page 13Page 14 · Read text
12

          To Regulate the Length of Stitch
    The length of stitch is regulated by the stitch regulator which
is held in. position by a thumb screw on the feed bar.  Loosen the
thumb screw and move the regulator down to lengthen the stitch
or up to shorten; the thumb screw must be tightened before
commencing to sew.

       To Regulate the Pressure on the Material
    The pressure on the material is regulated by the thumb screw
which is held in position by the lock nut on the back of the machine
at the centre of the long arm.  Loosen the lock nut and turn the
thumb screw around to the right to increase the pressure, orto the
left to decrease, then tighten the lock nut.  The pressure should be
heavier for work in leather than in fabrics and should only be
heavy enough to enable the feed to move the work along evenly.

       To Regulate the Lift of the Feeding Foot
    While stitching, the feeding foot rises off the fabric after it has
moved the work forward, moves toward the needle, and then
descends again upon the fabric; it is better that this lift should be
only sufficient to clear the thickest part of the work in hand; to
adjust the lift loosen the wing nut in the block on the long bar at
the back of the machine, and move the block toward the balance
wheel to cause the foot to lift higher, or in the opposite direction
to reduce the lift.

         To Change the Direction of the Feed
    As the work is moved along while stitching by the feeding
foot only, the direction of the stitching can be changed as desired
by turning the foot around by means cf the two handles above it.

       To Ensure Perfect Action of the Machine
    The balance wheel must always turn over toward you.
    Never run the machine without material between the feeding
foot and needle plate.
   Do not run the machine when both shuttle and needle are
threaded unless there is material under the feeding foot.
   Do not try to help the machine by pulling the work lest you
bend the needle; the machine feeds the work without assistance.
View original page 14Page 15 · Read text
HINTS
    The Belt.  See that the belt is not too tight; it should always
be tight enough not to slip.   If too loose remove the hook at one
 end, shorten the belt and rejoin.
    Machine Working  Heavily.    If the machine runs hard
 after standing idle for some time use a little kerosene or benzine
 in the oiling places, run the machine rapidly, then wipe clean and
 oil.   If it still runs hard it is certain that some bearing has been
overlooked in cleaning and oiling.
    To Avoid Breaking Needles.   See that the feeding foot is
securely fastened by the thumb screw.  Do not sew heavy seams      -
or very thick material with too fine a needle. A large needle and
thread to correspond should be used on heavy work.  See page 4.
     See that the needle is not bent and avoid pulling the material
when stitching, either will cause the needle to strike on the needle
plate and break.
    Breaking of Upper Thread.   If the upper thread breaks it
may be caused by:
        Improper threading of machine.
         Tension being too tight.
        The thread being too coarse for the size of the needle.
       The needle being bent, having a blunt point, or being
               set incorrectly.

    Breaking of Under Thread.    If the under thread breaks
it may be caused by:
        Improper threading of shuttle.
        Tension being too tight.
    Skipping  of  Stitches.  The needle may not be accurately
set into the needle bar or the needle may be blunt or bent.
View original page 15Related documents and language editions
SingerPDF
Singer 11w6 & 11w8
User manual
13 pages · EnglishRead →
SingerPDF
Singer 13K
User manual
12 pages · EnglishRead →
SingerPDF
Singer 144w204, 144w304
User manual
28 pages · EnglishRead →
SingerPDF
Singer 145w103, 145w203, 145w303
User manual
24 pages · EnglishRead →

SingerPDF
Singer 16-188
User manual
45 pages · EnglishRead →
SingerPDF
Singer 17-22 & 17-23
User manual
12 pages · EnglishRead →
SingerPDF
Singer 29-4 (black and white scan)
User manual
7 pages · EnglishRead →

SingerPDF
Singer 29-4 parts list
Parts list
18 pages · EnglishRead →

SingerPDF
Singer 29K parts list
Parts list
34 pages · EnglishRead →
SingerPDF
Singer 29k58 & 29k62
User manual
33 pages · EnglishRead →
SingerPDF
Singer 31-19 & 31-47
User manual
20 pages · EnglishRead →
SingerPDF
Singer 32-64
User manual
12 pages · EnglishRead →
From the ISMACS International. Original publisher and archive notices are retained.
Check the model and edition against your equipment.
PDF verified 2026-10-11.