Sewing machine accessories
Singer Buttonhole Attachment Model 121795 — User manual
User manual for Singer Buttonhole Attachment Model 121795. 16 pages in English. Read the original PDF, download or print a copy without registration.
16 pagesEnglish4.4 MB PDF
Loading your manual…Open PDF directly
Document details
- Brand
- Singer
- Model / document
- Singer Buttonhole Attachment Model 121795
- Document type
- User manual
- Language
- English
- Pages
- 16
- File size
- 4.4 MB
- Category
- Sewing machine accessories
- Document date
- Not specified in catalog
Search available document text
Find a term, then jump to its page in the original PDF. Image-only pages may not be searchable; check the PDF for exact wording and diagrams.
Page 1 · Read text
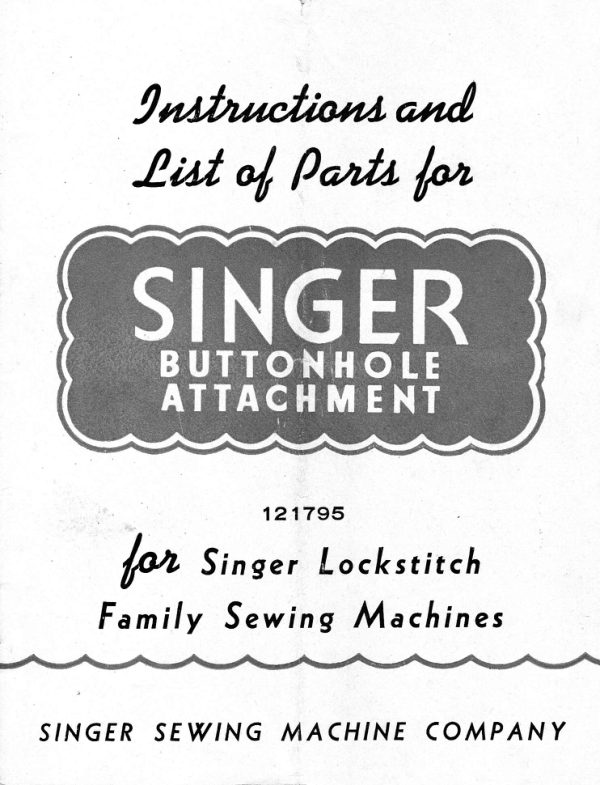
!fu*rril
   hrf rl P./da                   1,*


                 121795
             .Sin            ser Lockstitch     /r*
    Family .Sew ing Machines


SINGER SEW'NG MACHINE COIAPANY
View original page 1Page 2 · Read text
Modern Sewing is Dffirent


              ..SINGER" sewing rnethods and sew-       Modern
      ing equiprnent bring you ne\{ enjoyrnentt new
      speed and ease in sewing.
       Today, "SINGER" Electric Nlachines are
       practically autornatic. All you need do is
      guide the rnaterial. Quietly, srnoothly, under
       perfect control, the rnachines sew forward or
      backward at the flick of a handy lever, do darn-
      ing and ernbroidery work without special
      attachrnents, wind bobbins while you sewt
                                         without       create professional dressrnaker effects
       special skill on Your Part.
       Try a handsorne, new cabinet rrrodel which
      serves as a useful piece of fine furniture                                              r(Feather-     when it is closed. Or a handy' new
       weightt' portable with its lrrggage-type carry-
      ing case and its special folding utility table'


Copyright, u. S. A.,1939,1940,1941and  1946,byThe Singer ManufacturingCompany      -                     Alt Rigfits Reserueil for All Countries
View original page 2Page 3 · Read text
Instructiorus and List of Parts                                for
..SINGER"        BUTTOI{HOLE
           ATTACHMBNT 121795


 _ This attachment is intended for use on ,.SINGE1]-,, Lock
 Stitch Famih- Sewing Machines antl produces neat and durable
 bu.ttonholes in a great variety of fabrics .w-ithout any special
 skill on lhe par-t of the operator. The burtonholes ,." proir"*.1
 in a frar-tion of the time'reqrrired for hand uork and'they- -J are---- firmer and more even than ilrose made bt hand.
   The attachment can be adjusted to maie buttonholes from
 3f to one inch long. and the spacing of stitches,.w.idth of stitch
 ano amorrnt ol ruttrng space can also be changed at will. When
 desired" bultonholes                     longer                           than                              one                                       inch                                            can"also                                             be--- made---"- by-J following          the instructionE                            on                          given                                pages                                     6                                                urrd i.
    SINGER SEWING MACHII{E CO.
View original page 3Page 4 · Read text
2

TO FASTEN ATTACHN,IENT TO N{ACHINE
   1'. Remove the presser foot and presser foot screw from the
       machine..
   2.  Place the feed cover plate (H ) in position as shown in Fig' 2'


                   Fig. 2. Right Side, ShotoirLg FeeLl Couer Plate
    3.  Fasten feed cover plate to the bed of the machine with the
       screw (J), making sure that the needle passes through the
        center of the needle hole in the plate.
         This feed cover plate must be used, with the buttonhole
       attachment at all times. Do not drop the feed'
View original page 4Page 5 · Read text
3
            4.  Guide the attachment into posrtion from the rear of the
           machine so that the fork (D) straddles the hub of th': needle
                                                                        presser           clamp, and securely fasten the attachment to the
            bu. *ith the slotted clamping screw (E)' Turn the thread
              cutter (C, Fig. 3) to the left if it interferes with the attachment'

                                                                                                      is            5.   Slightly increase the pressure on the presser bar so that it
              just sufficieo.t to hold the cloth firmlv'
            6.  Thread the machine as for ordinary sewing arrd draw the
            bobbin thread. up through the needle hole of the feed cover
               plate.
             The machine and attachment are now read'y for making
              buttonholes.
                      It is suggested. that befo,re making buttonholes on fin-
             ished garme.tts, the user should make a numher of sample
             buttonholes so that she may become familiar with the oper-
            ation of the attachment and with the various possible
              adjustments.

     N{AKING OF BUTTONHOLES AND ADJUSTIIENTS
          Use of Backing with
            Nlediurn or Light Weight Materials
I            For best results in medium or light weight materials, insert a
          piece of organdy or lawn, or light weight bond or writing paper
         Letween the facing and the garment for reinforcement'
                If it is not possible to insert the paper between the facing
        and the g""-"ri, the same results may be obtained by placing
          the backing on the underside of the material'
View original page 5Page 6 · Read text
4
TO START'I]TIE I}UTTOF{HOLE
   t. Mark the size and position of the buttonhole on the gar'
     ment with a soft pencil or with basting stitches.
                                                                 feed-  2. Turn the thumb nut (8, Fig. 3) toward you until the
      ing foot is in its farthest lbrward position, i.e., closest to You.

                                                                                                     ;t'r:. ..*
                                               CIff"                    Ytt-'_.

                                                                                                  rf;.':,:.i*


            Fig. 3- Left Siite, Showing Adjustments and Oiling Points
  3. Lower the needle into the end of the buttonhole vou have
     marked out nearest to the edge of the garment.
  4. Lower the presser bar quickly so as to sink the teeth of the
      foot into the goods.
    NOTE: l'he stitching can be started at any point on the circumference   of ih" brttorhole, but ih. ,""t""t and stroig6st buttonholes will res.lt
  from starting and'finishing at the end closest io rhe edge o{ thc garment,
   which is accimplished by iollowing the instructions given above'
SPEED OF }IACHINE
      Best results will be obtained by running the mdchine slowly'
  Allow the attachment to feed the material freelv to right and
   Ieft and forward and back.
View original page 6Page 7 · Read text
5

THREADS AND TENSION
  Whipstitch Buttonholes
     For whipstitch buttonholes use ordinary or heawy bobbin
  thread tension, and lighter top tension to draw lock of stitch
  to underside of buttonhole. Fine upper thread makes the pret-
   tiest whipstitch buttonholes. The bobbin thread need not be so
   fine. Meicerized upper and lower threads give very good results.
  Purl Buttonholes
     For purl buttonholes, resembling hand'made buttonholes,
  have the bobbin thread tension very light and adjust the needle
  thread tension according to the material being used, so as to
  draw the lock of the stitch to the top of the material. It may not
  be necessary to alterthe adjustment of the bobbin thread tension
   if fine thread or silk is used on the bobbin. Either No. 50 or
  No. 60 Mercerized" or No. 40 to No. 60 cotton thread, or "A"
   silk should be used on the bobbin for best resultso with the
  same color of No. 40 to No. 60 colton thread or heavy duty
   l\{ercerized thread in the needle.

TO SECURE EXTRA STRENGTH
     The buttonhole can be stitched over twice or more before
   stopping the machine, if extra strength is desired.

LENGTH OF BUTTONHOLE
  To Adjust Length of Buttonholes
  Frorn 3l lnc}n to I Inch Long
      Loosen the thumb nut (A, Fig. 3). Move it down in the slot
                                                        buttonholes'  for longer buttonholes, or upward for shorter
  Using a" scrap of material, adjust the spacing of stitches, the
   bight and the cutting sPace, as desired.
View original page 7Page 8 · Read text
6
 TO MAKE BUTTONHOLES LONGER THAN T INCII
      BUT NOT EXCEEDING ITh INCHBS
   Loosen the thumb nut (A, Fig. 3), and move it all the way
down in the slot to make a one'inch buttonhole, then tighten
thumb nut.
   Adjust the pointer (M, Fig. 2) for the desired number of
stitche; per inch, as it is not possible to stitch the buttonhole
a second'time. (See spacing of'stitches on page B).
    It is advisable to slightly increase the cutting space for ex-
tended buttonholes. (See cutting space on page 8).
   Mark length and position of buttonholes on the garment, add'
                           end of the buttonhole, as shown at Aing a mark li" lrom ih" inn",
in Step 1.
                          STEP I
    STEP   I             Turn thumb nut (B, Fig. 3) to bring
   EdTe of Garment       rhe feerling foot all the way-turnforward
                      toward yo"u and around the       until
                            line 2 at top of the indicator plate is
                         onnosite the needle.                            'i'Iu"" garment under .feeding foot,                      Ovsmll t+2-
 3-4-                Lenqtho/'     withinner theend pointof but-(A) marking l("  frorn
  6-                 Euttonhole   tonhole, directly                                          STEP 2 7-8* g-                                               It      under the needle,      EdTe of Gorment                        shown, then   t0-              as                        lower the attach-
                       ment.
          STEP 2                          t+2-
                                                   3-4-   Stitch as for the average buttonhole,
stopping with the needle directly oppo-     6r
 site the first stilch taken, and leaving    8-
the needle in the material, on the in-   9---10,
side of the bultonhole.
View original page 8Page 10 · Read text
8

SPACING OF STITCHES
    The space between the stitches is determined by the posi-
                                           space turn pointer  tion of tlie pointer (M, Fig. 2)' For larger
  toward. L, and for smaller space toward S'

BIGHT-(Width of Stitch)
    More bight is necessary for loosely woven or thin material
  than for tightly woven or thick material'
                                                                           2)    To change width of bight, loosen thumb nut (K' Fig'
  and move it toward W for wider bight, or toward N for nar-
  rower bight.

CUTTING SPACE
      There should be just enough cutting space to permit cutting
   the buttonhole uithout cutting the stitches' Too much cutting
   space will make a ragged-looking buttonhole'
    To change the width of the cutting space' loosen the thumb
                                              for wider space' or toward   nut (L, Fig."2) and move it toward I[
  N for narrol{er sPace.

 PROPORTIONS OF BUTTONHOLE
     Vhenever an adjustment is made in the length of the button-
   hole, a corresponding adjustment may be required in the spac-
   ing o{ stitcheJ, the bight of the stitch and the cutting space so                                                             If the bight of     . as"to prod.uce u *g11-"proportioned buttonhole'
   the stitch is increasei o, d,""."u."d, this naturally affects the
   cutting space and it is necessary to adjust this accordingly'
View original page 10Page 11 · Read text
I
CUTTING THE BUTIIONHOLE
    When buttonhole is completed, cut opening with sharp
   pointed or embroidery scissors. Start in center of buttonhole
    first, cutting toward one endl then cut towartl other end of
   buttonhole until opening is complete. care should be exercisetl,
   o{ course, not to cut any o{ the stitches making the buttonhole.

 TACIflNG
     When it is desirable to make tacking for reinforcement on
   various parts of a garment, the buttonhole attachment can be
   used. The result is a strong row of double stitching, stitched
   twice over, which can be adjusted as to width and length.
   'Iacking is used to strengthen the ends of plackets and other
  openings or seam joinings where special strain is placed. It
   lengthens the life of clothing and is especially effective on chil-
   dren's garments. It makes a neat, professional finish that will
  not tear out.
    To make a tack, move the nut (L, Fig. 2) all the way back
  to N.
     This eliminates the cutting space so that the two rows of
   stitching overlap to form a single tack, the length, width and
  stitch-spacing of which can be regulated in the same manner
  as in making buttonholes.

LUBRICATING THE ATTACHNIENT
      Occasionally applv a drop of "SINGER"oil oT"SINGER"
  motor lubricant to the points shown by arrows in Figs. 2 and 3,
  then wipe dry so as not to stain the work.
View original page 11Page 14 · Read text
12

  NO.                          DESCRIPTION
121836   Rear Cam Clutch Retaining Ring
121837       '(   "   Shaft including Washer l2l932                           tt 51706w   "    "      Thumb Nut
                                        (also Rack Washer)121832     "      't    "   Washer
121823  Cam (front or rear) l-riction Washer                                         t'I 40321c    "         't   "       Set Screw
t2t9L2     "   (front and rear) Brake
L2tB26   Length Adjusting Aj_                                    po.itio,L2L827                                  Ti, 51703w                                     Th.,rrb Nr.
                                (also Bell Crank Nut, front and riar)
                                                                                               a sh erl2lg25   Len gth Adj ustin g                     Nut w
121913121583                    il- fili:!?i:idl"  (sma[l; (also::"i,for Pawl 12t582)
121830   Rack
121831     "  Segment             rt     "t(                   Vasher (also Rear Cam Shaft Washer)t2lq32
121B3Bx  Stireh Adlustingu       Pointer including Stud                           tt121839      "                        -['riction"Washer
r4046h  Buttonhole Attachment Screw
12 I818   Feed Cover Plate including Screw 140320w                                 tt140320w     "     "        Screw


             Order parts by number,.mentionino
           Attachment NJ. iri?95 (lrr"il'n"l.E>.
    Duplicate parts are obtainable from "SINGER" Shops.
View original page 14Page 15 · Read text
ZIGZAGGER  (6e1oro).                  HEMSTITCHER (belou).
Simulotes harilu'ork Joi'                       Embles vou to do your
a 1  t pl.v  itt g la ce ^.a p p  li q u e,                                 hemstitchirg on your oun
mon0gramtnlng,  and                                sewing machine.
decoratiue   stitching.


                 SING ERCRAFT
                   GUIDE (aboue1. Makes
                              rugs. .fringes and trim-                      mings on your sening
                               mo.chine-
          .ESINGER" FASHION AIDS
                                                   possible to simulate  "SINGER" Fashion Aids, bY making ithandw-ork on a machine, bring new magic to the art of sewing.
   Fashion A.ids are simple to operate and
fun to use. Instruction on their use is gladly
given lt-ithout charge at any "SINGER"
Sewinq Center.
     T,-r-.". lor vourself what miracles can be
performed on a sewiltg machine. stop in at'rour      nearest "Sl\GER"' Shop and ask for a
d.emorrslralion of "Sl\GER't Fashion A'ids.
Other "SINGER" Fashion Aids, not illustrated' are:
                        QUILTER
                        BRAIDER
                       FAGOTER
                          EDGE.
                         STITCHER
                            HE}INIER
                                 SKIRT  1T'TARKER.                      CORDER                                        Handv fur marking Your
                           GATIIERER,    ou- h",ilires by ydu-rselt.
HAND PINI(ER. For Jinishing    Etc.                 Set at proper heigqht, squeeze seams. Pinhs a u'iile uoriot.v ol ma'                 bulb as vou turn dnd
 rcrials includittg  oilclutlt, telt and                           straight chalk line is mada
 leather.
View original page 15Page 16 · Read text
"SINGER"SunvrcE.u.


                     Sew !     fo, Women Who
   Your "SINGER" Serving (lenter is a center for service-
whether it be repairs, instructions, parts and supplies, or merely
helpful suggestions.
   Thousands of women come to us each month for sewing
lessons, or advice on selecting a pattern or material, or help in
setting a sleeve or some other sewing problem.
   Take advantage o{ this service it  is maintained by the
Singer Sewing Machine Company for your convenience.


     SINGER SEWING MACHINE CONIPANY

 Form 19?28
 Revised
 (347)                       Printeilin U. S. A.
View original page 16Related documents and language editions
SingerPDF
Singer "Famous" Buttonholer Models C and D
Parts list
4 pages · EnglishRead →
SingerPDF
Singer B.U.K. Electric Motor (1930, knee control)
User manual
10 pages · EnglishRead →
SingerPDF
Singer B.U.K. Electric Motor (1931, foot control)
User manual
20 pages · EnglishRead →
SingerPDF
Singer Blind Stitch Attachment
User manual
20 pages · EnglishRead →
SingerPDF
Singer Buttonhole Attachment Model 121795
User manual
8 pages · EnglishRead →
SingerPDF
Singer Darning Foot Model 121094
User manual
4 pages · EnglishRead →
SingerPDF
Singer Edgestitcher
User manual
4 pages · EnglishRead →

SingerPDF
Singer Flat-Work Darner
User manual
11 pages · EnglishRead →
SingerPDF
Singer Foot-Bar Attachments
User manual
20 pages · EnglishRead →
SingerPDF
Singer Hand Operated Pinking Machine
User manual
12 pages · EnglishRead →
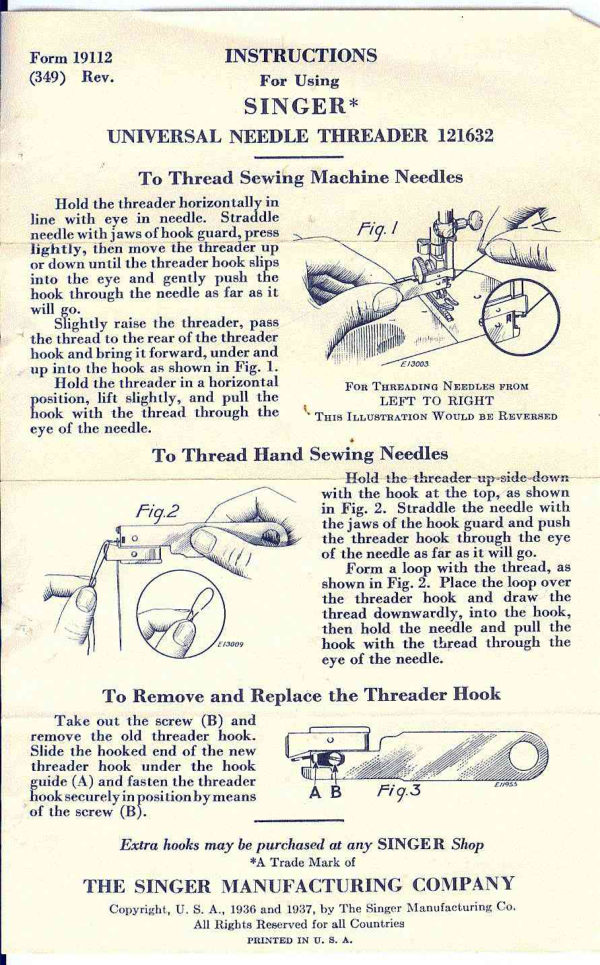
SingerPDF
Singer Needle Threader
User manual
1 pages · EnglishRead →
SingerPDF
Singer Professional Model Buttonholer
User manual
16 pages · EnglishRead →
From the ISMACS International. Original publisher and archive notices are retained.
Check the model and edition against your equipment.
PDF verified 2026-10-11.