Sewing machine accessories
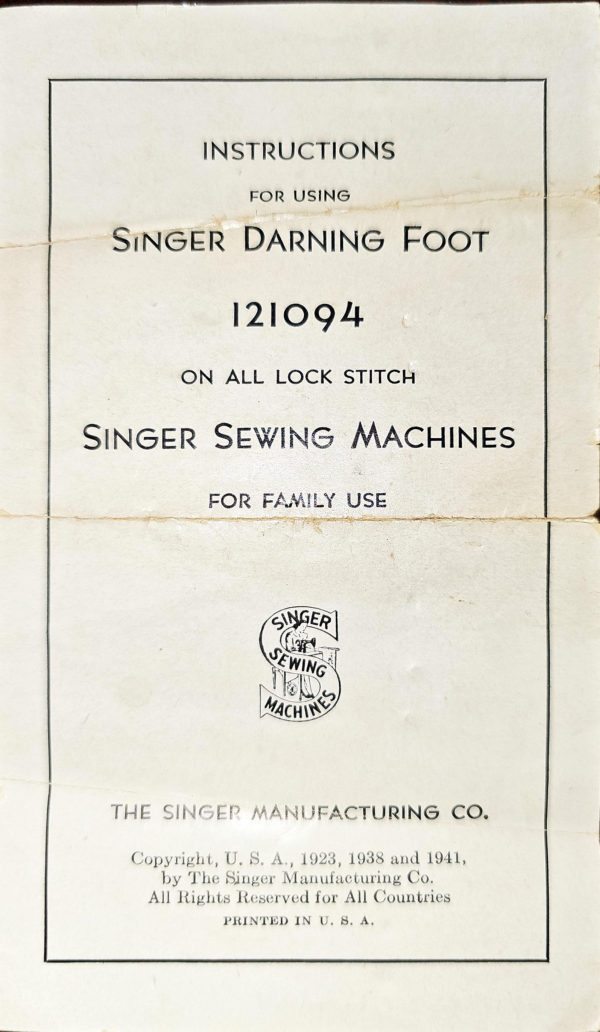
Singer Darning Foot Model 121094 — User manual
User manual for Singer Darning Foot Model 121094. 4 pages in English. Read the original PDF, download or print a copy without registration.
4 pagesEnglish7.2 MB PDF
Loading your manual…Open PDF directly
Document details
- Brand
- Singer
- Model / document
- Singer Darning Foot Model 121094
- Document type
- User manual
- Language
- English
- Pages
- 4
- File size
- 7.2 MB
- Category
- Sewing machine accessories
- Document date
- Not specified in catalog
Search available document text
Find a term, then jump to its page in the original PDF. Image-only pages may not be searchable; check the PDF for exact wording and diagrams.
Page 1 · Read text
INSTRUCTIONS

                FOR USING
  SINGER DARNING FOoT

       121094
      ON ALL LOCK STITCH

SINGER SEWING MACHINES

         FOR FAMILY USE


              ANAER

                 SEWING


   THE SINGER MANUFACTURING  CO

        Copyright, U. S.A., 1923, 1938 and 1941,
        by The Singer Manufacturing Co.
            All Rights Reserved for All Countries
                PRINTED IN U. S, A,
View original page 1Page 2 · Read text
DARNING ON THE SEWING MACHINE

  One  of the most tedious and time-consuming
 household tasks is darning. This may be done easily
and quickly on the sewing machine without  eye
 strain.  Notonly is the machine darning neater than
 that done by hand, but it is stronger,  even more
durable than the original fabric.

  Best darning  results  (especially when  using fine
thread)areobtained if the sewing machineisequipped
with the Singer Darning Foot to prevent the work
from rising with the needle. A Singer Darner or em
broidery hoops may be used to hold thework while
darning.


                                                                        de  On Singer machines having a feed throw-out
toe the feed sheuld be dropped  so that  it will not
catch the material being darned. Onothermachines,
a feed cover plate should be used, as shown in Fig. 1.
If no cover plate  is  available, adjust the  stitch
regulator for the shortest possible   stitch.

   TO ATTACH THE DARNING FOOT

  Turn the balance wheel  until the needle is raised
toits highest  point.

  Raisethepresser bar and remove the presser  foot,
then securely fasten thedarning foot to the presser
bar by means of the presser  bar thumb serew (C,
 Fig.  1). A  slot  in the shank of the darning  foot
 permits an adjustmentfor accommodating different
       nesses  of work. Lower  the presser bar and
View original page 2Page 3 · Read text
adjust the height of the darning foot so that therc
 is just enough clearance  for the work tobe moved
 freely under the darning foot.


                                       FIG.  1
                                  DARNING FO0T AND
                                  FEED CovER PLATE
                                             INSTALLED


                      E2739


    THREADING
  On Machines 66 and 99,
 besure topass the thread
through the hole in theslack
thread  regulator  as shown
in Fig. 2.

   All  other types  of   ma                                    FIG. 2chines  are threaded  in the
                              THREADING FOR DARNING
regular way.                  ON MACHINEs 66AND 99

  Pass the thread  through  the  hole (D, Fig.  1)
in the darning foot for all machines.
View original page 3Page 4 · Read text
TO DARN
   Placethematerial tobe darned between  embroid
ery hoops, or in a Singer Darner and stretch  the
material  tightly  over the frame.


                                  E5408
                      TiG. 3
              PARTLY COMPLETED DARN

  Cut away the frayed material around the edges
of the hole tobe darned.  Raise the presser bar,
hold the darner frame in an upright position  back
of the arm and bring it down under the darning
foot, then lower the presser  bar to restore the ten
sion on theneedle thread. Draw up the bobbin
thread the same as for sewing.
  After twoor three stitches are  made, cut off the
looseendsof thread so that they  willnot be stitched
into the darn.
  Outline theedge to be daraed with three rows of
stiteling  about    inch from  the edge, then start
at one end and sew back and forth across the hole.
  After the hole is covered with the threads running
 in one direction,  turn the work around  and sew
 erosswise  to complete the darn.
 FoRM 19959
 (542)
View original page 4Related documents and language editions
SingerPDF
Singer "Famous" Buttonholer Models C and D
Parts list
4 pages · EnglishRead →
SingerPDF
Singer B.U.K. Electric Motor (1930, knee control)
User manual
10 pages · EnglishRead →
SingerPDF
Singer B.U.K. Electric Motor (1931, foot control)
User manual
20 pages · EnglishRead →
SingerPDF
Singer Blind Stitch Attachment
User manual
20 pages · EnglishRead →
SingerPDF
Singer Buttonhole Attachment Model 121795
User manual
16 pages · EnglishRead →
SingerPDF
Singer Buttonhole Attachment Model 121795
User manual
8 pages · EnglishRead →
SingerPDF
Singer Edgestitcher
User manual
4 pages · EnglishRead →
SingerPDF
Singer Flat-Work Darner
User manual
11 pages · EnglishRead →
SingerPDF
Singer Foot-Bar Attachments
User manual
20 pages · EnglishRead →
SingerPDF
Singer Hand Operated Pinking Machine
User manual
12 pages · EnglishRead →
SingerPDF
Singer Needle Threader
User manual
1 pages · EnglishRead →
SingerPDF
Singer Professional Model Buttonholer
User manual
16 pages · EnglishRead →
From the ISMACS International. Original publisher and archive notices are retained.
Check the model and edition against your equipment.
PDF verified 2026-10-11.