Film cameras
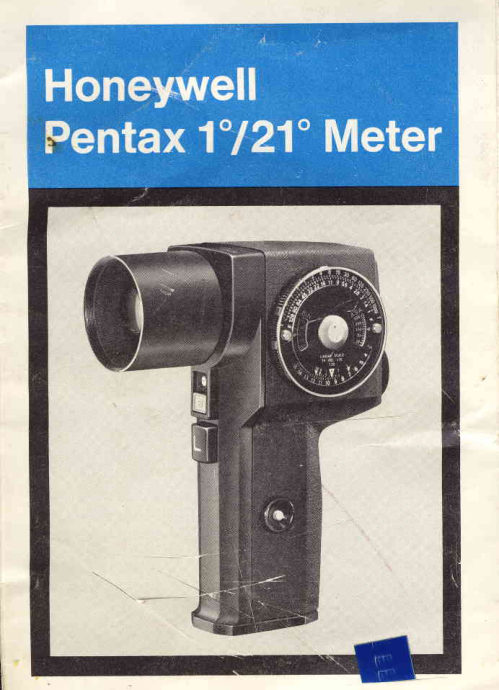
Difference Data Sheet Honeywell Pentax 1 / 21 Spotmeter User manual
User manual for Difference Data Sheet Honeywell Pentax 1 / 21 Spotmeter. 5 pages in English. Read the original PDF, download or print a copy without registration.
5 pagesEnglish3.4 MB PDF
Loading your manual…Open PDF directly
Document details
- Brand
- Pentax
- Model / document
- Difference Data Sheet Honeywell Pentax 1 / 21 Spotmeter
- Document type
- User manual
- Language
- English
- Pages
- 5
- File size
- 3.4 MB
- Category
- Film cameras
- Document date
- Not specified in catalog
Search available document text
Find a term, then jump to its page in the original PDF. Image-only pages may not be searchable; check the PDF for exact wording and diagrams.
Page 2 · Read text
DIFFERENCE DATA SHEET
    HONEYWELL PENTAX 1" /21' SPOTMETER
The Spotmeter lll is identical to the Spotmeter covered in the accompanying
instruction book catalog No. 7001 with four exceptions:
     r The addition of a more rugged taut-band meter suspension.
     r The light level scale is illuminated for reading in dim light. To illumi-
       nate the scale, just depress the scale illumination button on the handle
       of your Spotmeter.
    r The addition of an IRE (lnstitute of Radio Engineers) scale to be used
       primarily by the television industry for accurate determination of
      exposure and contrast ratlo.                                       *'afKt? ss
    r The addition of special color indexes for reading the precise exposure
       of different colored subjects.
The photographs show the differences between the Spotmeter in the instruc-
tion manual and the new Spotmeter  lll.


                                                                                                        73001 359-001
View original page 2Page 3 · Read text
1. IRE Scale
           2. Standard Index for Light Levels
          3. Light Level Scale
          4. Scale llluminator Button
www.butkus.us
View original page 3Page 4 · Read text
Using the IRE Scale
IRE units are used for percentage comparisons of energy levels. The television industry uses
this system to compare the contrast ratio of their lighting set-up, which must be maintained
within a ratio of 1 to 30 or slightly less than 5 f/stops.
    The IRE scale (item 1 in photograph) was incorporated lor comparison of the light energy
levels when making exposure measurements. The IRE scale has indexes from 1 to 10. The
figure 1:32 on the calculator indicates the ratio between IRE scale 1 and 10.
    The brightest spot in the highlight area is rated at 10 (100% IRE) and the other areas are
compared with this brightest spot in percents. The index 1 (10% IRE) indicates 10% of the
energy of the brightest spot. The other indexes from 2 to 9 (20 to 90% IRE) are also per-
centage comparisons of the brightest spot.
    The large triangle index with the green dot between indexes 3 and 4 (not marked) is the
standard index which shows the optimum exposure based on the 18% gray card.
   The IRE scale from 1 to 10 covers 5 Exposure Value (EV) ranges or a contrast ratio of
1 to 32. In television broadcasting the contrast ratio of the picture is limited to 1 to 30. And so,
the illumination for television film is adiusted so that the contrast ratio is kept within a ratio
of 1 to 30.

Using the Special Color Metering Technique
The index 10 on the IRE scale corresponds to the maximum brightness in the highlight detail
reproducable on most color films. The index 1 corresponds to the minimum brightness  in
the shadow detail reproducable on color films. With a Spotmeter, the extreme selectivity of
the 1'acceptance angle may allow different colored areas to indicate an incorrect exposure.
The meter is fully color balanced (see page 27). However, different colors have more or less
reflection than an 18Vo gtey card. For precise metering of colors, the exposure calculator is
View original page 4Page 5 · Read text
marked with colored indexes which compensate  for the differing reflection. Yellow has a high
 reflection. So if you spot read a yellow area and used the standard index to determine the
exposure, the picture would be underexposed. To achieve proper exposure according to the
color of the picture, set the observed light level number below the appropriate index:
Subject Color                                Color Metering Index
White Spot                                    Index 10 (white)
Yellow Spot                                   Index 8 (yellow)
Orange Spot                                  Index 6-7
Red Spot                                      Index 5 (red)
G reen Spot                                Standard Index (large triangle with green dot)
Dark Blue Spot                               Blue dot between 2 & 3
Cofor Reading Example 1: (See plate 11, page 44 of your instruction book)
Problem: To determine correct exposure with a single reading of the bright yellow barn.
Solution: Set the light level number metered from the yellow barn opposite the yellow index
(number 8) rather than the Standard Index.
    Using the yellow index when metering a yellow subject compensates for the greater re-
flectance of that color, and indicates the same exposure as if an 18% standard grey card
were placed at the subject and the light level reading was set at the standard index.

Example 2:
Problem: To accurately determine the exposure for a white subject. Solution: Read the light
level directly off the white subject. Set this light level number opposite the white index (num-
ber 10). Since the white subject is more reflective than the standard for which the Spotmeter
is calibrated (the 18% grey card), the white index should be used. This compensates  for the
diflerence in reflectance and the meter will indicate the same exposure as if a reading were                          www.butkus.usmade from a grey card and the light level set at the standard index.
View original page 5Related documents and language editions
PentaxPDF
Pentax 1-21 : HOW TO USE THE METER
Reference guide
9 pages · EnglishRead →
PentaxPDF
Pentax New scan of just the metering pages
User manual
18 pages · EnglishRead →
PentaxPDF
Pentax Spotmeter circuit diagram
User manual
3 pages · EnglishRead →
PentaxPDF
on the Pentax 1% - 21% Spotmeter
User manual
104 pages · EnglishRead →
From the M. Butkus archive. Original publisher and archive notices are retained.
Check the model and edition against your equipment.
PDF verified 2026-10-10.