Film & darkroom
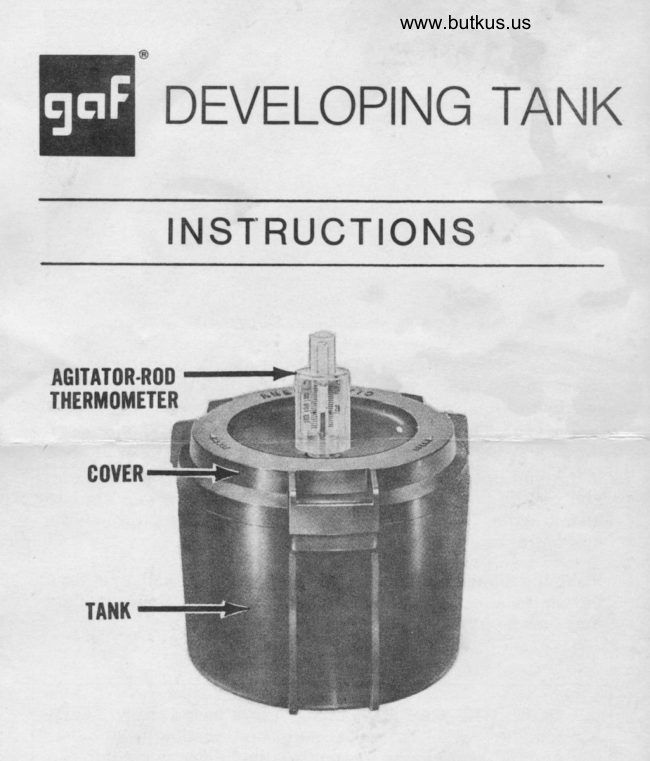
GAF Film Developing Tank User manual
User manual for GAF Film Developing Tank. 11 pages in English. Read the original PDF, download or print a copy without registration.
11 pagesEnglish2.8 MB PDF
Loading your manual…Open PDF directly
Document details
- Brand
- Gaf
- Model / document
- GAF Film Developing Tank
- Document type
- User manual
- Language
- English
- Pages
- 11
- File size
- 2.8 MB
- Category
- Film & darkroom
- Document date
- Not specified in catalog
Search available document text
Find a term, then jump to its page in the original PDF. Image-only pages may not be searchable; check the PDF for exact wording and diagrams.
Page 1 · Read text
www.butkus.us

    DEVELOPING TANK

     INSTRUCTIONS


AGITAT|lR.R(lII
T]IERTOTETER


    COUER


     TAlll(
View original page 1Page 2 · Read text
-                  ol


EQUIPMENT
In addition to the developing tank, you will need the following
items: L6 oz graduate, plastic funnel, stirring rod, sponge,
and film clips.

SETTING UP
The kitchen is a good place for film developing  (if you don't
have a darkroom). cover the sink drainboard, or other sur'
face selected for work, with several layers of newspaper'
check the temperature of the processing solutions with the
agitator-rod thermometerir supplied with your GAF Develop'
ing Tank; the temperature of the solutions should be 68F
(2bC). For an accurate reading, give the thermometer time
to reach the temperature of the solution.
  .J, check your thermometer;  if the spirit-line  tt'  temperature has separated (due to vibration duringindicatingshipment)'the
        rejoin it by shaking the thermometer as you would a fever'
      thermometer.
View original page 2Page 3 · Read text
lf the solutions are too warm, set them www.butkus.usin a tray of cold water
 until they cool off; if they are too cold, use warm water. when
the solutions have reached the desired (6BF) temperature,
 fill the tray with 6BF waterto keep the solutions ready for use.
 ff you don't have a tray, use the kitchen sink. Keep the water
 level in the sink low; the botiles shourd not be immersed be-
cause water may seep in and dilute the solutions.

ADJUSTING THE REEL
The transparent flange can be adjusted on the reel-core to
three positions, indicated by crick-stops. The reel is adjusted
for 120 and 62o-size films when the top of the transparent
flange is flush with the top of the reel-core. when the trans-
parent flange is moved one notch toward the black flange
(Fig. 1), the reel is adjusted for r27-size film. when t[e
transparent flange is moved down as far as it will go, the reel
is adjusted for 35mm, B2B, and 126-size films.


                               r'i'''"  1       I:I
                                          .::

                           *.,1                                                    ,,fi   \
     1l
             d.,$-
View original page 3Page 5 · Read text
LOADING THE FILM
The film must be loaded in complete darkness. rf you don't
have a darkroom, use a closet at night, or an inexpensive
"changing bag" (sold in camera stores).
Be sure that the room or closet in which you load the tank is
completely dark. stay there at least five minutes before you
open the film, to let your eyes get used to the darkness.
The reel must be GLEAN and DRY. The corners of the film
that enter the grooves of the reel shourd be rounded off
slightly. cut off the tapered leader of 35mm films between
perforations.
To open a 35mm magazine (in the dark), rap sharply the pro-
truding end of the spool on a hard surface. The opposite end-
cap of the magazine will pop off, allowing the removal of the
spool with the film. Leave the film on the spool; it is now
ready for loading. Use care to keep the film perpendicular, not                   lrpermitting  it to swing back and forth, like a pendulum.                                                                 i;                                                                                   -{
with roll films, only the seal has to be broken and the protec-                                              i!iiH
tive paper wound off until the film is reached. peer away the
paper from the film, cutting free the end that is attached to
                                                                                                   Hthe paper.
                                                                                                                                                                                                 t,with r26-stze (instant-loading type) cartridges, remove the
film by breaking the cartridge apart; the firm is then handled                     iiir
as a roll film.                                                                                                                                                   il
     HANDLE THE FILM BY THE EDGES ONLY;
   touchirrg the emulsion-side may leave permanent marks.           F
Insert three or four inches of film into the reel by pushing it               t.
through the entrance slots (at the thickest part of ir'e             l1
flanges), as shown in Fig. 2.                                                                                                                                                                                  I'i
View original page 5Page 6 · Read text
;,1:{$ri"    www.butkus.us
2


Take hold of the edges of the reel. The clear flange is in the
left hand, the black flange is in the right. Twist the black
flange forward (away from you), as far as it will go, then twist
it back (toward you), as far as it will go (Fig. 3). Repeat this
until all of the film is wound on the reel.

When you load a 35mm film, it will stop when the spool
reaches the entrance. Cut the film at the edge of the spool
and continue winding.
View original page 6Page 7 · Read text
3


                                                 Digitally signed by Mike Butkus
                                     DN: cn=Mike Butkus, o=Butkus camera
                                        manuals, ou=butkus.org,Mike Butkus  email=mike@butkus.org, c=US
                                           Date: 2021.08.15 15:32:24 -04'00'

   Two slight clicks are heard when the end of the film passes
    the entrance. Make sure that all of the film is wound on the
    reel by running your finger around it; the edge you feel should
   be past the entrance (your finger will not mark the film, since
    the emulsion is inside).
      lf the film does not go on the reel smoothly, do not force it.
    Pull off the adjustable flange, remove the film, and start to
    load it again. Do not attempt to pull the film back through the
    film entrance.
    Place the loaded reel in the tank (with the clear flange on top).
    Put on the cover; lock  it by turning it clockwise. The room light
   may now be turned on.
View original page 7Page 8 · Read text
www.butkus.us
    NOTE: The GAF Developing Tank has a truly "easy'
    loading" reel. To make sure that loading will be as
    smooth as it can be, remember the following points:
 Il. The end of the film that enters the reel should have
     slightly rounded corners. On 35mm films, cut off the
    tapered leader between perforations, not through the
     holes.
                                 you must develop morenZ.  The reel must be perfectly dry. lf
    than one roll of film,  it is better to use a separate reel for
    each roll (additional reels may be purchased at your
     dealer). Even small droplets of water (not visible in the
    grooves) may interfere with the smooth loading of the
     film (this is true of all reel-type plastic tanks).
r|O. Ghemical residue shou,ld not be allowed to accumulate
    on the clips, in the grooves and under the rollers. lt is
    important to clean them with warm water (not hot) after
    each use. Clean the entire length of the groove in each
     flange with cotton wrapped around the tip of a toothpick.
    Pay special attention to the part under the roller, and to
    the roller itself.
4.  Do NOT use hot water to clean your tank or reel, and do
     not store  it near a radiator or other source of heat. Tem-
     peratures over 140F (60C) may damage the plastic. A
    heat-damaged reel is difficult to load.
View original page 8Page 9 · Read text
PROCESSING
The following GAF laboratory-tested chemicals are recom-
mended: HYFINOL@-L  fine grain, high acutance developer and
GAF Acid Fixer with Hardener.
Pour the required amount of developer into the graduate,
according to the following table:
Film size                              Required amount of
                                                   solution
L20,620                                   16 oz
r27                                        t2 oz
35mm, 126,828                         9oz
Through the opening in the center of the cover, pour the
developer from the graduate into the tank, as fast as the tank
will take the solution. As
soon as the developer is in
the tank, insert the agitator-
rod and turn it back and
forth briskly, 5 or 6 times
 (Fie. 4); then pick up the
tank (without tilting it) and
rap it sharply against the
 newspaper covered working
surface to dislodge the air
bubbles adhering to the
 film. Agitate for about five
seconds during each half
 minute by turning the agita-
tor-rod back and forth.
 Develop for the time rec-
 ommended for the film/de-
 veloper/temperature com-
 bination you use.
 Whila   tho   filrn    ic  haino
View original page 9Page 10 · Read text
While the film is being         www.butkus.us
developed, rinse out the
graduate and fill it with the
required amount of short-
stop. lf you do not use a
shortstop,  fill the graduate
with the fixer.
When developing is com-
pleted, pour the developer
through a funnel back into
its bottle. Pour the short-
stop into the tank and agi-
tate continuously for about
5-10 seconds, then pour  it
back into the bottle.

The shortstop may be prepared by adding 3/+ oz of 280/6
acetic acid to L6 oz of water.
lf you do not use shortstop,  fill the tank with about 68F water,
agitate for about 5-10 seconds, then pour out the water.
Pour in the fixer (Fig. 5). Agitate frequently during fixing. Fix
for the time recommended in the instructions supplied with
the film and/or the fixer, then pour the fixer back into its
bottle. The cover of the tank can now be removed.
Wash the film for at least /2 hour with water (at about 68F)
running into the hole at the center of the reel (Fig. 6).
When washing is completed, take off the top (clear) flange,
attach a film clip to the end and lift the film off the reel
(Fig. 7).
View original page 10
Related documents and language editions
EssexPDF
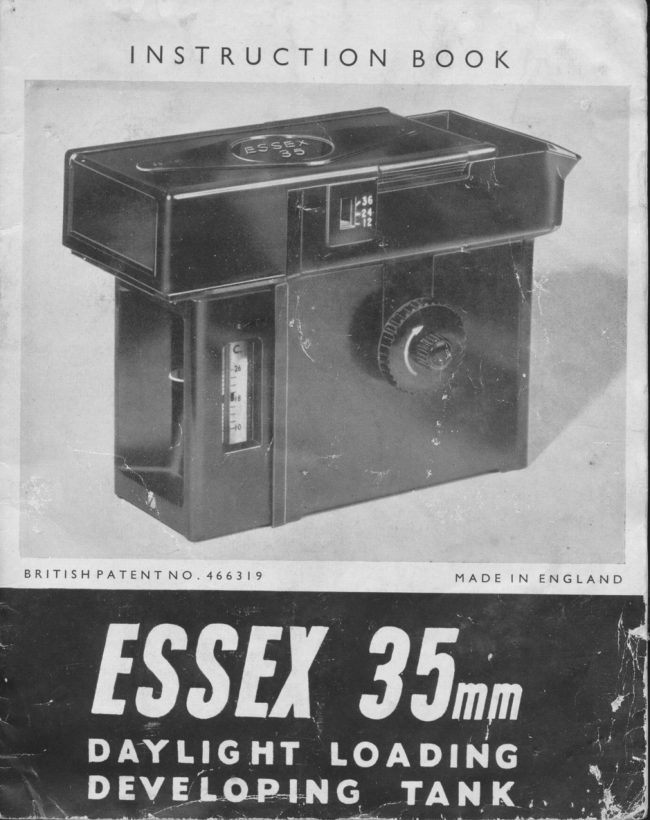
ESSEX 35mm Daylight loading developing tank
User manual
22 pages · EnglishRead →
JohnsonPDF
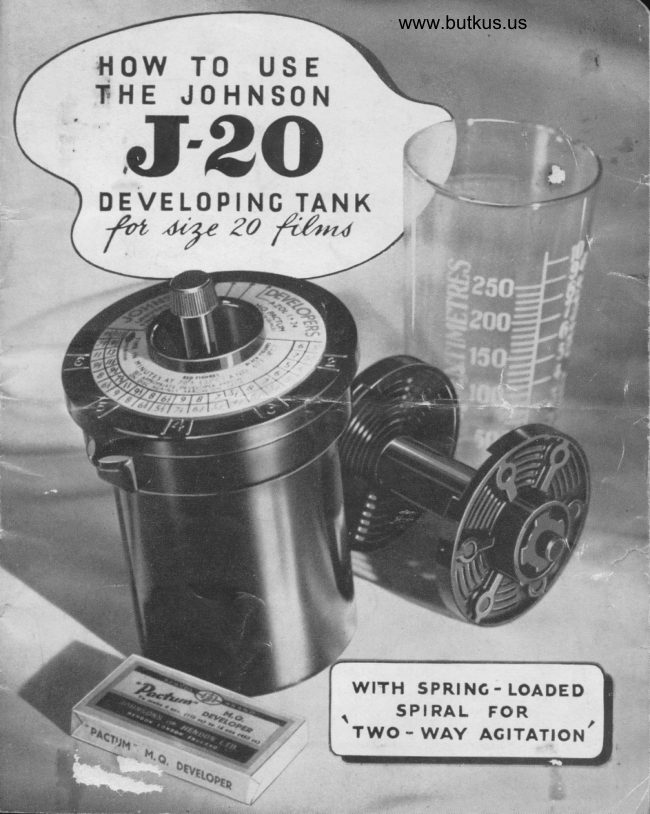
Johnson J-20 Developing Tank Developing J-20 film (assuming meaning 120 film)
User manual
17 pages · EnglishRead →
Various brandsPDF
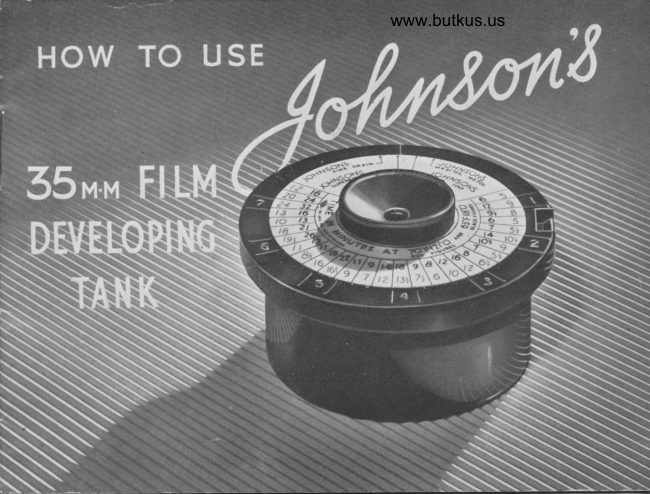
Johnson's 35mm Film Developing Tank
User manual
13 pages · EnglishRead →
YankeePDF
Yankee Film Developing Tank
User manual
7 pages · EnglishRead →
From the M. Butkus archive. Original publisher and archive notices are retained.
Check the model and edition against your equipment.
PDF verified 2026-10-10.