Film & darkroom
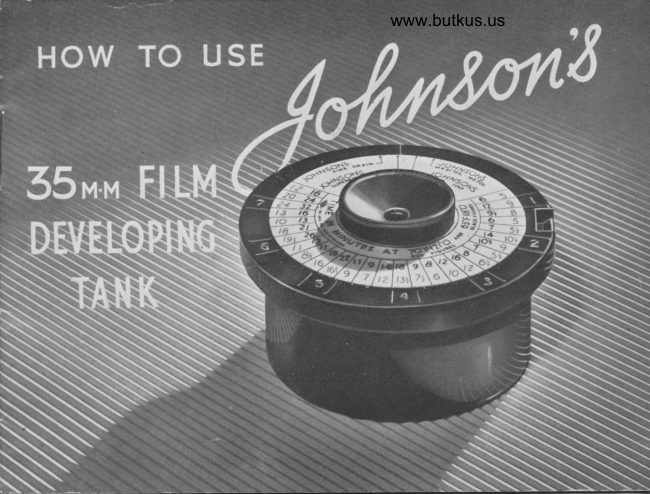
Johnson's 35mm Film Developing Tank User manual
User manual for Johnson's 35mm Film Developing Tank. 13 pages in English. Read the original PDF, download or print a copy without registration.
13 pagesEnglish4.6 MB PDF
Loading your manual…Open PDF directly
Document details
- Brand
- Various brands
- Model / document
- Johnson's 35mm Film Developing Tank
- Document type
- User manual
- Language
- English
- Pages
- 13
- File size
- 4.6 MB
- Category
- Film & darkroom
- Document date
- Not specified in catalog
Search available document text
Find a term, then jump to its page in the original PDF. Image-only pages may not be searchable; check the PDF for exact wording and diagrams.
Page 2 · Read text
Digitally signed by Mike Butkus
                                                                  DN: cn=Mike Butkus, o=Butkus
                                                                 camera manuals, ou=butkus.org,          Mike Butkus email=mike@butkus.org, c=US
                                                                             Date: 2022.01.06 20:25:11 -05'00'


                                     FIG.   I
A   Spiral film holder.            D  Back stop.           G   Stirring rod.
Bc   ProiectionRemovable guides.top section.            FE   PouringCentral slot.inlet.         HI    FilmRevolvinggroupcalculator.numbers.
                                   2
View original page 2Page 3 · Read text
www.butkus.us
JOHNS0N'S 35 m/m Film Developing Tank
THIS tank has been designed to develop a full length of 36 exPosure 35.m-m. film.  I   th" process of develofling a film in this tank is simple and can be carried out in
daylight, the actual loading bf tltre film into the tank, howiver, must be performed in the                                                                                 by, no meansaa'rt]  Although a specially designed darkroom is an advantage  it isessential, any rb6m or iupboard thai is perfectly dark will be satisfactory.  lt must be
remembered that any dirict or reflectei tigtrt'striking the film when unwound will be
sufficient ro cause f6gging and when usingf a darkroolm lamp it should be. noted that
p"nCtrtor"tic films wiiiUe-fogged by a red-light.  lt is, therifore, safer to learn to load
ltre i"nt in the dark by carefi-lly reiding thei instructions and by practising with an old
length of film beforehand.
             LOADING THE FILM
First make sure that the spiral film holder is perfectly dry, if a film has recently been
 leveloped in the tank wipi the inside of ever| groove of the spiral with a dry cloth
 otherwise the film will stick when being loaded.
The fotlowing must be carried out ih the dark.  lf your film is--supplied in a cassette
ooen by remoiing one end, take out the spool of film-and cut off the short length of
fiim at the beginn-ing that is narrower thari the full width. When a film is only wound
on the spool ind pr6tected from light by a p-ap.er lead remove this paPer. Do not at
any timd touch the emulsion, or inner side of the film.
 Before inserting the film into the groove the leading end of the film should be straight-
 ened out.  Th'ri can be done by b-nding the edge sharply back several times between
 the first finger and thumb.
 Holding the-spiral film holder in the left hand and the film, still wound on its spool, in
 the rip-ht hanO, it is a simple matter now to slide the end of the film into the front
 groo""- of the spiral (Fig. 2)'and continue pushing  it forward until the whole of the film
View original page 3Page 5 · Read text
is in the spiral. The front groove can be    t--located in the dark by means of the proiect-
ing guides.
When the film has been fed into the spiral,
detach  it from the spool by cutting off
the end so that it is square, also remove any
paper lead that may be on the film. This end
should be inserted in the short groove which
is blocked. (Fig. 3).  This will prevent the
film unwinding during development.

                                                         FIG. 2
                                              Place the spiral film holder into the tank and
                                                  replace the'lid making sure it is pressed down
                                             as'far as possible. The tank can now be
                                         taken into the light.
                        DEVELOPING THE FILM
                                             Successful developing depends on using the
                                              right developer for the correct time and at
                                a certain temperature. Johnsons' 35 m.m.
                                  Tank is supplied with a unique calculator
                                        which showi you at a glance the length of
 www.butkus.us               time required to develop a film at either 65                                       degrees Fahr. or 70' F. when using any one
                 FIG.                             of lohnsons' four fine grain develoPers-
                                                          '
                                         4
View original page 5Page 6 · Read text
www.butkus.us
TIME & TEMPERATURE CALCULATION
Having decided which of these developers you will use, re-
move-the calculator from the lid of the tank and refer to
the reverse side where a list of leading brands of 35 m.m.
film is given in the outer circle (Fig. 4)._ Beside each brand
of film lour " grouP " numbers will be found, each one of
these refers to one of the four recommended developers.
Ascertain the "group" number which applies to the film
you are developing in coniunction with the developer. you
are using, now turn the calculator over and replace it on
the lid of the tank (Fig. 5).
                                       i,,rs& This side of the cal-                                        r,'ffi culator shows four
                                              - l  arrows each indicating                                               .i'   a developer. Revolve                F!G. 4                                the calculator so that
                                   the arrow denoting your developer is opposite the arrow
                                which is embossed on the lid of the tank. Now find your
                                    film " group " number which is also embossed on the lid
                                and opposite this number you will see thetime required to
                                   develop your film; the figure printed in red is the number
                                     of minutes required  if the temperature of your developer  is
                                   70"F., the black figure is the number of minutes at 65'F.
                              which is the minimum temperature at which 35 m.m. films
                                should be developed. Proportionate adjustment may be
                              made for intermediate temperatures. During cold weather
                                                     it is advisable to allow a degree or two for the solution
                                     cooling after being placed in the tank.
              FIG.5
                                               5
View original page 6Page 7 · Read text
POURING IN DEVELOPER
 Having prepared your developer according
 to instructions, l6 ozs. should be poured
 into a measure or jug. The temperature of
this solution should now be taken in order
 to calculate the time of development. The
solution should immediately be poured into
the tank with a continuous flow and as quickly
as possible, through the hole in the centre
of the lid (Fig. 6). Note the time by your
darkroom clock or watch.
AVOID AIR BELLS                                      FIG. 6
To prevent the formation of air bells the spiral film holder should be agitated sharply by
turning the stirring rod backwards and forwards two or three times immediately you
have fiinished pouring in the developer.
     MOVE FILM DURING DEVELOPMENT
To ensure even development use the stirring rod to revolve the spiral film holder
backwards and forwards several times during development.
View original page 7Page 8 · Read text
www.butkus.us
                   FIXING THE FILM
        After the elapse of required time of development, the solution (if it is required for
         further use) can be returned to the measure by pouring it from the tank through
        the slot in the edge of the lid.1
       Without removing the lid rinse the film by placing under a tap or by pouring two or
J       three changes of clean water from a jug. The film will then be ready for fixing.
       Pour the reguired amount of Fixing Solu-
        tion into the tank and rotate the film from
        time to time during the next l0 to 15 min-
       utes. At the end of this time pour the
        solution into a measure and from there
         into a bottle for further use (Fig. 7).
I
      WASHING THE FILM
I     The film must now be thoroughly washed
       by placing the tank under a tap and allow-
         ing the water to run into the hole in centre

                                                                              FIG. 7
View original page 8Page 9 · Read text
of the lid  (Fig. 8).  Washing by this means
                              should be continued for about 30 minutes.  lf
                               running water is not available t.he tank can
                        be filled with clean water and emptied about
                                ten times.


              FIG. 8
            PROTECTING THE FILM
After washing the film it is a good practice to fill the tank with 16 ozs. of diluted
Film Anti-scratch Solution. Leave for about 5 minutes after which the film should
be given a final wash for 3 minutes. This operation will Prevent the film surface
from being damaged during drying and handling, and ensures good preservation'
View original page 9Page 10 · Read text
www.butkus.us

   DRYING THE FILM
Having washed and protected the film the
lid of the tank can now be removed, also
the spiral film holder. Do not attempt to
draw the wet. film from the holder by
pulling one end as this will cause damage.
Take the film holder apart by drawing off the
top section (Fig.9), carefully, attach a clip to
the outer end of the film and hang in a clean
dD/ atmosphere. Attach another clip to rhe
loose end to act as a weight and to prevent
the film from curling. Take great care to                      FIG. 9
prevent the film from touching anything as it can be badly damaged in this way.

     PREPARING THE TANK FOR THE NEXT FILM
         After use, the tank and spirar firm horder shourd be washed and
          carefully dried. This latter point is important as otherwise the
         next film will stick to the guides of the spiral film holder.
View original page 10Page 12 · Read text
www.butkus.us
            JOH NSON'S
     MERITOL.METOL DEVELOPER
This developer contains Metol as well as I'4eritol  lt S11e1lfiT:
ness of sraih nearly equal to that given by the Super l-lne c:raln                                                        app.eal to theil;;i;p";;urflt                   in.iction.'  lt willminiatJrist who 'iu.rt'quickerneeds  l. fine grain "  negatives but *h.ose work                                                         K-nowndemands speed. lt  is used by tlny  of the .well-                                                                ettlclencyorofessional' miniature camera users because of  its                                                                  S-upplied                                                 qualities'                                     essential                            any                               of                        sacrifice     t;;;;-*iit'ort|iJ                                             form In                                                       liquid.                                      ozs', also                           20                      make                   tins to        form inin powder
boitles to make 20 ozs.                                                FlG. l2

                     M.C.M. IOO DEVELOPER
                                                           to the formula            A fine grain developer prepared according
    l:it.ritry rrm:orriu          published by the Miniature Camera Magazine and which has
                                                                                   the,ffi      become popular with miniature camera users throughout
                  world.  lt has exceptionally fine grain ProPerties and is par-
                         ticularly suitable for minimum as well as normal exPosures'  nP*ver-bPenffi                      Available in powder form in 20 oz. tins or in liquid form in
                  20 oz. bottles.
                                                               tl
View original page 12Page 13 · Read text
JOHNSON'S ACrD FTX|NG
 This is supplied in tins containing 4  ozs., I  ozs. and 16 ozs. The last rwo are
 fitted with measure lids which hold 2 ozs. of powder. This fixing bath which can
 be used repeatedly, will clean, clear and slightiy harden the emulsion of the film.

  JOHNSON'S AC|D-HARDENTNG-FtXlNG SOLUTTON
 This is a recent introduction which is ideal for min-
 iature films. This saves the necessity of dissolving the
 various,. ingredients and also ensures complete absence
 of undissolved particles of chemicals. Sdld in 20 oz.
 bottles to make 4 pints of Fixing Solution.
          JOH NSON'S
  FILM ANTI.SCRATCH SOLUTION
 This is for clearing and hardening the emulsion of films
 and rendering the surface immune from scratches and
 abrasions. A 4 oz. bottle makes 64 ozs. which can be
 used repeatedly.

JOH NSON & SO NS Manufacturing           LTD.                                  _ChemistsHENDON WAY    HENDON   IONDON, N.W.4
                                  12/\t
View original page 13Related documents and language editions
EssexPDF
ESSEX 35mm Daylight loading developing tank
User manual
22 pages · EnglishRead →
GafPDF
GAF Film Developing Tank
User manual
11 pages · EnglishRead →
JohnsonPDF
Johnson J-20 Developing Tank Developing J-20 film (assuming meaning 120 film)
User manual
17 pages · EnglishRead →
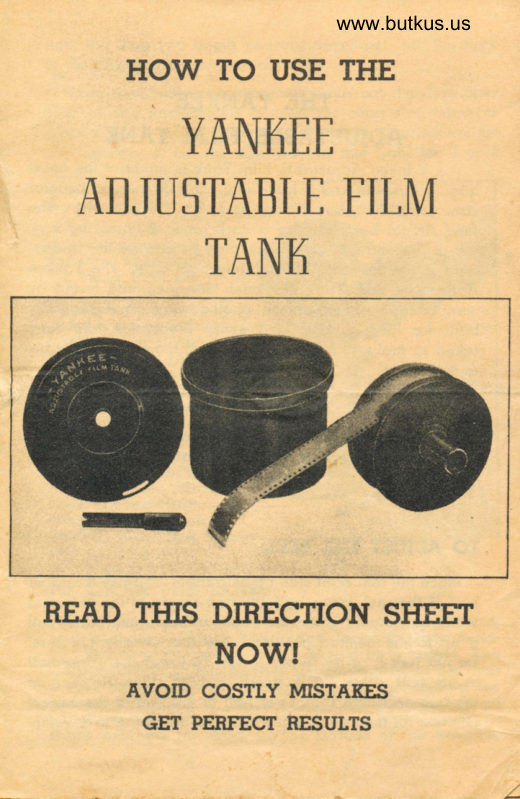
YankeePDF
Yankee Film Developing Tank
User manual
7 pages · EnglishRead →
From the M. Butkus archive. Original publisher and archive notices are retained.
Check the model and edition against your equipment.
PDF verified 2026-10-10.