Film cameras
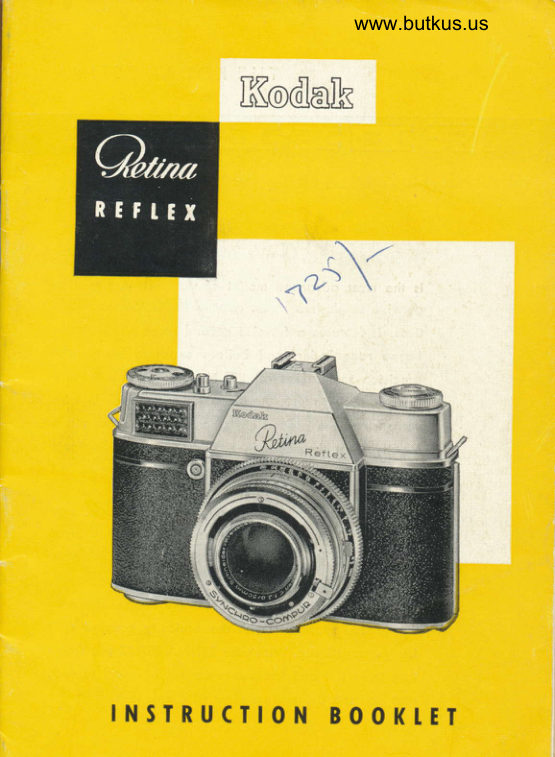
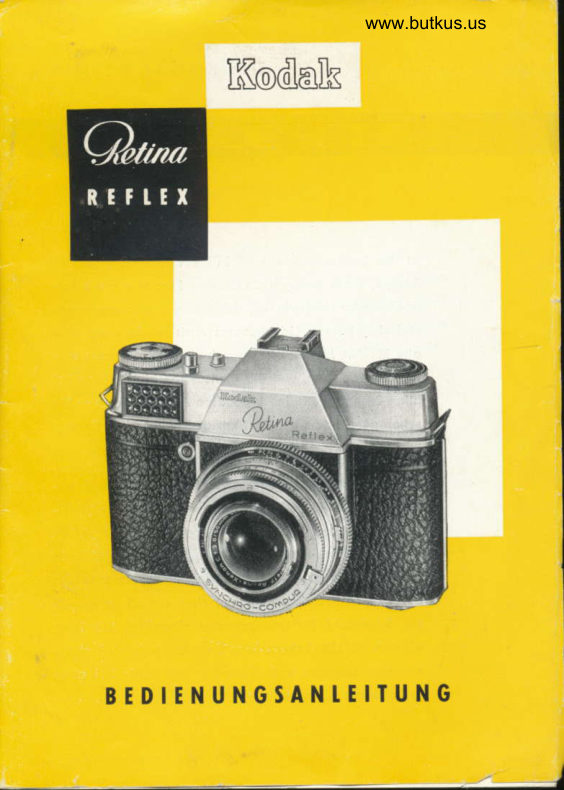
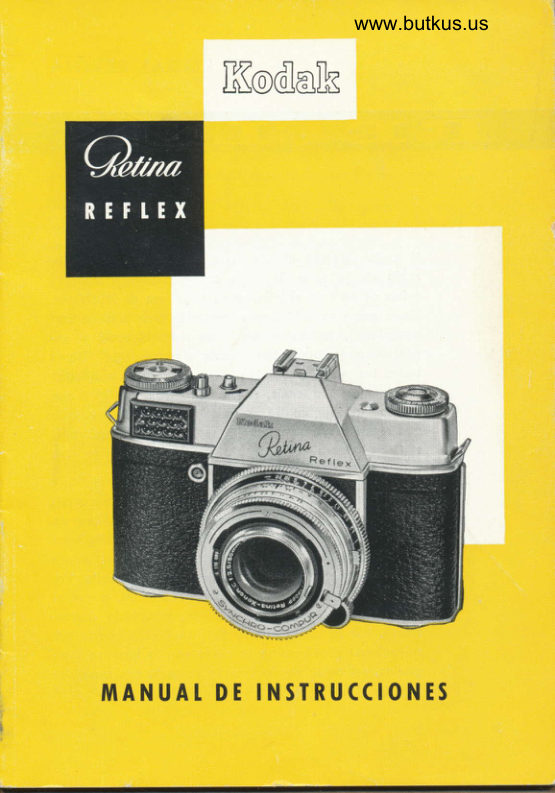
Kodak Retina Reflex User manual
User manual for Kodak Retina Reflex. 40 pages in English. Read the original PDF, download or print a copy without registration.
40 pagesEnglish7.3 MB PDF
Loading your manual…Open PDF directly
Document details
- Brand
- Kodak
- Model / document
- Kodak Retina Reflex
- Document type
- User manual
- Language
- English
- Pages
- 40
- File size
- 7.3 MB
- Category
- Film cameras
- Document date
- Not specified in catalog
Search available document text
Find a term, then jump to its page in the original PDF. Image-only pages may not be searchable; check the PDF for exact wording and diagrams.
Page 2 · Read text
THE KODAK RETINA


is the most odvonced model of the RETINA series' o
genuine single-lens reflex comero Ior 24X36 mm nego-
tives. lt feotures o full-size ground gloss screen, split-
imoge rongefinder, ond built-in exposure meter wiih
precision scole. Like oll RETINA models, lhis comero
is very eosy to use. And you hove the speciol con-
venience of the ground gloss screen: fhe screen shows
exoctly whot the film will record, whotever the focol
length of the lens you ore using.

The brilliqnt screen imoge is upright, the right woy
round, ond completely free from ony porollox error
ot oll subiect disfonces. When you shoot with the ston-
dord lens, the screen shows the subiect in opproxim-
otely noturol size. You con focus ihe imoge either on
the ground gloss, or with the opticolly coupled split
imoge rongefinder. With your RETINA REFLEX you ihere-
fore hove full ond immediole control of every subiect,
ond you see the correct view with ony lens.
View original page 2
Page 3 · Read text
www.butkus.us


 The precision sco le of the bu ilt-in exposu re meier of the
 RETINA REFLEX gives reodings of whole ond intermediote
 light volue settings. You therefore olwoys know the exoct
 exposure   on indispensoble oid in colour photogrophy.           -

 All scoles of your RETINA REFLEX ore cleorly loid  out.
Whether you ore o beginner or experienced photogropher,
we suggest thot you reod this instruciion booklet reolly core-
 fully. The scope of your RETINA REFLEX is immense; you
should be oble ro moke the fullest use of  it.

To stort with, proctise operoting  the moin controls withour o
film in the comero; by the rime you toke your first picture,
you will then be reolly fomilior with your RETINA REFLEX.

With your RETINA REFLEX ond the versorile RETINA sysfem
of equipment you con tockle virtuolly ony iob, from tele-
photo shots to photomicrogrophs, ond from stereo photo-
grophy to copying. Pleose osk your photogrophic deoler _
or wrife to us                                         RETINA ond                -  for the generol cotologue ,.The
its System" which will give you full informotion obout oll
occessories for your RETINA REFLEX.


KO DAK AG. STUTTG ART.WANGENI
View original page 3
Page 5 · Read text
Contents


       Holding lhe Comero
       Using the Exposure Meter
            Determining the Light Volue
   8-9    Getting the Picture Shorp
        On the Ground Gloss Screen
          With the Split-imoge Rongefinder
 '10-t  I    Setting the Shuiter
   12     Light Volues ond the Aperture-speed  Coupling
   l3   The Green Numbers
   14    Tensioning ond Releosing
   l5   Opening the Comero Bock
    16    Inserting the Film
    17    Setting the Film Counter
    t8    Setting the Film Speed                                 :  ]'
                                                                                                                                                                                                                                                           ll
    19    Unlooding
    tn   The Depth of Field Scole
    21    Focusing Zones
   22    Synchronized Flosh
            Flosh To ble
     ,a'   The Self..timer
   24   The Interchongeoble  Lenses of the RETINA REFLEX
   25    Setting the Disionce
          Depth of Field
View original page 5Page 6 · Read text
www.butkus.us


 26-27    Focusing Zones with ihe Interchongeoble
             Lenses (Wide-ongle ond Telephotoi
   28   Telephoto Shots between 3l/z and 6112 leet
    29    lmportont Hinis
             Reflected ond lncident Light Reodings
    30      Complete Freedom from Pqrollox
           Buying Additiono I Lens Units
             Eyesight Correction
          The Right-ongle Finder Eyepiece
    JI         Infro-red Photogrophy
          The Film Releose
           Double Exposures
          Core of the Comero
   32   RETINA REFLEX ond RETINA System
           Lens Hoods ond Filters
            C   I ose-u ps
         The Close-up Attochment
   33      The Toble Stond
         The Copying Stono
          The Frome Finder Model c
         The Kodoblitz
          The Stereo Attochment
          The Micro Adopter
     Jz+     Light Volue Correction when using Filters
JC-J/   The Comero Feotures
   Jd   Chonging Portly Exposed Films
   QO   A Finol Hint: KODACHROME  in the RETTNA REFLEX
View original page 6Page 8 · Read text
www.butkus.us

 The Comerq Feolures         21  Light volue setting index                                            (red dot)
                                22  Light volue setting lever
    I  Button to open comero bock      23  lndex mork (for operture,
  2 Sofety lever                               shutter speed ond focusing)
  3 Tripod bush                  24  Aperture scole
  4 Locoting hole for occessories      25  Aperture setting ring
  5 Finder eyepiece               26  Shuiter speed scole
  6 Ropid winding lever           27  Shutter speed setting ring
  7 Rewind knob                  28 Green seconds sco le
  8 Button to set film counter      29  Distonce scole
  9 Reversing butlon                                30  Focusing ring
  l0  suitt-in toke-up spool                                     3r  Depth of field scole
   I I  Tronsport sprocket                                32  Red dot on boyonet ring
 l2 Comero bock
                                33  Sofety cotch
 13 Copping plote
                                34 Red dot on .lens mounf l4  Exposure meter setting ring
                                35  Flosh socket 15 Bea iriongulor setting index
.l    of exposure meter             36  Synchronizing ond self-timer
  l6  fitm speed disc of exposure              lever
      merer                       37  Locking lever for synchronizo-
  l7  E*posrre meter window               tion ond self-timer
  l8  Shutter releose button          38  Film counter
 19 fitm releose button            39  Film indicolor
 20  Ligtrt volue scole             40  Accessory shoe
View original page 8Page 10 · Read text
www.butkus.us

Holding the Comero


Your honds get o reolly comfortoble grip on ihe RETINA
 REFLEX. You moy hove noticed thot the lens is mounted slight-
 ly to one side of the comero centre; this mokes the RETINA
 REFLEX porticulorly eosy to hold. Normolly grip lhe comero
 with both honds, os shown in the occomponying  illustrotions.
The best comero hold is of course olwoys the one which you
 find most convenienf, so try experimenting until you find
 which suits you best. A sleody comero hold is very importont
 for shorp pictures.
View original page 10
Page 11 · Read text
Using the Exposure Meter

The RETINA REFLEX hos o photo-electric exposure merer wnn
 precision scole built inro the body. This eliminotes o lot of col-
culolions, for  it indicotes ihe correct "light volue,,for olmosl
ony subiect. This light volue is shown by o number {morked  in
red) which is o meosure of the omount of light required for cor,
rect exposure.
The precision scole of the exposure meter enqbles you to reod
off whole os well os intermediote light volues, which is imporronr
fcr occurote exposure with colour films.
Delermining the light volue
To obtoin fhe correct reoding, first sef the oppropriote film speed
(poge lB). The different merhods of toking reodings  (reflecred
 ight ond incidenr lighr) ore described on poge 29.
Poinf the comero ot the subiect, toking core not 1o obscure the
honeycomb lens of the exposure meter with your fingers. The
      pointerwhite                the meter             of                        move                               will                                                                  Turn                                      in the                                      window                                                                  ilZ).                            (14) .tothe    meter           setting                 ring                                                 poinler                       move                                  the yellow                                                                     co-                                                              until                                                                                                    il
incides with the white pointer. Now reod off the Iioht volue
opposite the red triongulor index mork {15) on the metir settino
ring {14).
View original page 11Page 12 · Read text
www.butkus.us

Getting the Picture Shorp

Hold your RETINA REFLEX up to your eye, ond loock through the
eyepiece  (5) *. The finder imoge is only visible ofler operoling fhe
ropid winding lever (6) *. In the centre of the ground gloss screen
you will see o bright circulor oreo divided by o horizontol edge;
this is the split-imoge rongeflnder.
There ore lwo woys of getting the picture shorp' by meons of
the ground gloss screen imoge, or with the oid of the opticolly
coupled split-imoge rongefinder. The choice of the method
depends lorgely on the noture of the subiect.
Subiects without promineni horizontol or verticol lines ore more
eosily focused on the ground gloss screen. But if the subiect
hos such lines, the split imoge rongefinder is very suiioble for
checking the correct focus (with the comero held horizontolly for
verticol lines, ond upright for horizontol  lines).
o) On the Ground Gloss Screen
Turn the focusing ring (30) until the ground gloss screen imoge
oppeors perfectly shorp. Your comero is then correctly focused'
Note the remorks on poge 20 obout depth of field.

b) With the Split-imoge Rongefinder
Direct the comero so thot the bright circulor oreo in the centre of
the screen imoge covers o verticol line of the subiect (e. g' o
telegroph pole, window frome, tree, or building, etc.). On lurn-
ing the focusing ring (30), the imoge in the lower holf of the
circle moves relotive to thot in the upper holf. When the two
holves ioin up exoctly, the cqmero is correctly focused. Note the
remorks on poge 20 obout depth of field.
                                                                                                                                                   {l
                                                                                                                                                                                                          "ri
                                                                                                                                                                                         ,ll
*) See Comero Feotures poge 35-32.                                                                       TIit
                                                                                                                                                              ill
View original page 12Page 14 · Read text
www.butkus.us

Setting the Shutter

The Synchro-Compur shutter of yoJ, RETINA REFLEX corries the
following three scoles:
The Shutter Speed Scole (26)  The numbers signify froctions of o                                                        'second; thus 2 stonds forl/2 second, l5 forl/rs second, 125 for
l/rzr second, ond so on. The outomoticolly timed shutter speeds
from I to l/soo second ore morked in block on the shutter speed
scole (numbers I to 500). The green numbers signify full seconds
(see poge l3).
The Aperture Scole (241 , The stop numbers indicote relotive oper-
tures. The lorgest operiure is f/2, rhe smollest  f/22.
The Light Volue Scole (20)  The red figures from I to l8 ore the                                                    'light volue settings.
The light volue determined with the exposure meter (see poge 7)
is now set on lhe comero shutter. Press the milled light volue
setting lever l22l in the direction of the orrow (see illustrotionl,
ond move it sidewoys to set ihe red dot (21) to the required light
volue. lf the lever comes to o stop before you reoch the light
volue number, turn the shufter speed setting ring (27) until the
 light volue to be used is opposite the red dot. You con olso set
iniermediote light volues, e. g. 111/2.
Once you hove set the light volue lo, soy, 12, the operture ond
shutter speed index mork (23) will indicote one of the following
operture-speed combinolions  :
Shufter speed in seconds     22 16   I I  8  5.6  4   2.8
Aperfure f/                        r/s 1lu 1/ro l/oo litzs llzso  l/soo
According to the requirements of the subieci you con now selecl
the most suitoble one of these combinotions. For instonce  if vou
wont to toke o sports shot ot l/soo second, lurn the shutter speed
seiting ring (27]l to r/soo second. The operture outomoticolly od-
 iusts itself to   f 12.8.
View original page 14
Page 15 · Read text
www.butkus.us

 On the other hond  if the
 subiect colls  for  greot
 depth of field, for exomp-
 le on orchitecturol  view,
 ser  o   ccrrespondingly
 smoiler  operture.  The
 shutter speed will  ogoin
 follow suit outomoticolly.
 In oll cqses the efiective
exposure remoins the some,
whichever woy you move
'ihe shutter speed seiting
ring 127). You will  olso
notice thot the ring clicks
into position oi eoch step.
This ensures exoct ex-
posure ttmes.
View original page 15
Page 16 · Read text
www.butkus.us

Light Volues ond the
Aperture-speed Coupling

lf you wont to set the exposure without using lighl volues, os you
hove to, for instonce, with flosh shots, be sure to set firsl lhe
shulter speed, ond lhen lhe operfure.  lf you do it the other woy
round, the operture-speed coupling would olter the operture
when setting the shutter speed.
To set the shutter speed, turn the shutter speed setting ring l27l
until the required speed figure is opposite the index mork (23).
To set the operture, press the milled light volue setting lever
l22l in the direciion of the orrow (see illustrotion on poge ll) ond
move  it sidewoys until the required operture is opposite the
index mork (23).
Even when you hove set the exposure in this woy, you con use
the operture-speed coupling to odiusl the shutter speed ond
operture logether ot will by turning the shuiier speed setting
ring, os olreody described.
It moy olso hoppen thot the shutter speed setting ring reqches the
limit of its movement during odiustment to the required shutter
speed or operture. This indicotes thot the lighting conditions ore
nol suitoble for the operture or speed you intended to use.
View original page 16
Page 17 · Read text
r.l


The Green Numbers
  lf o subiect needs o longer exposure fime .thon I second, the
 green seconds scole (28) indicotes the time in full seconds oppo-
 site the operfure numbers. The green lelter B stonds for .,Brief
 Time". When you set this green leffer ,,B,, io the index mork (23),
 lhe shutter opens on pressing the releose, ond remoins open os
 long os ihe releose is kept depressed {use o tripod ond coble
 re   leose).                                                                         IHere       is on exomple (see illusfrofion): The correct light voluefor fhe subiect                     is 4, ond                            in                               you                                this cose                                   con only                                        uselp                                                  or                                                               rn.      Islowesl         shulter speed                        second.                     of I                                     however,                                         you                                                    lf,                                                                use                                             wonf fo
f/ll to obtoin odequote depth of field, rhe green number opposite
f/ll  indicotes thot you must expose for g seconds. Sei ihe shurer
therefore io B, ond f/ll  opposite the index mork {23). Expose for8 seconds, ond the picture is ,,in the bog,,.
You moy hove noticed ihot ihere is no number 2 in the series of
green numbers. When reoding ofi full seconds, irs ploce is,oken
by lhe leiter B. lf in the obove exomple you wont to use f/S.5,
you Would hove fo expose for 2 seconds.

                                                                     l3
View original page 17Page 18 · Read text
www.butkus.us

                 Tensioning ond Releosing

                     To tension the shutter, pull out the
                                    ro pid winding lever (6) in one
                     moYemenl os for os  it  will go.
                  Then let  ii shoot bock into  its
                         originol position.  lf   it does not
                   move bock, you did not pull out
                         for enough, so corry on 10 com-
                        plete the movemenl. This ot the
                  some time tensions the shuiler,
                    mokes the finder imoge visible,
                     winds on the fllm by one frome
                         (provided you hove o {llm in the
'----\\               countercomero),(seeondpogeodvoncesiZ). Nowthe youfllm
                    con press the releose buiton  (181.
                  Moke o hobii of operoling lhe
                       ropid winding lever immediotely
                         ofier every exposure, so os to
                     hove your RETINA REFLEX olwoys
                   reody for oction. Keeping the
                            shutter tensioned -  even for some                        'ime -  does not horn  it in ony                        woy.
View original page 18Page 19 · Read text
Opening the Cqmerq Bock

 You should by now be fqmilior
 w:ih the mosr irporront opero iors,
 ord con roKe your fi,sr pic.Jre.
 Check ogoin oll ihe controJs, ond
 moke sure thot you hove not for-
 got'ten onything.
 To insert o film, first openopen theihe
 comero bock os follows,
On the bottom of the co mero you
 will find rhe rripod bush {3), sur
 rounded by o double sofety lever
 (2). Pushing the milled end of rhe
 lever in the direction of the orrow
 I lcovers rhe opening buIon  ll).
Depress this buiron, ond tlre co.
mero bock (12) will spring open.
The odvontoges of this lockirg sy,
stem ore obvious. You con only
open your RETINA REFLEX deliber-
otely, cnd never by ony occident-
or movement or knock.


                                                               t:
View original page 19Page 20 · Read text
www.butkus.us


Inserting the Film

 lf you operote the ropid winding lever ond the releose butfon
with the comero bock open, you con wotch ihe movement of the
copping plole (13) through the film operlure. This copping plote
springs up on pressing the releose, ond folds down ogoin in
front of the film window on working the ropid winder. To ensure
perfect functioning of the precision mechonism of your RETINA
REFLEX never press ogoinsi this copping plote.
To insert the film, fully pull out the rewind knob {7) to ils second
stop. Then turn the built-in ioke-up spool (10) by ils serrofed
flonge until the slit in the core points upwords. Push the lrimmed
end of the film into the slit so os to onchor o perforotion hole in
the little hook of ihe slit.
Now drow the film ocross the fllm trock, ond insert the cosseite
in the cossette chomber. Push bqck the rewind knob (7) ogoin,
'iurning  it ot the some time in the direction of the orrow to ten-
sion the fllm. Moke sure thot the "teeth" of fhe fronsporl sprocket
properly engoge the lower row of perforolions of the film, ond
thoi ot leosi lwo perforoiions holes of the upper row overlop'the
film trock (see illustrotionl. Now close lhe comero bock.
View original page 20Page 21 · Read text
Sefting fte Film Counfer

  Press the film releose button il9j ond ot the
 some time push the buton {g) in it,u air".tion
  of the, orrow. Repeolhis until the aioronJl rcped mork I Neor No.36 of the fllm counter
  rJot.rs opposije the notch in the upper edoe
  of rhe film counrer window. lf t";";;.   ;X;
 1 20-expozure cossefie, set to the inaex mori  I oi No. 23.
 Now opg16le the ropid winding lever ond
 oress rne rrtm releose button (19). Repeot this
 until ih€ film counrer indicotes No. 3f or iO 'espectively. At fhe some time the rewind xnoo (/) must-rolole ogoinsi lhe orrow en_
 grqved on it. Thot shows thot the film is oJ_ voncing properly.
The lllm cou.nter olwoys indicoles lhe number     rn9tr,            stitt              ovoiloble.                 When                        you releoseoiler9l.            reoched                 No. l,                          the whole                                           film is          rr ,hosexposed, ond on oulomolic lronsport lock
comes .inlo operof ion {see o lso  ,;f n.     f il,Nseose on poge 3l). The  fi jm releose button{r71.             o sofety lock to  prevenr     ,rnc.orporo,es.occtdeniol            releosino.


             www.butkus.us                                      I


                                                                       ,rl
View original page 21Page 22 · Read text
www.butkus.us
Setting the tilm Speed

                             Alwoys remember lo sel lhe speed
                               of the film in lhe comero, This
                               should be done:
                             o) on lhe film speed disc of the
                              meter setting ring (16). Turn the
                             flm speed disc by meons of the
                               smoll Lnob until the block lriong-
                                        ulor mo.l, po:nts lo rhe opprooriote
                           speed number of the fllm in the
                              comero in one of the two windows            54- r{         (for DIN ond ASA respectively).
                             For instonce use l2 for o  l2il0''
                           DIN fllm.
                                                    lf you forgel this setting, you moy
                                obfoin incorrect light volues ond
                                    lhus wrong exposures!


ond b) on fhe film indicotor (39),
on top of the rewind knob (7),
which is morked with the vorious
lypes of filn ovoiloble. This is o
smoll but useful oid for your me-
mory, ond olwoys indicotes the
type of film looded into the co-
mero. Grip the rewind knob with
two flngers, ond lurn the inner ser-
roted ring with o finger tip of the
oiher hord ulli  the triorgrlor  ir-
dex mork V points to the type or
speed of the fllm looded in the
comero. The position of ihe film
indicotor hos no influence on the
exposure  itself,
View original page 22Page 23 · Read text
Unlooding the Comero


 To rewind the exposed film depress the re_
 versing button (91 in the bose of the comero.
ond holf pull our the rewind knob IZJ to  irs
 trrsi stop (see poge l5J, io get ot  il more
 eosily. Then turn the rewind knob in the direc_
tion of the orrow until the reversing button  (9)
ceoses lo rotofe. This button corries o blockdol neor its edge for eosier observotion.
You hove now rewound the film into its cos-
sette. Open the cqmero bock (see poge 15),
fully pull out the rewind knob (Z), o-nd ,"-move the cosseite.
Do not lood or unlood films in fulj sunlight or
strong ortificiol light, or you moy fog rhe
Irrst lew exposures. After removing ihe ex_
posed film, re-wrop  i.t in its originol pocking
for full protection ogoinst the lighi.


                                                       19
View original page 23Page 24 · Read text
www.butkus.us
The Depth of Field Scole

The lens reproduces shorply not only thot port of ihe subiect on
which it is octuolly focused, but olso o certoin zone in fronf
ond behind. This zone is colled the depth of field.
To permit instont reodings of the depth of fleld for ony oper-
ture ond distonce, o depth of field scole (31) is orrcnged sym-
metricolly oround the index mork (23). Suppose you hove set fhe
distonce to 7 feet. This is how you reod off the deprh ot f/ll: To
the left of the distonce index the line morked with the figure 11 is
opposite obout 4.5 feet, ond to the right opposite l5 feet. This
tells you thor wilh o setting oI 7 leet ot f/1 1 you hove o depth of
fleld zone from 4.5 to l5 feet. Within ihis zone everyrhing will
be shoro.
View original page 24
Page 25 · Read text
Focusing Zones

 You moy often come ocross fost moving subiects where you iusl
 hove no iime io focus the imoge occurotely on the ground gloss
 screen (e. g. sports shots, children, unobserved condid shots, etc.).
 For such occosions your RETINA REFLEX corries two zone focus
  setti ngs.


 o) For neor sublects sei the
 distonce to the smoll circle
 neor the lo-feet mork, ond the
 operture to f/8. This yields o
 depth of field from obout 6 to
 20 feet.


b) For more distont subiects
use the smoll circle neor the
20-Ieet mork, ond on operiure
of f/8. You then hove o depth
of field from oboui 9 feet fo
 infi n ity.


Wifh these setfings you must, however, hove enough light. The
exposure meter will indicote whether the light is odequote for on
operture of f/8 (e. g. o light volue of 12 corresponds to t/eo second
or f/8).


                                                                                      21
View original page 25Related documents and language editions
From the M. Butkus archive. Original publisher and archive notices are retained.
Check the model and edition against your equipment.
PDF verified 2026-10-10.