Film cameras
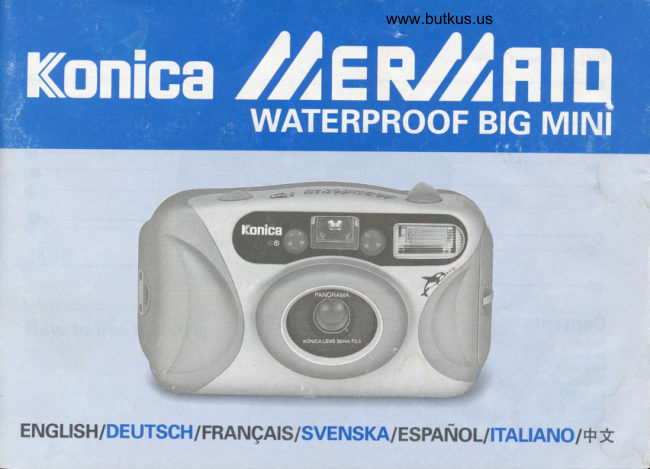
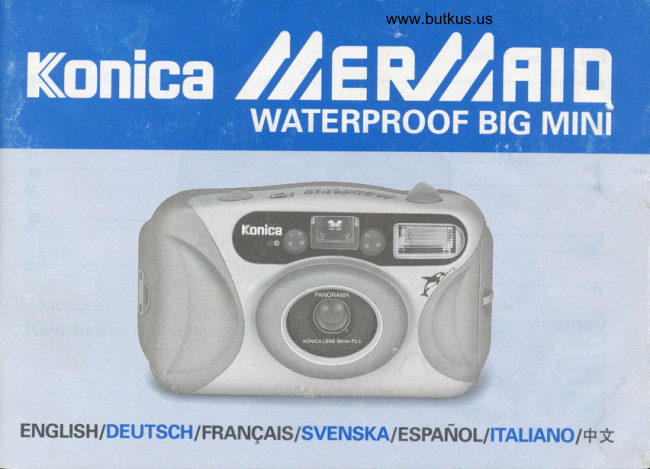
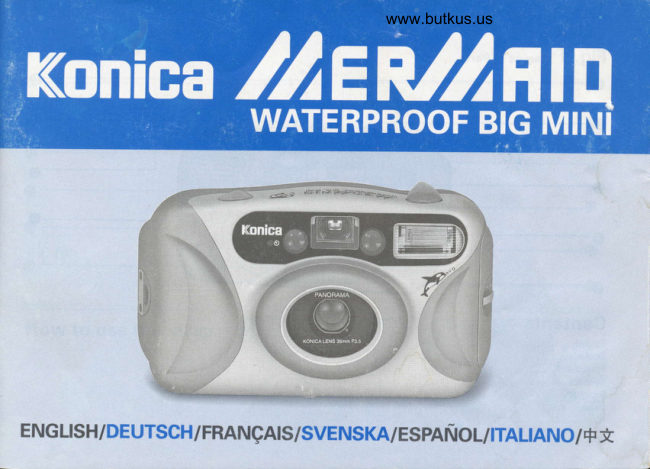
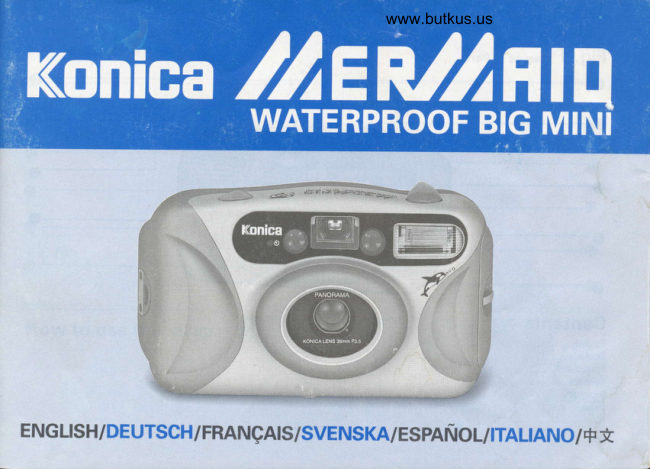
Konica Mermaid User manual
User manual for Konica Mermaid. 27 pages in German, Italian, Swedish, English. Read the original PDF, download or print a copy without registration.
27 pagesGerman, Italian, Swedish, English4.3 MB PDF
Loading your manual…Open PDF directly
Document details
- Brand
- Konica
- Model / document
- Konica Mermaid
- Document type
- User manual
- Language
- German, Italian, Swedish, English
- Pages
- 27
- File size
- 4.3 MB
- Category
- Film cameras
- Document date
- Not specified in catalog
Search available document text
Find a term, then jump to its page in the original PDF. Image-only pages may not be searchable; check the PDF for exact wording and diagrams.
Page 1 · Read text
www.butkus.us


ENGLISH/DEUTSCH/ FRAN9AIS/SVENSKA/ESPAfiIOL/ITALIANO/+                                                *
View original page 1
Page 3 · Read text
www.butkus.us
 Fig. 2 Names of parts

o

@

@

(E

(D

How to use the strap
            #KlfA\-             W\
View original page 3Page 4 · Read text
Venmo @mike-butkus-camera  Ph. 2083
PayPal Name  Lynn@butkus.org      www.PayPal.me/lynnbutkus
View original page 4
Page 14 · Read text
www.butkus.us
Fig.22  +1.5 Exposure Compensation Mode


                                                  +1,5 Exposure Compensalion Mode                           Standard Mode

           -1.5 Exposure Gompensation Mode


                                                     -1.5 Exposuro Compensation Mode                          Standard Mode
View original page 14Page 19 · Read text
Display Symbols rrig +r          @ Lowblack..1power.Time to(Batteryreplace Powerthe battery.Symbol is 213 blank, l/3
@ Auto-flash Mode Symbol (Standard Mode)         @ No more power (l/3 black portion of Battery Power                                                                               then turns completely blank.). No more                                                                                blinks,                                                        Symbol@ nash ON Mode Symbol  (Fill in Flash)                                                                              be taken.                                                                             can                                                                             oictures
O f'tastr OFF Mode Symbol                                 *  ileplace the battery when the Battery Power Symbol  is 2/3
@ Pre-flash Mode Symbol                                                blank. Wait until the end of a roll of film before replacing
@ Exposure Compensation Mode Symbol                                  battery.
@ Frame Counter                                         *   ^{fter replacing the battery, turn the Power Switch Lever
@ Battery Power Symbo.                 @ to ttr'e uttoiu to turn the power on. The Battery Power
@ Ftastr Charge Symbol                                         Symbol will show on the display panel (solid black).
@ tnfinity Mode Symbol                                  Notes on replacing battery
O Self-timer Mode Symbol                                   1) When the Battery Power Symbol is 213 blank, enough
                ''riSW                            powerbattery.remains to finish a roll of film before replacing the
                                                      2) When the Battery Power Symbol is completely blank, the Standard Mode Operation              shutter will lock. The battery must be replaced with the
                                                                           film loaded. Insert a new battery within about 20 seconds
                                                                 removing old battery, to prevent loss of frame count                                          (Fig.5)                     after1. Loading the Battery                                                                                   data.
Use a single CRl23A or DLl23A (3 V) lithium battery. This      *   If battery is removed for more than about 30 seconds
camera will not operate without a-battery loaded.                       while film is in camera, frame count data will be lost. In
 l) Open the Outgr Back Cover @ Uy turning the Outer Back             this case, the film will be advanced about 3 frames and the
   Cover Lock @ to the arrow.                                frame counter will return to "  / " when the shutter  is2) Insert a fresh battery, aligning the @-and O poles as           pressed. Resume taking pictures until thq end of the roll.
   shown inside the Bittery-Chamber Qp then close the      *   If battery is removed for more than about 30 seconds
    cover.                                                            while film is in camera, and the film is near the end of the
3) lf the battery is fresh, the Battery Power Symbol (9 will               roll, the frame counter will blink "ll" and the film must be
    appear fully black.                                            rewound manually.
*  Since the auto-date calendar/clock runs on the same
                                                                                                  (Fig.6)    battery as the camera, please reset date/time  after loading    2.Loading the Film    the battery. (fbr Auto-date model only)                                                               This camera uses standard 35 mm 135 size film magazines
                                                                      The                                                                                              film                                                                   with                                              DX coding.                the                     batteryWhen       to replace                                                                                          speed (ISO 25 -  3200) is set auto-                                                                                                                         is loaded.                                                              when the                                                                                            film                                                                     matically            power                              (Battery Power Symbol  is black.)                     supply.C Adequate
 18
View original page 19Page 21 · Read text
*  Flash range will be adjusted based on the distance and the    film speed automaticallv  measured bv camera itself.          8. Close-up Photograph|  rris. rzr
* When flash is used to take pictures of people, use the       Close-up photos can be taken in a range from 0.6 m (1.97 ft)
   Pre-Flash Mode.                                                       to 0.35 m (1.15 ft).
                                                          1) Approach the subject up to 0.6 m    0.35 m, position it to
Flash Photography Range                                                   fit in the Auto-focus Frame and- depress the Shutter
ISO 100  0.35 m (1.15 ft)    m (12.1 f0                         Release Button halfway until the Green Light @ turns on.ISO 200   0.35 m (1.15 f0 -3.75.3 m (17.4 ft)                  2) With the Shutter Release Button held at this point,ISO 400   0.35 m ( L 15 f0 -  Z.S m (24.6 ft)                        determine your shooting angle with in the Close-up com-                           -                                         pensation marks to release the shutter.7. Focus Lock (Fig. 1rl                          *  When depressing the Shutter Release Button halfway  if a
 I ) Aim the Auto-Focus Frame at the subiect.                       Green Light blinks, that indicates either the shooting dis-
2) Depress the Shutter Release Button @ halfway until the           tance is shorter than 0.35 m. When the shutter is lo-cked,
   Green Light @ turns on.                                         correct the distance and depress the Shutter Release
3) With the Shutter Release Button held at this point,           Button again.
   compose the picture, and continue pressing the Shutter      *  All photographic modes (except l)  can be selected.
   Release Button fully down to take the picture.                *  Camera vibration can be prevented by using a tripod and
*  Focus Lock will be released if the finser is removed from           shooting with the self-timer.
   the Shutter Release Button before taking the picture.*  Automatic Exposure (AE) is locked at the same time as     9. Taking Panorama Pictures
   Focus          Lock.                                                                         (Fig. 13)   Focus        Lock may not operate properly with some kinds of*
   dark or grey objects, reflective or light-emitting  objects,      With this camera, you can switch back and forth from stan-
    or very small objects. In suchcases, set the Focus Lock by       dard to panorama size pictures at any time. Panorama pictures
   aiming the camera at another object of similar brightness      show a wider horizontal range, for dramatic scenery or group
    at about the same distance.                                         snapshots. To take panorama shots:
*  When taking pictures through a glass window, the Auto-         l) Turn the F/P friob @ from the "F' to the "P" mark. The
   focus mechanism may not focus properly because of           viewfinder will adjust automatically for panorama fiaming.
    reflections. To take photos through glass, press the camera      2) C^ompose the picture in the panorama frame area, marked
    directly against the glass. For landscape photos through a       G) in Fig. 13.
   window, use the Infinity Mode.                           3) For panorama shots in the range of 0.35 to I meter from
                                                               the camera, frame the picture in the area withiq the
                                                            panorama close-up correction marks, shown with a (9 in
                                                                           Fig. 13.
View original page 21Page 22 · Read text
www.butkus.us
4) Turn the F/P knob back to "F" to take standard size         Focusing underwater  is fixed. Focal range underwater  is
    photos.                                                                                 l.l m (3.6 ft) to 2.3 m (7.5 ft).
*  Panorama  pictures taken with this camera are automatical-      *  Select the Infinity Mode to extend underwater focal range.
    ly cropped to approximately 13 x 36 mm during exposure,           In Infinity Mode, underwater focal range is 1.2 m (3.9 ft)
   and are enlarged to panorama size prints (89 x 254 mm)            to 2.8 m (9.2  ft.).
   when orinted.                                          *  Distances underwater appear about 25Vo less than in the*  Use focus lock when the main subject is not in the center             air. Since the same is true for the camera lens, compensa-
    of the panorama frame.                                                  tion is nol reouired.
*  Date/time imprinting cannot be used with panorama shots.      2) The optionai Sports Finder (sold separately) makes it
Please Note: When Processing Film with Panorama              easier to aim the camera when shootins underwater.Photos                                                 *  Effective flash range underwater  is ab-out l/3 less than in
When you take a roll of film to your photo shop for process-          the air. When using flash underwater, move as close as
ing and printing, be sure to tell the person taking your order if          possible to the subject. Actual flash range varies with
the roll includes some or all panorama photos, so they will be          water clarity and other conditions.printed correctlv.                                          *  For best results underwater, use high speed (ISO 400)
Use the stickers included with your camera to make sure your             film.
photos are printed correctly. Attach the appropriate sticker to      *  After using the camera underwater, rinse it with fresh
the side of the film magazine when you take it in for          water and wipe it dry with a cloth.
processing.
                                                                                                                       (Fis. 15)There are 3 tvpes of stickers:                         11. Unloading the Film
"PANORAMA"  (all photos on a roll of film are panorama         l) When the last frame of the film has been exposed, the film
s'ze)                                                                     will be automatically rewound. When the film is fully
"Panorama and Standard" (one roll includes both          rewound, the motor stops automaticallv.
panorama and slandard photos.)                              2) When the rewinding has stopped. chick that the Frame
"Development Onlt" (the film will developed but no          Counrer @ has returiea to "i-l': the "fl" will blink.
pnnts made)                                             3) Open the Outer Back Cover (D and Inner Back Cover @
                                                             and remove the film.1 0. Underwater Photography          *  Often more than the specified number of pictures can be
      (Fis. 14)                                                   taken (for example, a 26 frames on a 24 frame roll). In
                                                                                       this case, the last two frames may overlap, however.The camera is waterproofed for use to a depth of 5 m
(l6.4 ft).                                            Manual Rewind (Fig. 16)
l) When the camera is used underwater. the auto-focus     To rewind film manually (forced rewind) before the roll is
   mechanism is switched off automaticallv.                             finished.

    i                                                                                                 21
View original page 22Page 23 · Read text
l) Ilse the Strap Ring tip to press the Manual Rewind Switch      *  Since all modes are fixed, you can continue to photograph
  @. Pitm wili begin to re*ind.                                               in the mode once it is set.
                                                     To retum to Standard Mode, tum the Power Switch Lever          , :.               qpss*r*swry$ffi#S$W$m       *
  Advanced Instructions'l :    @ off for a second, then back on.                                              1 . Pre-flash Mode <o(Fis. 18)
                                                 When taking pictures of people's faces under dim light, using
                                                   (Fis. 17)            flash, reflection of flash on the retina, sometimes called "redUsing the Mode Switch-l                                                                  eye," may result. The Pre-flash Mode helps prevent this by
Pressing the Mode Switch- I @ shifts the camera through the        firing an extra flashjust before taking the picture, causing the
followins modes.                                                     pupil of the eye to contract.
                                                                    i;'P...r  the'Mode Switch-l @ until the Pre-flash Mode
          Standard Mode (Automatic self activating  flash)             symbol (ruroto) appears on the display panel.
         (Camera decides whether or not to use flash)            *  The main flash will operate about I second after the
                                                                           pre-flash. Be careful to hold the camera steady until the
                                                                     second flash fires.
           Pre-flash               Mode                                                                                                               (Fis. rer          (Standard                         (To reduce the red eyes)            2. Daylight Flash t                 Mode)
                                                                  Daylight flash photography  is effective for back-lit subjects,
                                                                      strong shadows or on cloudy days.-@          Flash ON Mode (Fill in flash)                                 l) Piess the Mode Switch-l      until the I symbol will
          (User decides to use flash)                                    appear on the display panel to indicate Flash ON Mode.
                                                      2) The flash will operate even in bright places.
                Mode          Flash           OFF                                                                                               rig.rot          (User                         not to use flash)                   3. Sfow Shutter Synch I                decides
                                                          In the Flash ON Mode, slow shutter speeds (up to 7.5
                                                                     seconds) are used for available light.
          +1.5 Exposure Compensation Mode                          l) Presi the Mode Switch-l @-until the I symbol appears
         (Exposure corrected to +1.5 aperture)                     on the display panel to indicate Flash ON Mode.
                                                      2) The AE operates normally in the flash mode, so it is
                                                                    possible to take correctly exposed photographs  at dawn
          -1.5 Exposure Compensation Mode                       and dusk, on cloudy days, or at close range, and against
          (Exposure corrected to -1.5 aperture)                        dark backgrounds.
                                                       *  The use of a tripod is recommended to prevent the camera
                                                               from shakine.
View original page 23Page 27 · Read text
Auto-date        Built-in digital LCD display, Imprints
 (Auto-date only)  time or date up to the year 2019, setting
                      for date or time recording or cancel for
               no rmprinting, adjustable to nearest
                    secono
Battery life        About 30 rolls with flash for half the
                   exposures (24-exposure film)
Power source       Lithium batterv (CR123A. DLl23A:
                   3 v), battery p9yg9he9! q !9q ig!4
Size, weight        138.5 x '76.5 x 61.0 mm (5.5 x 3.0 x
                    2.4"),350 g (12.3 oz) battery extra
Note: Specifications and design subject to change without
         notice. Above data based on manufacturer's  tests.


 26
View original page 27Related documents and language editions
From the M. Butkus archive. Original publisher and archive notices are retained.
Check the model and edition against your equipment.
PDF verified 2026-10-10.