Sewing machine accessories
Singer Stocking Darner — User manual
User manual for Singer Stocking Darner. 13 pages in English. Read the original PDF, download or print a copy without registration.
13 pagesEnglish4.2 MB PDF
Loading your manual…Open PDF directly
Document details
- Brand
- Singer
- Model / document
- Singer Stocking Darner
- Document type
- User manual
- Language
- English
- Pages
- 13
- File size
- 4.2 MB
- Category
- Sewing machine accessories
- Document date
- Not specified in catalog
Search available document text
Find a term, then jump to its page in the original PDF. Image-only pages may not be searchable; check the PDF for exact wording and diagrams.
Page 1 · Read text
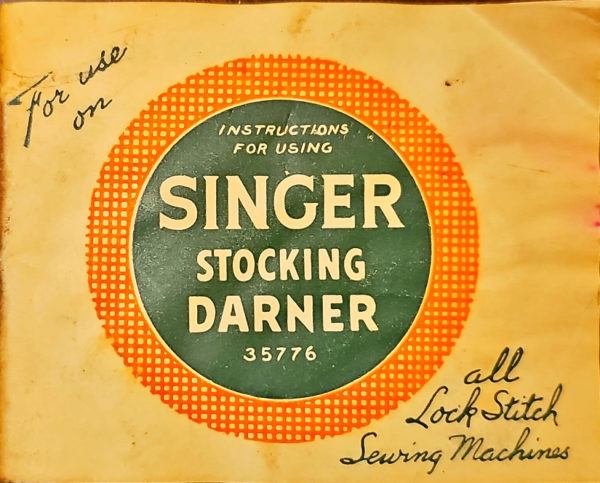
se

             INSTRUCTIONS
              FOR USING
  SINGER
      STOCKING
   DARNER
           35776
                 all
                       Lock Stitch

                 Sewing Machines
View original page 1Page 4 · Read text
7


                                                        On SINGER Machines
  The feed cover plate D, Fig. 1, should be placed                              66 and 99, be sure to pass
 over the feed of the machine to prevent the feed                                    the thread through the hole
dog teeth from catching in the material being                                            in the slack thread regulator
 darned. If no cover plate is available, the stitch                                as shown in Fig. 2. All other
regulator should be set for the shortest possible                              machines are threaded as
stitch, or, on machines having a feed throw-out                                   E1.591:          usual:
device, the feed should be dropped.                                      Fig. 2
                                                                    Threading for Darning on
                                                                  Machines 66 and 99
View original page 4Page 5 · Read text
8


                                               PLACING THE STOCKING
                                               ON THE DARNER


                                                                        (Do not darn heavy woolen stockings on the machine.)

                                                           Slip the spiral spring off the darner and turn the
                                                         six arms back toward the inside of the frame.

                                           Then run the left hand inside the stocking until
                                                the place to be darned is over the inside of the
                                                           fingers. Put the frame over the hole and grasp the
                                           edges with the fingers of the left hand, then work
                                                  £ 10018A
                                                     the stocking off the left arm and over the fingers as
Fig. 3. Putting the Stocking on the Darner                shown in Fig. 3.
View original page 5Page 9 · Read text
16                                               17


                                Run the machine slowly and move the darner
                                             steadily with both hands in time with the needle,
                                          either back and forth or to right and left. It is
                                         advisable to make two or three rings of stitches
                                    around any large hole as shown in Fig. 7, then
                                                     start stitching from one side across to the other and
                                           gradually cover the hole with threads running in
                                 one direction, keeping within the outer ring of
                                                    outline stitches.

                                        F20917


Fig. 7. Partly Finished Darn
View original page 9Page 10 · Read text
18                                                        19


                                 When the hole is covered by threads running in
                                  one direction, turn the darner or move it in the
                                             other direction to complete the darn with a layer of
                                              cross stitches.

                                    The best appearance will be produced by first
                                                  stitching across the weave of the goods, and then
                                               the second time in the same direction as the weave.

                                      For a tight, closely woven darn, move the
                                          darner only a little at each stitch.                         E22439

Fig. 8. Completed Darn
View original page 10Page 11 · Read text
20                                                            21

                                              DARNING KNIT UNDERWEAR

                                             The Stocking Darner can also be used for             THREAD
                                                        mending.

  Thread or yarn comparable to that used in the              For this work, it is not necessary to roll the entire
stocking to be darned is recommended. Fine, soft           surplus of the garment into the wire fingers, but
thread used with a fine needle will produce a soft,            fold back the fingers and see that none of the
comfortable darn that will outwear the rest of the            surplus portion gets under the needle.
stocking.                                                For general darning of flat work the SINGER*
                                                                Flat Work Darner No. 36088 is recommended.
                                                        This darner is oval-shaped and larger than the
                                                          Stocking Darner and is available at any SINGER
                                                          Shop.
View original page 11Page 12 · Read text
22


        SINGER*

          SERVICE

For assistance or advice in any of
your sewing problems, visit your local
SINGER Shop where experienced
sewing instructors will gladly help you.
Ask them to show you other SINGER
Sewing Aids which will make your
sewing machine more useful to you.
View original page 12Related documents and language editions
SingerPDF
Singer "Famous" Buttonholer Models C and D
Parts list
4 pages · EnglishRead →
SingerPDF
Singer B.U.K. Electric Motor (1930, knee control)
User manual
10 pages · EnglishRead →
SingerPDF
Singer B.U.K. Electric Motor (1931, foot control)
User manual
20 pages · EnglishRead →
SingerPDF
Singer Blind Stitch Attachment
User manual
20 pages · EnglishRead →
SingerPDF
Singer Buttonhole Attachment Model 121795
User manual
16 pages · EnglishRead →
SingerPDF
Singer Buttonhole Attachment Model 121795
User manual
8 pages · EnglishRead →
SingerPDF
Singer Darning Foot Model 121094
User manual
4 pages · EnglishRead →
SingerPDF
Singer Edgestitcher
User manual
4 pages · EnglishRead →
SingerPDF
Singer Flat-Work Darner
User manual
11 pages · EnglishRead →
SingerPDF
Singer Foot-Bar Attachments
User manual
20 pages · EnglishRead →
SingerPDF
Singer Hand Operated Pinking Machine
User manual
12 pages · EnglishRead →
SingerPDF
Singer Needle Threader
User manual
1 pages · EnglishRead →
From the ISMACS International. Original publisher and archive notices are retained.
Check the model and edition against your equipment.
PDF verified 2026-10-11.