Sewing machine accessories
Singer Turkish Point Attachment — User manual
User manual for Singer Turkish Point Attachment. 8 pages in English. Read the original PDF, download or print a copy without registration.
8 pagesEnglish1.8 MB PDF

Loading your manual…Open PDF directly
Document details
- Brand
- Singer
- Model / document
- Singer Turkish Point Attachment
- Document type
- User manual
- Language
- English
- Pages
- 8
- File size
- 1.8 MB
- Category
- Sewing machine accessories
- Document date
- Not specified in catalog
Search available document text
Find a term, then jump to its page in the original PDF. Image-only pages may not be searchable; check the PDF for exact wording and diagrams.
Page 1 · Read text
FOR YOUR PROTECTION                     Instructions for using
 SINGER Sewing Machines are sold and serviced wher-
  ever you see the famous SINGER and Red "S" Trade-
 marks.                                                    GINGER * SINGER
 Your SINGER SEWING CENTRE offers you the finest
  products that modern engineering and manufacturing
                                                SEWING
  can produce in sewing machines, attachments and home
  cleaning equipment.
                                        MACHOS
  When your machine needs servicing call your SINGER                          Turkish Point SEWING CENTRE to be sure of warranted SINGER
  parts and service.                        Attachment See address in the classified telephone directory.


SINGER SEWING MACHINE COMPAN    THE SINGER MANUFACTURING COMPANY
View original page 1Page 2 · Read text
INSTRUCTIONS FOR USING
   SINGER


TURKISH POINT ATTACHMENT

FOR VERTICAL NEEDLE, STRAIGHT STITCH, CENTRAL BOBBIN,
              FAMILY SEWING MACHINES

                SINGER MANUFACTURING COMPANY
View original page 2Page 3 · Read text
I. NEEDLES
   To produce open-work trimming with this attachment, a
 heavy needle must be used and the following sizes of needles are
 recommended, depending on the nature of the fabric used:
                                         Size
       Heavy Linen .......................21 or 22
      Light Linen, batiste, lawn ...........19 or 21
      Silk, crepe, marocain......19 or 21
      Crepe de Chine, Crepe Georgette ....19 or 21
       Silk jersey      .............……………......13, 16 or 19
   A size 21 needle is supplied with the attachment.

 HI. FEED COVER PLATE                                                                                       Fig. 1
    Remove throat plate from machine and replace it with special            III. THREADS
 feed cover plate which is furnished with attachment. This special                Twist yarns or ordinary threads are too stiff and therefore not
 feed cover plate is necessary because the small hole in regular           suitable for Turkish Point work. Use the following threads:
throat plate would cut the thread as it is forced through by the               Machine embroidery cotton   .......No. 50/2 cords
 thick needles used for Turkish Point work.                                         Synthetic silk                   .....No. 50 (000)
                                                                   Schappe silk                   ...No. 200/3    Fasten feed cover plate to bed of machine with screw 9,
 Fig. 1, so that needle enters exactly in centre of needle hole            IV. TO FASTEN ATTACHMENT TO MACHINE
 cover plate.                                                                       Special screws, enclosed in individual small bags, are supplied
                                                                    with the attachment for attaching it to different types of sewing
View original page 3Page 4 · Read text
machines. These screws are for replacing those used on machine
for fastening presser foot, presser foot collar, etc.

     1. Remove presser foot from presser bar.

     2. Raise presser bar lifter and place needle bar at its highest
        DOSItion.

     3. Fasten attachment to presser bar by means of screw (4,
      Fig. 2), at the same time placing fork (1), astride
       needle clamp (2). If necessary replace needle clamp with
       one having a round shoulder. The thread eyelet of needle
       clamp              or                needle                       bar must                             be positioned                                                  clear of driving
        fork (1)               so                     that fork                         can operate                                             freely. Remove                                                      thread                    23
         cutter if it interferes with operation of attachment.

     4. Lower presser bar so that attachment rests on feed cover
         plate and loosen screw (8, Fig. 3).                                                         Fig. 2
     5. Then press attachment against feed cover plate so that
        entire bottom surface of feeding foot (6, Fig. 2) rests
        evenly on plate. Perfect work can be produced only when             6. After foot is correctly positioned, retighten screw (8),
        foot rests flatly on feed cover plate. To determine correct                being careful not to shift the attachment or loosen the
        setting of foot, place a piece of thin paper under it and               housing of support (3, Fig. 2)
        pull paper to make certain that entire bottom surface of
        foot is bearing uniformly on paper.
                  4
View original page 4Page 5 · Read text
VI. TURKISH POINT AND SPECIAL WORK
                                                                                      Generalities: Place fabric under attachment and lower pres-
                                                                                  ser bar lever. Start stitching, operating machine at an even speed.
                                                              Guide fabric only slightly at
                                                                             front of machine. The feeding
                                                                                             is done by attachment, there-
                                                                    fore do not pull fabric from
                                                                   rear of attachment. Motor
                                                                 drive will be found advan-
                                                                  lageous
                                                             Light Weight Fabrics:
                                             When stitching very light
                                                                weight fabrics such as crepe,
                                                                          voile, silk, etc., place tissue
                                                                     paper under fabric to prevent
                                                                      puckering or contraction. At-
                           Fig. 3                                          tach paper to fabric by basting
                                                                                         it at two spots about 2 cr
 V. THREAD TENSIONS                                          apart and the stitching
                                                                       then lie perfectly flat.
    Use same needle thread tension as for normal stitching. Bob-
 bin thread tension should be sufficiently tightened to produce                  Elastic Fabrics: Due to elasticity of Turkish Point it is es-
correct loop formation of the two threads on underside of fabric.              pecially adapted for use on jersey fabrics except for certain ordin-
 The bobbin thread must not be visible on upperside of fabric.            ary cottons or synthetic silks. When stitching a single ply of
View original page 5Page 7 · Read text
Stitching Corners: The pierced hem is formed by success-               Turning Corners to Left: Turn in hole (B). After one
ively adding several sets of 4 holes produced by 13 stitches. For             more stitch in hole (B), lift attachment to prevent fabric from
first 12 stitches, foot moves fabric to make 4 holes. The 13th          moving and make three more stitches in hole (B). At the third
stitch is made on the spot; needle stitches a second time into hole              stitch, leave needle in hole and turn fabric, lower attachment
just completed without feeding fabric, while foot moves forward          and continue stitching. The following stitch must be placed
to produce the 4 following holes.                                           exactly in hole (D). If necessary, move fabric to correct position.
                                                                Turning Corners to Right: After the sixth stitch, turn
                                                                      in hole (C). Lift attachment to prevent fabric from moving
                                                                                   and make three more
                                                                                                        stitches in hole (C).
                                                                                           Leave needle in the third
                                                                                                                        stitch hole and turn rah
                                                                                                                                                 ric, lower attachment and

                                                                                                             continue stitching. The
                                                                                                          following stitch must be
                                                                                           placed exactly in hole
                                                                                                                  (B). If necessary, move
                                                                                                                            fabric to correct position.
View original page 7Page 8 · Read text
VII. CAUSES OF TROUBLE
       If thread breaks, check first by slowly lowering needle into
 fabric and observing if thread is broken in the right or left hand
 row. Without turning hand wheel of machine, lift attachment
 and move fabric so that needle stitches into the last series of holes
 just finished, leave needle in centre of last hole, lower attachment
 and continue stitching.

      If thread breakage continues, make sure that feed cover plate
 is securely fastened in correct position. The needle must pass
 exactly through centre of needle hole in the plate. The edges of
this hole must be smooth and well polished entirely free from
 any roughness or scars caused by needle. Also make sure that
 sewing hook of machine is in perfect condition. Poor quality
 thread may cause thread breakage.

     Noisy running of machine may be due to poor condition of
sewing hook race. Keep hook race clean and properly lubricated.
View original page 8Related documents and language editions
SingerPDF
Singer "Famous" Buttonholer Models C and D
Parts list
4 pages · EnglishRead →
SingerPDF
Singer B.U.K. Electric Motor (1930, knee control)
User manual
10 pages · EnglishRead →
SingerPDF
Singer B.U.K. Electric Motor (1931, foot control)
User manual
20 pages · EnglishRead →
SingerPDF
Singer Blind Stitch Attachment
User manual
20 pages · EnglishRead →
SingerPDF
Singer Buttonhole Attachment Model 121795
User manual
16 pages · EnglishRead →
SingerPDF
Singer Buttonhole Attachment Model 121795
User manual
8 pages · EnglishRead →
SingerPDF
Singer Darning Foot Model 121094
User manual
4 pages · EnglishRead →
SingerPDF
Singer Edgestitcher
User manual
4 pages · EnglishRead →
SingerPDF
Singer Flat-Work Darner
User manual
11 pages · EnglishRead →

SingerPDF
Singer Foot-Bar Attachments
User manual
20 pages · EnglishRead →
SingerPDF
Singer Hand Operated Pinking Machine
User manual
12 pages · EnglishRead →
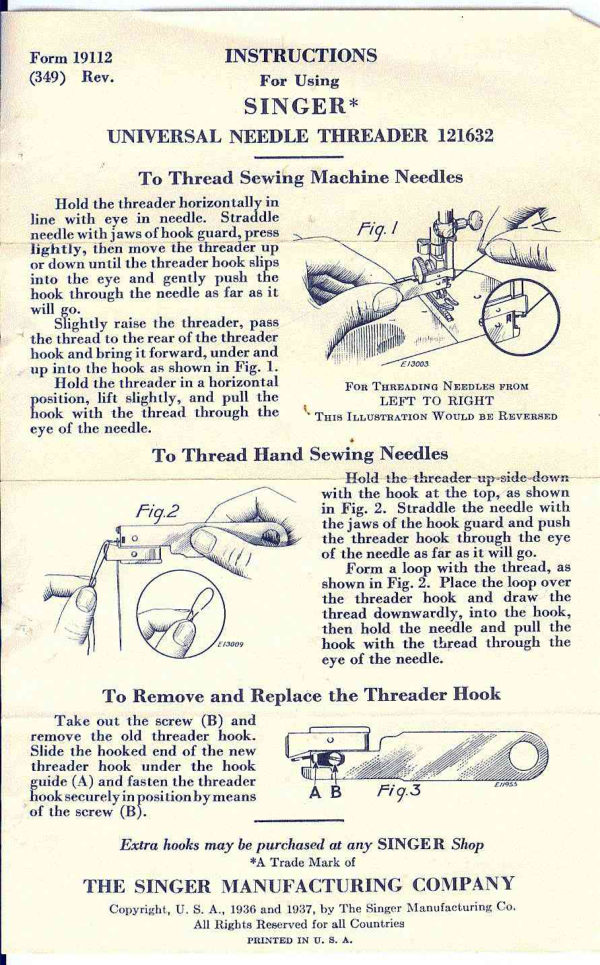
SingerPDF
Singer Needle Threader
User manual
1 pages · EnglishRead →
From the ISMACS International. Original publisher and archive notices are retained.
Check the model and edition against your equipment.
PDF verified 2026-10-11.