Film cameras
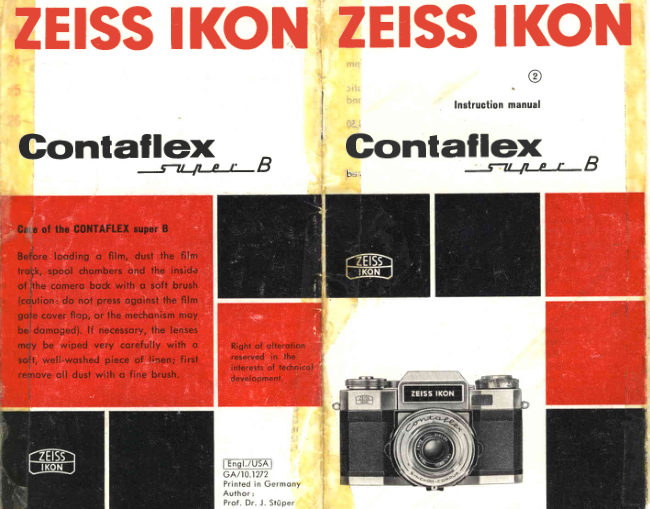
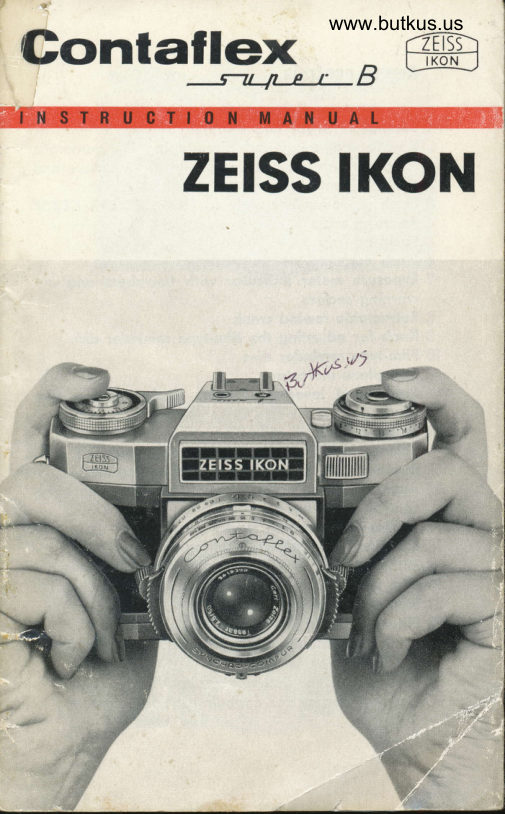
Zeiss Ikon Contaflex Super B User manual
User manual for Zeiss Ikon Contaflex Super B. 12 pages in English. Read the original PDF, download or print a copy without registration.
12 pagesEnglish1.5 MB PDF
Loading your manual…Open PDF directly
Document details
- Brand
- Zeiss Ikon
- Model / document
- Zeiss Ikon Contaflex Super B
- Document type
- User manual
- Language
- English
- Pages
- 12
- File size
- 1.5 MB
- Category
- Film cameras
- Document date
- Not specified in catalog
Search available document text
Find a term, then jump to its page in the original PDF. Image-only pages may not be searchable; check the PDF for exact wording and diagrams.
Page 3 · Read text
yourownpleasureandenioyment ;_1For
                        in  this fine photogrophic insfru-              24 Setting mork for dull weother/bocklight correclor
   f ',.               menf, we urge you  to reod these              25 Coupling dog for engoging the film cossette
                    nstructions thoroughly ond  proc-              26 Film-cqssetfe chomber (with boffle, which must be
   ,  I                  tice hondling your new comero be-                removed when using lhe interchongeoblefilm bock)
  .1'!                fore looding your  first film. Fold              2? Seiling  lever  for  deloyed-cction  releose (V) ond X
                    out the inner flops so thot os you                    flosh synchronizotion; used in coniunction with
                  reod you con eosily see eoch con-                   locking key 34
                        trol ond ,eoch reference number.             28 Grip  for setting operture.ond flosh guide-numbers
                   Proctice every operotion until you                       in coniunction with key 2
                   o r e f o m i l i o r w i t h  i t s o  l h o t  l o t e r o n               29 Seiling mqrk for rewinding
                 you con operole the comero with-               30 Comero bqck cotches
                   out difficulty. Consull your photo-               31 Tripod bushing
                                                             32 Setting mork (red stroke) for  flosh guide-numbers
                                                       w h e n u s i n g Z E I S SP R O - T E S S A3 B5 m m w i d e - o n g l el e n s
                                                              33 Flqsh guide-number scole  for  ZEISS PRO-TESSAR
                                                                       3 5 m m   l e n s
                                                                                              3tl Locking key for setting lever 27
                                                              35 Toothed sprockel wheels for engoging the film
                                                                       oerforotions
                                                             36 Toke-up spool with  slot ond  lug for securing the
                                                                                                                                               f i l m  l e o d e r l o n g u e
                                                                37 Viewfinder eyepiece
                                                     BB Eyelers for neckstrop
                                                                39 Accessory shoe


                  grophic deoler on ony photogro-
                   phic problems; the Photo Advisory
                  Service (Fotoberotung) of  ZETSS
               IKON AG., 7000 Stuttgort, Postfoch
                  540,will olso be hoppy to supply od-Ss                   vice ond informoiion free of chorge.
View original page 3Page 4 · Read text
obove the oppropriote figure on the film                                                                      23                                                               on ring   Loadingandunloading                                21                                                                                                                                                                                                                                                :                                                                                 20.                                                          speed                                                                             scole
   Removing the camera back
    Fold both cotches30 upwords ond turn them in opposite           Setting the frame counter and checking the film advance
    directions. Then tqke off cqmero bock. Before looding            (Fig. 2)
    the f ilm, tension the comero by swinging the ropid-wind         Alwoys set the white mork on the block knurled ring
    lever 12 until  it slops.                                                 of the ropid-wind lever 12 to the number of exposures
                                                              on your  film, plus lhree. Use the red morks for  20:
    Loadingthe film                                          ond 36-exposurefilm cossettes.Use l5 for 12-exposure
    Never lood film in direct sunlight. Shode the film with                  r o l l s .
    your body  if necessory. Remove the toke-up spool 36
   ond insert the beginning of the film leoder tongue into          Fold .out the rewind cronk 8 ond turn  it corefully in the
    the slot; hook the lug into the 2nd or 3rd perforotion          d irection of the orrow  until o slight resistonce is felt.
    hole. Wind the film twice oround the spool qnd hold it         The film will then be wound tightly in the cossette.
     in position. Insert the film spool ond the cossette into            Finolly, olternotely press releose knob l4 ond operote
    the comero, so thot the perforotions engoge with the          ropid-wind lever'12 twice, so thot the white mork indi-
    toothed sprocket wheels 35 on either side of the film.
    Ploce the comero bock in position from obove, so thot
    obout holf the width of the film is still visible.Then slide
    the bock right home ond lock it. Fold flot cotches30.
    lmportant: set the film speed  (Fig. I )
                                              indicoted onKNote the DIN or ASA index respectively
    the film corton.
    Press the locking cotch in the direction of the orrow
     until  it stops (see illustrotion)ond set the setting mork


                                                                cotes the octuol number of exposures on your film.
                                                             Note thot the rewind cronk rototes of its own occord in
                                                                    the opposite direction to thqt indicotedby the orrow: this
                                                                 ollows you to check thot the film  is being odvonced
                                                                         correctly.
View original page 4Page 5 · Read text
The frome counter olwoys shows the number of fr:omes
 still to:be exposed. After the lost exposure (when the
counter indicotes I ), the ropid-wind lever l2 will ceose
 fo operote or o distinct resistoncewill be felt holf-woy
                                                                                                                                                  jth rough o stroke. The  f ilm must then be rewou nd (see
next poge)                                            -t*  RA,u.hCuAdr
Set the film-type reminder disc l0 by meons of knob 9. /*--
T h i s d i s c o c t s s o l e l y o s o n o i d   t o  r e m i n d y o u w h o t ' -
 t y p e o f f i | m i s i n y o u r c o m e r o . T h e s y m b o l s o n t h e f i | m .
type reminder disc signify:

                                           Inf ro-red fi lm

                                                                :  Color reversol f i l m
                                  (tungsten type)           3                     4
                                                                :  Color reversol f i l m           Focusingwith split-imoge       Focusingwith ground-gloss
                                      (flosh type)                  ronge finder                     n n g
                                                                :  Color negotive f i l m
                                       Takingpictures
                                                                :  Color reversol f i l m
                                     (doylisht type)               Setting the distance (Focusing) (Fiss. 3 ond 4)
                                                         Operote the ropid-wind lever so  thot the shutter is                                   =: Block-ond-whitefilm                                                            tensioned. Hold the comero up to your eye ond tu;n
                                                               the finger-grips 5 until the split-imoge segmentsvisible
                                                                             in the center of the viewfinder field line up occurotely;
After the lost exposure, lift the left-hond bock-locking           for subiects with no cleorly-defined lines, odiust the                            'R'.cotch 30 ond set it to                                        focus until the imoge oppeors shorp within the ground-
Extend the rewind cronk 8 ond turn it in the direction of          gloss ring. The distonce focused upon is then indicoted                                                                                                                       .|5.the orrow until o chonge in resistonceis felt (indicoting        on scole 4 by the setting mork
the film coming f ree from the toke-up spool). Now open
both bock-locking cotches, pull  off  the comero bock          Aperture and depth of field (Fig. 5)
o nd remove the f ilm cossette.                               Every photogrophic lens will form o shorp imoge of
Alwoys keep the toke-up spool ond the film trock per-          obiects within o limited distonce in front of ond behind
fectly cleon.                                                    the obiect focused upon. This "depth of field" becomes

I
View original page 5Page 6 · Read text
greoter the more the lens is stopped down  (lorger ft                                                     The correct shutter speed depends on the movement ofstop numbers); its extent (ot individuol                                     operture stops)         the subiect. The fqster the subiect is moving, the briefer                                               .|5.is shown on the depth-of-field scole                                                       must be the exposure time. The figures on the scole l8
Exomple (seefig. 5) : Distonce setting 20 ft                        signify froctions of seconds (50 is 1160second, 125 is
                  Depth of  f ield ot f/8:                    11125second, etc.).                                                                                  *                                                                     4\                                                               --releoseAt  "8" , the shutter remoins open for q:-lzujs   the,7(                   from l0  ft to oo                                                                                                                       t                                                              knob 14 remoins depressed.                      ( \
Remember:                                                                    \__-
                                                       Delayed-actionexposures      Lorge operture (f/2.8) -  smqll depth of field                                                                      First tension shutterwith rqpid-wind lever 12, then move      Smqll operture  (Il22l -  mqximum depth of  field                                                                the setting lever 27 to "V" . Approximotely l0 secondsFor exocting photogrophic work, occurote depth of field                                                                      ofter operoting the releose, the shutter will open ondvolues will be found in the toble on the reor cover ftop.                                                              close outomoticolly. The lever 27 will then return to "X".
                                                      Time                                                             exposures of the                                                                                       "B" setting connot be mode withSetting the shutter speed (Fig. 6)                            1                                                                                                                       t  I                                                                the deloyed-oction                                                                               releose
To odiust the shutter speed, turn ring   l B by meons of
the two finger grips to  set the desired shutter-speed        Using filters
volue opposite the setting mork 17. The speed selected        Most filters necessitote on increose in exposure. This
will olso be visible in the bottom right corner of the           filter-foctor is indicoted on the mount of the filter (2x,
viewfinder.                                                    4 x, etc.). Set this foctor on the filter corrector 22, obove
t0                                                                                                        t1
View original page 6Page 8 · Read text
Releasing the shutter
     Hold the CONTAFLEXsuper B os shown on the front
     cover-flop of this instruction monuol. To toke o picture,
     press the releose knob 14 softly ond smoothly down-
    words -  never ierkily. At the moment of exposure the
     viewfinder imoge will block out; it will reoppeor os soon
     os the ropid-wind lever 12  is tensioned. For shutter
    speeds slower thon rlsosecond the comero should be
     ploced on o tripod.

    The exposure meter
      is colibroted ogoinst o stondord ond  will ensure the
     correct exposure under normol conditions. Open lond-            ticolly to the sun symbol when it is releosed.The figure
    scopes with lorge oreos of sky, ond bocklit pictures in           2 within the cloud symbol indicotes thot the dull weother
     porticulor moy be incorrectly exposed when the expo-           corrector corresponds to  o  filter-foctor correction of
     sure meter is used os described obove,since the brighter           2x, ond  it moy olso be used for  this purpose. lf the
     sky tones or the sun shining directly into the meter          operture requires less thon one  full f/stop correction,
      will folsify the reoding. In such situotions the normolly-          then the ring need only be turned by o corresponding-
    determined exposure should be modified by increosing                         l y s m o l l e r o m o u n t .
     the lens operture by one f/stop. This correction is olso         Mqnuql operotion
    necessoryfor pictures of low-controst subiects on color                                                               Disengagingthe auto-control (Fig. 10)     reversot fitm, e.g. exposures on cloudy doys. For this
     reoson o  dull weqther/bocklight corrector  is incorpor-  {       Depress key 2 qnd of the some time turn the operture                                                                  scole 16 (morked "monuell") to the setting mork 17 by     oted in the comero.K

     Dull weatherlBacklight corrector (Fig. 9)
    With the thumb on your left hond, turn ring 23 to bring
     the cloud symbol over the setting mork 24. Hold  it i^n
     this position while pressing the releose knob. The result
      of the correction is shown by the deflection of  the
     pointer on the operture scoles, both in the viewfinder
    ond on top of the comero. Both will register one f/stop
     lorger operture. The ring 23 will spring bock outomo'

   14                                                                              15
View original page 8Page 9 · Read text
meons of grip 28. By setting fhe shutter to "monuell"  it
     is possible to  select the shutter-speed ond  operture
    settingsoccording to choice: either independently of the             jmeter    exposure       or in occordonce with its reodings.
     In this woy the exposure con be corrected -  prelerobly
    by vorying the operture setting in either direction -   to
    o greoter extent thon con be ochieved with the dult
    weother/bocklight corrector.

    Exomple:
    Close-up reodings with high brightness-controsts.Hold
    the comero (with the outo-control engoged) close up to
    the subiect whilst toking core not to cost o shodow upon
      it. Reod off the operture indicoted (here the externol          floshbulb for the sped of the film you ore using. This
    meter window  wil I prove most usefu t) o nd set  it by             will be given on the floshbulb corton or in the instruc-
   meons of the operture setting ring morked "monuell,,.         tions for the flosh unit.
   Then toke                                  V              the picture                       from                              the                                 desired position.                                                                                 olwoys                                                                                     be set                                                                                                        rc                                                                                                        tokins pic-                                                                                                                  for                                                                                F   When          the comero                           is set                               to o                             monuolly-selected                                                 operture,                                                                                                     qs                                                                                                     flosh, qnd                                                                                                                       for                                                                                  use                                                                                                    with                                                                                                     flqshbulbs
    the exposure meter is disconnected (the pointer remoins
    within the red sector). This is o  built-in precoution to
    ovoid the possibility of erroneous reodings. So long os                                        depress locking key
    the pointer is visible within the green sector, you con be
    certoin thot the outomotic exposure control is in opero-                                         ("V"settins)will    tion.                                                                    R

  Takingpicture$by flash (Fig.I I )                  Automaticflash exposures(Fig.12)
   The zElss lKoN lKoBLlrz 5 "cordless" floshgun con be         The outomotic flosh-exposure control operotes of  oll
   plugged d irectly into the  f losh contoct 6. other  types X      shutter-speedsettings.For normol use with both flosh-X of flosh units should either be slipped into the occessory         bulbs ond electronic flosh, the synchronizotionshould
   shoe (39)or ottoched to the tripod bushing 3l by meons         be set to i.X''l'   \r'    /
    of o brocket. Plug the synchro-contoctof the end of the         There is no limitotion on the choice of shutter speed
   coble ottoched to the flosh unit into the flosh contoct 5.        when using electronic flosh, ond the speed selected hos
   Determinethe correct guide number of the flosh unit or         no influenceon the guide number to be set.
   t6                                                                                                                                                            lt
View original page 9Related documents and language editions
From the M. Butkus archive. Original publisher and archive notices are retained.
Check the model and edition against your equipment.
PDF verified 2026-10-10.