Film cameras
Graflex XL Graflok Back User manual
User manual for Graflex XL Graflok Back. 12 pages in English. Read the original PDF, download or print a copy without registration.
12 pagesEnglish1.5 MB PDF
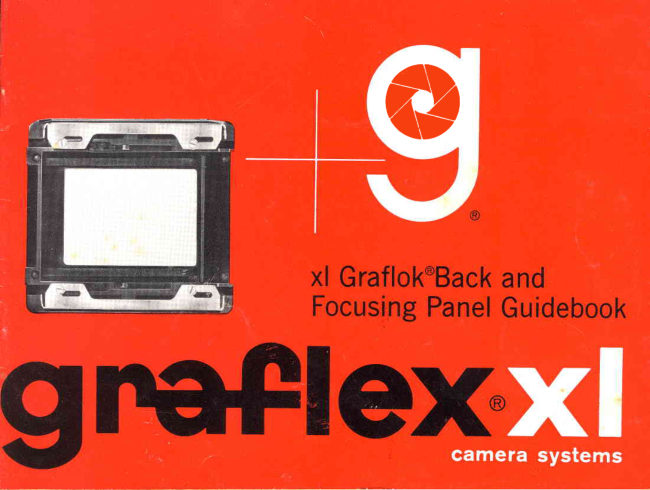
Loading your manual…Open PDF directly
Document details
- Brand
- Graflex
- Model / document
- Graflex XL Graflok Back
- Document type
- User manual
- Language
- English
- Pages
- 12
- File size
- 1.5 MB
- Category
- Film cameras
- Document date
- Not specified in catalog
Search available document text
Find a term, then jump to its page in the original PDF. Image-only pages may not be searchable; check the PDF for exact wording and diagrams.
Page 4 · Read text
Thexl Graflok'Backperformslikea built-in
partof the camerabody.

Your new xl Graflok@Back,a basic
part of the Graflexxl CameraSys-
tems, is a ruggedly-built,easy-to-
install,rear-mountingbase.lt fits
directly into the back of the xl
Camera,and it givesyou a single
basefor all the xl FocusingPanels
plus most of the xl film carriers.
Designedfor fast, simple opera-
tion, the xl GraflokBack lets you
quickly install, interchange,or-
in somecases-combinefocusing
panels, roll film holders, sheet
film holders,film pack adapters
and the Grafmatic@Film Holder.
View original page 4
Page 5 · Read text
Connecting  the  rl Graflok Back to the  rl Camera
                                          locking cones on the camerabodydown-1. The xl GraflokBack connectsdirectly                                         ward. ffie.2) .to the xl camera body and forms a rigid
system.To position,align the four metal                                                  3. To removethe Graflok Back from the posts on the Graflok Back with the four                                       camera, reverse the attaching process.corresponding snap-lock openings in                                 Move the locking cones upward. Hold the camera body. (fig. 1).                                    them in this positionand lift the camera
                                      body away from the Back. (tie. 2)' 2.  Pressthe Back firmly into the camera
 body. Lock in place by pushing the two


                                               Metal Post
                                                                      0pen+                                                                        I

                                           LockingCone                                                                     It
                                                             Lock

                                              Metal Post
   Snap-lockOPenings
                                                                      LockingCones
                          www.orphancameras.com
View original page 5Page 6 · Read text
Right or Left Hand            Attaching  Film Holders
Operation                          to Graflok Back
  The xl Graflok Back can be installed       For positive attachment of most film
for  right or  left hand operation. For     holders simply place the holder against
right hand use, attach the Back to the     the Graflok Back and slide it on fully.
camera body with the flat, or open end,       Righthanders:move the upper and
facing right. For the left hand, the flat,     lower slide locks to the right. (fie. 3).
or open end, faces left. (See illustration       Lefthanders: secure by moving the
on inside cover for position for  right     slide locksto the left.
hand use).                              Sheet Film Holders must be inserted
                                    betweenthe Graflok Back and a focusing
                                         panel. Grafmatic holders and film pack
                                        adapters can be used this way, too.


                                                                                Slide Locks
View original page 6Page 8 · Read text
There are Three Types
      of  rl Focusing Panels


       X.  Focusing Panef with Ground Glass.
        ldeaI for generaI photograph ic work -
       especially with a magnifier.


        2.  Focusing Panel with Fresnel Lens.
       Excellentfor use in poorly lighted con-
        ditions. Collectsand evenly distributes
       availablelight.Givesbright,clear details
      even at the edgesof the frame"

il

        3.  Focusing Panel with  Perspective
       Grid Lines. For wide angle, sharp angle
      and perspectiveshots. Eliminatesguess-
      work in checkinga lignments.
View original page 8Page 9 · Read text
Adding Focusing Panels                        KnurledFinger Pads
  To attach a Focusing Panel to the xl
GraflokBack, set it on the back. ln this
position, the tips of the two metal re-leasearms on the FocusingPanel touch  @u
the two retainer hooks on the Graflok
Back. Engagethe Panel by sliding itVq"
farther -  to completely lock the release
arms underneath the  retainer hooks.
(fie.a).
  Depressthe knurled finger pads on
the release arms and sliile the Panel
off to remove it. (fig. 4a).
Please note: $hsgt Film Holders, Film
Pack Adapters and the Grafmatic Film
Holder can be used while a Focusing
Panel is attached.

                             a-


                                   Retainerwww.orphancameras.comHook        ReleaseArm
View original page 9Page 10 · Read text
Inserting Film Holders
Between Focusing Panel
and Graflok Back

  To insert a  f ilm holder between the
Panel and the Back, raise the open end
of the Panel againstthe pressureof the
springs.Slide the holderas far as it will
go into the film plane betweenthe Panel
and the  Back. The pressure of  the
springsholdsthe film holderfirmly.
  To removethe film holder, raise the
focusing panel away from the Graflok
Back at the dark slide end. Slide film
holderout. (fig. 5)
View original page 10
Page 11 · Read text
Placing Viewing Hood on Focusing Panel

  The Graflex Viewing Hood features a      To close the Hood, press in on both
light-sealdesign that cuts off unwanted    side panels. Fold the bottom panel up-
light and reflections.                   ward. Push top panel downwardfirmly
  To attach the Hood to the Focusing    until it engageslocking latch. (fig. 6a).
Panel,position it over the ground glass,     To remove the Viewing Hood, push
press and it snaps in place. (fig. 6).        the two locking latches on the Panel
  To open, press down on the release    inward.This releasesthe Hood.
latch. Hood unfolds itself as. it pops
open.
                @u


                                     Locking Latch

                                1 .


                          www.orphancameras.com
View original page 11Related documents and language editions
GraflexPDF
Graflex Cameras
Product booklet
20 pages · EnglishRead →
GraflexPDF
Graflex XL Camera Guidebook
Reference guide
27 pages · EnglishRead →
GraflexPDF
Graflex XL Eye Shield
User manual
5 pages · EnglishRead →
GraflexPDF
Graflex XL Lens Attachments
User manual
7 pages · EnglishRead →
GraflexPDF
Graflex XL Lens Depth of Field
Reference guide
3 pages · EnglishRead →
GraflexPDF
Graflex XL Lens and Barrel
User manual
15 pages · EnglishRead →
GraflexPDF
Graflex XL Multi-Grip
User manual
8 pages · EnglishRead →
GraflexPDF
Graflex XL Polaroid Pack Film Holder
User manual
5 pages · EnglishRead →
GraflexPDF
Graflex XL Quick Focusing Ring
User manual
5 pages · EnglishRead →
GraflexPDF
Graflex XL Rapid-Vance RH/50 Roll Film Holder
User manual
11 pages · EnglishRead →
GraflexPDF
Graflex XL Sports Finder
User manual
9 pages · EnglishRead →
From the M. Butkus archive. Original publisher and archive notices are retained.
Check the model and edition against your equipment.
PDF verified 2026-10-10.