Camera accessories
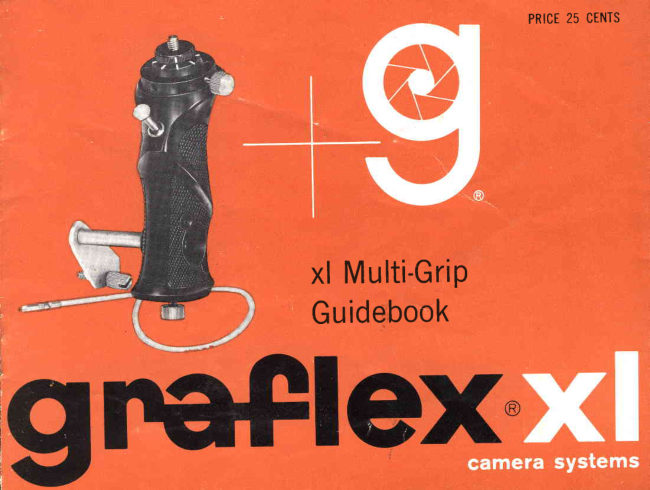
Graflex XL Multi-Grip User manual
User manual for Graflex XL Multi-Grip. 8 pages in English. Read the original PDF, download or print a copy without registration.
8 pagesEnglish0.8 MB PDF
Loading your manual…Open PDF directly
Document details
- Brand
- Graflex
- Model / document
- Graflex XL Multi-Grip
- Document type
- User manual
- Language
- English
- Pages
- 8
- File size
- 0.8 MB
- Category
- Camera accessories
- Document date
- Not specified in catalog
Search available document text
Find a term, then jump to its page in the original PDF. Image-only pages may not be searchable; check the PDF for exact wording and diagrams.
Page 3 · Read text
Theeasywayto handleyourxl cameras.
      The new xl  Multi-Grip forms a  rigid,          HANDTE
       rock-steady unit with  the camera.  lt
      has a top mount and two side mounts     Shutter
        for maximum versatility and camera     relea\riccer
       control. Convenientshutter-releasetrig-
      ger is right at your finger tips.
    Newxl Multi-Gripconsistsof:


                                                Swiveledtapered tip


                        Tapered-tipcable release


                                                                        Bottomlockingscrew
                               www.orphancameras.com                                                                                                                   tI
*;J   ;g&,*     -., *,         -el*au*i            "*fi8ir"s         **a*p#r*i.   $       *g&q-*...  ,.*n{&ro*.                .-'*Ee  **-J,
View original page 3Page 4 · Read text
WRISI STRAPAND RETAINER
            CentermountingPost


IRIPOD SOCKETADAPTER


    HANDTEBRACXET


racketlockingscrewFF:                            r-

                               Alignmentpin ,ra,                 \
ll\JI
\    \Jl
   \-/
NAMEPTAIEDTSCS
Covers side mounting sockets
                                                                                                                 *'r;&1r,.    . .;:J$#i*ld.ol*,;"    ,. ., ',,;i'*
View original page 4Page 5 · Read text
Install ing TripodAdapter
 Unscrew the cover plate. Replace it
with the tripod adapter. Use the same
screws to fasten the adapter.

Usingthe TripodAdapter
There are two ways to  mount your
camera on the tripod adapter.
   First -  and  easiest! Attaching the
tripod adapter to the camera. Loosen
the top locking screw. Lift out the post.
Thread the post into the tripod socket
at the base of the camera. Leave it
there! Then each time you want to use
the Multi-Grip,just slip the adapter
over the post and tighten the locking
screw (Fig. 1).
  Second! Mounting the camera on
the tripod adapter. Locate the tripod
socketat the base of the camera.lnsert
the mounting post. Twist the handle of
the Multi-Grip to thread the post into
the camera(Fie. 2).


                          www.orphancameras.com
View original page 5Page 6 · Read text
Settingthe positionof the camera
     on the TripodAdaPter
     The xl Multi-Grip can be set in anY
       direction under the camera. Loosenthe
       top locking screw, change or set the
       positionand lock (Fig. 3).?ItI
     Mountingcameraon sidehandle
     bracket
      Handlebracketsare availablefor either
        right or left side mounting.To attachthe
      handle bracket plate to the camera,use
       the alignmentpin to positionthe bracket
      on the camera.Tightenthe bracket lock-
       ing screwto secure it (Fig. 4).
        Loosen the  locking screw in  the
      base of the Multi-Griphandle to clear
-a      the side mounting socket. Insert the
       bracket base into the socket. Secure byI     tighteningthe lockingscrew.
        To alter the position of the Multi-
       Grip, loosen the bottom locking screw,
       set  to  desired position and tighten
        (Fie. 5).
       Note: Use   f inger pressure on lY  to
       tighten all locking screws    no tools
       are needed.
View original page 6Page 7 · Read text
Usingthe cablerelease
The swiveled tip of the cable release
threads into the cable releasesocket in
the shutter of your camera. No special
cable path is needed.
  Shutter trips with a  light squeeze
of the shutter releasetrigger.
  The cable release can be removed
from the Multi-Grip.Simply take out
five screwson the handle. Separatethe
halvesof the handle. Removethe cable
release(Fig 6).


                         www.orphancameras.com
View original page 7Related documents and language editions

GraflexPDF
Graflex Cameras
Product booklet
20 pages · EnglishRead →

GraflexPDF
Graflex XL Camera Guidebook
Reference guide
27 pages · EnglishRead →

GraflexPDF
Graflex XL Eye Shield
User manual
5 pages · EnglishRead →
GraflexPDF
Graflex XL Graflok Back
User manual
12 pages · EnglishRead →
GraflexPDF
Graflex XL Lens Attachments
User manual
7 pages · EnglishRead →

GraflexPDF
Graflex XL Lens Depth of Field
Reference guide
3 pages · EnglishRead →
GraflexPDF
Graflex XL Lens and Barrel
User manual
15 pages · EnglishRead →
GraflexPDF
Graflex XL Polaroid Pack Film Holder
User manual
5 pages · EnglishRead →
GraflexPDF
Graflex XL Quick Focusing Ring
User manual
5 pages · EnglishRead →
GraflexPDF
Graflex XL Rapid-Vance RH/50 Roll Film Holder
User manual
11 pages · EnglishRead →

GraflexPDF
Graflex XL Sports Finder
User manual
9 pages · EnglishRead →
From the M. Butkus archive. Original publisher and archive notices are retained.
Check the model and edition against your equipment.
PDF verified 2026-10-10.