Film cameras
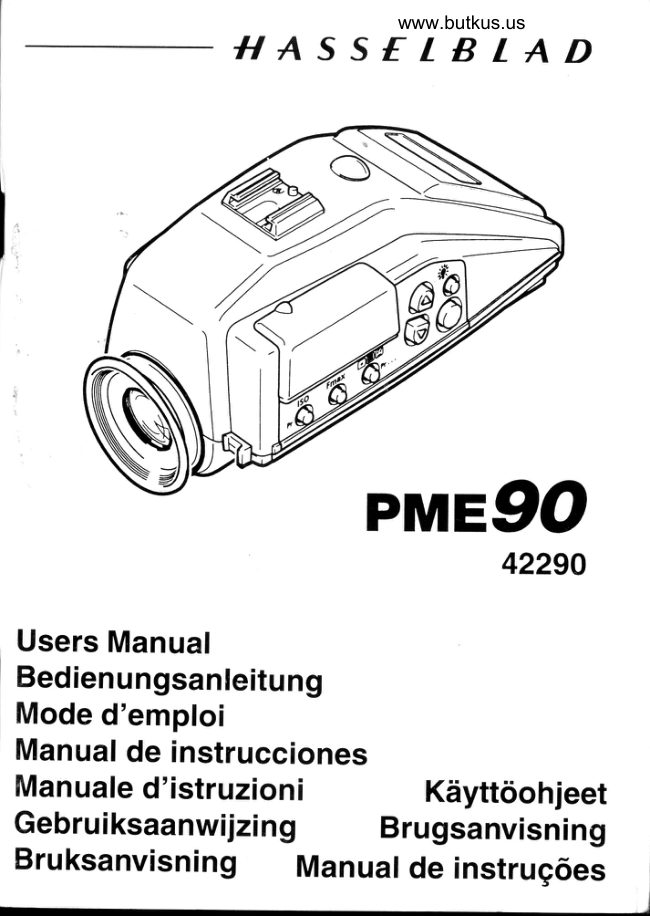
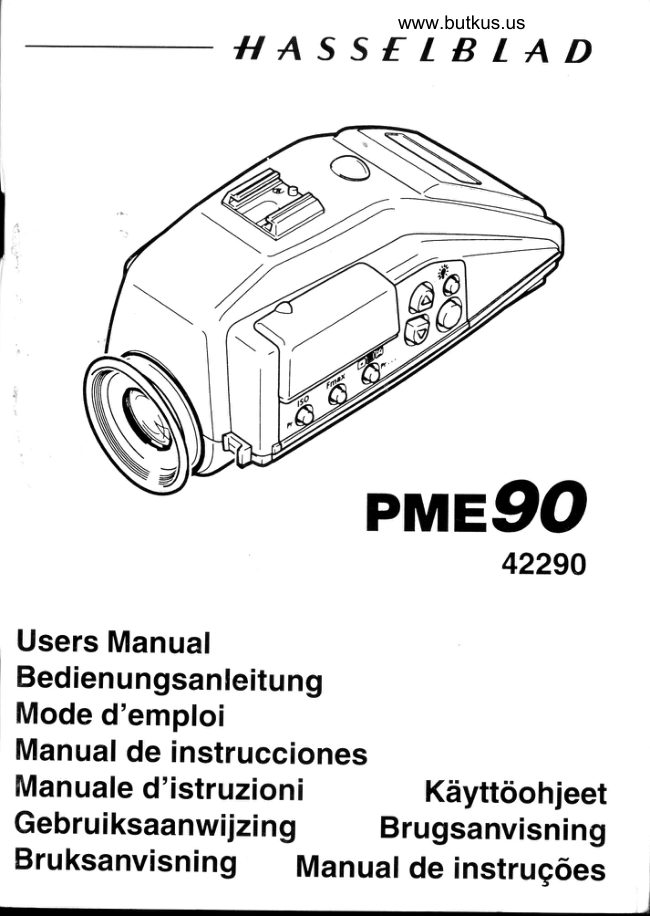
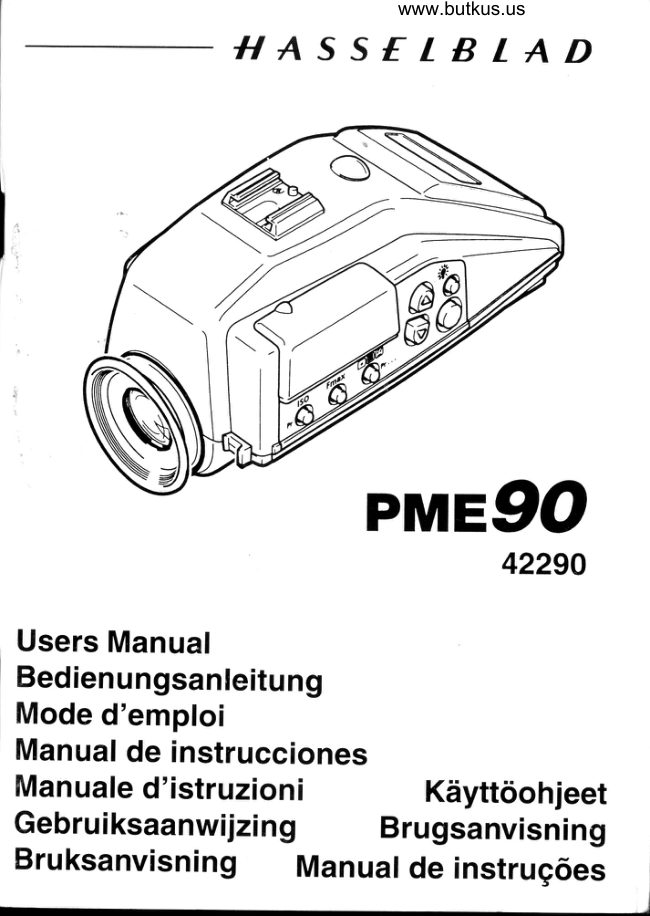
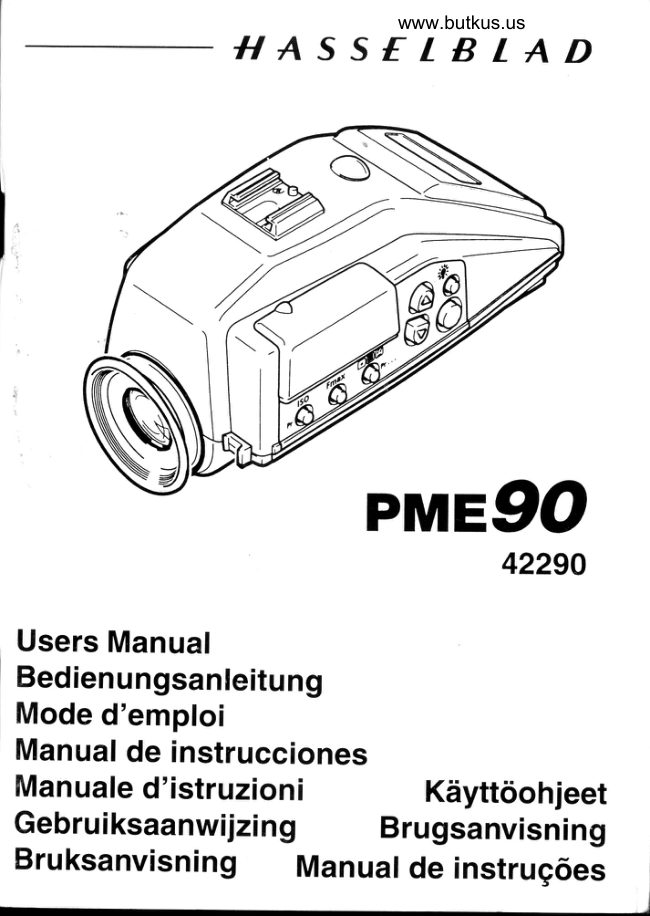
Hasselblad PME90 Hasselblad PME 90 User manual
User manual for Hasselblad PME90 Hasselblad PME 90. 11 pages in German. Read the original PDF, download or print a copy without registration.
11 pagesGerman1.3 MB PDF

Loading your manual…Open PDF directly
Document details
- Brand
- Hasselblad
- Model / document
- Hasselblad PME90 Hasselblad PME 90
- Document type
- User manual
- Language
- German
- Pages
- 11
- File size
- 1.3 MB
- Category
- Film cameras
- Document date
- Not specified in catalog
Search available document text
Find a term, then jump to its page in the original PDF. Image-only pages may not be searchable; check the PDF for exact wording and diagrams.
Page 2 · Read text
IT A S S f T B T A D


                                                                                   *
                                         \ - \

       PMEgO
                           42290   t
                                                         rUsersManual
Bedienungsanleitung
Moded'emploi
Manualde instrucciones
Manualed'istruzioni      Kdyttdohjeet                 qGebruiksaanwijzing   Brugsanvisning
Bruksanvisning  Manuafdeinstrug6es
View original page 2Page 4 · Read text
@  HasselbladMeterPrismViewfinderPME90(42290)
TheHasselbladPME90is a 90" meterprism The largeeyepiece,speciallysuitablefor us-
viewfinderfor eye-levelviewingin line with  ers with eyeglasses,has a diopteradjustment
thephotographingdirection,specially suitable  range of - 2 to + 0.5 diopters.lt can be
forshiftingbetweenhorizontaland verticalfor-  changedto cover- 4.5 to - 2 or +0.5 to +3
mat orientation.lts built-inexposuremeter  dioptersby additionof correctionlenses.
offersthree differentmeteringmethods,a  Due to its low profilethe PME90 has to be
choiceof shutteror aperturepriorityand a  detachedwhen the Film magazine70 or the
wide range of presettingpossibilities.Film  Polaroidfilm magazinesis used.
speedcan be set within the lSO12 - 6400  The illustrationsreferredto in the text below
rangeand lens max. aperturewithin f/2 -   are foundon thefrontandrearfold-outpages.
f/16.The 2x enlarged unreversedimage  ln the fig'sD1 - D18 greysymbolsrepresent
coversthe entire focusingscreenincluding continuouslyupdatedexposuredata,control-
the viewfinder'sbuilt-inconspicuousLiquid  led by the exposuremeter.Solid blacksym-
CrystalDisplay.                        bolsare fixedor controlledmanually.
Contents:                       Spotandintegralmetering....................5                              EV display,Aperture/shutterspeeddisplay
Introduction...............          ........2   Incidentlightmetering..........................6
Parts& components...........................2  Referencemode             .................6
Gettingstarted               ..................3   Usingthe referencemode,Reference
                               mode& Spotmetering,Referencemode&  Batteryinstallation,Meteractivation,LCD                                          Incidentlightmetering  display,Adjustingthe eyepiece,Attaching                            PME90and focusing screens .............7 theviewfinder,Attachingthe magazine.
                                   Eyepiececorrection lens ....................7Operatingdetails             ...............4
  Startingthe meteringmode,                lnstallationof the correctionlens...........8
 Changingthe metersettings                Self-test                            ...........8
Programmingmode             ..........4  Care,serviceand guarantee..............8
Metering                            ..........5   PME90Technicalspecifications.........9

Parts & Components    (fig.1)
                                              19. Test connectorcover (serviceuse only)
Viewfinder & meter components             20. Magazinecatch operatingslide
 1, Lockingclip (red)                         21. Viewfinderretainingplate
 2. Indicationmark                           22. Viewfinderprism
 3. Eyepiecediopter adjustment                23. Viewfinderprotectivecover
 4. Removablerubber eyecup                 Display components
 5. Eyepiecediopteradjustmentcatch           24. Soundwarningindication(beepon)
 6. Batterycompartmentcover                 25. Plus/minuscorrectionsymbol
 7. Filmspeed/programmingmode selector      26. Max.apertureindicationsymbol
 8. Max.apertureselector                     27. EV indicationsymbol
 9. Meteringmethod symbols                   28. EY/aperturevalue 7-bar digits
10. Meteringmethod/programstep selector       29. AdjustmenVreferencescale
11. Upper(A ) and lower(V) adjustmentbuttons  30. Shutterspeed value 7-bar digits/program
12. Meteringbutton                                settingindication
13. Displayilluminationbutton                  31. Filmspeed (alt.shutterspeedseconds)
14. Displayilluminationsymbol                      indication
15. Displayilluminationwindow                 32. Spot meteringindication'16.    Incidentlightsensordome                  33. Integralmeteringindication
17. Accessoryshoe                          34. Incidentlightmeteringindication
18. Viewfindertype sign                        35. Battery"low power"warningindication
                                           ..;*ilffi*;***&*il;*;*',,   ?                                                      . J
View original page 4Page 5 · Read text
Gettingstarted
 In the text plain numbers within brackets  Adjusting  the eyepiece (fig.5)
 refer to the Parts & Components list.       1. Pullthecatch(5)awayfromthe eyepiece.
 The viewfinderis deliveredwithoutbattery. 2. Activatethe meter (see above).
 Usea 3V LithiumtypeCR-123A,commonin  3. Turn the diopter adjustment ring (3)
 mostcompactcameras.                      with the rubbereyecup(4) clockwiseor
                                         counter-clockwiseuntilthe displaysigns Battery  installation  (fig. 2)                                        appearsharp.Swingopen the batterycompartmentcover                                               4. Lock the eyepiecein the focusedposition (6). Placethe batteryin the cover or in the                                       by pushingthe catch(5) backagain. batterycompartmentof the viewfinderbody.                               NOTE:The eyecupcan be foldedin towardsBe sure to position the battery correctly                                        the viewfinderbody for the convenienceofaccordingto fig.2 and the sign in the battery                                     eyeglassusers.compartment.Closethe covercarefullyafter
 insertingthe battery.                    Attaching the viewfinder  (fig.6)
NOTE: Positioning the batteryincorrectlywi ||   1. Detachthe filmmagazine.
 notdamagethe viewfinderbut will preventthe  2. Slidethe presentviewfinderto the rearoutexposuremeterf romfunctioning.                                                of the viewfindermount.
Exposure meter activation  (fig.3)     3. Insertthe PME90intothe slotsand slide
The exposuremeteris completelyself-con-       it forwardsto a positivestop.lt is retained
tainedand can be operatedon oroff the cam-     thereby spring-loadedball latchesin the
era body.lt is activatedby pressingany of the    camerabody.
buttonsexcept the adjustmentbuttons(11)  4. Recheckthe eyepiecefocusingon the fo-
or the displayilluminationbutton(13).Nor-    cusingscreen.
mallythe metershutsoff automatically16 sec- NOTE:Recommendedfocusingscreensfor
ondsafterthelatestmanipulationof any but- use with the PME90are the Acute-MatteD.
ton, but the durationof this period can be  (Code Nos.42204, 42207').
changedin the Programmingmode(seepage See also the chart on page 7!
5, sectionPr4).
                                       Attaching  the magazine  (fig. 7,8)The firsttime the meteris activatedthe "de-
fault"settings:Max. f/2.8; lSO100; Integral 1. Insertthe magazinefrom below,beneath
metering(fig.D1, pageviii)appear.See also     the viewfinder.
the section"Operatingdetails,Startingthe  2. Placeit on the magazinesupports.
Meteringmode"below.                      3. Swing it towardsthe camerabody untilit
                                              restsagainstthe magazinehooks.
Viewfinder LCD disptay  (fig.  )         4. Whilegentlypressingit againstthe hooks,
The exposuremeter displayis locatedbe-    squeezethe protrudingpart of the maga-
neaththe imagearea.lt is illuminatedby the     zine catchoperatingslide(20)to release
ambientlightthroughthe window(15)on the     the slide atch, and push the slide firmly
upper front side of the viewfinderbody. In    towardsthe viewfinderbody.
lowlightconditionsthe displaycan be illumi-  5. Continueto pressthe magazineagainst
natedby depressingthe illuminationbutton    the camerabodyand releasethe operat-
(13),whichhas an on/offfunction.             ingslide(20).
Thevariousdisplayappearances(D1- Dl8)   6. Pullthe magazineawayfromthe camera
are shown on page viii in the rear fold-out    body to verifythat it is positivelyattached.
section.Theywill be describedbelowtogether  7. Removethe magazineslide.
withthe correspondingmeterfunctions.
                              www.orphancameras.com
                               8 -
View original page 5Page 6 · Read text
Operatingdetails             rangeat lSO100is +1 to +21 EV.                                                  '"'   't4'     . lntegral metering (fig.11)is a center-
Starting the Metering mode                                    weighted method using a central area of
The firsttime the meter is activatedby press-  approx. 4Ox4Omm. The metering range at
ing the metering button (12) the default lSO100is-1 to +19 EV.
settings,made in the factory,appearon the  This is the default setting.
display(fig.D1, pageviii).Thesesettingscan  Both the spot-meterand the integralmeter
be changedas describedbelow.          methodsuse the light levelon the focusing
All settingsare permanentuntilintentionally screen of the light reflectedoff the subject.
changedagain.Removingor replacingthe  NOTE: See also page 7 for furtherinforma-
battery does not affect the settings.         tion on the use of differentfocusingscreens.
Changing the meter settings (fig.9)    .Incident light metering (fig.12)uses the
The three basic settings lSO, Fmax and    sensor on top of the viewfinderbody to
Metgring method can easilybe accessedby    meter the light falling upon the subject
pressingthe correspondingbuttons(7, B, 10).    scene.Themeteringrangeat lSO100is -
Film speed setting ISO (fig.D3)             3 to +17 EV.
Pressthe ISO button(7) and use the up (   )  NOTE: Do not shadeor cover any part of the
or down (V) adjustmentbuttons(11) to in-  sensordomewhenmeteringincidentlight!
creaseor decreasethe displayedfilm speed Programming mode
valuein incrementscorrespondingto 1/3 EV.                                 By selectingthe Programming mode the
Lens max. aperture setting Fmax (fig.D4)                                        displayappearancecan be changedby  al-
To give the brightestpossibleviewfinder                                           teringthe followingsettings:
imagethe lens is normallyopenedup to the                                    Exposuredatadisplaytype ..............Pr1
max.aperture.Forspot and integralmetering                                        Shutteror aperturepriority...............Pr2
the exposuremeter uses the light coming                                      Referencemode,warninglimits.......PrB
throughthe lens.Thus,it needsto know the                                          Activeperiodduration           ....Pr4
max.apertureof this lens to producea cor-                                    Permanentexposurecorrection.......Pr5
rectexposurevalue.                                            Startdisplayof Fmaxand ISO .........PrG
Pressthe Fmax button(8) and use the up or                                 Soundwarningsignal           ....Pr7
downadjustmentbuttons(11) to increaseor
decreasethe displayedmax.aperturevalue  Selecting the Programming(Pr) mode
in incrementscorrespondingto 112EV.     The Programmingmode is selectedby simul-
Selectingthe metering method (fig.D5)    taneouslypressingthe buttonsfor ISO (7)and                                     Metering method (10),also markedPr andThe meter offers three different metering
                                                Pr...respectively.The firsttime the Pr modemethods:Spot metering, Integral metering
                                                   is selectedthe displayappearsas in fig. D6,and Incident light metering,each indicated
                                         but after that it alwaysreturnsto the last set-on the displayby the correspondingsymbol                                             ting used.Repeatedlypressingthe Pr...(10)(9;32,33,34).
Pressthe metering method button(10)and  buttonstepsconsecutivelythroughthe dif-
use the up or down adjustmentbuttons(11)  ferentprogramfunctionsPrl thru Pr7.
to selecttherequiredmethod.            Pr1 Exposuredata display mode (fig.D6)
. By Spot metering (fig.10)a circulararea  SwitchingbetweenOn and OFF by pressing
wilh @12mm in the center of the focusing eitheradjustmentbutton(11) changesthe dis-
screenis used.This is indicatedby the free  playappearancebetweenfigs D2 and D14,
areainsidethe hairlinecrossmemberson the  whereD14showsthe aperturepriorityselec-
preferredfocusing screens Acute-Matte D  tion (refertoPr2 below).
(42204,42207),see page 3. The metering  Defaultsettingis On
View original page 6Page 7 · Read text
Pr2 Exposure priority setection (fig.D7)  Pr6 Start display Fmax and tSO (fig.D12)
 The Pr2 functionappearsonly whenthe pr1  Pressingeither adjustmentbutton (11)
 is set at OFF. Change between aperture switchesthe functionOn or OFF. In the On
 (APEr)and shutter(Shut) priorityby press-  settingthe preset values of max. aperture
 ingeitheradjustmentbutton(11).          (Fmax)and film speed (tSO) are displayed
 In meteringmode the value of the selected during1.5 s afteractivationof the meter.
 priorityfunctionis changedup or downby the  Defaultsettingis On.
 correspondingadjustmentbutton.The other                                    Pr7 Sound warning indication (fig.D13) functionis continuouslyupdatedon the dis-                                      Pressingany of the adjustmentbuttons(11) play.
                                       switchesthe soundwarningsignalOn or OFF. The defaultsettingis Shut (shutterpriority)                                 The sound warning(beep)is utilizedin the the firsttime Pr1 is set to OFF.                                        referencemode:
 Pr3 Referencemode with warning limits     . To confirmintroductionof a new reference
 (fig.D8 & De)                               value.
 Pressingthe "down"(V) adjustmentbutton    . To warn when the differencein lightlevel
 switchesbetweenOn and OFF. Pressingthe    exceedsthe set limits.
 "up"(   ) buttonmovesthe warninglimitsfrom  Defaultsettingis On.
 0 towards! 2 EV in 1/3 EV increments.    NOTE: Light level differencesexceeding
 When+ 2 is reachedit restartson 0. Setting 2.5 EV disablethe soundwarning.
 the    limits         to 0 disables                    the                     warning                                function, Metering butthe       reference                function                              is                                      still operative.
 Defaultsettingis OFF                   Spot and integral metering
Seealso page6 for furtherinformation.    The meteringmode is startedby pressingthe
 Pr4 Active period duration (fig.D1O)     meteringbutton('12).
Pressingthe "down"(V) adjustmentbutton  All exposureinformationobtainedfrom the
decreasesand the "up"(A) buttonincreases viewfinderdisplayhasto be transferredmanu-
thedurationof the meter'sactiveperioduntil  allyto the lensand the camera.
autoshut-offafterthe latestbuttonoperation. EVdisplay
Thedurationcan be adjustedfrom 5 s to 60 s.  With the factory made default settings un-
Adjustmentincrementsare one secondup to  changedthe displayappearson activationas
20 s and five secondsabove20 s.             in fig.D1 for 1.5sandthenchangesto fig.D2.
Defaultsettingis 16 s.                 The displayedEV valuechangeswithchang-
                                         ing light levelson the focusingscreen.ThisPrS Permanentexposurecorrection(fig.D11)                             EV valueforthe selectedsubjectarea has toA permanentcorrectionreducesor increases                                  be transferredmanuallyto the EV scale onthecalculatedexposurewith the presetcor-                                       the cameralens.rectionamount.The functionis very useful                                       Aperture / shutter speed displaywhencompensatingfor the differentproper-                            When the displayis set to indicateaperturetiesof variousfocusingscreens.                                 and shutterspeed(Pr1above)the pr2 func-See page 7 for further informationon cor-                                            tion can be usedto select"aperturepriority"rectionsfor differentfocusingscreens.                                           or "shutterspeedpriority".Pressingthe "down"(V) adjustmentbutton                                The selected priority setting is controlleddecreasesand the "up"(A) buttonincreases                                     manuallyby meansof the adjustmentbuttons
theexposure.Theincrementis 1/3 EV.       (11).The othervalue will be calculatedand
NOTE:This is an exposure correction,not  continuouslyupdated on the display.The
anadjustmentof the EV-setting.           aperture indicationrange is Fmax (preset
Thedefaultcorrectionvalue is 0 EV.         value)tot/64wilhtl2as the largestaperture.
                               www.orphancameras.com
View original page 7Page 8 · Read text
The shutterspeedindicationrangeis 68 min-  the meteringbutton(12).A new light value
utes to 1l2OO0s. Any value outsidethese can be taken by pressing the metering
rangeswill causethe displayedvalueto flash.  buttona secondtime.
Fig.D14 showsthe displayfor integralmeter- Reference mode
ing with aperture priority(solid black) and  The Referencemode is very usefulfor keep-
shutterspeedcontinuouslyupdated(grey).   ing track of contrastdifferencesor changes
Fig.D15 showsthe displayfor spot metering in lightcondrtionsin the subjectarea.
with shutterpriority(solidblack),Reference Referencemode On (Pr3 above)is indicated
mode On, presetPermanentcorrectionand  in the displayby a central EV-scalelrom -2
Soundwarning(beep)On.                    to +2 (fig.D8).Presetdifferencelimitsare indi-
The centralscale shows an arrowheadand  cated by vertical marks beneath the scale
is flashingtogetherwith the aperturevalue,  (figs D9, D15). A referencelight value is
indicatingthatthe meteredlightlevelis more  enteredand storedby keepingthe metering
than 2 EV belowthe enteredreferencelevel button(12) depressedfor 2 s or longer.With
(see below).                             the sound signalOn(Pr7above),storingthe
Incident  light metering                     lightvalueis confirmedby two short beep sig-
The incidentlightmeteringmethodis usedto  nals.The value remainsstored until a new
meterthelightfalling upon the subjectscene  valueis entered.
insteadof reflectedoff the subject.This  With a referencevaluestored,the difference
methodis very usefulwhen the characterof  betweenthat valueandthe valuefor the pres-
the subjectscene makes it difficultto apply  ently meteredsubjectarea is indicatedby a
any of the other methods.                row of marksbeneaththe centralscale.Each
Preferablythe sensordome (16) should be  mark correspondsto 1/3EV.When the differ-
directedawayfrom the subject,oppositethe  ence exceeds the preset limit, the row of
photographingdirection,whenthe metering marks flash.lf the soundwarningis On it is
 is carriedout as describedbelow           actuated.When the differencerangeis set to
NOTE: Do not shadeor cover any part of the  zero,the soundwarningis disabled.
sensordomewhenmeteringincidentlight!  A differenceexceeding+2 EV or - 2 EV is
When the incidentlight meteringmethodis  indicatedby a full row of marks,ended with
 selectedthe lightlevelis meteredby press- an arrowhead.Fig.D15showsthe displayin
 ing the meteringbutton(12).As longas the  referencemodewithwarning|;mi1s6l+ 1 EV
 button is kept depressedthe readingand  soundwarningOn, Fmax2.8,shutterpriority
 displayindicationis continuouslyupdated' permanentcorrection,spot meteringand a
When the buttonis releasedthe actuallight  lightvaluedifferenceexceeding-2 EV but not
 value is automaticallylockedand stored.    -2.5 EV.The aperturefiguresand the   dif-
 NOTE: The lockingand storingfunctionis  ference scale are flashingand the sound
 disabledin Referencemode(seebelow).    warningis beeping.lf the differenceis exceed-
The value remainsstored until next time a  ing- 2.5 EV the beepingis disabled.
 lightvalueis takenby pressingthe metering Using the reference mode
 button.Thisconditionis indicatedin the dis-  The referencemode can be used with any
 playbyan arrowhead,pointingatthe metered  of the PME90 light meteringmethods.The
 andstoredvalue.ThefiguresD16- D18show  major applications,however,are with the
 the displayin EV mode (fig.D16),with shut-  spot meteringor the incidentlight metering
 ter priority(fig.D17)and with apertureprior-  methods.
 ity (fig.D18).                          Reference mode & Spot metering
  lf the meteris auto-shut-otfitcan be activated With spot meteringin the referencemode
 withoutlosingthe storedvalue by pressing a mediumgrey(18%grey)subjectarea is me-
                                    6
View original page 8Page 9 · Read text
tered and the light value is stored as refer-  other light meteringdevice, the reference
 encevalue.By movingthe meteringspot to  valueand the warninglimitsare storedin the
 othersubjectareas the subjectcontrastcan  PME90. Being heavily occupied by the
 easilybe determined.Theindicationrangeof  assignmentthe photographermay not notice
  t 2 EV is a suitablerangefor shadowsto high-  that a cloud obscuresthe sun. lf the skv is
 lightson a transparencyfilm.              overcastthe changesin lightconditionsare
 Referencemode & Incident light metering  evenmoregradualand difficultto observewith
 Withthis combinationthe incidentlightlevel the naked eye.With the referencelevel and
 is easilymonitorede.g.duringfashionpho-  the warninglimitsset and the soundwarning
 tographyon a beachor the like.            on, the automaticwarning indicationsare
 When the exposureconditionshave been  easily observed when the light conditions
 determined,by meansof the pMEgOor any  change beyondthe acceptablelevel.
 PME90and focusing screens
 Screen type    Integral metering           Spot metering
 Acute-MatteD No restrictions           The exposureshouldbe reduced by
  42204,42207,                       one EV whenusing lens/telecon-
 42210,42213                               vertercombinationswhichreducethe
                                                effectiveapertureto f/8 smaller.
 Acute-MatteD No restrictions           No restrictionswithin the f/2 - f/5.6
 42215,42217                             range.
 42219                            NOTE: Not recommendedfor lenses
                                               or lens/convertercombinationswhere
                                            the largesteffectiveapertureis smaller
                                         thanf/5.6
 Acute-Matte  The exposureshouldbe        Will work satisfactoryin the t/2 -  il4
 42165,42167  reduced by 1l2stopwith      rangeonly.
 42203,42170  lens/ teleconvertercombina-
                 tions reducingthe effective
               apertureto f/11 or smaller.
 Other       Maketest photographsto     Maketest photographsto determine
 Hasselblad    determinethe correction      the correctionfactor..)
 screens        factor.*)
 *)
  When a correctionfactor has been deter- NOTE:Incidentlightmeteringcan be used
 minedby test photographyor othermeans,it  withoutrestrictionssinceit is independent
 canbe preseton the viewfinderusingthe pro-  of the focusingscreen.
 ceduredescribedin paragraphprS.

Eyepiece correction  lens               to individualeyesightconditions.
(figs13-16)                            Correctionlens unitsare availableforthe eve-
Plainnumbers within brackets refer to the  piece focusingranges- 4.5 to - 2 diopters
Parts& Componentlist (pagesiiiand 2).     (Correction Eyepiece pME -, code no.
Theeyepiecediopteradjustmentring (3) can  42453)and +0.5 to + 3 diopters(Correction
bereplacedwitha correctionlensunitto adaot  Eyepiece PME+,code no. 424SOl.                               www.orphancameras.com
View original page 9Page 10 · Read text
lnstallation of the correction lens:        Care, service and guarantee
     Fig.13                              Handling
       1. Removethe rubbereyecup(4).         Althoughruggedlybuiltanddesignedfor long
      2. Releasethe focusingcatch(5).        and troublefreeprofessionaluse,the PME90
       3. Turnthe eyepiececlockwiseuntilit stops.  viewfinderis stillan electro-opticalinstrument
       The smallpositionmark(2)is nowaligned and shouldbe treatedwiththe samecare as
         withthe partinglineof the vieMinderbody. the camera itself.Protectit from rainand wa-
     Fig.14                                       ter splashand fromdustand grit.Do not use
      4. Use a pointedinstrumentto removethe    it as a carryinghandleor leaveit where it can
        red retainingclip(1).                      fallor rollabout!
       5. Lift the focusingring (3) out of the eye- Wheneverremovedfromthe camerabodythe
         piece.                                 protectivecover (23) should be attachedto
     Fig.15                                 the viewfinderto protectthe opticalsudace
       6. Placethe correctionlensunitoverthe eye-  of the prism(21)andthe retainingplate(22).
        piecewith the positionmark againstthe  Always removethe batterywhen the PME90
         partinglineby the focusingcatch(5).       is not to be usedfor a longerperiod.
       7. Keepthe lensunitgentlypressedagainst                                          Cleaning        the viewfinderand insertthe lockingclip                              NEVERUSEANY KINDOF LIQUIDWHEN          (1) in the innergroovewith its centrallug                               CLEANINGTHEPMEgO!        alignedwith the positionmark (2). Push                                       Blow away dust and contaminationson the        the clip entirelyintothe groove.                                            glass surfacesand on the exterior,or use a     Fig.16                                                   soft brush or a lintfreecloth.DO NOT touch      8. Replacethe rubbereyecup(4) and turn it                                             the glass surfaceswithyourfingers!          to focus the eyepiece.Push the catch (5)
        towardsthe eyepieceto lock it at the best  Service
         focus.                                Faultlessequipmentperformanceis essen-
                                                              tial for the professionaluser.Thereforeit is
      Self-test                              advisableto checkthefunctionof yourequip-
    When the meter is activated in metering ment beforean importantassignment.The
     mode, pressingthe ISO (7), Fmax (8) and  "HasselbladAuthorizedServiceCented'has
     Method (10)buttonssimultaneouslystartsthe  the expertstaffand the specializedtools nec-
       self-test,whichshowsallcharactersand sym-  essaryto ensurethatyourequipmentremains
     bolsin the display(fig.1bottom,p.iii).Press- in perfectworkingorder.
      ing any buttonwhilethe self-testis running Guarantee
      resultsin a temporarydisplayturn-offand a  Providedthatyou boughtyourequipmentfrom
      short beep.Theself-testis shut off by simul- an authorizedHasselbladoutlet,it is covered
     taneouslypressingthe buttons(7), (8) and  by an internationalguaranteefor one year.
     (10)again.                       Keepthe guaranteedocumentsuppliedwith
                                             the equipmentcarefully.


i;.,
View original page 10Page 11 · Read text
PME90TechnicalSpecifications
 Viewfinder:1
 Viewfindertype:    90oPrismViewfinderwithbuilt-inexposuremeter.
I Viewfinderimage:   Unreversed,enlarged2x.
 Eyepiece:         Higheyepoint.Diopteradjustment-2 to +0.5diopters.
                   With optionalcorrectionlenses-4.5 to -2 and+0.5to +3 diopters.
 Weight:         580 g (1|b.1.5oz)
 Exposuremeter:
 Operatingmodes:    Meteringmode;
                  trogrammingmodewith 7 programmablefunctions.
,
I Meteringmethods:  Spot metering,centerweightedintegralmetering,
                     incidentlightmetering.
 Meteringareas:     Spot meter:central@12(1 12");
                                     fntegralmeter:approx.40x40 mm (1 9/16").
 naeteringranges    Spot metering+1 to +21 EVI, atlSO100:         Integralmetering-1 to +19 EV
                    Incidentlightmetering-3 to +17
 o,.o,"u'    LCD type beneaththe imagearea.f                   Operatorcontrolled backlighting.t     tVOe:     3V LithiumtypeCR-123A
OBatterV

 Hasselblad TTl-Prismensucher PME 90 (42290)
 lnhaltsverzeichnis
 Einleitung                           ........10   Messungdes Einfallichtes...................14
 Teileund Komponenten......................10   Referenzfunktion..........         .....14
 Inbetriebnahme..........          .......10    BedienungderReferenzfunktion,Referenz-
   EinlegenderBatterie,AktivierendesBelich-     funktionund Spotmessung,Referenz-
   tungsmessers,LCD-DisplayimSucher,Kor-      funktionundEinfallichtmessung
   rekturdesOkulars,AnbringendesSuchers,   Selbsttest               ......:.i.................15
   AnbringendesMagazins           O ku lar-Korrekturli nsen .....:.................15
 Einzelheitenzum Betrieb ...................11  PME90 und Mattscheiben..................16
   EinstellenderMeBfunktion,            Anbringungder Korrekturlinsen...........16   AndernderMeBparameter                                       Pflege,Serviceund Garantie..............17 Programmieren.........             .....,..12                          PME90 TechnischeDaten .................17 Belichtungsmessung             ........13
  Spot-und Integralmessung.................13
   EV-Anzeige, Blenden/Zeitvorwahl-Anzeige

                               www.orphancameras.com
                ,#&eE#iffiene]-!d-.*****,                                                                                                                                                                   : .-t#
View original page 11Related documents and language editions
HasselbladPDF
Hasselblad PME90 Fr Sp
User manual
16 pages · French, SpanishRead →
HasselbladPDF
Hasselblad PME 90 istruzioni per l'usoHasselblad PME 90 Gebruiksaanwijzing
User manual
24 pages · Italian, DutchRead →
HasselbladPDF
Hasselblad PME 90 BrugsanvisningHasselblad PME 90 de Instrucoes
User manual
24 pages · PortugueseRead →
HasselbladPDF
Hasselblad PME 90 BruksanvisningHasselblad PME 90 Kayttoohjeet
User manual
15 pages · Swedish, DanishRead →
From the M. Butkus archive. Original publisher and archive notices are retained.
Check the model and edition against your equipment.
PDF verified 2026-10-10.