Sewing machine accessories
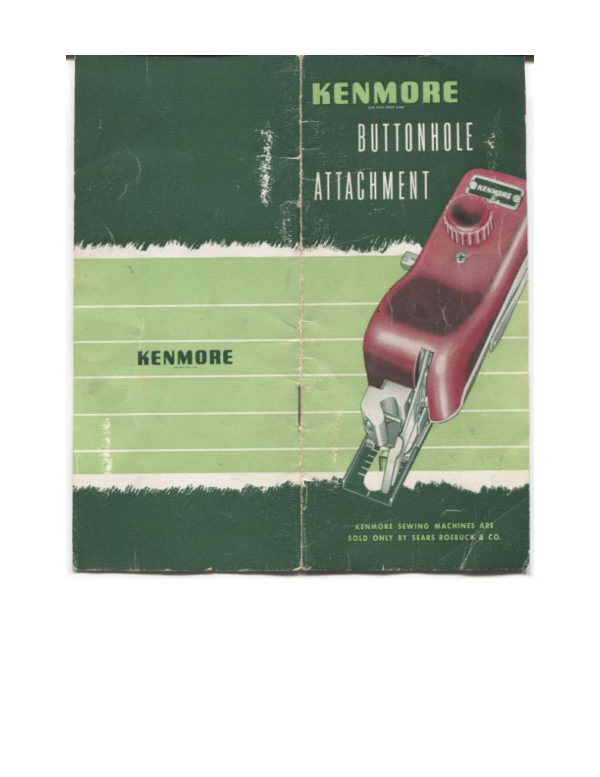
Kenmore Buttonhole Attachment — User manual
User manual for Kenmore Buttonhole Attachment. 10 pages in English. Read the original PDF, download or print a copy without registration.
10 pagesEnglish1.2 MB PDF
Loading your manual…Open PDF directly
Document details
- Brand
- Kenmore
- Model / document
- Kenmore Buttonhole Attachment
- Document type
- User manual
- Language
- English
- Pages
- 10
- File size
- 1.2 MB
- Category
- Sewing machine accessories
- Document date
- Not specified in catalog
Search available document text
Find a term, then jump to its page in the original PDF. Image-only pages may not be searchable; check the PDF for exact wording and diagrams.
Page 3 · Read text
enter the slot in the plate, making sure          presser bar until presser bar finds its posi-
 it is in the center. Fit anchor screw           tion against positioning pin. Straighten the
 through the hole in the anchor plate and        attachment so that it is square with
  into screw hole in the bed of the machine.         the machine bed, then tighten adaptor
 Tighten with a screw driver.                 clamping screw using a screw driver.
                                            Before threading the needle of the sew.ATTACHING BUTTONHOLE WORKER
          ATTACHMENT                      ing machine, test to see if the buttonhole
                                            attachment is on straight by operating Raise needle to its highest position. Raise
                                           with a piece of paper under the cloth the fork arm of buttonhole attachment
                                                clamp. The needle will perforate a pattern  until it is in line with the needle clamp.
 Guide the attachment into position from          of stitching on the paper. This pattern
 the rear, placing the fork arm astride the          should center left and right in the open-
                                                         ing of the cloth clamp. If line of stitching

                                                     is not straight in the cloth clamp, loosen

                                                   adaptor screw and straighten the button-
                                             hole attachment. If buttonhole attach-

                                                    ment is not on straight, needle may strike

                                                  one side of cloth clamp when attachment                                 GUIDE IN
                                                               - FROM BACK        is set at widest stitch.

                                          SELECTING TEMPLATE
                           A set of templates with which to make
                           HOOK                                 FORK                                   ARM        various size buttonholes is furnished with                              OVER                                     NEEDLE
                                CLAMP SCREW        the attachment. The sizes cover button-
                                               hole lengths 1/106*, ⅚, 1%." and 11/7.* for
                                                     regular buttonholes and a keyhole shaped
PUT ADAPTOR
APOUND PRESSER BAR                             template 146 for suits and coats. (The
AND LOWER PRESSER BAR                                    11/10* template for a regular buttonhole
 hub of the needle clamp while the          will be found in the attachment.)
  adaptor is fitted around the presser bar      To determine the template needed to
 of the machine. IMPORTANT-Lower       make the correct size buttonhole, the
                  - 4 _                                      - 5 -
View original page 3Page 4 · Read text
INSERTING TEMPLATE
                                        Turo the cloth clamp adjusting knob
                                               clockwise until the cloth clamp has just
        1-1/16                                   passed its extreme forward position mov.
                                              ing out from the attachment. Turn the
                                               attachment bottom side up. Push the re-
          5/16                                                       tainer plate toward back by pushing the
    5/8                               edge forward with the thumb, lifting
                                                  rear end with the forefinger.
 13/16*

1-1/16


 length of cutting area of the buttonhole
 made by each key is indicated by the        PUSH UP
                                         WITH THUMBmeasurement line embossed on back of
 key and the size notation embossed along-
 side of line. To determine the key needed
 to make the correct size buttonhole for
a flat button, place the button over this
 measurement line on the back of the key.
 Using each key make a sample of each
 buttonhole on a scrap of light colored                                         LIFT HINGED
 fabric. Mark the length under each one                                    RETAINER PLATE
 and keep the sample handy in your but-                                 HERE
 tonhole attachment case. Use the sample          Raise the retainer plate toward you until
 buttonholes to test ornamental buttons          the template which is in the attachment
 which are thick or irregularly shaped.             is visible. Remove the template by grasp-
          =6-                                             - 7 -
View original page 4Page 5 · Read text
SETTING STITCH WIDTH
   FINGER SLOTS
                                   The width of the buttonhole stitch is
                                                   adjusted by moving the stitch width ad-
                                                       justor at the left side of the attachment.
                                                Press down on the adiustor lever and

                                                 move it back toward the W for a wider

                                                 stitch, or forward toward N for a nar-

                                                     rower stitch. The lever can be placed in

                                                  any one of the six positions which are

                                                 marked above the slot. Heavy or bulky
                                                    fabrics require a wide stitch and sheer
                                              fabrics require a narrow stitch. The
                                                     cutting space is regulated automatically
                                      when the adjustor is changed from one
                                             width to another. Make a test buttonhole
                                     on the fabric to be used to determine
                                           whether the stitch needs to be wider or
 ing it on each side in the curved slots
                                            narrower to make a good buttonhole.provided.

 Having selected the template for the size           MAKING THE BUTTONHOLE
 of the buttonhole desired, insert it in
                                           Mark the position for each buttonhole on
 place of one removed. Snap the retainer
                                                       the garment with chalk or a line of bast-
 plate back into position.
                                                      ing. Raise presser bar and place the edge
   cONDITIOnIng MAChINE FOR               of garment under the cloth clamp. Lower
     BUTTONHOLE MAKING                 the needle into the upper end of the
                                         marking for the buttonhole. Turn the
 Be sure the sewing machine needle is not           cloth clamp adjusting knob until the
 bent nor blunt on the point. It should be            cloth clamp is in its maximum forward the right number for the size thread being
                                                     position. The needle will then be at theused to make the buttonholes. Fine cotton,
mercerized and silk threads make neater            back of the opening in the cloth clamp.
 buttonholes than coarse, heavy threads.            Lower the presser bar so that the cloth

             = g _                                        _ g
View original page 5Page 6 · Read text
THREADING AND TENSIONS

                         END OF         Thread the machine as for ordinary
                         MARKING
                                                             stitching. Normal tensions on the threads                          EVEN WITH
                         LAST MARKS        can be used quite satisfactorily. However
                             ON SIDE OF        a tighter lower tension will produce a                            CLOTH CLAMP
                                        whip stitch buttonhole and a very free
                                            bobbin tension and tight upper tension
                                                          will produce a purl stitch effect, if desired.
                                                Set the machine stitch length regulator                  1                                                     for the shortest stitch.
                                                            If the particular fabric being used has a
                                               tendency to slide under the cloth clamp,
                                                   increase the pressure on the presser bar
                                                      slightly by turning the presser bar cap
               CENTERED  MARK FOR             screw down several turns, the cloth will
 COMPLETED      LEFT AND
                           POSITION OF           then be held more firmly.BUTTONHOLE    RIGHT IN                      BUTTONHOLE
            CLOTH CLAMP

  will be held firmly under the cloth clamp.        HINTS FOR VARIOUS TYPES OF FABRICS
 Hold upper thread, start stitching, guid.       Good buttonholes can be made in all
  ing thread under stitching. Thread can           types of fabrics. However, loosely woven
 be held so it will be under stitching           fabrics and fabrics which stretch easily
 around entire buttonhole, giving extra          such as jersey should have an interfacing
   strength, or clipped after several stitches          of a firm fabric. This interfacing holds
  have fastened it. Stitch around a second           fabric firmly so that a neat buttonhole
   time if a stronger and more raised finish          is made. Use cambric or taffeta between
   is desired. Tie end threads on wrong side.          woolens and rayons; organdy or lawn
  Make samples on the fabric to be used           between lightweight and sheer fabrics.
  before making buttonholes on your          When working with several thicknesses
  garment.                                      of fabric with high pile or heavy nap,
            ~ 10 -                                            - 11 -
View original page 6Page 7 · Read text
teeth of cloth clamp may interfere with in-                                               buttonholes if a wooden spool or block
serting garment under cloth clamp. This           is used underneath.
 can be easily overcome by holding a piece
 of clear cellulose, such as cellulose used      MAKING EXTENDED BUTTONHOLES
 as window in your card case over the
                                 Make an extended buttonhole in two material while it is being positioned
under the cloth clamp. When the cloth         easy steps. First, stitch a one-inch, open
                                        ended buttonhole. Then add the length is correctly positioned in the cloth clamp,
 the cellulose can be slipped out and sew.        and end in a second step to get size desired
                                                     in finished buttonhole.
ing machine presser bar lowered to clamp
 garment into position. Slide cellulose         In making an extended buttonhole, use
 over finished buttonhole when removing          the 11/10" template for either the keyhole
 garment from under cloth clamp.                 or the straight buttonhole, depending on
                                         which type is wanted.
      THE STRIPPER FOOT              STEP 1 - For making one-inch section of
                                                buttonhole, place garment under cloth
The Stripper Foot, directly in front of        clamp so centerline marking of button-
the needle, moves down to hold fabric

 firm as a stitch is being made. It then

 slides fabric off the rising needle. This

 prevents breaking thread, blousing, and
 skipped stitches. Consequently it is pos-                                  STEP 1
 sible to make strong smooth buttonholes
on any type or kind of fabric, without
 the use of fabric backing.


     CUTTING BUTTONHOLES

Use buttonhole scissors or small sharply
 pointed scissors to cut buttonholes open.
                                       START STEP ONE HERE   CENTERLINE A razor blade can be used to cut the
                                                 AT 2nd MARK FROM FRONT   OF BASTING
View original page 7Page 8 · Read text
hole is centered in clamp left and right.          opposite starting point. You have now
                                           completed a one-inch buttonhole with End of centerline marking, as in making
 regular buttonholes is opposite last line           the end nearest you open.
 at rear of cloth clamp. Lower cloth clamp.       STEP 2 - Put needle down into fabric.
 Then set cloth clamp by turning adjust-                                      Hold fabric firmly with left hand, (it
 ing knob so needle is opposite 2nd mark                                                      must not move) raise cloth clamp by rais-
from front on left side of cloth clamp, it                                                 ing presser bar with right hand. Then
 is not necessary for you to measure it,        move cloth clamp by turning cloth clamp
 but this will allow one inch from needle
to back end of centerline of marking.

                                                   STEP 2


                                                                                   START STEP 2
                                                                                CLOTH CLAMP
                                                                                 TURNED SO Sth
                                                                                              LINE IS OPPOSITE
                                                                         NEEDLE TO ADD I
                                                                             INCH MORE TO
                                                                          BUTTONHOLE

                                                  adjusting knob. Make almost complete
        END OF STEP ONE AT 2nd MARK ON
            RIGHI. NEEDLE DOWN IN FABRIC WHILE                   circuit but stop clamp so needle is at mark
            CLOTH CLAMP IS RAISED AND MOVED             on right side of cloth clamp that will
 END OF STEP 1-Start stitching up left side           give desired increase to one-inch button-
of buttonhole. Continue stitching around           hole to make size wanted. Each space
 end and down right side until needle is           between the marks ahead of needle adds


                                                           - 15 -          -14-
View original page 8Page 9 · Read text
%* to one-inch buttonhole already com•              LUBRICATION POINTS
 pleted. To make a 1½° buttonhole allow          Your buttonhole worker has been lubri-
 4 spaces ahead of needle, that is, your            cated at the factory and with normal use
 needle should be opposite the 5th line on
                                                       will need little lubrication. One drop of
 the right of the clamp.
                                               fine sewing machine oil about twice a

 END OF STEP 2 - Lower cloth clamp, con-            year is needed on the pawl and ratchet.
tinue to stitch down right side, around
 end, and up left side of clamp. This

 should complete extended buttonhole.


                                    FINE SEWING
 END OF STEP 2                            MACHINE OIL
MAKING ¾ INCH
  EXTENSION
                                 USE PETROLEUM JELLY ON
                                      THE REST OF THESE POINTS
 If you desire to stitch around buttonhole
 a second time to get a more raised effect,            This is easily oiled through the fork arm
 needle should be down to hold cloth              slot without removing the cover. Other
so you can reset attachment to start of            parts may be lubricated with sewing
 step one and repeat as above.                   machine motor lubricant or petroleum
          -16_                        17 _
View original page 9Page 10 · Read text
jelly about once a year. Except for the cog-

 wheel located under the key, cover must

 oe removed to reach the parts requiring
petroleum jelly.
The cover is easily removed by unscrew-
 ing cloth clamp adjusting knob and re


 moving one screw in top of cover. Cover
 lifts off. To lubricate cogwheel that con-
 tacts the template, turn the attachment

 bottom side up and release the retainer

 plate. Remove the key and apply a small

 amount of petroleum jelly to the cog-
 wheel with your finger.

                 - 18 -                                           GB125220
                                                                       Printed in U.S. A.
View original page 10Related documents and language editions
FranklinPDF
Franklin Long Shuttle
User manual
26 pages · EnglishRead →
KenmorePDF
Kenmore 117.841 Automatic Sewing Machine
User manual
67 pages · EnglishRead →
SearsPDF
Sears Burdick
User manual
13 pages · EnglishRead →
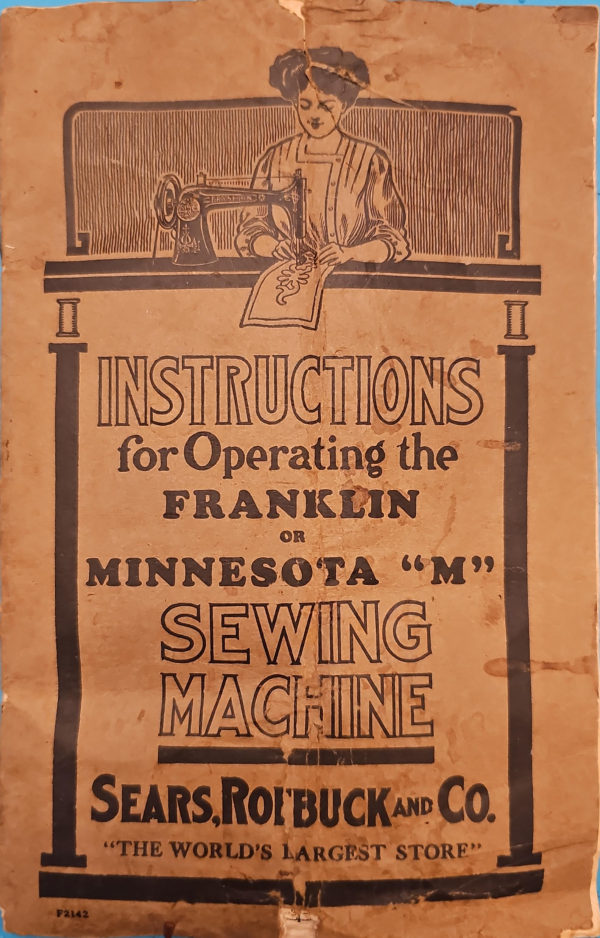
SearsPDF
Sears Franklin or Minnesota Model M
User manual
34 pages · EnglishRead →
SearsPDF
Sears Franklin or Minnesota Model M (black and white scan)
User manual
34 pages · EnglishRead →
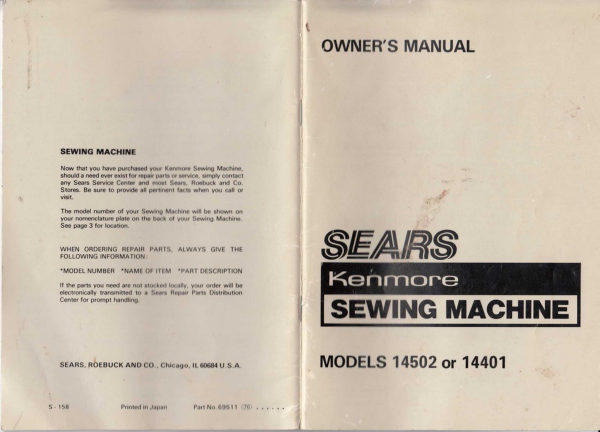
KenmorePDF
Sears Kenmore Models 14502 or 14401
User manual
28 pages · EnglishRead →
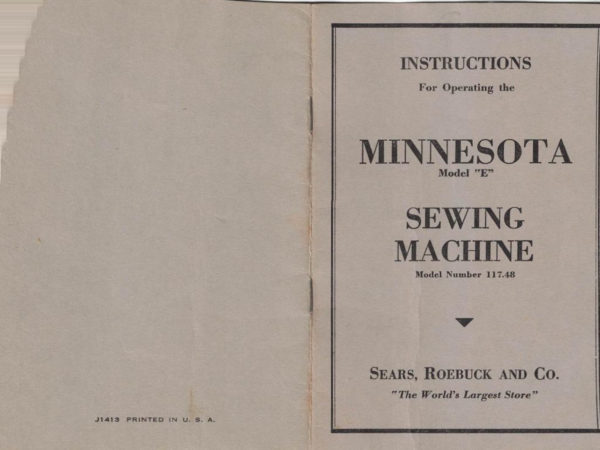
SearsPDF
Sears Minnesota Model "E" Sewing Machine Instructions
User manual
13 pages · EnglishRead →
SearsPDF
Sears Minnesota Model A
User manual
18 pages · EnglishRead →
SearsPDF
Sears Minnesota Model A Sewing Machine Instructions
User manual
15 pages · EnglishRead →
SearsPDF
Sears Minnesota Model C (black and white scan)
User manual
20 pages · EnglishRead →
SearsPDF
Sears Minnesota Model C Sewing Machine Instructions
User manual
20 pages · EnglishRead →
From the ISMACS International. Original publisher and archive notices are retained.
Check the model and edition against your equipment.
PDF verified 2026-10-11.