Film cameras
Sinar F User manual
User manual for Sinar F. 18 pages in English. Read the original PDF, download or print a copy without registration.
18 pagesEnglish7.3 MB PDF

Loading your manual…Open PDF directly
Document details
- Brand
- Sinar
- Model / document
- Sinar F
- Document type
- User manual
- Language
- English
- Pages
- 18
- File size
- 7.3 MB
- Category
- Film cameras
- Document date
- Not specified in catalog
Search available document text
Find a term, then jump to its page in the original PDF. Image-only pages may not be searchable; check the PDF for exact wording and diagrams.
Page 6 · Read text
www.butkus.us


Setting up the camera             Parallel displacements           Swings and tilts for sharp-                                                               ness control in dePth
Set up the tripod firmly, with the third        Parallel displacement of the lens and
leg to the front. First extend the tripod     camera back is possible either by     To simplify the control of sharpness
legs before extending the centre      direct movement (a) or by indirect        distribution in depth, the SINAR-f has
column; this provides greater stability.      adjustment (b). The latter is parti-       unique aids which are based on the
                                                  cularly suitable for long extensions, as      proved SINAR two-point focusing
                                          the base rail remains lined up with the       principle with great effective base
                                       shooting direction and the centre of       length from one edge of the image to
                                                                                                      H                                            gravity of the camera is low. This      the other. The horizontal tilt axes
                                        arrangement permits also extreme dis-     and H' as well as the vertical swing
                                      placements without complication  as      axes V and V' are marked on the
                                the sINAR-f still swings without       focusing screen.
                                      yawing in this position.
View original page 6Page 7 · Read text
For sharpness control in depth as shown, first focus sharply in the H axis, then in the      The angle indicator is coupled with
H'axis (or along V and V'as appropriate). The fine locusing knob of the SINAR-f        the fine focusing drive. The scales (a)
carries an angle indicator which shows the required  tilt angle and direction from       show the required degree of tilt.  lf you
the difference between the two focus settings.                                      have to turn the knob forward (in the
                                                                                                    direction of the arrow pointing towards
                                                                                     the lens. reducing the camera exten-
                                                                                      sion) the black scale applies; where
                                                                                      refocusing involves turning the knob
                                                                      backwards (in the direction of the
                                                              anow pointing towards the focusing
                                                                                    screen. increasing the camera ex-
                                                                                         tension) use the white scale.
View original page 7Page 11 · Read text
ze(o.Procedure for sharpness             1. Focus the image as precisely as      2. Set the angle indicatot to
in depth by tilting                          possible on a point along the H (V)        (Push the scale collar S slightlY
or swrngrng                                   axis with the fine focusing drive. lf       away from the focusing knob to
                                              the main subject point to be focus-          avoid changing the setting of the
Carry out the steps in the sequence         ed is not exactly on the H or V axis,              latter.)
indicated                                        simply assume the second focusing
                                            point H' (or V') as displaced by
Set all camera movements to zeto,         the same amount. Deviations are
including the fine focusing adjustment.         not too critical, and can where
Focus in the centre of the image with          necessary be covered by a second
the coarse focusing adjustment,  leav-          readjustment and final compen-
ing the fine focusing drive at zero.                sation.
View original page 11Page 15 · Read text
6. Now reset the overall sharpness      Simu ltaneous sharpness         Sharpness control at close
  by movement of the rear standard      control in two directions        range by tilting the lens
   (image standard).
   Final tilt or swing corrections are         First adjust the sharpness distribution      With close-ups even slight changes in
   simplest to carry out on the rear      between H and H'. Then adjust the       the position of the lens standard affect
   standard. A tilt correction of a few       sharpness distribution between V and         critical sharpness. In this case adjust
   degrees is vital for optimum sharp-        V'. As the standards of the SINAR-f       the lens tilt first by visual sighting as
   ness, but does not noticeably affect     do not yaw during swinging even      shown, so that the planes of the sub-
   the image perspective unless ab-     when the camera is inclined, two-        ject, the lens standard and the image
   solute parallelity of subject lines    way sharpness control poses no       plane meet in a common point.
    is important.                             problems.
View original page 15Page 16 · Read text
The depth of field scale                        www.butkus.us
By using the appropriate  tilts and
swings according to the coincidence-
of-planes principle, you can sharply
focus on inclined subject planes even
at the full lens aperture.
Increased depth of field in front of
and behind such a plane depends,
however, on stopping down. To in-
dicate the extent of stopping down
required, the SINAR-f has two depth
of field scales lor 2tlt x 3'lr inch /
6 x 9cm and for 4x 5 inch / 9 x12cm
pictu re {ormats respectively.*
However, it is always best to aim at
optimum sharpness distribution in
depth first by using the swing and
tilts. The depth of field scale of the        1. First focus on the most important      2. Now focus with the fine focusing
                                                                                                                                                        signif icantSINAR-f is then used as follows -          distant point (shortest extension)         drive on the nearestprovided the lens was first focused             of the subject to be sharp. Push the       point required sharp (increased
preciseiy at the maximum aperture:               scale ring S in the direction of the       camera extension). Read off the
                                            arrow and move the aDerture index        working aperture to be used for the
                                                                  f opposite the zero mark (engage-         required depth of field and image
                                          ment stop).                                size on the aperture scale oppo- '  The depth of field scales are based on the   tollowing circles of confusion:                                                                       site the zero index (l/22 in the
        size 21lrx 31/r"/6x9 cm  :  0,075 mm                                                   example; set-this on the lens).
       size 4x5"/9x  12cm    :0,10 mm        3. Finally turn the focusing knob back to the intermediate value of the
                                       working aperture obtained for this is the optical centre for the depth of field
                                                           estabf ished. (ln our example: the working aperture was  | /22 and the focus-
                                                 ing centre point is then at a position equal to half this value, i.e. f/1 1 )  .
                   Close-up depth of field   The depth of field scales apply to normal focusing  Scale of reproduction  Correction  to aperture
                                                          distances up to infinity.                                             shown on scale         ,!'t
                                                           For close-ups, however, the apenure for a given depth              'l:4          Open lens by ,/o stop
                                                        of field can be larger than shown on the scales.         1:2          Open lens by 1rl3 stops
                                                 This is useful in view of the greatly increased        1:1          Openlensby2stops
                                                          exposures  reguired at greater camera extensions.           3:1          Open lens by 4 stops
View original page 16Page 17 · Read text
The operating controls       1. lmage or focusing screen stand-         1 5. Lens standard
                                          aro                                                                         i 5. L.ocking strips
                               2. Film holder and focusing screen      17. Tii'. scale (about horizontal axis)
                                                                                                                  f rame                             18. Locking screw of vertical dis-
                               3. Focusing screen frame lock. To          placement
                                        release: depress and push up-         1 9. End screw cap of base rail
                                    waros                             20. Locking screlv of coarse dis-
                                 4. Swing scale (about vertical axis)          placement
                                   5. Tilt clamping lever (horizontal      21. Attachment system for focusing
                                             axis)                                     screen accessories, e.g. the bin-
                                 6. Fine focusing drive with depth          ocular magnifier or binocular
                                              of  f ield scale and scale collar                  reflex magnifier
                               7. End screw cap of base rail               22.  lmage plane index
                                 8. Vertical displacement scale with      23. Lock for accessories like roll film
                                          three engagement stops'                    holders, Polaroid sheet film hol-
                            Bottom stop: optical axis of            ders, film pack adapters, etc. (after
                                  SINAR-f                               removal of the focusing screen
                                 Centre stop: optical axis when          frame)
                            used with the SINAR-p and     24. Locking lever for swings (about
                                SINAR-c                                       vertical axis) and lateral displace-
                                 Top stop: optical axis of SINAR-p        ment (slightly release lever for
                                     and Sl NAR-cwiththeS x'l 0inch /         swings, release more for lateral
                             18x24 cm back                           displacement)
                                    q  Base rail (can be extended)          25. Locking screw of vertical displace-
                                       10. Accessory item: The SINAR           ment
                                     Auto-Aperture Shutter               26. Locking screw of coarse displace-
                                  11. Swing scale (vertical axis)               ment
                                       12. See 8                             27. Excentric locking lever for the
                                       13.  Rail clamp                                    pan-and-tilt head movement
                                    Locking knob to hold the camera
                                                 in the rail clamp
View original page 17Related documents and language editions

SinarPDF
SINAR
User manual
29 pages · EnglishRead →
SinarPDF
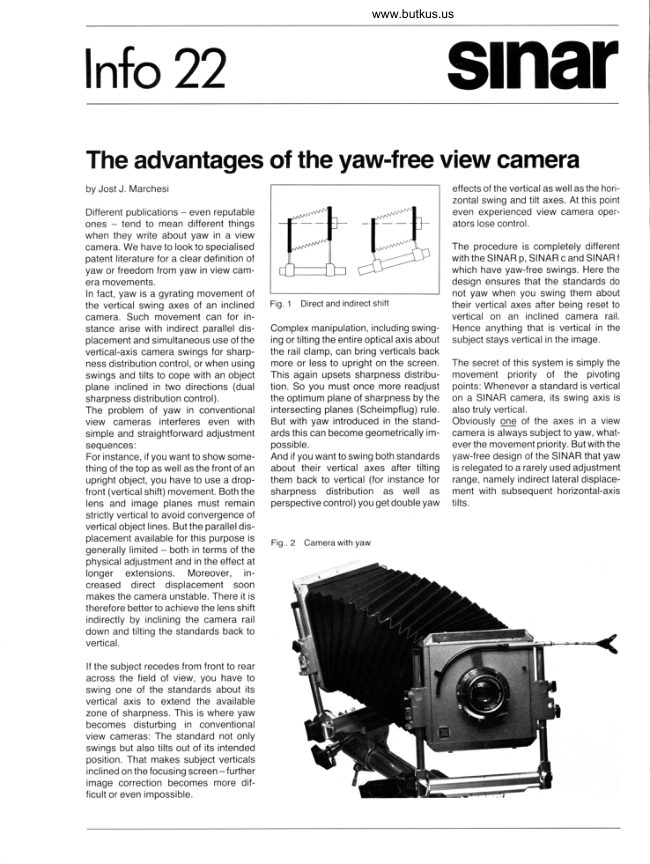
Sinar - Advantages of yaw-free camera
User manual
5 pages · EnglishRead →

SinarPDF
Sinar Camera
User manual
20 pages · EnglishRead →

SinarPDF
Sinar Code booklet - 1981
Product booklet
24 pages · EnglishRead →
SinarPDF
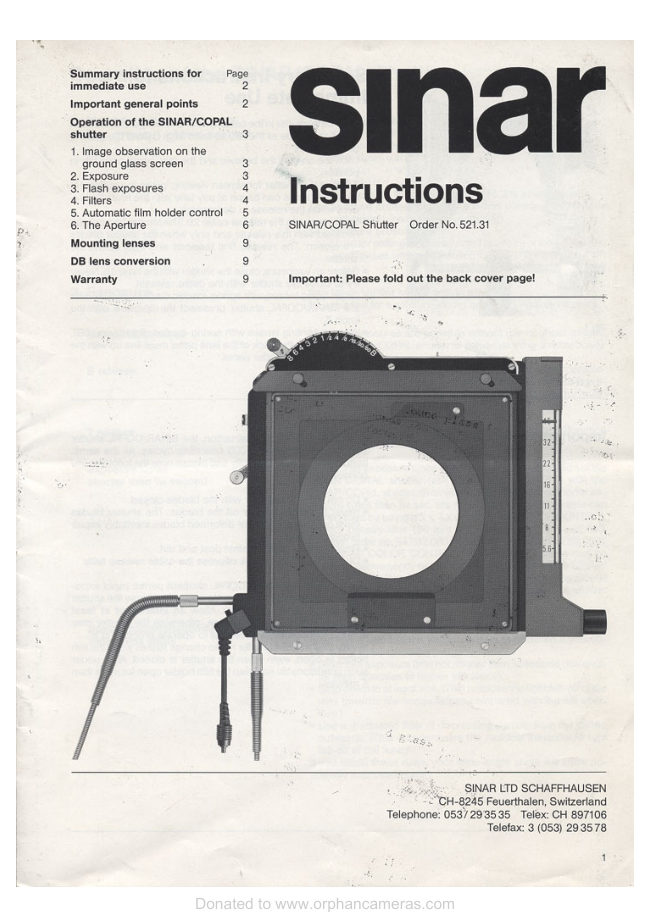
Sinar Copal Shutter
User manual
10 pages · EnglishRead →
SinarPDF
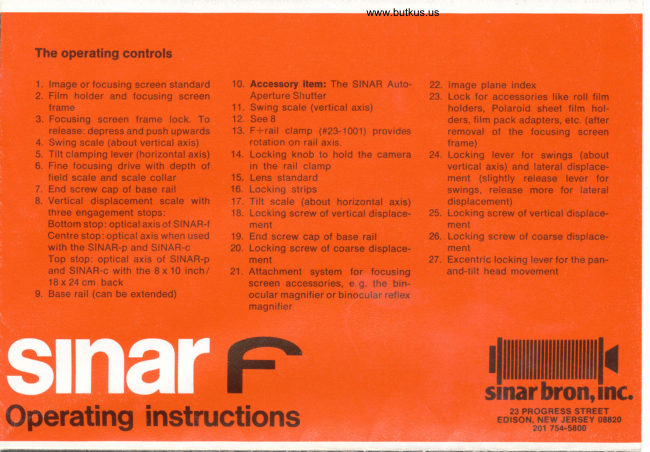
Sinar F Operating Instructions Color
User manual
8 pages · EnglishRead →

SinarPDF
Sinar P
User manual
59 pages · EnglishRead →
SinarPDF
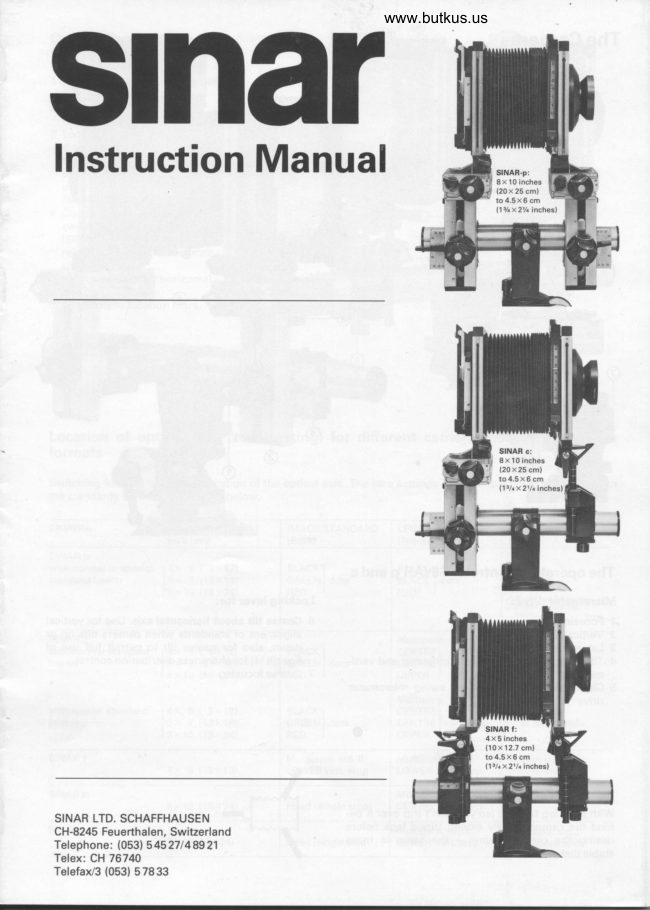
Sinar P / Sinar C / Sinar F
User manual
13 pages · EnglishRead →

SinarPDF
Sinar Code Booklet
Product booklet
27 pages · Not specifiedRead →
From the M. Butkus archive. Original publisher and archive notices are retained.
Check the model and edition against your equipment.
PDF verified 2026-10-10.