Film cameras
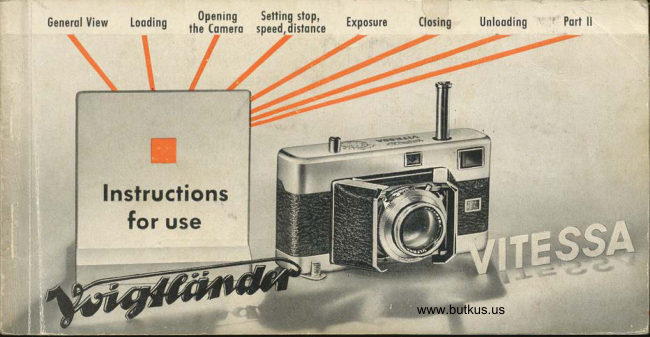
Voigtlander Vitessa User manual
User manual for Voigtlander Vitessa. 38 pages in English. Read the original PDF, download or print a copy without registration.
38 pagesEnglish3.6 MB PDF

Loading your manual…Open PDF directly
Document details
- Brand
- Voigtländer
- Model / document
- Voigtlander Vitessa
- Document type
- User manual
- Language
- English
- Pages
- 38
- File size
- 3.6 MB
- Category
- Film cameras
- Document date
- Not specified in catalog
Search available document text
Find a term, then jump to its page in the original PDF. Image-only pages may not be searchable; check the PDF for exact wording and diagrams.
Page 3 · Read text
f n u ^ o s t  I m p o r t o n tP o i n t
                           of theseinstruclionsfor theyrfESSAis on lhispoge:
                            Pleose read this booklet corefully ond moke yourself
                            thoroughly fomiliar with all the operationsond con-
                                     trols of the comera before you load your firsl film and
                                    start taking pictures.
                       Remember also lhot the VITESSAis an  opticol and
                            mechonicol precision inslrument which colls for gentle
                         and understanding lreolment. The comero will repoy
                               coreful hondling wilh  beaulifully sharp and cleor
                                pictures for many yeors lo come.
           voTGTTANDERA.G.,BRAuNscHWEtW


                          www.orphancameras.com
View original page 3Page 6 · Read text
t3  View- qnd Rongefindel
    Eyepiece
l 4  Rongefinder Focusing Wheel
t 5  Cqmerq Bqck (completely
    removoble)
1 6  Rewind Crqnk (when unfold-
    ed olso ocls os comercl
    support)
l 7  Tripod Bush
t 8  Rewind Releqse Bullon
t 9  Synchronizqtion qnd
     Self-timel Level
20  Lqlch
                                                                           BACKVIEW
                    - 4 -
View original page 6Page 8 · Read text
9  Releqse Bulton
 | 0  Combi-p,lungel
| 3  View- qnd Rongefindel
    Eyepiece
l4  Rongefinder Focusing
    Wheel
l8  Rewind Bulton
2l  Tcke-up Spool
22  Film Tronsport Shofl
2t  Film Trsck
24  Film Chqmber
     for Coilridge

                                    I NTE RI OR


                - 7 -
View original page 8Page 10 · Read text
Once the film  is in position in the comerq os shown in the
illustrotion, first set the film counter mechonism ond the film
indicotor, ond  close the  bock. Do  this os follows. Hold
cortridge in position ond turn the comero over. Rotote film
counter disc until the diomond C mork is next to the index
I in e. Set  f il m ind icotor by rototing .
N     ( N )     : b l o c k - o n d - w h i t e n e g o t i v e f i l m    NT (ND) :  negotive colour film for doylig ht
U   (R)     -  block-ond-white reversol film     T ( D )      :  reversql colour film  for doylight
NK (NA) _  negotive colour f ilm for ortif iciol  K ( A )      :  reversol colour film for  ortificiol
                                l i s h t                                                                                                            l i s h t
                               -9-
View original page 10Page 11 · Read text
Push the cqmero bock ond body toge-
  Cfosingthe Cqmerq Bqck         lher ogoin (see illusfrotion). Keep them
                                     pressed foge,lh,erwhile you  lurn bock
                                           the l,ofch qn,di fol,dri'f drown.
                                                Note:   lf the bqck should not close completely,
                                                  unfold the rewind cronk ond eqse it to qnd fro.
                                                                                         lf necessory,slightly turn the lotch.


                                                           - 1
                               www.orphancameras.com
ffi,tl
View original page 11Page 14 · Read text
Aperlure-SpeedSellings
You con orrive  of the correct settings on the Synchro-
Compur shutter with  light volues in vorious woys.
(o) With  exposure meters cqlibrqted   in  light  vqlues.
Reod off the  light volue from the meter.  Set this on
the shutter by moving the operture lever so thot the red
pointer points to the required red  light volue number
on  the shutter speed ring  (see top  illustrotion). The
lever clicks into position ot eoch setting. This of the
some time  gives you  the  correct operture qnd  shutter
speed.  For  reolly  occurote  exposure  settings  with
colour film you con olso use intermediote light volue
positions which outomoticolly leod to holf-stop settings.


                             -13  -
View original page 14Page 15 · Read text
Aperture-SpeedSettings -   (continued)
One light volue will. not cover-oll the operture ond speed settings morked on the shutter,
tor when,you tu.rn the speed.ring you must eventuolly reoch the limit of either the oper-
ture or the shutter speed scole.


(c) Wilhoul rrsing on exposure meler.  In principle the procedure is lhe some os described
under Ib) obove, .Put you hove lo estimote the operture--ond shttter speed required, Toovoad incorrecf settings note thot the speed,must be set first ond the oierture  iftelvqrds.
                                  -14-
                          www.orphancameras.com
View original page 15Page 16 · Read text
Settingthe Self-limer
The builf-in del,oyed qclion re,l'eo's,e(sel'f-
limer) q,llows you  lo  lqke  picf'u,resof
you,rse,l,fwithout  hoving  fo  osk  othe,r
people fo "press the button" lor you,

o  First set the required operture-speed combi-
   notion ond the d istonce. Tension the shutter
  w i t h  t h e c o m b i - p l u n g e r ( s e e p o g e  l 9 ) .
o  Then  set the  serroted synchronizing lever
   underneoth the shutter (see top  illustrotion)
   to  "V"  (see bottom  illustrotion). The  self-
   timer  is now reody for use.
o  About  8 seconds ofter pressing the  releose
   button  the  shutter releoses its-elf outomoti-
   colly.  The synchronizing lever hos moved
   o w o y    f r o m   " V "  p o i n t i n g    t o    " X "  o g o i n .
   Nofe:  The self-timer cqnnot be  used with
   tfre shutter of  "8".
                                              - 1 5 -
View original page 16Page 17 · Read text
J                                combines q viewfinder ond rongefinde,r
The Yiew- qnd rqngefinder        in one. On looking through the eyepiece                                           (o'r,row, leff) you  will  iee  fhe- findet
                                 imoge wi,flhthe bright rq,ngefi,nde'rfield
                                               in the mid'dile.On the right, within com-
                                          forfqbl'e reqch of fhe right thumb, you'
                                                   wirl'lfindr the milrled focuiing wheel.
                                The find,er s,howsthe co,rrecl view even
                                               ol close rq,n,ge(i. e. belween 3.3 ond
                                     5 fee,t) cls it inco,rrpororfeso'n outomo,tic
                                          po'rollox odiusfmen't.

                                             Note: When  viewing  the subiect through  the
                                                                                                f inder, keep your   f ingers cleor  of  the  right-
                                                h o n d  r o n g e f i n d e r w i n d o w .

                                               Correction lenses to  f it over the eyepiece mou nt
                                        perm it  people  with  defective eyesight  to  use
                                                the finder without spectocles.
                                                              - f  6 -
                             www.orphancameras.com
View original page 17Page 18 · Read text
Settingthe Rqngefinder
Hold the corln€ro in the shoofing posifion with
tlt" righl thumb on fhe focusing wheet. sight
the s,u,bjec,l,horldringthe eyepiecL cl,o,seto your
eye so thql you see  o,l,l fo,ur cornels of- lhe
field of view. Lo,ok sfrroightinto the eyepiece;
don't  lry to squi'n,tsidewoys.
As long oS the ,rorngefinderis no,l focused co,r-
recfly, you s,ee o doubl,e imoge of the subjecl
in the rongef ind'er field (see- top  il,l'ustro,tion).
Turn the fo'cysing wheel un,til the lwo imog,e,s
coincide ond fuse inlo one sho,rp imoge (see
bottom ilrluslrofion).This oufo,moticolly Iets the
tens to fhe.ont..i   dristorn,ce.
Note: With horizontol shots wotch the verticol outlines
of the subiect, ond with upright shots focus on  the
horizontollines.
                            _ 1 7 _
View original page 18Page 19 · Read text
Sfeet      ^       1Sfeet         l5feet   n    @
         W            rT
                                t5     ,u,l9i{.{{i,u        *,i1ffili,u                       g                         e*             22          22 22          22
Zone Focusing:
      you focus the ro,ngefin'd,er,lhe focusing sco,le o'l,sorotot,es wilh thetVhen
        wheel. Above lhe sco,le,in lhe centrJ o,f rhe semi-ci,rculo,rdepth of!9gu;ing.
fiel'd in,dicofor,fhe tip of fhe trriongulo'rV  index morrkpoinls to lhe exqcf
focusedd'isto,nce.The unnumbered-diivisionso're exploined on poEe 34.
Th-e focusing scole olso corries two speciol mqrks for condid ond oction shots without
ustng the ro.ngefinder.With the scole set to the A mork (obout l0 feet), everythinq between
obout 8 ond l5 feet will be shorp, while ot the O setting (obout 33 feei) everythin!  is shorp
          ll, feet,to                     You                             must,                                 however,                                             srop                                             down" the rens to  tt6.- s;6   ;i;;   p"g;34                    .infinity.tor[for]turther            detoils                 obout                        operture                              ond                                    depth                                                    of lield.
                               -t8-
                           www.orphancameras.com
View original page 19Page 20 · Read text
The Combi-plungerond Double lnlerlock
A  single pre,ssu,rewi{h the finger on  lhe combi-plunger simu'lloneously
iro,nsrpo,rlslhe film by one fro'me, lensions fhe shutter, odvonces lhe film
counler, ond releosesthe diouble exposure I'ock.

   Alwoyr depresr lhe combi-plunger os fqr os  il  will go. Al lhe slower
   shuller speeds [1/zond l'secondf wqit until the shulter hos closed ogoin
   before depressingthe combi-plunger.

The  qutomo,ti,c d,ouble  inlerlo.ck p'revenls double  exposures  ond  blonk
fro'mes.The plunger only lensions fhe shuller ofler on exposu're; conversely you
con on,ly pre,ss lhe re,leose bullon  ofterr worki,ng the cornbi-pl'unger. For inlen-
lionol double exposures (e. g. for frick sho,k) see poge 35.
                               -19  -
View original page 20Page 21 · Read text
To lqke lhe picture, gently but smoothly
                                     press the re,leosebutton. Do no,l jetk  itTAKING                                          or  sfop  ho,l{-wqy. Short inslont'o,neous
                                     exp,osures  (rln  s€,co,hdror    f oster)  orre
                                         usuo,lly tq'ken wif'h the co,mero'held  in
                                             f'he hond;. Avoid  hol,diing the co,rn€ro
                                              u,n,siUrp'p,o,rte'd'f o,r expos,Uf€5 l,onge,r lhon
                                              rlso secondll prrorpu,p |orU'itorrtrtsorr leon
                                         yo,ur bodry ogo'insl s,omethiings'o,l,id.

                                              For time exposures (with the sh utter set to  " B")
                                                the comero must hove o  firm  support.  Either
                                               unfold the rewind cronk ond set up the comero
                                           on o  flot surfoce such qs o toble, or mount  it
                                           on o  tripod.  For long time exposures q  coble
                                              releqse with  locking device  is odvisoble; th is
                                           screws into  the  socket of  the  releose button
                                                                                 ( s e e  i l l u s t r o t i o n ) .
                                      -20-
                              www.orphancameras.com
View original page 21Page 22 · Read text
Cfosingthe Cqmero:
The front of the shulter co,rries two red
semi-circulorfinger hold's. To close the
fronf d'oors press boih thumbs o,gcl'ins,l
lhese morks (see fo'p i,l,lustrotion)o'nd
push f'he lens wi'th the shuf{er bock into
the corm,e,r,obo,d,y.Then cl,ose bo'th f'ro,nt
doors unti'l they engq,ge with o,click
(see boftom   il,l,usl,rqtion),o,n,d' finq,lily
pus'hthe combi-plunger irnlo the body.
When cqlrying the cqmerq  in  ils ever-
reody cose, proceed qs follows. Let the
cqmetq hong down  ovet  yout  ch,esl,
pull both front doors slighlly oufwords,
qnd of lhe sq'me time push lhe lens qnd
shuller inlo the body.  Close the  lronl
doors ond ptess in lhe combi-plunger.
                                  -21   -
View original page 22Page 23 · Read text
Unlooding  the Cqmelq:
     When the film counter indicqtesthe lqst
       exp,osurreor when you cqn no longer
        .i.press the combi-plunger q'nd lhe re-
       leose ful,ly,the f ilm is finished.You now
       hqve to rewind  il into ils cortrid,ge,
          o  Press down the rewind button  in the bottom
              of  th e co mero (see top   il lustrotion) but do
             not keep  it depressed.
          o  Unfold the rewind cron k (see bottom  illus-
                         t r o t i o n ) o n d   t u r n   i t    i n   t h e d i r e c t i o n o f   t h e
             o rrow eng roveC on  it.
          o  The film  counter rototes bockwords of  the
          some time.  When   it ceoses to  turn, stop
            rewinding. The  film   is now  bock  in   its
             cortridge, ond  the  lotter con be token out
              of the co mero ofler removing the bqck.
       -22-
www.orphancameras.com
View original page 23Page 24 · Read text
Chongingportly erposed Films
     Wi'th the VITESSA you cq,n ortwo,y'su'nlood o  pol'l,ty ex'p'o,sedfilrm dU,ring
    shooting ond  ch'ornge fo o  driff,e,re,nto,ne (fo,r instq,nce,if you wont to use
     co,l'o,urf,i,lmi'nsteqd o,f block-qrnd'whifre). No dto'rk-roo'mis ne,cesso,ry.

     Pr,oceed   ors fo,llrows

     o   First moke o note of the number of exposed fromes  (write  it down  to moke sure) or
       shown on the film counter. Then rewind the portly exposed film  into  its cortridge os
         olreody described opposite.
*   o  When relooding the portly exposed film  loter on, moke sure thot the shutter is not
        cocked ond proceed os described on poges 8 to  l|, up to setting the film counter to ,,0".

     o  Then holf close the fwo front doors, keep the releqse bullon pressed down, ond keep on
        working the oombi-plunger fully until the film counter indicotes one frome more lhon
        you hod noted when unlooding the film.  Let the lens engoge in toking position ond
*       once more operote combi-plunger fully. The comero is now reody to shoot.
                                  23-
*,
View original page 24Page 25 · Read text
SynchronizedFlqsh
      The SYNCHRO-COMPUR shulter with
          li,ght vo'lu,e scorle perm,i,isf,lqsh shols of
        movin'g objects o,f o'l,l shu,fle,rspeed's up
          lo  lhe  top speed  of  r/soos€,c,o,hd.The
        flqsh cqn be u,sed,on  ils own, or com-
       bined  with  dioyl,ight o,r o,rtificiol lighl
        sou,rces.lt is p,o'rti,cul,o,rlyuseful for light-
         ing u,p fhe shqd,ow o'reclrsin qgoinst-fhe-
         light sho,ts.
         AII mokes of flosh unifs, includ,ingelec-
         tronic flosh equipmen't, co,n be connecl-
       ed to the shutte'r. The fo,l,lowingpog€s
        give o short su,mmoryo[ wqys o,f mounl-
        ing lhe f,l,o'shgun os well o,s the shulter
       speeds you con use with different lypes
         of  f,l,osh.
        -24-
www.orphancameras.com
View original page 25Page 26 · Read text
The il'lustrotionon the  left shows the
VITESSAin the Voigtlonder flosh cose      Mounting the FlqshGun
which conloins o  complele  built-in
bolfery-copociforf losh gun. Olher unifs,
such os the Voigllonder {losh gun' con
eilher be mounled lo one side of lhe
comerq,or f ilted direclly inlo lhe occess-
ory shoe,                               $f

The  f losh coble completes the electricol circu il                                                       ttiTbetween the flqsh gun ond the shutter of  the
comero. To connect the coble, push the flosh
plug ot the end of  it over the flosh socket on
t h e s h u t t e r ( s e e  i l l u s t r o t i o n ) .

Worning:  Never use the shutter to  fire   f losli
buf bs from  the  1.|0 or 220 volt moins.
                               -25  -
View original page 26Page 27 · Read text
The Synchronlzlng Settlngs:
The synchronizing se'fling(M or X) must sui't the type of fl,qsrhin u,se,to en,sure
thot the peok brightnessof the fl,qshco,in'cid,eswith fhe inslont when f'he
shulter i,s ful,ly srp€n.
Fl,oshbu,l'bso,nd e,l,ecfron,icftqrshunils differ in lheir firing de'loy times, ond
ore  therefo,re clos,s'ifiedrin severo,lrg,ro,ups i,n the  fo,bl,e o'p,posife. Set the                          nMn   nX"1syn,ch,ronizingleve'r o'n'fhe sh,ulte'rfo      or      occo,rdtingto the {ype of
f'lorshemployed. Then choose lhe shutfie,r5'Peed qs indric'o,te,dti,n the tobl,e,
orn,dle,n,s,i.onfhe shuff,,e,ri'n the u,s,u'o,l,woy,Nole: Fo'r shofs w,ith the sel{-limer
(synchronizinglever set fo "Vn) u,seflo,shbu,lbson,l'yof the shu'lferspeeds           nX"given in the    col,umnof the to,ble.
The pqcki,ng or  lrs,q'f[s,tse]nc,lo6ediwith flro,shbul,bs or eilecfro,ni,cfl'o'shunils
usuorl,l,ygive dolo for lhe coinrectorp,e'rfu,resetfings. These droto o{ten oppe,o'r
in the form o,f "gu,ide n,umbe,rsn.To obiqiiin ths o,pe,rfiur,ere'quired{divide the
gu'ide numb,erby'the dtisto'ncein feet from the cqmero with the llorshgun lo
fhe subject. (ln short: operlure :   guid,e number/distonce.)
                                   26-
                           www.orphancameras.com
View original page 27Page 30 · Read text
tirtn-
I Workinqwith the FocorLenses:

       For close-up shots with the Focor lenses preferobly mount the comero on o  tripod,
      ond opprooch the subiect until its imoge fills the viewfinder field to the desired exlent.
      Then fit o Focor 1 or 2, or both together (F  I on top  of F 2), over the lens mount,
       occording to the dislonce of the subiect.

       Accurotely meosure lhe distonce from the front of lhe Focor lens to the centre of  tlre
       subiect, ond set the comero lens to the distonce indicoted in the toble on the  lefi.$.
      Stop down to ot leosf f/8 io ensure odequote depth of field.
      The use of o Focor lens does not offect the exposure.  lf o  filter  is used (this should
      be mounted on lop  of the Focor lens) fhe filter foctor must of course be'token  into
      occou nf.
 [ :     At such close ronge the picture oreo no longer corresponds exoctly to the view through
       the finder. The view finder imoge shows o portion on top ond on the  left thot w-ill
       not be reproduced on the film, whereos on equol portion opposite will be coptured
       by the lens (porollox error). With o Focor I this displocement is up to 1/roof the heiqht
      ond the width of the finder field. With o Focor 2 the verticol ond the horizontol dlis-
      plocement is up to l/e of the finder oreo; with the Focor I ond 2 combined the disploce-
      ment omounis to 1/s ond 1/r of the height ond width respectively.
                                 -29-I
 f
View original page 30Related documents and language editions
VoigtländerPDF
Another Voigtlander Vitessa
User manual
40 pages · EnglishRead →
VoigtländerPDF
Voigtlander Vintessa Meter
User manual
12 pages · EnglishRead →

VoigtländerPDF
Voigtlander Vitessa Exposure Meter
User manual
8 pages · EnglishRead →
VoigtländerPDF
Voigtlander Vitessa T
User manual
46 pages · EnglishRead →
VoigtländerPDF
Voigtlander Vintessa I
User manual
45 pages · FrenchRead →

VoigtländerPDF
Voigtlander Vitessa - Gebrauchsanleitung
User manual
44 pages · GermanRead →
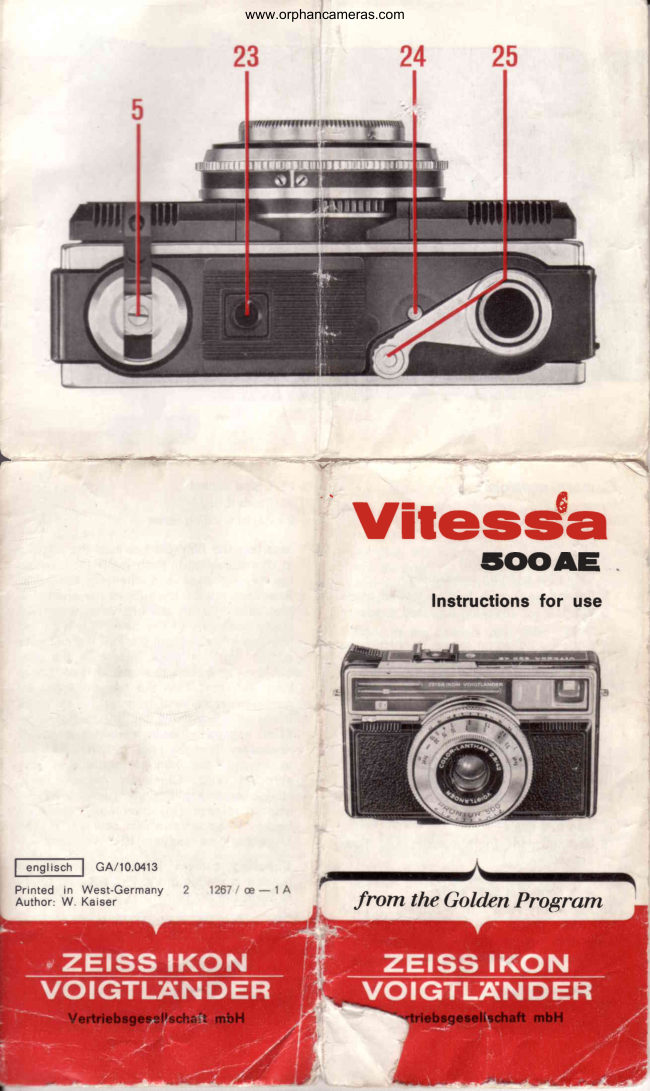
VoigtländerPDF
Voigtlander Vitessa 500 AE
User manual
9 pages · GermanRead →

VoigtländerPDF
Voigtlander Vitessa 500L
User manual
15 pages · GermanRead →
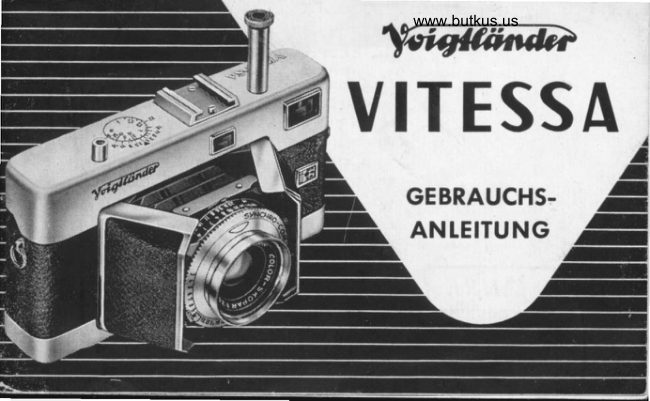
VoigtländerPDF
Voigtlander Vitessa Gebrauchs-Anleitung
User manual
40 pages · GermanRead →
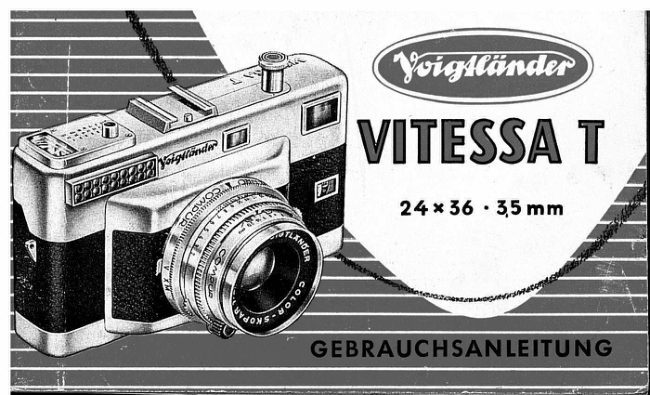
VoigtländerPDF
Voigtlander Vitessa T
User manual
45 pages · GermanRead →

VoigtländerPDF
Voigtlander Vitessa 1000 SR
User manual
9 pages · Not specifiedRead →

VoigtländerPDF
Voigtlander Vitessa Belichtungsmessrs
User manual
13 pages · Not specifiedRead →
From the M. Butkus archive. Original publisher and archive notices are retained.
Check the model and edition against your equipment.
PDF verified 2026-10-10.