Sewing machines
New Home New National — User manual
User manual for New Home New National. 10 pages in English. Read the original PDF, download or print a copy without registration.
10 pagesEnglish8.8 MB PDF
Loading your manual…Open PDF directly
Document details
- Brand
- New Home
- Model / document
- New Home New National
- Document type
- User manual
- Language
- English
- Pages
- 10
- File size
- 8.8 MB
- Category
- Sewing machines
- Document date
- Not specified in catalog
Search available document text
Find a term, then jump to its page in the original PDF. Image-only pages may not be searchable; check the PDF for exact wording and diagrams.
Page 1 · Read text
BOOR 400 W B 0-15 5M.
DESRSUNSSSABSBBELSSRUD

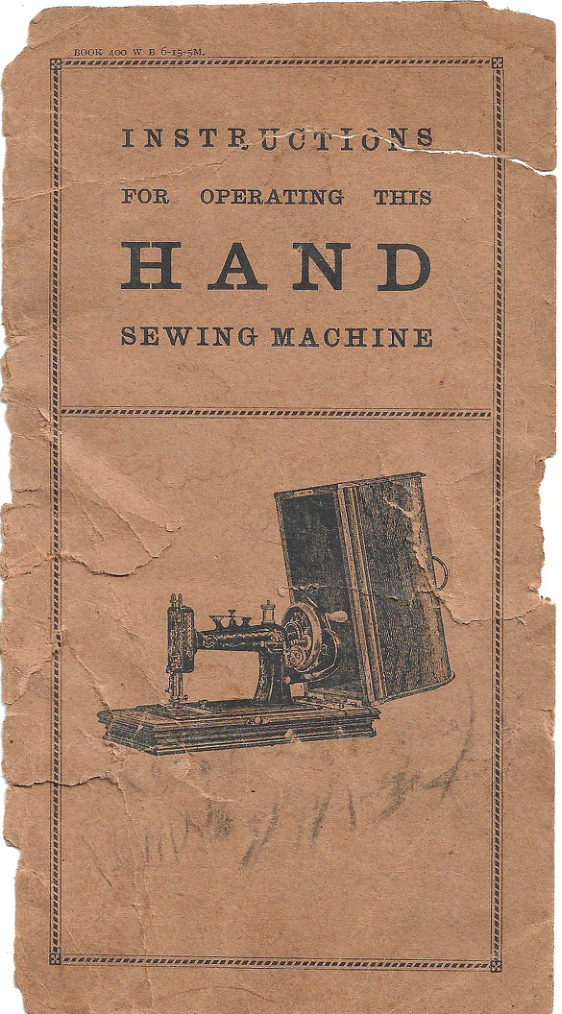
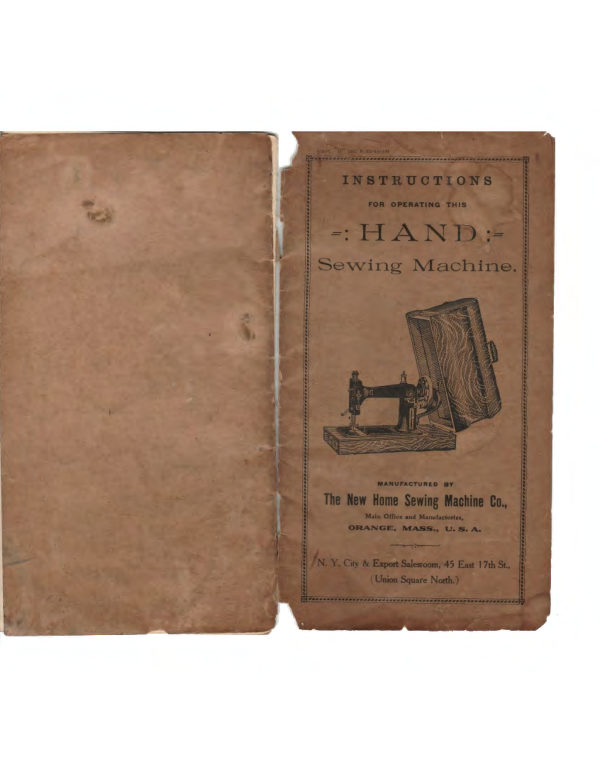
  INSTRUCTIONS
HANDFOROPERATING THIS
   SEWING MACHINE
View original page 1
Page 2 · Read text
§ INDEX.


 To Oil the Machine

  To the Learner

 General Remarks

 To Set the Needle

 To Wind the Bobbin

 To Thread the Shuttle

 To Place the Shuttle .

 Lower Thread Breaking

  Threading Machine

  To Regulate the Tensions                  8
Upper Thread Breaking

! To Drav Up Shuttle Thread               9
                                      9
MissingRead forStitchesSewing                         10

Length of Stitch                          10

 To Remove Work                      10

  To Adiust Presser Foot
 Gauge                                  11

  To Hemstitch
                                         11
To Remove the Foot                                         11
 To Select Needles and Thread            12
 Outfit                           12
  Foot Hemmer and Feller               13
 Felling.                          14
  To Hem and Sew on Lace              14
 Quilting                           15
View original page 2Page 4 · Read text
OIL                                   oil.Oil the bobbin-winder in places where there is

                                                                                  any friction.
   Poor        oil            is dearer                      than                           good                                oil,                                     because                                             it                                                ruins                                                      the
 parts       of          the              machine                      and                          does                               not                                   last                                        as                                           long.                                                 It              TO THE LEARNER.
 makes the machine run hard: corrodes and eats into
 the bearings, making them rough and hard to operate.                     A little time given to the study of the instructions,
 It clogs and fills up the of holes, so that, unless the                 before commencing to use the Machine, will be found of
operator carefully and laboriously picks out the holes,                 great advantage. Any-one can learn to use this Sewing
 the oil cannot penetrate to the bearings and soon the                  Machine. It is simple in construction, and requires so
 machine begins to run hard. Be sure you get the best.                  little change for any kind of work, that its operation

                                                                        can be easily understood.

                                                                              Attention to the instructions here given, and a little

                                                                         practice, will soon enable the learner to successfully

                                                                        operate the Machine.

                                                                          Do not attempt to use the Attachments until you can
                                                                   manage the Machine with ease on plain sewing

                                                                     The cause of a machine not working properly will
                                                                     be found, ninety-nine times out of a hundred, in the

                                                                        improper setting of the needle, the use of poor thread,

                                                                         or a size too large for the needle, or in the wrong ad-

                                                                           justment of the tensions.

                                                                           If at any time the Machine fails to perform its work

                                                                          properly refer to the instruction book to ascertain the
                                                                    cause. This will help you out of the tramble if you

                                                                               carefully follow the directions.

                                                                       For example, if your machine misses stitches, you
                                                                 turn to the index: (inside front cover), "Missing
                                                                    Stitches." On page 9 you read, " Should there at any

                                                                            time be skipped or long stitches at intervals, it is owing
                                                                            to the needle being set too low, or its having become
                                                                         bent away from the shuttle, or its being too small for
                                                               the thread in use, etc., etc." You will therefore be
                                                                 able to easily remedy the trouble. We advise a care-
                                                                               ful perusal of " General Remarks.
                                                  Do not allow lint or dust to accumulate in the shuttle

                                                                         or under the shuttle tension spring, as any foreign sub-

                                                                             stance inside the shuttle (particularly in the inner end)

   If the machine runs hard after standing idle for some                   will prevent the proper action of the bobbin, and under
time, use a little kerosene oil in the usual way and run               the tension spring will render the shuttle tension

rapidly, then wipe clean, and oil with the best prepared                    inoperative.
View original page 4Page 5 · Read text
TO SET THE NEEDLE.      GENERAL REMARKS.


                                                                           First loosen the screw that clamps the needle and
    The presser foot must never be let down on the feed,
                                                                                push to the left sufficient to allow the shank to enter;
  unless when you are sewing and have cloth under it.
                                                                               allow the needle bar to rest at its highest point; then
  When the shuttle is in, the machine must not be run                   take the needle (with the flat side of shank towards
  with either of the shuttle slides out or partly open,                      the needle bar) between the thumb and finger of the
  the shuttle is liable to get out of position and break
                                                                                left hand, and insert the needle into the groove (as far
  some portion of the machinery.
                                                                        up as it will go) under the clamp, and screw fast.
    We caution purchasers to see that the manufact-                    Observe that the needle passes through the hole in
  urers' plate number of the machine is plain and in good                   the Throat Plate without touching either side. If it
   condition. If defaced or obliterated, it is sure evidence                     touches, take hold of it near its point, and press it
  of fraud, and we will not warrant, or in any way be                        gently in the opposite direction, until it is free.
  responsible for such machines. To avoid imposition
   buy only of us, or authorized dealers.                      TO WIND THE BOBBIN.

    Do not run the machine backward or with both

   threads in, without sewing.

     Do not use a dull or bent needle, or draw the work

   faster than the feed will naturally carry it, as needles

   are frequently broken by failing to observe the latter

  caution.

    When ordering parts always live the piate number
   of machine.

    Avoid changing the shuttle tension, as a change of

   upper tension will generally give the result desired.


     Remove the shuttle from the carrier with the fingers

   only. Never use the scissors, as they may blunt the

   shuttle point or bend the shuttle spring.


     In setting the attachments be sure to lift the presser
                                                                              Unlock the balance wheel with thumb and forefinger
   foot from the right, and do not let the attachments
                                                                              of the right hand by drawing the key (12) out, turning
   drag over the feed or strike the feed.
                                                                       it part round (this will prevent the machine from
     Recollect, that every part where there is the least                    wearing, and save the trouble and annoyance of un-
   friction should be carefully oiled. Only a very small                    threading it, and removing the work while the bobbin
   quantity of oil should be used at a time.                                     is being filled). Then swing the bobbin winder until it
    Never wind a knot on to the bobbin, and see that no                      is in position and presses firmly against the wheel. Place
   knot gets into the eye of the needle, always use good                    the spool of thread to be wound from on the spindle
                                                                          (80) and put the bobbin in the bobbin winder. Pass  thread.

Катававава
View original page 5Page 6 · Read text
BOMBER SARGE DEEN^ONDERAR
the thread from the spool, once around the tension            TO ADIUST PRESSER FOOT.
screw (104) as shown in cut, thence down between
the bobbin winder frame and wire guide at (A), then
                                                                         At the top of the Machine, back of the needle bar,
through slot (B) at bottom of thread guide, then into
                                                                         will be found a screw, which, by turning to the right,
V shaped slot of thread guide at (C). To secure the                   increases, and to the left, decreases the pressure of
end of thread preparatory to winding, place it between                 the presser foot. Heavy goods require more pres-
the head of the bobbin and its socket at the right hand.                  sure than light goods.  Too much pressure will
Proceed as in sewing. When the bobbin has been                  pucker fine cloth, while too little pressure on heavy
filled, swing the winder from wheel and turn back the                    cloth will let presser foot rise as the needle ascends.
key (12) until it enters the hole and locks the balance                   Care should be taken to adjust the pressure correctly.
wheel.                                                                  All machines are properly adjusted for ordinary work,
   TO THREAD THE SHUTTLE.                     the screw should not be changed except on extra
                                                                               thick or thin goods.
                                               GAUGE.

                                                                      Every machine has a Gauge. It is attached to the
                    1      enablingbed platetheby operatormeans oftothesewthumbat a screw,given distanceand used fromfor
                                                                            the edge of the goods.
                                         TO HEMSTITCH.


                             FIG                                        Fold blotting paper (or other soft paper) which can
                                                                          be readily torn, until you get.thickness corresponding

                                                                            to the opening desired in the hem-stitching; put one of
                                                                the pieces of goods under the paper and ha other

                                                                        above, then place all under the presser foot and boxes
                                                                        through them. After being sewed, both pieces will be

                                                                        double. Fold back the cloth first on one side, then on

                                                                     the other, all in the same direction and hold firmly
                                                                      while You tear out the paper. Remove the other half

                                                                        of the paper and open the hem-stitching. one edge of
                                                                       each, or either piece may be cut and passed through
                                                                           the hemmer, or a row of stitching can be passed along,
                                                                            side the hemstitch, and the double edge finished off as

                                                                           you choose.
   Take the shuttle in the left hand, with the point              TO REMOVE THE FOOT.
 toward you; draw off about two inches of thread from

  the bobbin, thread running from the upper side, (see
 Fig. 1); drop the bobbin into the shuttle as far as it                     Raise the needle bar to its highest point, loosen the
                                                                            binding nut which is just above the foot, by turning to
 will go; then draw the thread into the open slot of
                                                                           the right, then draw the foot out.
  shuttle, at the same time putting a little pressure with


      RamagggeRasserogasasereggaeasaRE видноа.
View original page 6Page 7 · Read text
13
                                                                               зоооододововдо в E 000000 aa: 00000881824444344

   TO SELECT NEEDLES AND THREAD.                    105, Throat Plate, coarse; 150, Oil Gan, filled; 154
                                                                        Quilter; 66, Six Bobbins, one of which is filled ready
  Size of                                 Size of Gotton,                   for use in shuttle; 151 Hemmer and Feller, Package
  Needle          GLASS OF WORK TO SEW.      tinen oP SIK.                 of Assorted Needles,
         Very Fine Thin Muslins, Cam-                                        120                                                        to                                              300               brics.                   Linens. etc.                                                          Cotton.        iNSTRUCTIONS        Very             Fine Calicoes.                            Linens.  90                                               to                                       120                                                  Cotton,       lanenshirungs,                TOOOS. etC.Fine Silk 000. & 00 Silk Twist.                           FOR USINg THE
           Shirtings, Sheetings, Bleached                   FOOT HEMMER AND FELLER.
          Galicoes. Mus inS, Silas       60 to 90 Cotton.
        General Domestic Goods, and O and 00 Silk Twist.          al casses of Genera Work.
                                  40 to 60 Cotton,         All windsWooleno Ir Goods,.garo Calicass,
           Silks, Seaming Stitching, etc. A and O Silk Twist.
         Tickings, Woolen Goods, Trou- 24 to 40 Cotton.
          sers, cloaks,Boys grothing,Manucs, Corsets,etc.   A and o silk Twist
         Heavy HeavyWoolens Coats.and Tickings,Trousers.10 andto 21 I'WIst.Cotton,anoA
                                             oU to ou minen.

         Bags,coodsCoarseof anyCloths,terture.Heavy 40very&toD Coarse60SilkLinen,Twist,Cotton.B, C
        ir Needles O, B, 1-2 and 1, use throat plate with Small                Raise the needle to its highest point and raise the
 needle hole; for 2, 3, and 4 use throat plate with Large hole.                     presser foot to its first lift by turning the lifter to the

                                                                       right. Loosen the nut A, take off the presser foot and          OUTFIT.
                                                                       replace with the Hemmer. Set saime to its right place
                                                                  and fasten nut A by turning to the left. Raise the
       154                                                          presser bar by turning the presser foot lifter to. the
                                                                        right, and pass the edge of the cloth into the. hemmer
                                                                  in the manner shown in the illustration, drawing it

                                                                        through the hemmer as far as the needle hole, in order
          105                                                  that the feed may at once catch the cloth. Then let
      150                                                         the hemmer down upon the feed surface, and operate
                             33                          the machine as usual. Should the goods begin to
                                                      run Outof the hemmer, carry them to the Right;
                                                                    should too much run into the hemmer carry the goods
                                                                  to-the Left. About one-fourth. of an inch in width
                                                                 is as much of the goods as is usually required to
                                                               form a perfect hem. If the stitch takes the hem

                                                                        too far from the edge, turn the hemmer a little to the
   Every Sewing Machine is threaded up and ready for                 Right. It, on the contrary, the stitch does not catch
use when it leaves our factory, accompanied by the                the edge of the hem, turn the hemmer a little to the
following accessories; 32, Gauge; 33, Gauge Screw                 left.
View original page 7Page 8 · Read text
14                                                 15

           FELLING.                                 QUILTING.


   Sew the two edges of the cloth together, the under

 one projecting one-fourth of an inch beyond the upper;
 then open out the work and crease the seam down,                     Insert the quilter through the small hole in the
 the wide edge over the narrow edge. Draw the wide-                   presser bar, and fasten with the screw in the back of
 folded edge into the hemmer, the same as if it were                    presser bar, moving it to the right or left to the re-
 a hem, and drop the foot. Then guide the fold edge,                    quired width of the rows of stitching. Raise or lower
 and work the machine the same as in ordinary hem-                   the quilter according to the thickness of the goods.
ming. A wider fell requires a wider seam, which is                  Having made the first row the desired distance from
turned the same as a wider hem.                                       the edge place the work so that this row will be un-
                                                                       der and in line with the lower edge of the quilter,
   TO HEM AND SEW ON LACE.                        which will form a guide for each row of stitching; the

                                                                       last row made always passing under and in line with

                                                                              the quilter while stitching the pext.


  Put the edge of the fabric into the hemmer. When
 the hem is well started, raise hemmer foot by means

 of the presser lifter and also raise the needle. Then
 pass the lace through slot in the side of hemmer,

 carrying it back under the hemmer on top of the hem.

 Proceed as in ordinary hemming, keeping lace well in
the side.
View original page 8Related documents and language editions
New HomePDF
1881 Light Running New Home
User manual
36 pages · EnglishRead →
New HomePDF
1899 New Home
User manual
28 pages · EnglishRead →
New HomePDF
New Home Attachments
User manual
4 pages · EnglishRead →
New HomePDF
New Home Electric Rotary — Part 1, printed pages 1–13
User manual
8 pages · EnglishRead →
New HomePDF
New Home Electric Rotary — Part 2, printed pages 14–25
User manual
6 pages · EnglishRead →
New HomePDF
New Home Electric Rotary — Part 3, printed pages 26–36
User manual
6 pages · EnglishRead →
New HomePDF
New Home Hand
User manual
10 pages · EnglishRead →
New HomePDF
New Home Light Running "Pre A"
User manual
19 pages · EnglishRead →
New HomePDF
New Home Light Running ZigZag Attachment
User manual
10 pages · EnglishRead →
New HomePDF
New Home NH
User manual
28 pages · EnglishRead →
New HomePDF
New Home New National
User manual
10 pages · EnglishRead →
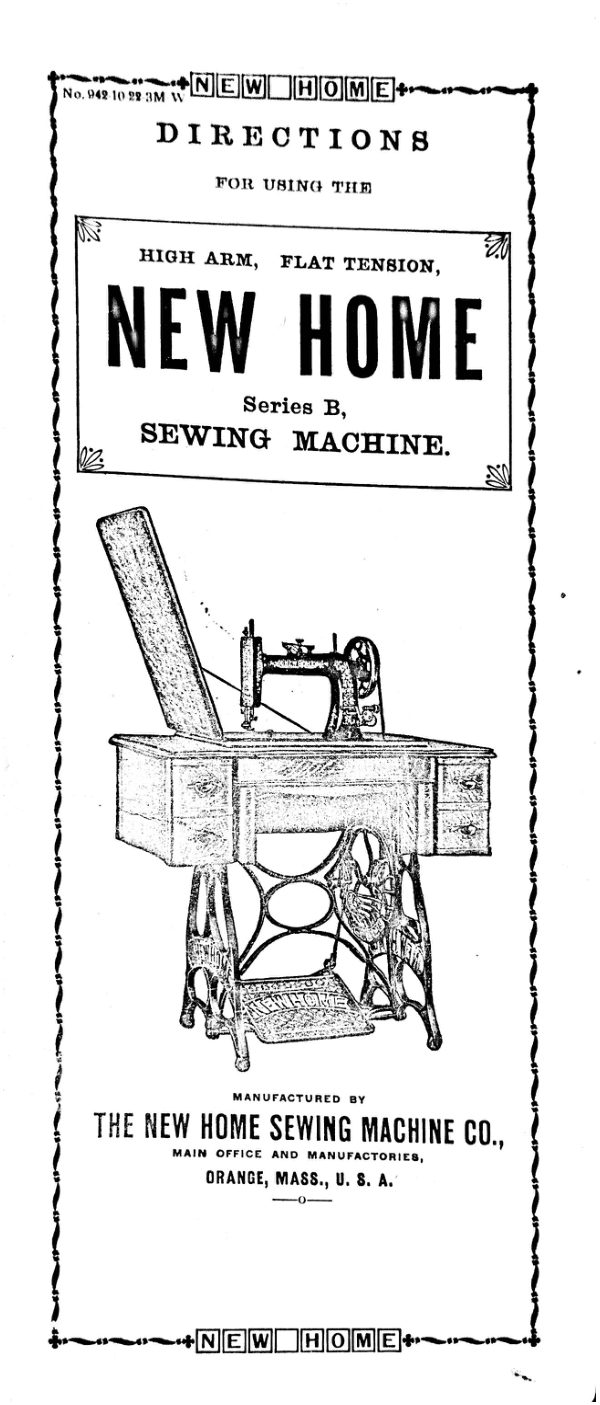
New HomePDF
New Home Series B
User manual
9 pages · EnglishRead →
From the ISMACS International. Original publisher and archive notices are retained.
Check the model and edition against your equipment.
PDF verified 2026-10-11.