Sewing machines
White Rotary Electric 41 & 45 — User manual
User manual for White Rotary Electric 41 & 45. 16 pages in English. Read the original PDF, download or print a copy without registration.
16 pagesEnglish2.0 MB PDF
Loading your manual…Open PDF directly
Document details
- Brand
- White
- Model / document
- White Rotary Electric 41 & 45
- Document type
- User manual
- Language
- English
- Pages
- 16
- File size
- 2.0 MB
- Category
- Sewing machines
- Document date
- Not specified in catalog
Search available document text
Find a term, then jump to its page in the original PDF. Image-only pages may not be searchable; check the PDF for exact wording and diagrams.
Page 1 · Read text
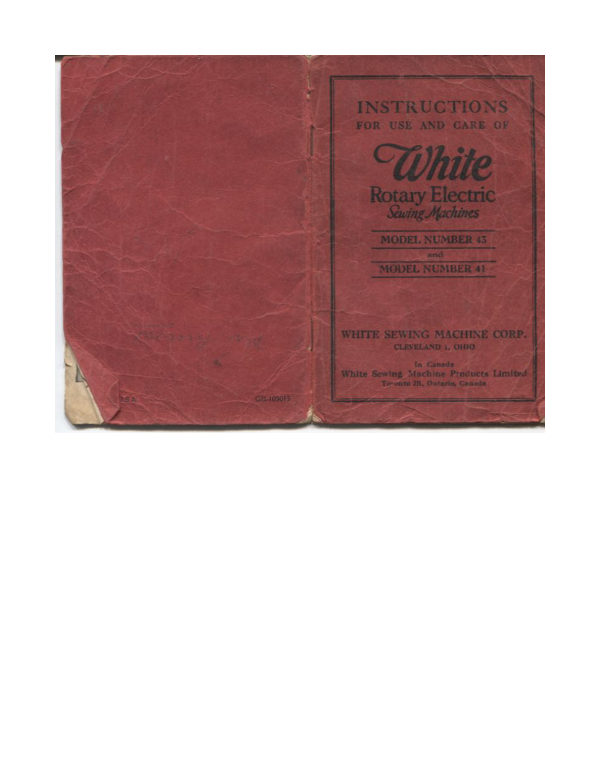
INSTRUCTIONS
  FOR USE AND CARE OF
 White
    Rotary Electric

      Sewing Machines
    MODEL NUMBER 45

     MODEL NUMBER 41


WHITE SEWING MACHINE CORP.
          CLEVELAND I, OHIO


 White Sewing Machine Products Limiter
View original page 1Page 2 · Read text
Wherever a reference is made to turning disc wheel, of


 sewing: that is with the top of the dise wheel turnin


 screw and press it to the left to permit the shank of the NEEDLE


                           - the NEEDLE being flattened


  The needle, when descending, should pass CENTRAL
the needle hole from FRONT to REAR. but close to the right


                   Use Only This Needle


   An illustration showing the exact length of the Flat Shank
                                  To uses ioneeror.


 fail to give the number of the machine
View original page 2Page 5 · Read text
Proper Adjust nenE Of Lensions
                                            thread with
  Take the                                                               It the upper tension on thread is tight and the lower tension
                              in presser-foot slot),
                                       machine, and it is reads                            TE UPPER THREAD
                                      LOWER THREAD-        §-FABRIC
Turn the disc wheel until the take-up                                                 If the lower tension is tight and the upper tension loose, the
                                                                        lower thread will be drawn to the bottom t

                                                                           IF -UPPER THREAD
                                               LOWER THREAD-        E°FABRIC


                     machine is threaded.              When tensions (both upper and lower) are, proper adjusted


                                                                      & YABER THREAD                                     LOWER THREAD.)

                                                                            Adjusting Upper Tension


                                                                                              the upper thread turn the dial


           To Change the Stitch Length                                     maw dunicate any particu


eleven The pothe stinch, lensch. regal tar leboth, formard and
   tength or the stich of die are or rest on.!

For FORWAPD stitching loosen the scorn stop nut on lever
   (Fig.                up to the• desired.    enoth
       m on the          sector on the stitch regulator
                   acorn stop nut until it touches the plate.

Number I is the shortest stitch, number 6 the longest.

 for REYERSE stitching.pull lever "E" (Fig, 4) down below
View original page 5Page 6 · Read text
(DP)
                                                        and without forcing allowing

 RACE


niter(SRproud, being


 sim and
View original page 6Page 10 · Read text
Directions for Using the Shirring Foot
                                                              When sewing              materials together, it i is better
 Remove the presser-toot and replace with the Shirrine Foot


                                                                      encedWhen operatorthe attachmentmay  is properly adjusted, the most inexperi-
                                                                                  no difficulty.


                      Fig 15
             To Gather, Puff or

   Place the goods under the foot the same as in ordinars

For fine gather use a short stitch.


 Combination


                                 that the attachment is adjusted

                                                                            sachs, "Tin lithe the right until the braiding guide
View original page 10Page 11 · Read text
Fig. 20

                                                                                                                              1; ship the edge of
                                                                          the cloth in the gauge and proceed to cut the       The tape

                                                              which


   For cutting bands of various widths, either straight or bias

The sliding scale is adjustable for the widths of band desired.

                                 1¼ inch indicates the proper

                                  width for a bias fold, which is to
                           be inch wide when fished

                                One inch indicates the width


   One-half inch is for corded or plain piping.
View original page 11Page 13 · Read text
Attaching  Side Fastener                            ELECTRICAL EQUIF

  Remove the regular presser foot and attach the Combination
    ahment in its place. Loosen the thumb screw on the attach.

ment and move the foot to the right or left as desired. See that


 The needle holes on either side are cut deep enough to allow


                               will not catch in the slide pull as it


                                         Fig. 23                                    Fig. 24


                                                  Cording


                                                The toilet contenti
View original page 13Page 15 · Read text
SUPPLEMENTARY INSTRUCTIONS
                                                             for
                                  TREADLE OPERATED MACHINE

                                thread uneven and the                In general, this machine is the same as the

                                                              one illustrated and described throughout this

                                                               book (except for electrical equipment), so all
                                                            instructions will apply, except for "Winding
                                                 • that the thread slims           the Bobbin" (Fig. 4 page 4), which directions

                                                            are given in this supplement.

                                 than likelv caused by pulline
                                                                When referring to this instruction book you

                                                                   will notice that a few illustrations (Figs. 4, 24,

                                                          and 25) do not look exactly like your machine

                                                                due to the absence of the built in sewing light

                                                              and motor (on electric machines only), but in

                                                                  all other respects they are the same.
                           WINDING THE BOBBIN
                                                       (TREADLE OPERATED MACHINE)

                                                         Slip a bobbin onto bobbin winder spindle

                                                                  and push to right as far as it will go. Hold the

It the stitches are not even, it may be caused by the presser.            disc wheel with the left hand and loosen the
                           the labnc sewed, or by the stitcl               clutch nut, releasing the drive pulley so it will

                                                             run without operating the sewing mechanism.

                                                             Next, place spool of thread on bobbin winder

                                                    spool pin. Next, slip thread under guide

                                                        (A) and continue downward between tension

                                                          27
View original page 15Page 16 · Read text
Instructions for Treadle Operated Machine

discs (B), then

 put end of thread
 through hole (C) DISC WHEEL CLUTCHNUT

in bobbin, from

 inside, leaving

about two inches

 of thread extend-

 ing outside of
bobbin.                   BOBBIN
  Next, pull lever          WINDER
(D) upward en-             PULLEY
 gaging bobbin
 winder pulley
with disc wheel. LEVER D
Hold the end of
the thread ex-
 tending through
hole (C) and operate foot treadle until bob.
bin is wound, Lever (D) will automatically

 release disengaging bobbin winder pulley when

bobbin is filled.

   Remove bobbin from spindle, cut thread at

 spool; then cut off the other end of thread at
hole(C). Tighten clutch nut, turning the
 top from you while holding the disc whee
  firmly.
View original page 16
Related documents and language editions
WhitePDF
White Art of Sewing and Dress Creation
Reference guide
108 pages · EnglishRead →
WhitePDF
White Five-Stitch Attachment — Book 12
User manual
18 pages · EnglishRead →
WhitePDF
White Rotary Automatic Series 666
User manual
23 pages · EnglishRead →
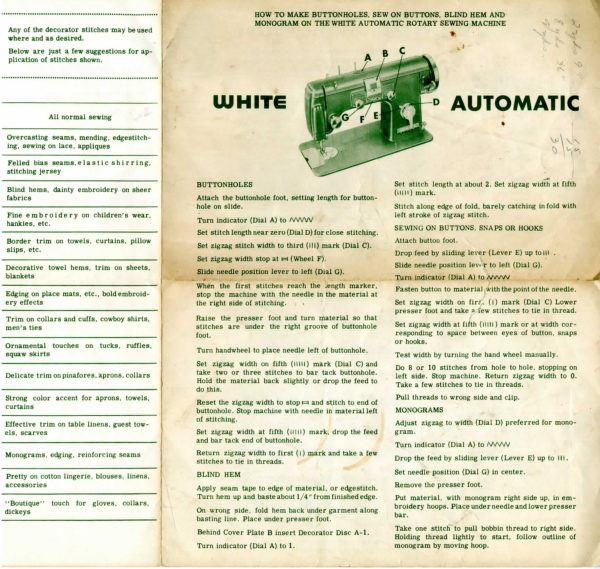
WhitePDF
White Rotary Automatic Series 666 Decorative Stitches
Reference guide
2 pages · EnglishRead →
WhitePDF
White Rotary Electric — Book 12
User manual
18 pages · EnglishRead →
WhitePDF
White Rotary Electric — Book 13 (1937)
User manual
14 pages · EnglishRead →
WhitePDF
White Rotary — Book 10
User manual
14 pages · EnglishRead →
WhitePDF
White Rotary — Book 11
User manual
28 pages · EnglishRead →
WhitePDF
White Sewing Machine and Its Attachments
User manual
32 pages · EnglishRead →
WhitePDF
White — Book 6
User manual
16 pages · EnglishRead →
From the ISMACS International. Original publisher and archive notices are retained.
Check the model and edition against your equipment.
PDF verified 2026-10-11.