Film cameras
Nikon MD-14 User manual
User manual for Nikon MD-14. 16 pages in English. Read the original PDF, download or print a copy without registration.
16 pagesEnglish3.4 MB PDF
Loading your manual…Open PDF directly
Document details
- Brand
- Nikon
- Model / document
- Nikon MD-14
- Document type
- User manual
- Language
- English
- Pages
- 16
- File size
- 3.4 MB
- Category
- Film cameras
- Document date
- Not specified in catalog
Search available document text
Find a term, then jump to its page in the original PDF. Image-only pages may not be searchable; check the PDF for exact wording and diagrams.
Page 4 · Read text
O Rewind button pin                                                              Motor drive coupling prong @

? Mounting screw

C Electrical contacts


t0 Power switch/H-L  firing rate selector

t i Rewind slide                                                            Camera positioning pin @
View original page 4
Page 5 · Read text
GOItITENTS        FOREWORD
]|oME]{CLATURE.                             . . .2-3    Congratulations You now own the Motor Drive MD-'14,
FOREWORD                            4   an accessory designed to advance the film auto-
BASIC OPERATIOIT|                         . 5-10    matically through the Nikon FG or EM camera. You
co]fTRotsrN DETATL..       ...11-12   can select  f iring rates of approximately 3.2 fps or
  Power Switch/H-L Firing Rate Selector. . 1',-12    2  f ps at shutter speeds of 11125 sec. or faster. Single-
TIPS ON TOTOR DRIVE GARE              . 13            f rame shooting, of cou rse, is also possible at any
OPTITUT BATTERY PERFORMAilCE  . . . . . . 14     shutte r speed
SPECIFTCATTONS.            .....15    Even though the MD-14 is extremely easy to use, you
                                             should familiarize yourself thoroughly with this
                                                      instruction manual, as well as your camera's
                                                                instruction manual, before actually using the product.


                            www.orphancameras.com
View original page 5Page 7 · Read text
BASI C OPERATIO J[                      -sontinued-


                                               Make sure the  A   Install the battery  E  Remove the      a    Tt  clip.              er g66eratg handgrip.   tvr 1nglor drivets
      Put the clip back into the chamber.   When using the Nikon FG, remove  power switch i, is in
     While pushing the clip down into   the camera's handgrip, referring   the OFF positlon.
      place, tighten the locking screw;     to the camera's instruction manu-
     then return the outside ring of the    al. With the Nikon EM, this  is
      locking screw to its original position    unnecessarv.


                               www.orphancameras.com
View original page 7Page 8 · Read text
motor drlYe to the                                          Attach the                        a,                                    ter                                     gg6ora                                                body. rt  motorPlace thedrlve.camera body on the
Place the camera body on top of the motor drive so    Turn the attachment wheel @ clockwise until the two
that the motor drive's mounting screw @ lines up    units are screwed tightly together.
with the camera's tripod socket and the camera    Note: Before attaching the motor drive, make sure the
                                                                                                                                                                                      f ilm advance lever is completely cocked.positioning pin @ is aligned with the motor drive    camera's
positioning hole.
View original page 8Page 9 · Read text
BASIC OPERATI O Jf                      -sontinued-


                                                      Sllde the flrlng rate selector to  a  Load fllm Into the camera and       {ft   Y. make blank oxposurgs.           lYr  the H or L posltlon.
     Load film into the camera in the normalway, and then    This turns the motor drive on. At the H position, the
    make blank exposures with the camera's shutter    MD-14 operates continuously at approx. 3.2 fps, while
      release button and film advance lever in the normal     at L, it fires at approx. 2 fps.
    wav as  if the MD-14 were not attached.                        IVotc;
                                                                 1)With the MD-14 set at either H or L, you can make blank
                                                                    exposures by holding the button down. However, at the H
                                                                                           position, be careful not to make too many blank exposures.
                                                                      2) Sliding the selector to the H or L position without winding
                                                                 the film after shutter is released advances the film by
                                                              one  f rame.


                               www.orphancameras.com
View original page 9Page 10 · Read text
I

   -\ ,(      Take the plcturc(sl.ru         lUrn off the powor swltch.aAr rr  Push the camera's shutter release button  Aq,r-r   When the film reaches the end of the roll,
to take the shot(s). The LED indicator @ lights up to   the MD-14 will automatically stop and the LED indi-
indicate the motor drive is operating.                     cator will light up continuously. Then turn the motor
When you want to take a single shot, depress the    drive off    .
shutter button and remove your  f inger  f rom the button    Note: Do not repeatedly depress the camera's shufter
before the motor drive advances the film to the next     release button nor turn the motor dilve on and off rapidly
frame. To take pictures continuously, hold the shutter    as these actions mav cause the  f ilm to break.
button down as long as you like.
View original page 10
Page 11 · Read text
BASI C OPERATI O J{                     -sontinued-                                                                                    H +


    { a  Rewind the film.      l9r    Push the rewind slide ll up and then rewind  14. l;,#ffi lx?il'ffi :H'"xffi avo d
     the  f ilm manually by turning the camera's rewind crank.     ing direct sunlight.
     Note: lt the rewind s/lde is difficult to operate, detach the
     motor drive from the camera body first, then push in the
     camera's rewind button manuallY.


     10                           www.orphancameras.com
View original page 11Page 12 · Read text
IN DETAIL
, GOJ{TROLS@    rmF


  Power SwitchlH.L Firing Rate            the button before the film is completely wound.
  Selector @                                 Because the MD-14's ooeration is couoled to the
   Gontlnuoue Shootlng                           camera's shutter, film is wound after the shutter
                                                                                                                                                                                                                                                                                  f rom the button   At the H and L positions respectively, you can shoot    closes even  if you remove your finger
    at 3.2 fps and2 fps* at shutter speeds of 1/125 sec.    while the shutter is ooen. The camera's shutter
    or faster by simply pushing the camera's shutter re-   speed/mode selector can be set at any position. At
    lease button. When you remove your finger from the   B however, the shutter remains open for as long as
    button, the motor drive winds the film for the next   you depress the shutter release button; the film is
   shot and then stops. The camera's shutter speed/    then wound to the next frame when you take your
   mode selector can be set at any position except B.     finger off the button.
    .Firing rates depend on the actual shutter speed in use and    For single-frame shooting, it is recommended that
     the condition of the batteries.                        you set the firing rate selector at the L position.
   Slnglc.Framc Shootlng                                Setting at the H position is possible, but, because the
   You can take single shots by pushing the shutter     film is wound faster, you must be careful to remove
    release button and then removing your finger from    your  f inger immediately.

                                                                                                                                            11
View original page 12Page 13 · Read text
lN DETA|L-continued
-CONTROLS


     tanual Shootlng
     You can wind the  f ilm manually by operating the cam-
      era's film advance lever in the normal manner. Turn
      the motor drive off before shooting manually.

       Note: To begin shooting with the MD-14 again, iust slide the
       H-L  f iring rate selector to the H or L position after completely
      advancing the  f ilm or just after the shutter is released


      12                          www.orphancameras.com
View original page 13Page 14 · Read text
TIPSON MOTORDRIVEGARE
                           1. Always keep the motor drive's connecting
                          parts (electrical contacts@, coupling prong
               @, etc.) clean, as dust or smudges might
                      prevent the motor drive from operating
                           properly.
                         2. Do not attempt to turn the motor drive
                         coupling prong with your hand, as this might
                      cause a malf unction.
                         3. lf the film reaches the end of the roll before
                 the MD-14's film-advance operation is
                        completed, the motor drive may not operate
                       properly when the next film cartridge  is
                       loaded into the camera. lf this happens, use
                         the camera's  f ilm advance lever to wind the
                          film initially; after that, the motor drive will
                        operate normally.
                         4. When not actually taking pictures, the MD-
                        14 should be turned off   .


                                                                         13
View original page 14Page 15 · Read text
OPTIMUM BATTERY PERFORMANCE
      1. New batteries. Between manuf actu re and     5. Battery brands. Do not use mixed brands of
         first use, all batteries exhibit some drain.       batteries, nor batteries with different model
        Therefore, care should be taken to purchase      numbers. Also, avoid mixing new and old
       the newest (and freshest) ones possible. To       batteries since proper performance will not
        help you do this, some manufacturers stamp     be obtained and battery leakage into your
       the date of manuf actu re on the bottom of     MD-14 may occur.
      each battery. Ask your camera dealer for    6. Disposal. Do not dispose of batteries by
        assistance in interpreting the codes.                burning. Also, for safety's sake, do not dis-
      2. Temperature. Battery life ratings are based      assemble batteries when disposing.
      on operation at around 25oC (68'f). nt other     7. Polarity. When installing batteries, observe
       temperatu res, battery   lif e is shortened. At      the voltage polarities carefully. Reversal of
       0oC, for instance, battery life is shortened by      the positive (+ ) and negative (-) terminals
       as much as two-thirds. Spare batteries should    may result in leakage. lf leakage should
       therefore be kept available  if operation in low      occur, clean carefully or take your MD-14 to
       temperatu res is anticipated.                         you r dealer.
      3. Continuous use. Batteries are drained much
      more quickly by continuous use than by inter-
        mittent use.
      4. Storage. When not in use, the batteries
       shculd be removed to prevent damage from
        leakage. To minimize drain during the period
      of disuse, store the batteries in a cool,
        dry place.


14                           www.orphancameras.com
View original page 15Page 16 · Read text
SPECIFICAflONS
Camera fitting     Nikon FG, EM                LED indicator       Lights up during motor drive
Shutter release    Via camera's shutter release                            operation and when   f ilm reaches
                     button                                                   the end of the roll
Firing rate         Choice of 3.2 fps or 2 fps via      Power switch      At OFF position, the motor d.rive
                   H-L  f iring rate selector; single-                                     is off ; at the H or L position, the
                   frame operation also possible at                       motor drive is on
              H or L setting by quickly          Rewind slide      Coupling to the camera's rewind
                   depressing shutter release                               button
                    button                         Dimensions        Approx. 140mm(W )" 91 .5mm(H )
Usable shutter      In continuous shooting,  all                       xl4mm(O)
 speeds             settings except B; in single-        Weight             Approx. 35Og (without batteries)
                 frame shooting,  all settings
Power source      Eight 1.5V AA-type penlight
                      batteries
Number of         Approx. 50 rolls in continuous
 36-exp. rolls      shooting with manganese
                      batteries (at normal
                   temperatu res)


                                                                                                                 15
View original page 16Related documents and language editions
NikonPDF
NIKON MD-1
User manual
24 pages · EnglishRead →
NikonPDF
Nikon EL 2 AutoWinder AW-1
User manual
11 pages · EnglishRead →
NikonPDF
Nikon MD-11
User manual
19 pages · EnglishRead →
NikonPDF
Nikon MD-12
User manual
19 pages · EnglishRead →
NikonPDF
Nikon MD-15
User manual
23 pages · EnglishRead →
NikonPDF
Nikon MD-3
User manual
25 pages · EnglishRead →
NikonPDF
Nikon MF-1
User manual
21 pages · EnglishRead →

NikonPDF
Nikon Motor Drive F-36
User manual
21 pages · EnglishRead →
NikonPDF
Nikon Motor Drive F-36 - another
User manual
24 pages · EnglishRead →
NikonPDF
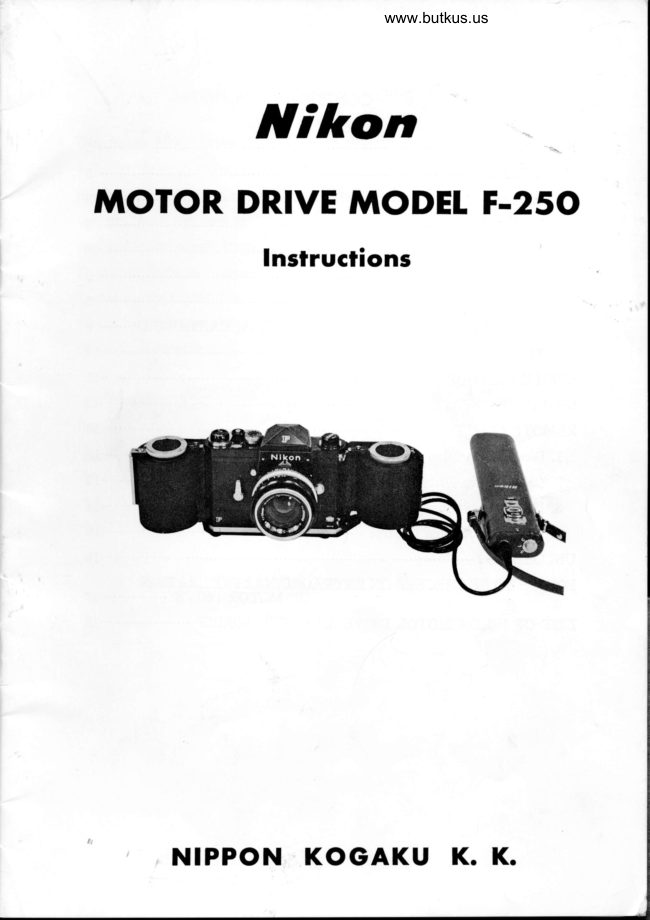
Nikon Motor Drive Model F-250
User manual
22 pages · EnglishRead →
NikonPDF
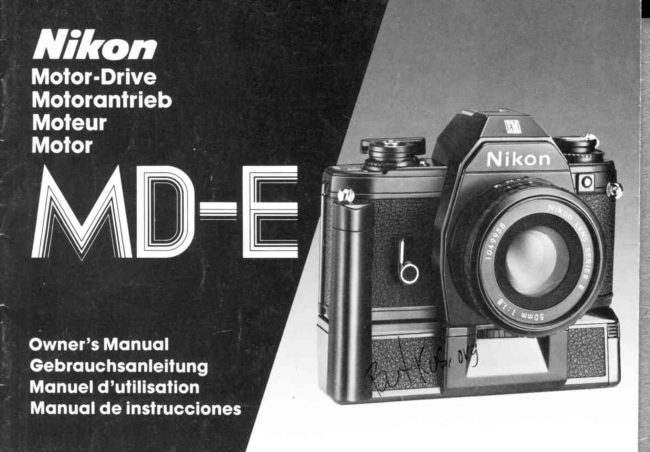
Nikon MD-E
User manual
18 pages · German, SpanishRead →
NikonPDF
Nikon MD-2
User manual
32 pages · Not specifiedRead →
From the M. Butkus archive. Original publisher and archive notices are retained.
Check the model and edition against your equipment.
PDF verified 2026-10-10.