Film cameras
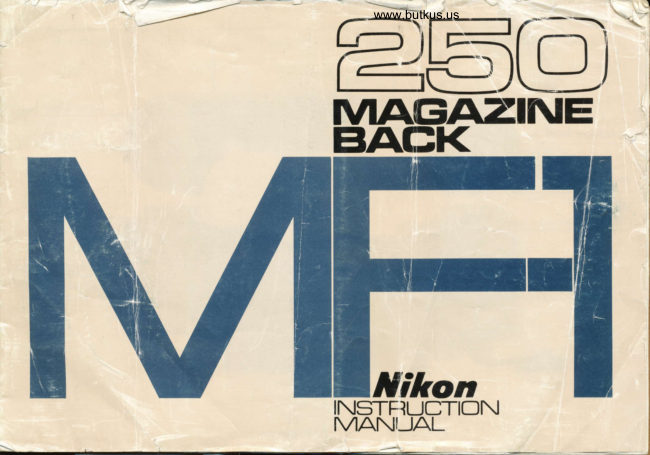
Nikon MF-1 User manual
User manual for Nikon MF-1. 21 pages in English. Read the original PDF, download or print a copy without registration.
21 pagesEnglish4.2 MB PDF
Loading your manual…Open PDF directly
Document details
- Brand
- Nikon
- Model / document
- Nikon MF-1
- Document type
- User manual
- Language
- English
- Pages
- 21
- File size
- 4.2 MB
- Category
- Film cameras
- Document date
- Not specified in catalog
Search available document text
Find a term, then jump to its page in the original PDF. Image-only pages may not be searchable; check the PDF for exact wording and diagrams.
Page 5 · Read text
Y                           FOREWORD
Setting up                                              5      Designed for use with the Nikon Motor Drive MD-1,
Loading the film cassette                        g     the 250 Magazine Back wraps around any Nikon F2
Loading the magazine back                      10      or F2 Photomic-series camera in place of the remova-
Frame counters                               14      ble hinged back and lets you shoot up to 250 expo-
Shutter release button                           15      sures without reloading. lt has a built-in micromotorUnloading                                   16     to drive the take-up magazine, a separate shutter re-
Accessories .                         .....17        lease button and two frame counters to indicate the
                                                  number of frames exposed and the number remaining.
                                    Two reloadable film cassettes, available separately,
                                                           hold rhe film.
                                             To get the best results from your 250 Magazine Back,
                                                        read these instructions carefully before you attempt
                                              to use the back and keep this booklet handy for
                                                           ready reference until you are thoroughly familiar with
                                                                           its contents. A few minutes of preparation will help
                                                 you to avoid costly mistakes.
View original page 5Page 6 · Read text
SETTING UP                                       www.butkus.us
                                           First mount the camera body on the  Turn the knurled knobs on top of the
                                 Motor Drive MD-l (for details see the   film chambers in the direction of the
                                         instruction manual supplied with the  arrows until they click into place with
                              motor drive). Make sure that the  the "open" marks opposite the white
                                  rewind lever on the motor drive is   dots.
                                     positioned upright. Then open the
                                     hinged camera back and remove it by
                                      depressing the locking catch located
                           on the hinge.
i----4      l_ j=
View original page 6Page 7 · Read text
7
 SETTING UP-continued
  Release the camera lock on the maga- Now position the camera bodY over  Push the small pin on the locking catch
 zine back by pressing the lever on top  the magazine back. Push the right-hand  on the undersicie of the magazine back
  of the left-hand film chamber in toward  end into place, followed by the other  toward the rear of the back and insert
  the center of the back.                end. Return the camera lock lever to   the plug on the power cord connected
                                                      its original position to lock the camera   to the magazine back into the Power
                                   body in place.                          socket on the motor drive. This cord
                                                                             supplies power to the micromotor
                                                                                                 built into the magazine back.


                                                           Digitally signed by Mike Butkus     Mike                DN: cn=Mike Butkus, o=Butkus
                                            camera manuals, ou=butkus.org,
                                                email=mike@butkus.org, c=US      Butkus             Date: 2021.07.12 12:46:59 -04'00'
View original page 7Page 8 · Read text
www.butkus.us
Now attach the entire motor drive/   Note: The knurled knob on the left-hand
                                         film chamber also lockb the camera lockcameralmagazine back assembly to the                                                lever in place to prevent acc:dental settingcordless battery pack or else connect
it to an external power source using   shift.ward toFirstlockoressthethecameracamerabodylock andleverthenout-
the three-pin socket on the motor   turn the knurled knob so that the "close"
drive.                             mark is opposite the white dot. lf you
                                              reverse the above step, the lock does not
                                           work.
View original page 8Page 9 · Read text
I.OADING THE FITM CASSETTE
                                The cassette must always be loaded in  To open the cassette, hold the outer
                                        a darkroom.                                shell in your left hand with the Nikon
                          To use the magazine back you need   trademark facing toward you. Press
                                two reloadable film cassettes, available   the release pin and turn the inner shell
                                            separately. Cassettes are identical: each   until its opening coincides with the
                                           consists of inner and outer shells and   opening in the outer shell. Pull on the
                              a spool. For smooth film transit, use   inner shell until it slips free of the
                                              identical cassettes that properly fit both  outer shell.
                                       film chambers. Any wear and tear or
                                   deformation indicates the need for
                                    immediate replacement.


   Outer shell             lnner shell
View original page 9Page 10 · Read text
www.butkus.us
Trim the end of a length of bulk film  To close the cassette, place the loaded  Note: The Nikon bulk loader, availat
to form a tongue about 1.2 inches long  spool in the inner shell with the end   separately, is designed for transfering bu
                                                                                                                                   cassette. Winding stoand 0.8 inches wide and make a bend  of the film protruding. Then slide the   film onto the supply
near the end. Slip the tongue into one  outer shell over the inner shell and   framesautomaticallyis reached.when the preset numberof the two slits in the spool with the   turn the inner shell clockwise until the
emulsion surface facing down and wind   catch falls into the deeper recess of
the film onto the spool. A full load   the outer shell with two clicks.
for the cassette amounts to 33 feet of
film, enough for 250 exposures.
View original page 10Page 11 · Read text
TOADING THE MAGAZINE BACK
Before you load the magazine back with film, lock both the  Place the camera/motor drive assembiy facing downward on
                                                    a clean flat surface. The knobs on top of the film chambersshutter release buttons to prevent accidental exposure.
Setthe SC knob on the motor drive grip at the "L" position. should be in the "open" position. Pull up the latch, and
Lift and turn the fingerguard surrounding the shutter release  open the hinged back plate at about a 45o angle and
button on the front of the right-hand film chamber counter- remove  it.
                                                            dot.clockwise so that the "L" mark points to the white
View original page 11Page 12 · Read text
r                                                        www.butkus.us
     Pull out the film leader from the loaded cassette. Open the Now pull out the cassette spindles from the base of each
    other cassette as described above and th'read the leader  film chamber. Drop the loaded cassette into the left-hand
     into one of the two slots in the spool. The emulsion surface  chamber and the take-up cassette into the right-hand one,
    should face down. Reassemble the cassette.                     lining up the red dots on the sides of the cassettes with the
                                                         white lines inside the film chambers. Make sure that the
                                                                                            pins on top of the cassettes slide into rl                                                        index pins and release
                                                                the recesses at the top of each film chamber.


                                                                                                                                                                                           il
View original page 12Page 13 · Read text
IOADING THE MAGAZINE BACK-conrinued
 Push in the cassette spindles and rotate the left-hand one  Replace the back plate by inserting the left-hand end into
counterclockwise until you feel a slight resistance. This will  the groove and pressing on the right-hand end until it snaps
take up any slack in the supply cassette. At the same time   into place. Turn the knobs on top of the film chambers to
check to make sure that the film perforations mesh with the  the "close" position. This opens the light traps of the filmsprockets.                                                                   cassettes to permit smooth, scratch-free film movement and
                                                                also locks the back plate latch to prevent accidental opening.


t2
View original page 13Page 14 · Read text
www.butkus.us
Release the lock by turning the fingerguard clockwise on the   (-lution: lle !.ilclul nol lo trcnd or cietot nr tlre ttr,tg.tzinc briK frl,tlr
                                                                           ,inrr i1 i\ [r.tdc 1o lit.r \l]r'rilic nrrgazine brel'.magazine back so that the black dot points to the white dot.                                                             Note: The camera's film-advance lever cannot be used to advanceSet the subtractive frame counter for any number over 5                                                        the film when the magazine back is mounted on the camera.
and make five blank exposures by pressing the shutter  However, it still functions as the on-off switch for the exposure
release button. This disposes of film exposed during loading  meter in the Photomic finder.
and takes up any slack in the take-up magazine. While you
are making the blank exposures, check to make sure that
the white dots on the left-hand cassette spindle rotate
clockwise. This will indicate that the film has been loaded
correctly and is being advanced.


                                                                                                                                     13
View original page 14Page 15 · Read text
FRAME COUNT'ERS
The magazine back has two frame counters. One is a sub- The additive counter continues to operate, showing the
tractive type counter that indicates the number of frames  number of exposed frames. lt stops just past the 250 mark
remaining, while the other works automatically to show  and resets itself automatically to S (start) when the knurled
how many frames have been exposed.                  knob on the right-hand chamber is turned to the "open"
When the subtractive counter reacheszero, the motor drive  position. lf you use the subtractive counter to control
stops automatically. This feature allows you to preset the  sequence duration, the number of frames remaining can be
exact number of frames for continuous firing in bursts. To  determined by checking the other counter.
set the counter, turn the knurled frame preset ring in the
direction of the arrow until the desired number appears  Note: Neither of the two frame counters on the magazine back
opposite the white dot. Each line on the scale represents   operates when no film is loaded in the back.                                                      The frame counter on top of the Nikon F2 does not operate whenfive frames.                                                                   the magazine back is mounted on the camera.


Subtractive counter                                                                                 Additive counter
View original page 15
Page 16 · Read text
SHUTTER RETEASE BUTTON                      www.butkus.us
The 250 Magazine Back has its own shutter release button To lock the shutter release button on the magazine back,
on the front of the right-hand film chamber. The button turn the fingerguard around the shutter release button
can be used for single-frame firing even when the SC knob counterclockwise so that the black dot points to the "L"
on the motor drive grip is in the locked position. However, mark.
for continuous firing the knob must be turned to the "C" When the shutter release button on the magazine back is
position. When using shutter speeds slower than 1/60 locked, the one on the motor drive grip head can still be
second, be sure to keep the shutter release button depressed used to trigger the motor drive. When both are locked, the
long enough for the shutter to complete the exposure. motor drive cannot be fired except by remote control using
Otherwise, exposure time may be shortened unintentionally. the three-pin socket on the motor drive.
Firing speed is set on the motor drive (see MD-l instruction
manual for details).
View original page 16
Page 17 · Read text
UNTOADING
Exposed film in the 250 Magazine Back is not rewound  To remove the back plate, pull up the latch and pull out the
before it is removed. To unload, first set subtractive counter  cassette spindles on both film chambers. Press the levers
to any frame mark larger than 5 and make five blank  next to the cassette spindles and the cassettes will pop out
exposures. Then turn the knurled knobs on the top of both  part way for easy removal.
film chambers to the "open" position. This closes the
cassette light traps to prevent fogging the film.


                                                                                                                                                                                                                                                                                                 ;irr'sirir.lt,.'f :*t
  t
View original page 17Page 18 · Read text
ACCESSORf ES                                     www.butkus.us
  250-Exposure Film Cassettes                             Bulk Film Loader
 The 250 Magazine Back requires two of these double  The film loader is used to load film cassettes quickly and
  magazine cassettes, available separately. Cassettes can be  easily in the darkroom from 1O0-foot (33m) lengths of bulk
  removed from the back at any time without fogging the    fif m. lt can be preset for any number of frames up to 250.
  film. Each cassette is supplied in a leather case and holds up  Winding stops automatically when the preset number  is
  to 33 feet of film for up to 250 exposures.                    reached.


^r_                                                                                                                                                                                                                                tt
View original page 18
Page 19 · Read text
BATTERY IIFE
The   f ife-span of a battery is difficult to predict. How-
ever, the following is a rough approximation of the
number of 25O-exposure rolls of film that can be ex-
poscd on one set of batteries when the motor drive
operates at continuous shooting.
Zinc-carbon penlight batteries approx. 113 roll
Al kal ine-manganese pen   I ight                                  approx. 1-2 rollsbatteries
NC batteries unit MN-l            approx. 7 rolls
To ensure the .most reliable service for continuous
sequence shooting, use of the NC Battery Unit MN-l
or either the MA-2 or MA-4 AC/DC Converter, if any
AC power source is available, is recommended. The
voltage drop of penlight batteries, when the motor
drive is running, is severe - and the motor falters
especially at higher firing rates.
When the motor drive operates in the single-frame
mode, the batteries last longer.
View original page 19
Related documents and language editions

NikonPDF
NIKON MD-1
User manual
24 pages · EnglishRead →

NikonPDF
Nikon EL 2 AutoWinder AW-1
User manual
11 pages · EnglishRead →

NikonPDF
Nikon MD-11
User manual
19 pages · EnglishRead →
NikonPDF
Nikon MD-12
User manual
19 pages · EnglishRead →

NikonPDF
Nikon MD-14
User manual
16 pages · EnglishRead →
NikonPDF
Nikon MD-15
User manual
23 pages · EnglishRead →

NikonPDF
Nikon MD-3
User manual
25 pages · EnglishRead →

NikonPDF
Nikon Motor Drive F-36
User manual
21 pages · EnglishRead →

NikonPDF
Nikon Motor Drive F-36 - another
User manual
24 pages · EnglishRead →
NikonPDF
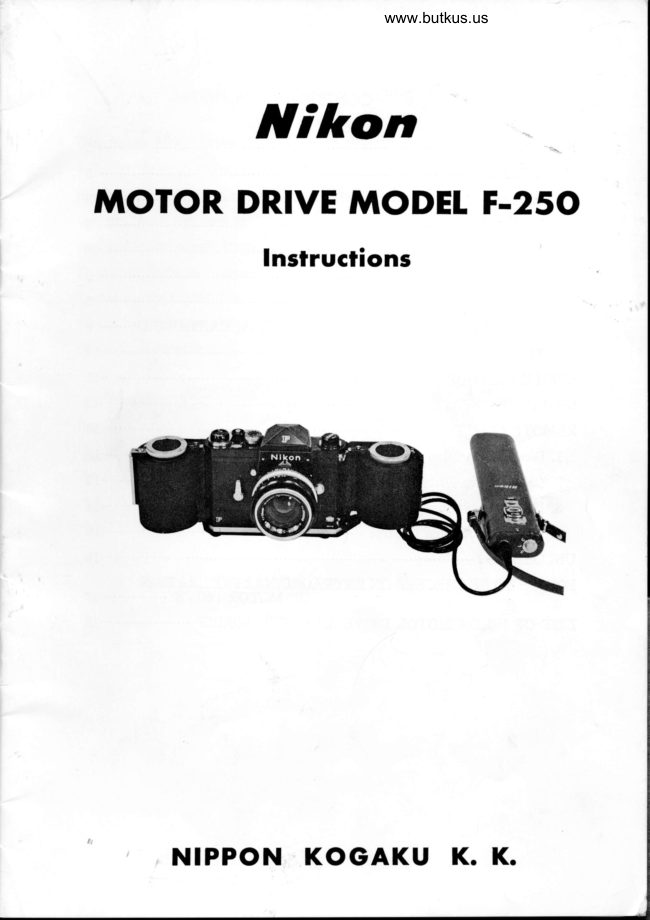
Nikon Motor Drive Model F-250
User manual
22 pages · EnglishRead →
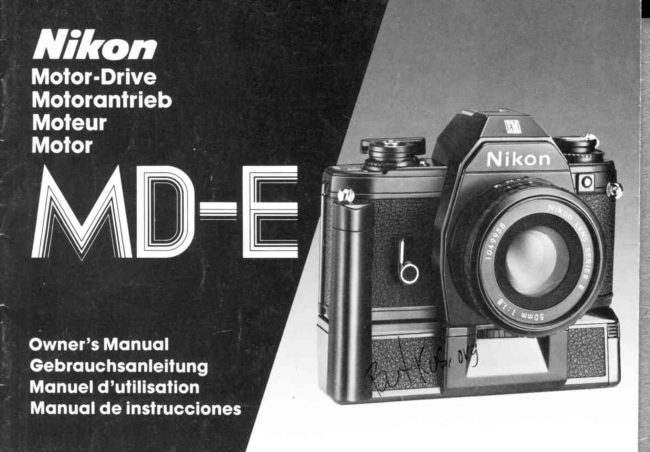
NikonPDF
Nikon MD-E
User manual
18 pages · German, SpanishRead →
NikonPDF
Nikon MD-2
User manual
32 pages · Not specifiedRead →
From the M. Butkus archive. Original publisher and archive notices are retained.
Check the model and edition against your equipment.
PDF verified 2026-10-10.