Film cameras
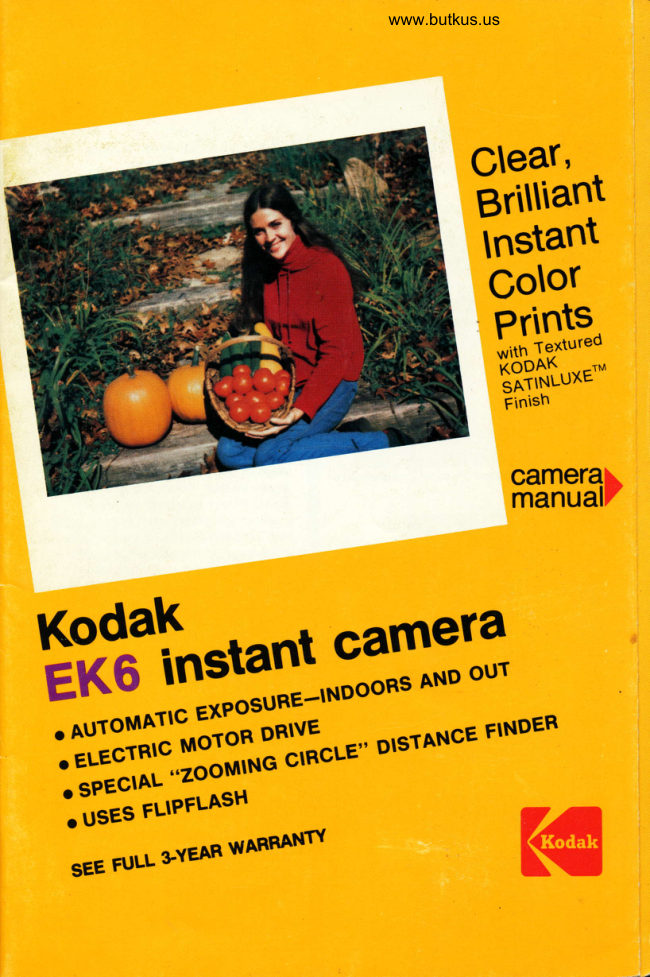
Kodak EK6 Instant Camera User manual
User manual for Kodak EK6 Instant Camera. 31 pages in English. Read the original PDF, download or print a copy without registration.
31 pagesEnglish10.8 MB PDF
Loading your manual…Open PDF directly
Document details
- Brand
- Kodak
- Model / document
- Kodak EK6 Instant Camera
- Document type
- User manual
- Language
- English
- Pages
- 31
- File size
- 10.8 MB
- Category
- Film cameras
- Document date
- Not specified in catalog
Search available document text
Find a term, then jump to its page in the original PDF. Image-only pages may not be searchable; check the PDF for exact wording and diagrams.
Page 2 · Read text
This instruction booklet will help
                                  you to achieve the most rewarding
                                      picture results and the best per-
                               formance from your Koonx EK6
                                        Instant Camera and KoDAK Instant
                                      Print Film. Please read these in-
                                      structions carefully and familiarize
                                         yourself with the equipment and its
                                 features before taking pictures.
                              With proper care and handling,
                                 your camera will provide you with
                                   years of picture-taking pleasure.
                                See the warranty and the list of
                                        service facilities on the back cover
                                           of this manual.  lf your camera does
                                      require warranty service by Kodak
 TABLE OF CONTENTS             and some of your pictures were
 Basic Operating Instructions .    . IFC                                       spoiled, we will return a test print Wrist Strap                           4
 Tripod Socket                        4   with the serviced camera and the
Monogram                         4    rest of the film pack to use with our
Eyecup                   .......       4    compliments. Batteries                            5
                                                                                                                                                                     I nformation-For picture-tak- Loading the Camera                 6   More
 Focusing the Camera                8   ing help, write to Eastman Kodak
Viewfinder                            9                         Company, Photo Information,Taking Pictures                     10
 Flash Pictures                      12   Department 841A, Rochester, New
 Unloading the Camera             i3   York 14650, or contact one of the
 Print Control                        14   Kodak Consumer Centers or yourTips for Better Pictures             16                                  photo dealer. lf you have difficultyCare and Storage of Film and Prints .  20
Caution                  .......      20    in using your camera and write to
Care of Your Camera              20   Department 841A at Kodak, please
Troubleshooting Guide              22                                 enclose sample prints with yourAccessories                 .    . IBCWarranty                             .  . OBC     letter to help us in giving you ad-
ServiceFacilities   .......OBC      vice.


NOTE: The illustrations showing the KoDAK
Instant Camera and lilm packs were made
with standard photographic equipment. All
the remaining illustrations were made with
the KoDAK Instant Camera and KoDAK Instant
Print Film. The cover picture shows the actu-
al size of prints made with KooAK Instant
Print Film.
View original page 2Page 3 · Read text
www.butkus.us


     ELECTRIC EYE


SHUTTER RELEASE


                                                               FOCUS SLIDE


Keep
this page                                            SLOT (nol vl3lble)
folded oul for
relerence as
you read
the manual.


       VIEWFINOER


 TRIPOD SOCKET
                                                                             WRIST STBAP


Equlpmenl sublect to mlnor appearance changes,
View original page 3Page 4 · Read text
Venmo @mike-butkus-camera  Ph. 2083
PayPal Name  Lynn@butkus.org      www.PayPal.me/lynnbutkus
View original page 4
Page 5 · Read text
1t
 To open the F|LM DooR, depress the LATCH
 and gently lower the door.

BASIC

Instructions

     atz
The BArrERy CoMPARTMENT  is at the front
edge of the camera, above the F|LM
coMPABTMENT. Your camera uses two
 size J 6-voLr BArrERtEs (supplied).
  When you install each battery, insert the
end with the ltcleo coRNER first, and with
the NorcH (at the opposite end of the
 battery) toward the partition which
separates the two batteries. Push the
battery a// the way into the battery
compartment and toward the partition until
the notch fits securely behind the HoLD|NG
LUG in the camera.


         tt{tv
Test the batteries by pressing the
BATTERY-TEST BUTToN on the back of the
camera. lf the batteries are good, the red
light above the button will gtow.
View original page 5Page 6 · Read text
www.butkus.us


              T
                     Holding the film pack by the edges only,
                   remove the protective wrapping. Grasp the
                        FLAP, and pull in the direction shown by
                      the arrows (page 6).


                                              Frlrv

                          Insert the F|LM PACK into the film
                    compartment by lining up the orange
                      STRIPE on the pack with the orange
                    LoADTNG LrNE on the camera (page 6).
                     Close the film door so that it latches
                       securely at both sldes of the camera.


                                                          Digitally signed by Mike Butkus
                                           DN: cn=Mike Butkus, o=Butkus camera manuals,
                                                ou=butkus.org, email=mike@butkus.org, c=USMike Butkus Date: 2022.01.26 20:49:48 -05'00'

                  Ao
                     Press the SHUTTER RELEASE and allow  it to
                        return. The tilm cover will be automatically
                       eiected through the EX|T sLoT. Then grasp
                     the cover and remove  it. The EXposuRE
                    couNTEH will read "1."


                    Basic instructions continued on page 2   .
View original page 6Page 7 · Read text
2I
 Check to see that the pRtNT coNTRoL is in
 the center position (see page 14).


   tv

Focus the camera for the correct
 camera-to-subject  distance by using the
Focus sLroE (see page 8). Don't focus the
camera by turning the lens itself, or you
could damage the focusing mechanism.


  {
Look through the vrEWF|NDER, and frame
your subject within the luminous frame
(page 9). Press the shutter release
smoothly and allow it to return. The print
will be automatically ejected from the
camera. Don't obstruct the exit slot! Then
grasp the picture and remove  it from the
slot before taking another picture.


These are only basic instructions; read on
tor the important details . . .  .
View original page 7Page 9 · Read text
WRIST STRAP
   For your convenience and for safety in han-
  dling the camera, a wrist strap has been
   orovided. Attach the wRrsr srRAp to the cam-
  era by inserting the shorter looped end of
  the strap behind the posT. Then thread the
   longer end through the shorter loop and pull
  the strap tight.


  TRIPOD SOCKET
  For extra camera steadiness, you can mount
  your camera on a tripod by using the TRrpoD
I  socKEr, located on the side of the camera
I   in front of the wrist strap.
I

                                                                                     :


                            MONOGRAM
                                               Peel off the desired initials and place them
                                                             in the RECESSES on the back of the camera.

                                 EYECUP
                                       The rubber EyEcup, attached to your cam-
                                                       era, helps you position your eye at the center
                                                   of the viewfinder for easy viewing of your
                                                       subject.  lf you prefer not to use the eyecup,   i
                                                  simply slip it otf the viewfinder.
                                                                                                                                                                                                                                                                                                                                    I
View original page 9Page 10 · Read text
www.butkus.us
                 BATTERIES
                                          Your camera uses two size J 6-volt batteries
                                                         to power the camera motor and the automat-
                                                      rc exposure control. Install the battenes as
                                           described below.
                                  NOTE: lf you depress the shutter release
                                               before installing the batteries in the camera,
                                   FILM DOOR       inserting a battery will cause the camera
                      LATCH                 motor to run for about 3 seconds.
                                             1. Open the FrLM DooR by depressing the
                                        LArcH and gently lowering the door. Don't
                                               force the door beyond the position shown.
                                           2. Insert the two 6-voLT BATTEFIEs into the
            -.--''*-'."1::s             BATTERy coMPAFTMENT at the front edge of
                                           the camera, above the FrLM coMPARTMENT.
                                  When you install each battery, insert the end
                                               with the ANGLED coRNEF first, and with the
                                       NorcH (at the opposite end of the battery)
                                            toward the partition which separates the two
                                                      batteries. Push the battery a// the way into
                                      the battery compartment and toward the
                                                     partition until the battery notch fits behind
                                             the HoLDTNG LUG in the camera. The battery
                                                         will be "locked" in place.
FILMCOMPARTMENT EATTERYCOMPARTMENT       3. Close the lilm door by pressing  it against
                                             the camera body until it latches securely af
                                           both sides of the camera

                                                    After you have installed the batteries, press
                                                the BATTERY.TEST BUTToN on the back of the
                                        camera. lf the batteries are good, the red
                                                            light above the button will glow. lf the batter-
                                                    ies are weak or dead, the light will not glow
                                                  or will flicker and go out quickly. Check the
                                                    batteries when you install them, and again
                                                      periodically.
              HOLOING LUGS                NOTE: Press the battery-test button for 1 to
 FILM DOOR (opened)                        3 seconds. Don't over-test the batteries.
                                                                                            lf you must replace the batteries when the
                                        camera is loaded with film, change them in
                                      subdued light. Be sure that the film pack
                                                  stays  f irmly inserted in the  f ilm compartment.
                                      The batteries will normally last for about one
                                            yeat or a minimum of twenty film packs.
                                       To remove the batteries, simply push each
                               BATTERY-TEST        battery firmly toward the back of the battery
                               BUTTON         compartment and away from the partition to
                                               release the notch from behind the holdino
                                                            tug.
View original page 10Page 11 · Read text
LOADING
THE CAMERA

Each pack of KoDAK Instant Print Film con-
tains a film cover and film for ten colorexDosures. Load the film oack into the cam-                         I
era as follows:                                         FLAP \   -\
                                                        +-
                                                   ^g
                                                                                   at                          \&\


                                    FILM DOOR


1. Open the F|LM DooR by depressing the
LArcH and gently lowering the door. Don't
force the door beyond the position shown.
2. Belore loading the camera, check to see
that the rollers contained within the  f ilm door
are clean. lf you see residue or any foreign
material on the rollers, see page 21 for
cleanino instructions.


IMPORTANT NOTE: After you have removed
the film pack from its carton, handle it by
the edges only! (See illustration.) When you
remove the protective wrapping, be careful
not to squeeze the pack or to apply pressure
to the Jilm cover, since this could possibly
allow light to fog the edges of the pictures
(see page 24). Grasp the FLAP and pull in     3. Insert the film pack firmly into the film
the direction shown by the arrows.             compartment, thin end first, by lining up the
                                            orange sTRIPE on the pack with the orange
                                           LoADTNG LINE on the inside of the camera.
                                     Be sure that the film pack is fully seated in
                                              the film compartment.
View original page 11Page 12 · Read text
www.butkus.us


4. Close the film door  f irmly so that it latches     5. Press the SHUTTER RELEASE and allow  it
securely at both sldes of the camera. The      to return. The film cover will be automatically
EXposuRE couNTER will show the symbol     ejected through the Extr sLor. Be sure not
"8,"  indicating that the film cover is still      to obstruct the exit slot. Grasp the cover and
in olace.                                remove it. The exposure counter will read
                                                                              "1.'',


NOTE: We do not recommend removing and
reinserting a partially used film pack (or a
full pack after the Jilm cover has been eject-
ed) because at least one of your pictures
will be ruined. Also, when you reinsert the
pack, the exposure counter will be reset to
p.  tt you must remove a pack, see page
24 in the Troubleshooting Guide.
View original page 12Page 13 · Read text
FOCUSING
THE CAMERA
 Set the camera lens for the correct camera-
 to-subject distance by moving the FocUS
 SLTDE, located on the front of the camera.
 Never focus the camera by turning the lens
 Itse/for you may damage the focusing mech-
 antsm.
  You can choose from three ways of focus-
 ing the camera-using the focus symbols,
 using the distance scale, or using the zoom-
 ing circle.


                                   When you photograph a person who is 3%
                                                      to 25 feet from the camera, look through the
                                                  viewfinder and move the focus slide so that
                                         your subject's head just fills the zooMtNG
                                                     clRcLE. This sets the lens for a sharo oicture
                                                          of that person. See the examples on the next
                                                page.
Move the focus slide so that the arrow on      The zooming circle is designed to set the
the slide points to the correct symbol. The     focus correctly for average adult head size
close-up symbol (g) indicates the range 3%     (approximately  I inches from chin to top of
to 6 feet; the group symbol (dfu), 6 to 12      head). When photographing babies or young
feet; and the scene symbol([), beyond 12     children, use the distance scale or focus
feet.                                           symDols.
                                     NOTE: After you have used the zooming
Estimate or measure the camera-to-subject       circle to focus accurately for taking a picture
distance; then move the focus slide until the     of a person, you can often achieve more
rNDEX LrNE is opposite the correct distance     pleasing composition by shifting the camera
on the DISTANCE scALE surrounding the lens.      slightly so that your subject doesn't appear
The white scale indicates the distance  in      right in the center of your picture. See the
feet: the vellow in meters.                    examples on page 19.
View original page 13Page 14 · Read text
www.butkus.us

VIEWFINDER
Bring the camera up to your eye and hold
it in a comfortable position where you can
see through the vTEWFTNDER  clearly. Be care-
ful not to obstruct the ELEcrRrc EyE with your
fingers or any object. The area that you see
within the LUMrNous FRAME in the viewlinder
will be included in your picture.
  The red Low-LrcHT srcNAL, located in the
upper right-hand corner of the viewfinder,
may appear as you partially depress the
shutter release. This tells you that there is
not enough light for proper exposure without
using flash.
  The zooMrNG crRGLE, which you see in the
center of the viewfinder, helps you to focus
quickly and easily when taking pictures of
people.


                           LOW.LIGHT SIGNAL


  ZOOMING CIRCLE           LUiIINOUS FRAME
View original page 14Page 15 · Read text
TAKING
 PICTURES


   1. Set the focus slide for the correct cam-
   era-to-subiect distance.
   2. Check to see that the pRtNr (Lighten/
   Darken) cONrRoL is in the center position.    NOTE: Be sure not to depress the shutter
   Most of your pictures will be taken with the     release again while the camera motor is
    print control in this position. (See page 14.)     running, as this may cause the camera to
                                                   jam.
                                      When the picture area of the print is fully
                                                 ejected from the camera, simply grasp the
                                                       print by its border and remove it from the
                                                          slot before taking another picture.
                                                Don't leave the prints in direct sunlight
                                                or on a hot surface during development or
                                                 lhey will become too dark.
                                           An image will begin to appear in about one
                                                minute. The exposure counter will indicate
                                                   the numbers ofthe exposures from 1 through
                                           10 as you take pictures.

   3. Frame your subject within the luminous    IMPORTANT NOTICE: Handle the orints
  frame in the viewfinder. Keep your fingers     with care, particularly during the first i0
  away from the lens and the ELECTRtc EyE.      mrnutes after exposure. Hold them by the
   4. Hold the camera steady and partially     edges, and never bend, flex, cut, or attempt
  depress the shutter release.  lf the low-light     to fold them.
   signal doesn't appear in the viewfinder,            lf you don't want the print to be ejected
   slowly press the shutter release all the way     immediately after you take a picture, simply
  down and allow it to return. lf the signal    keep the shutter release depressed. The
  appears and you take a picture,  it will proba-      print will not begin to develop until you allow
   bly be too dark.                                 the shutter release to return and the camera
   5. The print will be automatically ejected     motor has ejected the print through the cam-
  from the camera. Don't obstruct the exit slot     era exit slot.
  wath your fingers or by resting the bottom
  of the camera on any surface as the print
   is ejected.


10
View original page 15Page 16 · Read text
www.butkus.us


                                  i


For horizontal pictures.


For vertical oictures.
View original page 16Page 17 · Read text
FLASH
 PICTURES
  When the low-light signal in the viewfinder
   indicates that there isn't enough light for
   pictures without flash, use a flipflash to take
   flash pictures of subjects from 4 to 10 feet
   from the camera.
   1. Firmly insert a flipflash into the FLASH
  socKET on the top of the camera, with the
   bulbs facing forward and with one or more
   fresh bulbs at the top half of the flash array-
   the half farthest from the camera. The flio-
   flash will "lock" on the camera; to remove
     it, simply "rock" it to one side.
                                                      ter release smoothly to flash the bulb and
                                                  take the picture. The color in the dot on the
                                        back of the flipflash will disappear as the
                                              corresponding bulb flashes. The camera
                                            motor will eject the print as you allow the
                                                   shutter release to return.
                                       You can remove and reinstall a flioflash
                                                  at any time. When you replace a partially
                                            used flipflash, make sure that the top half
                                                        of the flash array (farthest from the camera)
                                                contains one or more unused bulbs.
                                       NOTE: The low-light signal will not appear
                                                                 in the viewfinder when a flioflash is installed
                                        on the camera.
                                                4. After you have taken four flash pictures,
                                        remove the flipflash from the socket by
                                                "rocking"  it to one side. Turn the flash over
                                                     to position fresh bulbs at the top half of the
                                                           array.
  2. Check the distance and focus the camera            lf at any time a bulb should fail to flash,
   caref ully- Camera-to-subject distance is very     remove the array and install a new one. Then
   important tor proper flash exposure. lf you     take a flash picture.  lf the bulb flashes, the
  are farther than 10 feet from your subject,    camera is operating properly; refer to the
   it will appear too dark (underexposed);    lamp manutacturer's warranty.  lf the bulb
   closer than 4 feet, your subject will be too       still fails to flash, the camera may require
   light (overexposed) and unsharp. The print     service; see the warranty in this manual. lf
  control will have no effect on flash pictures   a bulb fails to flash, any remaining good
  outside the 4- to 1o-foot range. The blue     bulbs in that half of the array won't flash.
  bands on the distance scale show the flash                                      NOTE: To prevent wasting a flash, no bulb
  range in feet and meters.                          will flash if you press the shutter release
  3. Frame your subject in the viewfinder.    when the exposure counter is in the "E"
  Hold the camera steady and press the shut-      Dosition.


12
View original page 17Page 18 · Read text
www.butkus.us


                                                                                                                    ,il


&,
                UNLOADING
               THE CAMERA
    Occasionally people's eyes appear red In     After you have taken and ejected the tenth
   flash pictures. The red is produced by reflec-     picture in a film pack, the exposure counter
   tions from the retina of the eye, and is most     will read "0." Open the film door and pull
  evident under the following conditions:  (.1 )    the FrLM-pAcK EXTRACToR for easy removal
  when your subject is young, has a light     of the empty pack.
  complexion, or has blue eyes, and (2) the
  surroundrngs are dimly lighted. You can
  minimize these reflections by (1 ) turning on
   additional room lights; (2) having your sub-
   ject look directly at one of the room lights,
  causing his pupils to contract; or (3) using
  a KoDAK Flipflash Extender, available from
  photo dealers. See "Accessories," page 25.


                                                                                    13
View original page 18Page 19 · Read text
PRINT
 CONTROL
  Under most conditions, you will be taking    Temperalure Elfects on Prints
  pictures with the print (Lighten/Darken)     Best picture results will be obtained when
   conlrol in the center position. However, the     the temperature during print development  is
   lightness or darkness of your prints can be    between 60 and 95'F (16 and 35'C). At
   aflected by such factors as temperature, and    temperatures below 60'F (16'C), place
  type and brightness of subject. The print      prints in a warm place-an inside pocket, for
   control helps you to compensate for these    example-as soon as they are ejected from
   effects, especially in daylight picture-taking.     the camera, and leave them there during
   Atter taking a picture,  if you want a lighter     development. Otherwise, prints may appear
   or darker picture of the same subject in the    too light. Be sure not to bend, flex, or fold
  same location without changing the lighting     the prints.
  or your position, adjust the print control     When the temperature is above 95'F
  before you take another picture. To take a     (35'C), set the print control toward Lighten
   lighter picture, move the control toward     to prevent pflnts from becoming too dark.
   Lighten; for a darker picture, move the con-    Don't leave prints in direct sunlight or on
   trol toward Darken. The print control does     a hot surface during development. Prints will
  nol automatically return to the center posi-     probably be too dark when developed at
  tion atler you take a picture.                   temperatures above   .l 00'F (38'C).
  NOTE: Setting the print control toward     See your film instruction sheet for com-
  Lighten will not help you to get a lighter     plete inlormation.
   picture if the red low-light signal appears in                                              Subiects and Lighting Conditions
  the viewfinder.
      lf you use the print control to adjust      In certain types of situations, you may judge                                                your subjects to be too light or too dark. For   fightness or darkness tor flash pictures of                                           example, if you are photographing a very  subiects from 4 to 10 feet from the camera,                                                                light subject in very dark surroundings, your  move the control a// the way (two marks)                                           main subiect may be too light in your print.  toward Lighten or Darken. Remember, if you                            A dark subject in light surroundings may  take flash pictures of subjects outside the                                           appear too dark. A subject in open shade  correct flash distance range (4 to 10 feet),                                             (shaded from the sun but lighted by a large  subjects closer than 4 feet will be too light,
                                            area of the sky) may appear too dark.  and sub.iects farther than 10 feet will be too                                     When you recognize these types of situa-  dark regardless of the print-control setting.                                                    tions, before taking the picture you can
                                            sometimes adjust the print control to achieve
                                         more accurate exposure of the subject. For
                                    a very light subject in dark surroundings,
                                      move the print control toward Darken; for
                                      a dark subject in light surroundings, move
                                                                                        it toward Lighten. lf you are photographing
                                  a subject on an overcast day or in open
                                           shade and the red low-light signal appears
                                                                in the viewf inder as you partially depress the
                                                      shutter release, your pictures will be too dark
                                                 unless you use tlash. Moving the print con-
                                                                trol toward Lighten will not help to produce
                                        a lighter picture.


14
View original page 19Page 21 · Read text
TIPS FOR
BETTER PICTURES


                   Move in close to concentrate attention on
                        your main subject.


                      Watch out for distracting backgrounds. Try
                         shooting from a different angle to use the
                         sky or the ground as a background.


16
View original page 21Page 22 · Read text
www.butkus.us


                   When taking flash pictures ot groups, keep
                                 a// subiects in the picture at approximately
                         the same distance from the flash.


Try to photograph your subjects with natural
expressions. Don't have them standing stiffly
staring at the camera.


To help "stop" action, photograph subjects
moving toward or away from you-not at a
right angle to the camera.

                                                                                     17
View original page 22Page 23 · Read text
*"-*&"u*
Make title pictures as you travel by photo-          a friend or members of your family to
graphing signs or historical markers.            pose in the foreground and look into the
                                           scene. Have your subjects wear bright,
                                                        colorful clothing.


                      Be sure that your sublect  is evenly lighted-
                           not partially in bright sun and partially in the
                           snaoe.


                              t,;                    --irr*ry4ts
Include lots of color in your pictures            Frame your scenes with foreground objects
                                          such as overhanging tree branches.


18
View original page 23Related documents and language editions
KodakPDF
Kodak Colorburst 250 Instant Camera
User manual
26 pages · EnglishRead →
KodakPDF
Kodak Colorburst 350 Instant Camera
User manual
23 pages · EnglishRead →
KodakPDF
Kodak Colorburst 50 Instant Camera
User manual
27 pages · EnglishRead →
KodakPDF
Kodak Colorbust 100 Instant Camera
User manual
30 pages · EnglishRead →
KodakPDF
Kodak EK100 Instant Camera
User manual
17 pages · EnglishRead →
KodakPDF
Kodak EK200 Instant Camera
User manual
20 pages · EnglishRead →
KodakPDF
Kodak EK4 Instant Camera
User manual
30 pages · EnglishRead →
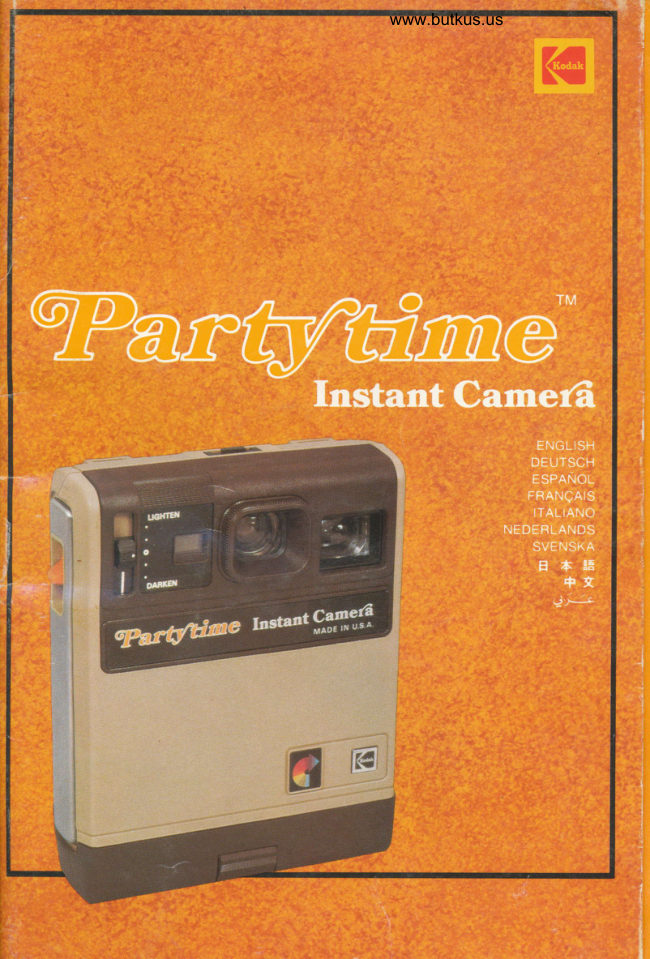
KodakPDF
Kodak Partytime Instant Camera
User manual
18 pages · EnglishRead →
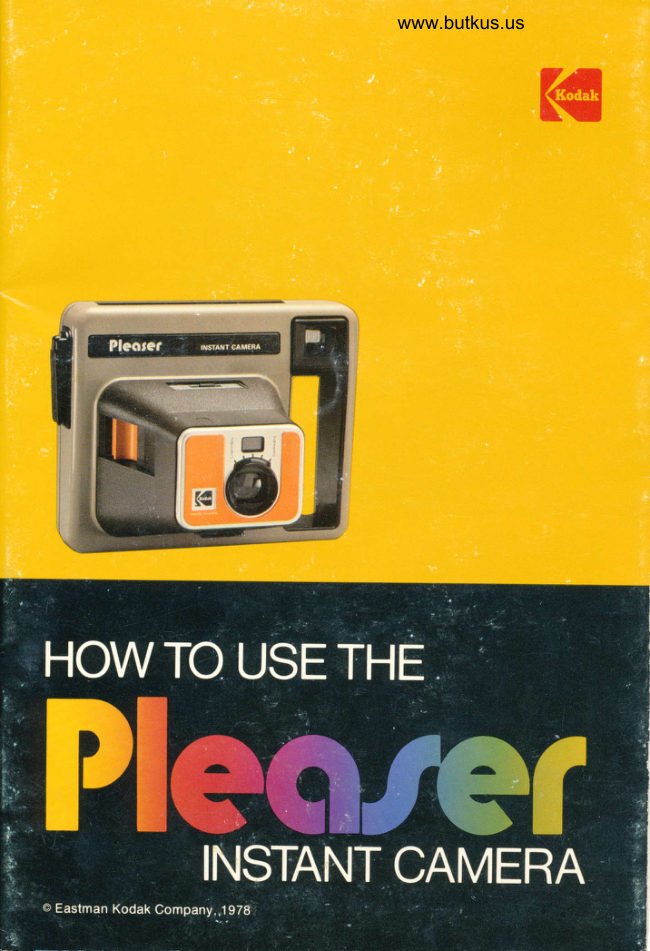
KodakPDF
Kodak Pleaser Instant Camera
User manual
30 pages · EnglishRead →
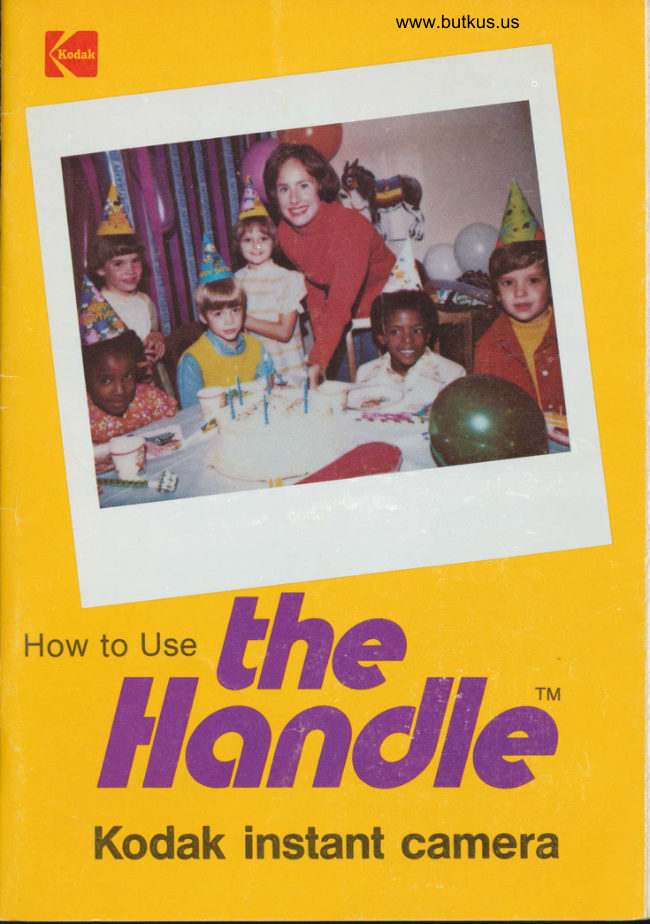
KodakPDF
Kodak The Handle Instant Camera
User manual
30 pages · EnglishRead →
From the M. Butkus archive. Original publisher and archive notices are retained.
Check the model and edition against your equipment.
PDF verified 2026-10-10.