Film cameras
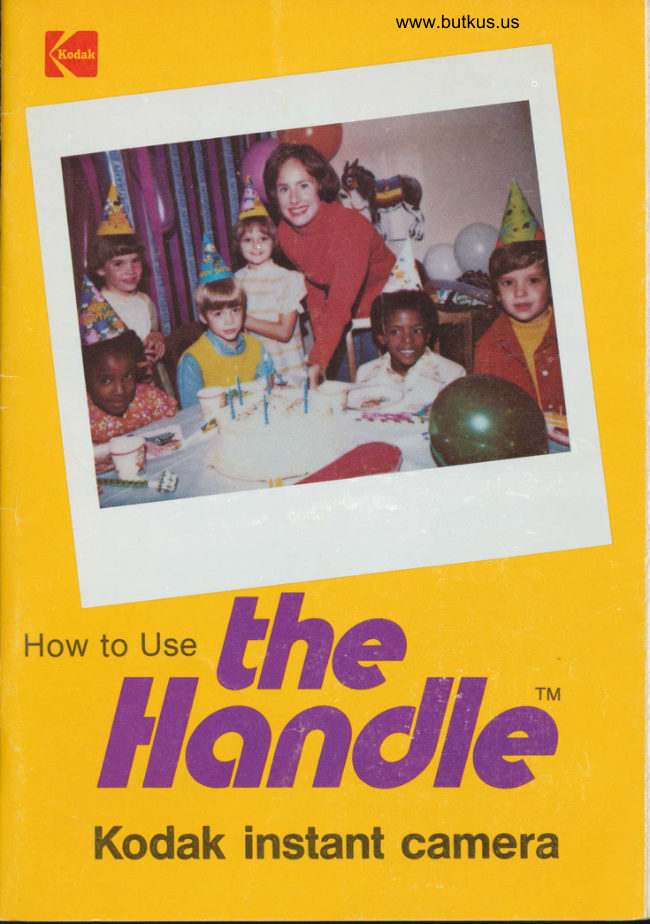
Kodak The Handle Instant Camera User manual
User manual for Kodak The Handle Instant Camera. 30 pages in English. Read the original PDF, download or print a copy without registration.
30 pagesEnglish7.3 MB PDF
Loading your manual…Open PDF directly
Document details
- Brand
- Kodak
- Model / document
- Kodak The Handle Instant Camera
- Document type
- User manual
- Language
- English
- Pages
- 30
- File size
- 7.3 MB
- Category
- Film cameras
- Document date
- Not specified in catalog
Search available document text
Find a term, then jump to its page in the original PDF. Image-only pages may not be searchable; check the PDF for exact wording and diagrams.
Page 2 · Read text
This instruction booklet will    your pictures were sPoiled, we
   help you to obtain rewarding     will return a test print with the
    picture results and good per-    serviced camera and the rest
   formance from your new in-    of the film pack for you to use
    stant camera and KooRr In-    with our compliments.
    stant Print Film. Please read   More Information-For free
    these instructions carefully and    picture{aking help, write to
    familiarize yourself with the   Eastman Kodak ComPanY,
   equipment and its features be-    Photo Information, Department
           f ore taking pictures. With   841A. Rochester, New York
    proper care and handling, your    14650, or contact one of the
   camera can bring you years of   Kodak Consumer Centers or
     pictu re-taking pleasu re.          your photo dealer.  lf you have
     see the warranty and the list     difficulty in using your camera
    of service facilities on the back   and write to Department 841A
   cover of this manual. lf your    at Kodak, please enclose sam-
   camera does require warranty    ple prints with your letter to aid
    service by Kodak and some of   us in helping you.


   TABLE OF CONTENTS
     Basic Operating Instructions       tFc
    Neck Strap                .4
    Monogram                 .4
     Battery
    Loading the Camera   .        .6      NOTE: The illustrations showing the
     Viewfinder                          8     instant camera and film packs were
    Taking Pictures                     8   made with standard photogrAPhic
     Flash Pictures                     .   11     equipment. All the remaining illustra-
     Unloading the Camera             12      tions were made with the instant cam-
     Lighten /Darken Control           13     era and KoDAK Instant Print Film PR10.
     Tips for Better Pictures             1q    The cover oicture shows the actual size
    Care and Storage of Film                     of Drints made with KoDAK lnstant Print
      and Prints                       19      Film.
     Caution                            1q
    Care of Your Camera               19
     Troubleshooting Guide               21
     Accessories                      25
     Warranty                ..oBc
     Service Facilities                               . oBc

rl                                                                                                                                                                                                                                                                                                                                                                                                                                                                                                                                            l
View original page 2Page 4 · Read text
Venmo @mike-butkus-camera  Ph. 2083
PayPal Name  Lynn@butkus.org      www.PayPal.me/lynnbutkus
View original page 4
Page 6 · Read text
www.butkus.us

   -
 Holding the FrLM pAcK as shown,
 insert  it into the film compartment,
 with the orange srRrpE on the pack
 lined up with the orange LoADING LtNE
 on the inside of the camera.

    Frt  rv
 Close the camera back and rotate the
 camera-back latch in the direction of
 the arrow labeled "TO LOCK." Be
sure that the back is securely closed.

   4ro                                                                         FILM COVER
Unfold the HAND cRANK from its
closed position, and turn  it in the                                     HAND CRANK
direction of the arrow on the side of
the camera to eject the FtLM covER
through the EXtr sLor. (See page 7.)
The exposune couNTER, on the back
of the camera, will then show the
 f igure  1.
   -,I
Check to see that the
LIGHTEN,,DABKEN INDIcAToR iS in the
center position. The position of the
indicator is changed by turning the
LIGHTEN/DAFKEN CONTROL, IOCAtEd At
the front edge of the camera, below
the lens. You will take most of your
pictures with the indicator in this
position. (See page  .l 3.)
View original page 6Page 7 · Read text
t
Look through the VTEWFTNDER, and
frame your sublect inside the
luminous frame. (See page B.)

   r,
Pull partway back on the SHUTTER
RELEASE. lf the red low-light signal
doesn't appear in the viewfinder,
smoothly pull the shutter release  all
the way back and allow it to return.
Then turn the hand crank in a
CONTINUOUS, SMOOTH MOVEMENT
to eject the picture from the top of
the camera (4 to 5 turns). Don't block
the exit slotl When the print stops
moving, grasp it by its border as
shown, being careful not to bend or
buckle the orint. Remove  it from the
slot before taking another picture.


These are only basic instructions; read
on for imporlant details  . . .  .         fr
View original page 7
Page 9 · Read text
MONOGRAM
                                         Peel off the initials from the sheet pro-
                                      vided to form your MoNocRAM, and
                                           olace them in the REoESSES on the back
                                              of the camera.


                                                MONOGRAM RECESSES


NECK STRAP
For your convenience and for safety in
handling the camera, a NECK sTRAp has
been provided. To attach the strap, first
open the camera back. Insert the ends
of the strap behind the Posrs on the
side of the camera. Close the camera
back, and thread each end back
through the buckle as shown in the
illustration. Then pull the strap tight.
You can adjust the strap to the length
most comfortable  for you.
View original page 9Page 10 · Read text
www.butkus.us

                                         BATTERY.COMPARTMENT DOORBATTERY
 Your camera uses one 6-volt size J
 battery to power the automatic expo-
 sure control. Install the batterv bv fol-
 lowing these steps:
 1. Turn the camera bottom side up.
 PTeSS the BATTERY-coI\,4PARTMENT LATCH
 in the direction of the arrow to release
 the BATTEFy-coMPARTN,4ENT DooB. Then
 lift the door open. Hold the BATTEFy as
 indicated by the battery outline molded
 inside the compartment. and insert the
end of the battery with the angled
 corner first. Push the battery down and
 toward the camera lens until  it fits flat
 in the compartment. The NoTcH in the
 battery will be held by the small projec-
 tion inside the compartment.
2. Close the battery-compartment door
by pressing  it firmly against the camera
body until it's securely latched.
Checking the Battery
Hold the camera upright, and push the
BATTERY-TEST BUTToN on the front of the
camera.  lf the battery is good, the red
BATTERy-rEST LtcHT on the top of the
front portlon of the camera will glow.
 lf the battery is weak or dead, the light
won't glow, or will flicker and go out
quickly. Check the battery when you       BATTERY-TEST LIGHT
install  it, and again periodically.
  Press the battery-test button for 1 to
3 seconds. Don't over-test the battery
or you may shorten  its life. The battery
will normally last for about one year.
  To remove the battery, simply push
it toward the camera lens to release the
notched end. Then lift the batterv out
of the compartment.
                                            BATTERY-TEST BUTTON
NOTEr lt's normal for the battery-test
light to glow as you operate the shutter
retease.

                                          c
View original page 10Page 11 · Read text
LOADING
      THE CAMERA

              Each oack of PR10 Film contains a film
                cover and film for ten color exposures.
              Load the film oack into the camera as
                   follows:
              1. Hold the camera with the back
              toward you. Rotate the CAMERA-BACK
               LATCH in the direction of the arrow la-
              beled "TO OPEN." Gentlv open the
             CAMERA BACK.

                2. Before loading the camera, check to
               see that the rollers are clean. You can
               see the rollers inside the camera at the
             top of the film compartment.  lf the
                   rollers need cleaning, see page 20.

             IMPORTANT: Hold the film pack by the
              edges only! When you remove the pro-
                   tective wrapping, be careful not to press
LOADING LINE     on the film cover, since this could allow
                    light to fog the edges of the pictures.
               Grasp the rlep in the seam of the wrap-
                 ping, and pull it in the direction of the
                 arrows.

               3. Holding the F|LM PAoK as shown,
                   insert  it into the film compartment, gray
                side up, with the orange srRtPE lined
               up with the orange LoADTNG LtNE on the
                  inside of the camera.
View original page 11Page 12 · Read text
www.butkus.us


                                                                                FILM COVER
 4. Close the camera back and latch  it
 by rotating the camera-back latch in the
 direction of the arrow labeled "TO
 LOCK." The EXposuRE couNrER will                                                                 HAND CRANK
 show the symbol @ to indicate that the
 camera is loaded and the film cover is
 still in oosition.
 5. Unfold the HAND cRANK from its
 closed position by lifting its lower end
and raising  it until the crank is parallel
 to the side of the camera body. Turn
the crank in the direction of the arrow
on the side of the camera to eject the
FrLM covER through the Extr sLor. When
the film cover stops moving (4 to 5
turns), grasp it and remove  it from the
slot. The exposure counter will then
show that you're ready to take picture
No. 1.                                                             XPOSURE COUNTER
  The exposure counter will move from
1 through 10 to indicate the number of
the picture you're ready to expose.
NOTE: We don't recommend removing
and reinserting a partially used film
pack (or a full pack after the film cover
has been ejected) because at least one
of your pictures will be spoiled. Also,
when you reinsert the pack, the expo-
sure counter will be reset to Q . lf you
must remove a pack, see page 24.
View original page 12Page 13 · Read text
TAKING
                 PICTURES
                                         1. Check to see that the LtcHrEN/DARK-
VIEWFINDER               YouEN INDTCATORchange theiS positionin the Centerof the indicatorposition.
Hold the camera up to your eye in a    by turning the LTGHTEN/DARKEN (L/D)
comfortable position where you can see     coNrRoL, at the front edge of the cam-
all four sides of the LUMrNous FRAME in     era below the lens. Most of your pic-
the vrEwFrNDER. The area that you see      tures will be taken with the indicator in
inside the luminous frame in the view-      this position-showing half white and
finder will be included in your picture.      half black (see page 13).
  The red Low-LrcHT stcNAL, located  in
the lower right-hand corner of the vrew-
finder, may appear as you begin to pull
back the sHUrrER RELEASE. This tells
you that there isn't enough light {or
correct exposure without using flash.


                       LOW-LIGHT SIGNAL


                                           LIGHTEN/DARKEN


                                       2. Frame your subject within the lumi-
                                        nous frame in the viewfinder. Your sub-
                                               ject should be at least four feet from
                                         the camera.
                                       3. Hold the camera steady and pull
                                    back the sHUrrER RELEASE partway. lf
View original page 13Page 14 · Read text
www.butkus.us
 the low-light signal doesn't appear in
  the viewfinder, slowly pull the shutter
  release all the way back and allow  it
  to return.
 NOTE: The shutter can't be ooerated
 when the camera isn't loaded, when the
 camera is loaded but the film cover
 hasn't been ejected (exposure counter
 shows Q ), or when all 10 prints in a
 film pack have been ejected (exposure
 counter shows 0).
 4. Turn the hand crank to eject the
 print from the top of the camera. BE
 SURE TO TURN THE CRANK IN A       SHUTTER RELEASE
 CONTINUOUS, SMOOTH MOVEMENT
 to eject the print (4 to 5 turns). Turn
 the crank only in the direction of the
 arrow on the side of the camera. Don't
 block the exit slotl Then grasp the print
 by its border and remove it from the
 slot before taking another picture.
  An image will begin to appear on the
 print in 1 to 2 minutes under normal
 temperature conditions. Don't leave
 prints in direct sunlight or on a hot
 surface during development or they
may become too dark.
IMPORTANT: Handle the orints with
care-particularly during the first 10
minutes after you eject them from the
camera. Handle them by the borders,
and never bend, flex, or attempt to fold
them.
    lf you don't want to eiect the print
immediately after taking a picture, sim-
ply wait before turning the hand crank.
The print won't begin to develop until
you eject it through the camera exit slot.
However, always remember to eiect the
print completely before attempting to
take another picture.
View original page 14Page 16 · Read text
www.butkus.us


FLASH                             FLASH SOCKET
PICTURES
When the low-light signal in the view-
finder tells you that there isn't enough
 light for pictures without flash, use a
 flipflash to take flash pictures of sub-
lects from 4 to 8 feet from the camera.
1. Firmly insert a  f lipflash into the FLASH
socKET on the top of the camera, with
the bulbs facing forward. The flipflash
will "lock" on the camera. Be sure that
there is at least one fresh bulb at the
top of the flipflash-in the half farther
from the camera. To remove the flip-
flash, simply "rock"  it to one stoe.
2. Check the distance carefulty. Cam-
era-to-subject distance is very impor-
tant for proper flash exposure. lf you
are farther than 8 feet from your sub-
ject, it will probably be too dark (un-
derexposed) in your picture;  if you're
closer than 4 feet, your subject will
probably be too light (overexposed) and
unsharp.


                                              11
View original page 16Page 17 · Read text
3. Frame your subject in the viewf inder.     duced by reflections from the retina of
Hold the camera steady and operate the     the eye, and is most likely to appear
shutter release smoothly to flash the    under the following conditions:  (1)
bulb and take the picture. The color in     when your subject  is young, has a light
the dot on the back of the flipflash will     complexion, or has blue eyes, and (2)
disappear as the corresponding bulb    when the surroundings are dimly light-
f lashes.                                 ed. You can reduce these reflections
NOTE: The low-light signal won't ap-      by (1) turning on additional room lights,
pear in the viewfinder when a flipflash       (2) having your subject look directly at
is installed on the camera.             one of the room lights, causing the
  You can remove and reinstall a flip-      pupils to contract, or (3) using a KoDAK
llash at any time. When you replace a       Flipflash Extender, available from photo
partially used flipflash, always position      dealers. See '"Accessories," page 25.
the fresh bulbs at the top of the flipflash      Your camera is designed for flash
-in the half farther from the camera.        piclures with llipflash. Before using any                                             electronic flash unit with your camera,4. Turn the hand crank to eiect the                                        be sure that the unit is designed so thatprint.
                                                                                  it will operate properly with the camera  After you take four flash pictures,                                   and PR10 Film.remove the flipflash from the socket by
"rocking"  it to one side. Turn the flash
over to position four fresh bulbs at the
rop.              UNLOADING
                                         to                      should                                        fail      any            a bulb   lf at          time               THE CAMERA                 flipflash                       and use                                    theflash,      turn          the                     over
other half or remove the flipflash and      After you have taken and ejected all ten
install a new one. Then take a flash      pictures in a film pack, the exposure
picture. lf the bulb flashes, the camera     counter will read 0. Open the camera
is operating properly; see the /amp     back and pull the empty film pack out
manufacturer's warranty.  lf the bulb still      of the camera as shown.
fails to flash, the camera may require
service; see the warranty at the back
of this manual.  lf a bulb fails to flash,
any remaining unused bulbs in that half
ol the llipflash won't flash.

NOTE: To prevent wasting a flash, the
shutter can't be operated when the ex-
posure counter is in the [l   position
(film cover still in place) or the 0 posi-
tion (all pictures in a film pack have
been exposed).
  Occasionally people's eyes appear
red in flash pictures. The red is pro-

                                   12
View original page 17Page 18 · Read text
www.butkus.us
  LIGHTEN/DARKEN
  CONTROL AND
  INDICATOR
                                                      LIGHTEN/DARKEN (L/O) INDICATOR
 l',
I
i     picturesUnder mostwithconditions,the lighten/darkenyou'll be taking(L/D)
      indicator in the center position-with
     the indicator showing half black and
      half white. However, the lightness or
     darkness of your prints can be affected
     by such factors as temperature, and
     type and brightness of subject. The
      lighten/darken (L/D) control helps you
      to compensate for these effects.
        After taking a picture, if you want to
      take a lighter or darker picture of the
     same subject in the same location with-
      out changing lighting or your position,                                   The lighten/darken indicaior does      adjust the L/D indicator by turning the                                               not automatically return to the center     L/D control before taking the next pic-                                                   posilion alter you take a picture.       ture. To take a lighter picture, turn the
     L/D control toward LIGHTEN (so that
     more white shows on the L/D indica-
       tor). For a darker picture, turn the con-     Temperature Effects on Prints
      trol toward DARKEN (so that more    The recommended temperature range
      black shows on the indicator).            during development of prints is 60 to
     When you use the L/D control to    100'F (16 to 38'C). At temperatures
      adjust lightness or darkness for flash    below 60'F (16'C), place prints in a
       pictures of subjects from 4 to 8 feet from    warm place-an inside pocket,.for ex-
&    the camera, move the control a// the    ample-as soon as you eject them from
     way toward LIGHTEN or DARKEN (so     the camera, and leave them there dur-l
It     thatcentertheposition).indicatorRemember,is two marksif youfromtakethe     appearing development.too light. ltOtherwise,may be desirableprints mayat
      flash pictures of subjects outside this     the upper end of the temperature range
      flash distance range, subjects closer                  100'F (38'C)-to set the                                          -approaching     than 4 feet will probably be too light;    L/D control toward LIGHTEN to keep
      subjects farther than 8 feet will probably      prints from becoming too dark.
     be too dark, regardless of the L/D set-     See your tilm instruction sheet tor
       Irng.                                  complete information.


                                            13
View original page 18Page 19 · Read text
All the way toward
                           LIGHTEN (indicator
                             shows all white).


                                              Halfway toward DARKEN


          Halfway toward LIGHTEN


                                                                All the way toward
     Normal L/D setting (indicator             DARKEN (indicator
     shows half whiie, half black).                shows all black).

'Subiects        and Lighting Conditions         by a large area of sky) may apiear too
 In certain types of situations, you may     dark.
 judge your subjects to be too light or      Under such conditions, the L/D con-
 too dark in your pictures. For example,       trol can help you achieve more pleasing
  if you take a picture of a very light     exposure of your main subject. See the
 subject in very dark surroundings, your    examples on page 17.
 subject may be too light in your print.    NOTE: Setting the L/D control toward
 A dark subject in light surroundings     LIGHTEN won't help you to get a lighter
 may appear too dark. A subiect in open     picture if the red low-light signal ap-
 shade (shaded from the sun but lighted     pears in the viewfinder.


                                         14
View original page 19Page 20 · Read text
www.butkus.us
TIPS FOR
BETTER
PICTURES


When taking flash pictures of groups,
keep all subiects in the picture at ap-
proximately the same distance from the
 f lash.


                                   To help "stop" action, photograph sub-
                                                 jects moving toward or away from you-
                                         not at a right angle to the camera.
View original page 20Page 21 · Read text
Be sure that your subject is evenly
                                           lighted-not partially in bright sun and
                                                  partially in the shade.


Move in close to concentrate attention
on your main subiect.


                                  16
View original page 21Page 22 · Read text
www.butkus.us


                               When you photograph a very light sub-
                                          ject against a dark background, the
                                   camera exposure-control system may
                              be "fooled" by the background and
                                     your subject may be too light in the
                                               picture. Often you can move the L/D
                                             control toward DARKEN before taking
                                          the picture to achieve better exposure
                                              of your main subject.


When you photograph a very dark sub-
ject with a light background,  try moving
the L/D control toward LIGHTEN to get
better exposure of your main subject.


                                        17
View original page 22Page 23 · Read text
Watch out for distracting backgrounds.
                                        Try shooting from a dilferent angle to
                                      use the sky or the ground as a back-
                                          grouno.


Shoot at an angle to mirrors and other
shiny surfaces to avoid flash reflec-
tions.


                                     1B
View original page 23Page 24 · Read text
www.butkus.us


CARE AND
STORAGE OF
FILM AND PRINTS
Leaving your film and camera in a hot
place such as a sunny window or a
closed car on a warm day may lead to
reduced picture quality.  lf you acciden-
tally leave the film and camera in a hot   CARE OF YOUR CAMERA
place, let them cool to normal tempera-     With proper care and handling, your
ture before taking any pictures.  lf there    camera can provide you with years of
is a film pack inside the camera, wait     enjoyment. When you're not taking pic-
approximately one hour after the sur-      tures, protect your camera by carrying
lace of the camera is cool to allow      or storing  it in a case such as the KoDAK
adequate cooling of the film.                Instant Camera Case, Model C, avail-
  Also allow your film and camera to     able through your photo dealer.
relurn to normal temperature  if they       Clean the viewfinder lenses and the
have been left in a cold place such as      picture-taking lens by blowing away any
a car trunk during winter.                  dust or dirt. Then breathe on the lenses
  Store your developed prints in a cool,      to form a mist, and gently wipe the mist
dry place. Print colors will remain un-    away with a soft, clean, lintless cloth
changed longer  if pictures are protect-      (or use a drop of KoDAK Lens Cleaner,
ed from long exposure to bright light.     or equivalent, and then wipc with a
Each oicture is a sealed unit that con-     clean, soft cloth).
tains a caustic fluid. Never cut, trim,        Store your camera and film away from
puncture, tear, or separate the picture     heat and direct sunlight-never in the
unit, since this may allow some of the     glove compartment, on the rear-win-
tluid to escape and come into contact    dow shelf, or in any other "hot spot"
with skin or eyes. lf there is any of this      in a car-since this may cause perma-
fluid or other foreign material on the     nenf damage to the film or the camera.
print surface, remove it with a damp          lf you store your camera for an extend.
cloth. Any cloth containing fluid should    ed period of time, it's a good idea to
then be discarded.                     remove the battery.
View original page 24
Related documents and language editions
KodakPDF
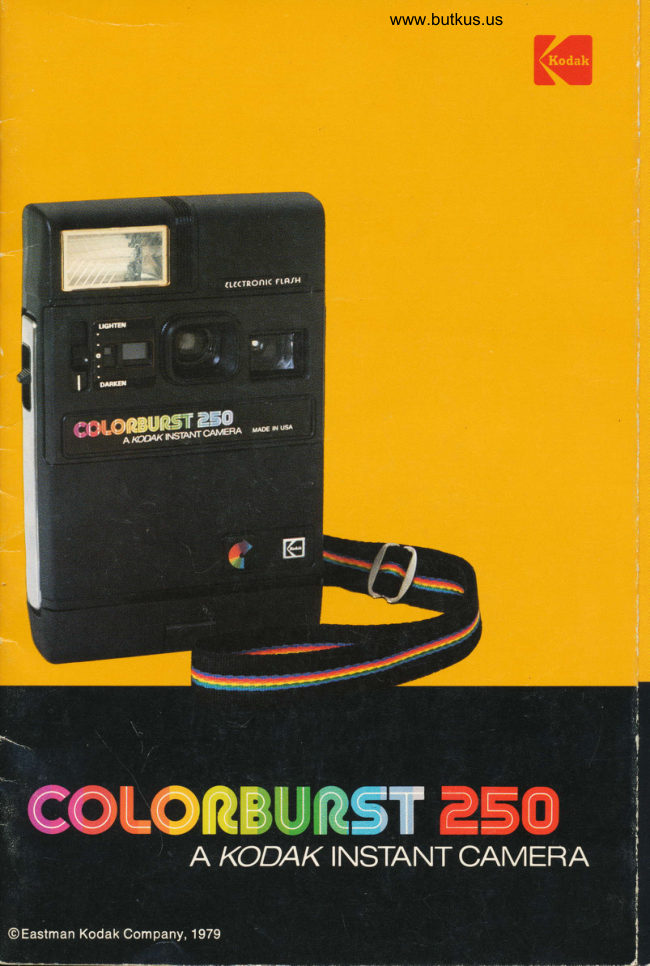
Kodak Colorburst 250 Instant Camera
User manual
26 pages · EnglishRead →
KodakPDF
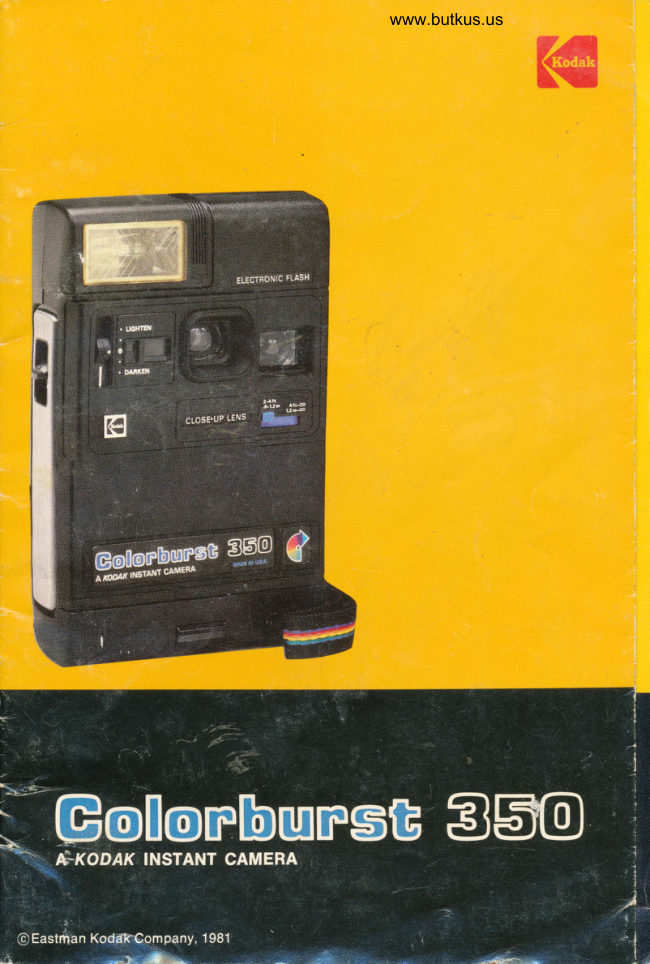
Kodak Colorburst 350 Instant Camera
User manual
23 pages · EnglishRead →
KodakPDF
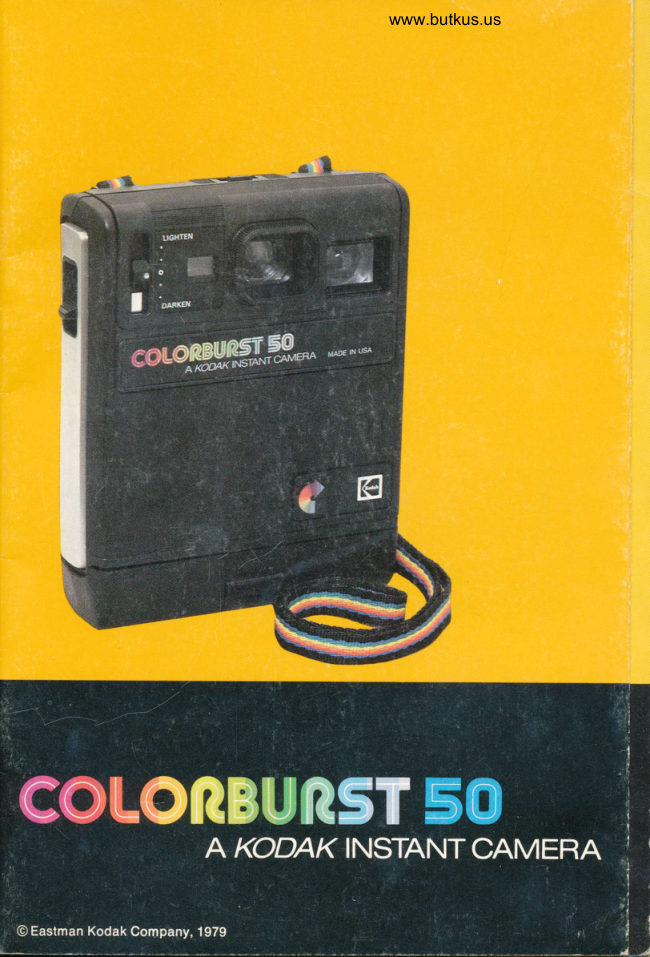
Kodak Colorburst 50 Instant Camera
User manual
27 pages · EnglishRead →
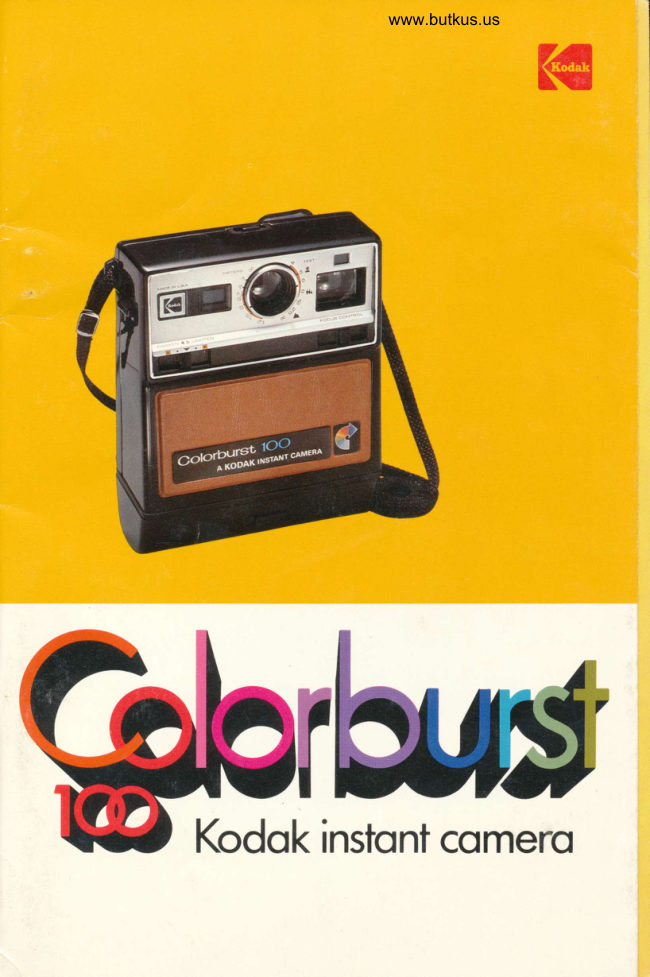
KodakPDF
Kodak Colorbust 100 Instant Camera
User manual
30 pages · EnglishRead →
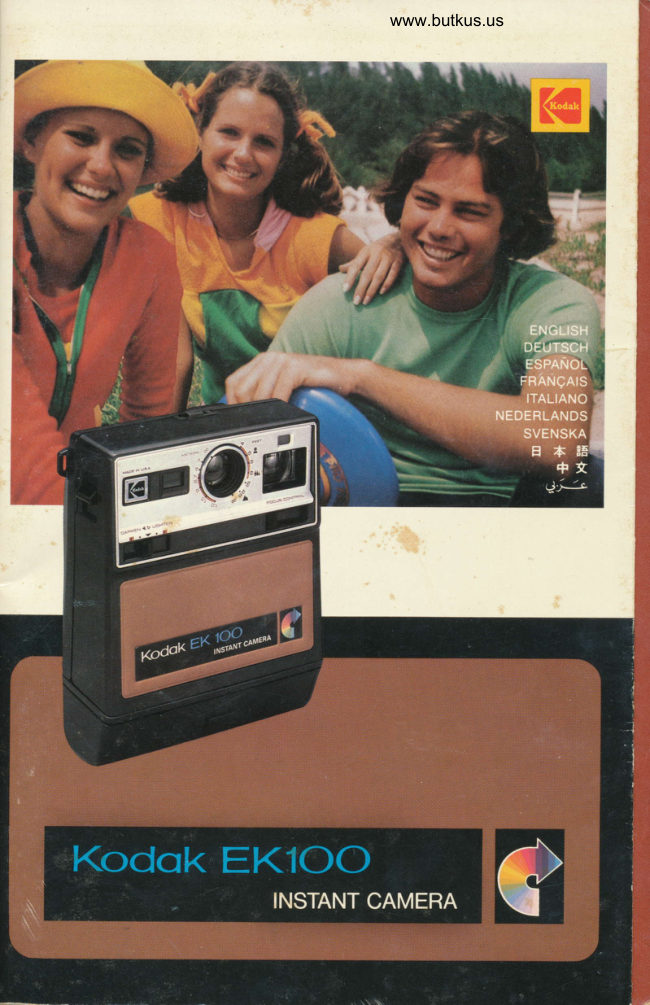
KodakPDF
Kodak EK100 Instant Camera
User manual
17 pages · EnglishRead →
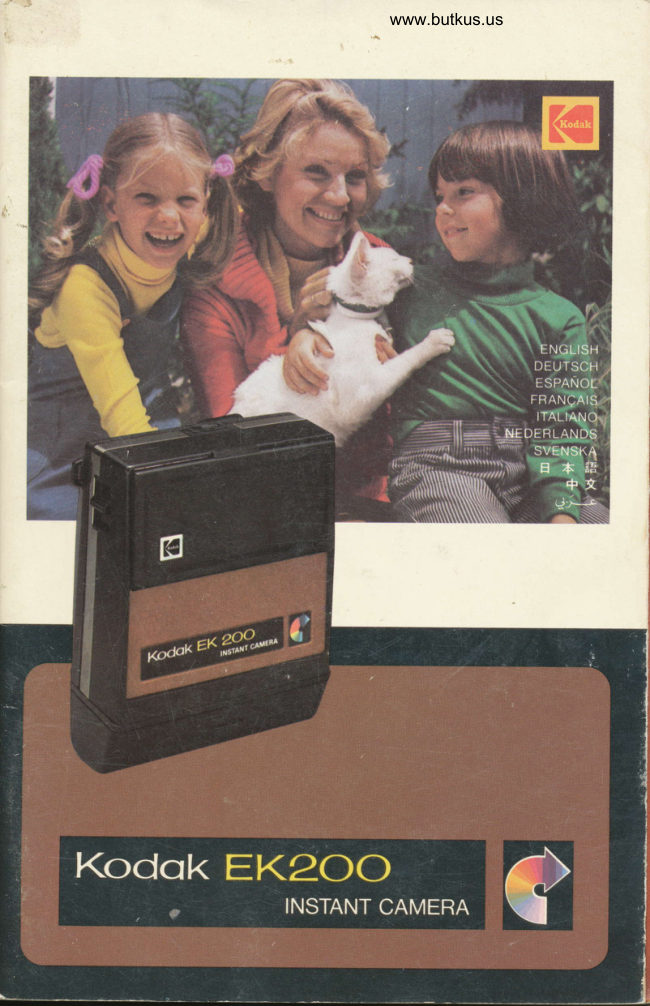
KodakPDF
Kodak EK200 Instant Camera
User manual
20 pages · EnglishRead →
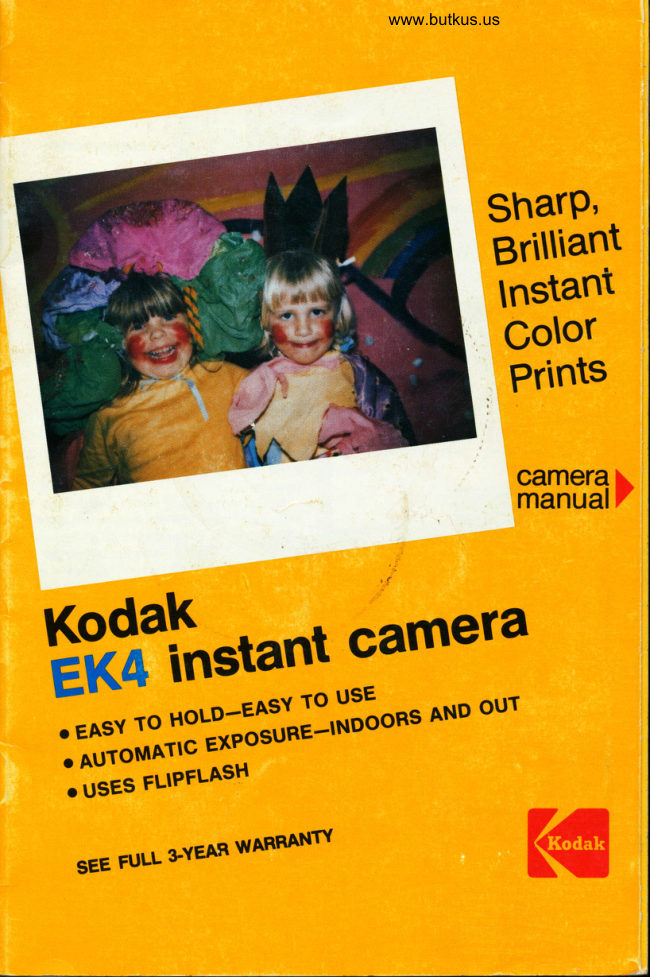
KodakPDF
Kodak EK4 Instant Camera
User manual
30 pages · EnglishRead →
KodakPDF
Kodak EK6 Instant Camera
User manual
31 pages · EnglishRead →
KodakPDF
Kodak Partytime Instant Camera
User manual
18 pages · EnglishRead →
KodakPDF
Kodak Pleaser Instant Camera
User manual
30 pages · EnglishRead →
From the M. Butkus archive. Original publisher and archive notices are retained.
Check the model and edition against your equipment.
PDF verified 2026-10-10.