Film cameras
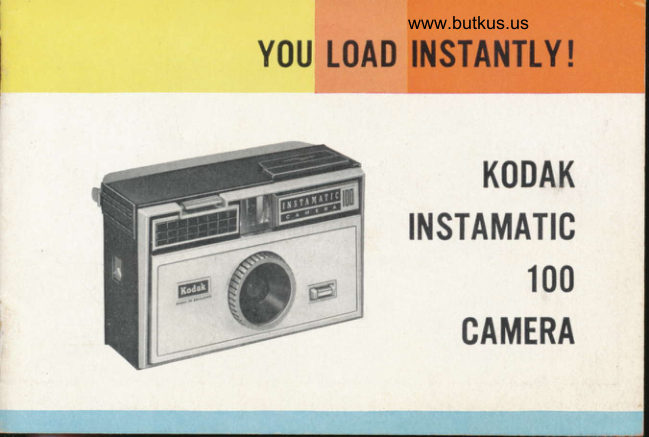
Kodak Instamatic 100 User manual
User manual for Kodak Instamatic 100. 18 pages in English. Read the original PDF, download or print a copy without registration.
18 pagesEnglish2.1 MB PDF
Loading your manual…Open PDF directly
Document details
- Brand
- Kodak
- Model / document
- Kodak Instamatic 100
- Document type
- User manual
- Language
- English
- Pages
- 18
- File size
- 2.1 MB
- Category
- Film cameras
- Document date
- Not specified in catalog
Search available document text
Find a term, then jump to its page in the original PDF. Image-only pages may not be searchable; check the PDF for exact wording and diagrams.
Page 3 · Read text
Your new KoDAK 'lNSTAMArlc' 100 Camera
                     is feature-packed to give you instant,
                          efortless picture-taking by daylight or                   I
                             built-in "pop-up" flash.
   KODAK      simpty do this . .  .
                    t           'Kodapak' cartridge - cameralN STAMATIC  Rt*l;
                                                   unt' it rocks                        9fi:J*".flKisl3lff.T:"   100   '
  camera  '*[i,f:i,:'..iffi:'Ji'riti.,i,;#u.see a  '
              O Press the shutter release you've    t                        snapped the picture.                            t
                                          . . . read on for the important details
View original page 3Page 5 · Read text
Your camera accepts 'Kodak' No. 126
            Film in the'Kodapak' Cartridge for instant
             loading and unloading.
        You can have black-and-white prints,
             colour prints or colour slides, depending on
           which of the following 'Kodak' Films you
             choose.
            'Verichrome' Pan Film - tor 12 black-and-
FILMS   white prints. Standard 3lx3*-inch (9x
           9 cm) black-and-white prints can be made
          from your 28x28 mm negatives; order
              prints from your Kodak dealer.
           'Kodacolor-X' Film -lor 12 colour prints.                                                     t           Standard 3l x 3*-inch (9 x 9 cm) colour
              prints (like that shown in reduced size on
            page 3), or even greater enlargements, can
           4
View original page 5Page 6 · Read text
www.butkus.us
      be made from your 28 x 28 mm negatives.
       See your Kodak dealer for more details.
     'Kodachrome-X' Film - lot 20 colour slides.
       Post exposed film direct to Kodak Limited.
I     Your colour slides will be returned to you      NOTE: Althoush
      mounted in2x2-inch (5 x 5 cm) cardboard         'Kodacolor-X'Film  is                                                                            primarily for colour prints,
      mounts, ready for projection.                     and'Kodachrome-X'and
      'Ektachrome-X' Film - for 20 colour slides.        'Ektachrome-X' Films
      Colour slides, mounted in standard 2x2-          for colour slides,
      inch (5 x 5 cm) cardboard mounts, are for         nevertheless colour slides
                                                            can be made from     showing in slide projectors. Exposed                                                                                 negatives                                                                 'Kodacolor-X'     'Ektachrome-X'Film may be taken to any        and colour prints made
     Kodak dealer for processing.                       from 'Kodachrome-X'
                                                             and'Ektachrome-X' slides.
     Ask your dealer to show you the range of
      'Kodak' Projectors


                                                            ,,;*i*jjjH$i$trsffiH ,#;
View original page 6Page 9 · Read text
SIIUTTER REIEASE              OUTDO(IR PICTURES            .f
                    o Keep the sun behind you. Your subject
                             should be in bright or hazy sunlight. If                                 cloudy, but bright, see note on page 11.        I
                   O Keep at least 4 feet (l'2 m) from your
                                 subject for sharp pictures.
                  O View the picture with your eye close to the
                                 rear opening of the viewfinder, as shown.
                  O Hold the camera still and take the picture
                       by steadily pressing down the sHurrrn
                               RELEAsE all the way.
                    o Operate the film advance lever until  it locks                                    (ll to 2 strokes)
                      You are ready for the next exposure.
                                 I|OTE: Your plctureg cannot be spolled by "double                                   expo8ure8". After taklng a plcture, the shutter   I
                                         releage le locked untll the fllm ls advanced.                                                I
View original page 9Page 10 · Read text
www.butkus.us
FLASH PICTURES
   Films, Flashbulbs and Distances-Pictures indoors by flash are as
  easy to take as outdoor shots. Just be sure to use the correct bulb
   (clear or blue) for the film loaded in the camera, and observe the
  recommended camera-to-subject distance ranges as given below.
  For hpndy reference, distance ranges are shown on the back of the
  Flasholder.
O'For colour slides indoors, use 'Kodachrome-X' or 'Ektachrome-X'
  Film and AG-18 (blue) bulbs. The camera-to-subject distance must
  be between 4 and 7 feet (l'2-2 m).
O For colour prints indoors, use 'Kodacolor-X' Film and AG-l
   (tlear) bulbs. Camera-to-subject distance must be between 4 and
  10 feet (l'2-3 rn).
o For black-and-white  prints, indoors, use 'Verichrome' Pan Film
  and A'G-l (elear) bulbs. The camera-to-subject distance must be
  between 4 and 10 feet (1'2-3 m).
                                                              9
View original page 10Page 11 · Read text
Flash Batteries: Two batteries, size AAA,
are required. Use only Ever Ready HP16,
Berec HPl6 or Mallory MN-2400. Other
batteries are not recommended. Replace
HPl6 batteries at least every 12 months. Toinstall batteries, first open the battery com-               II
partment                                        as          at            the              bottom                           the camera,                        of                                                                                                  It                      theshown left,          by                sliding                           raised                                nls of the
battery cover to the opposite end of the
recess. Insert the batteries - one base down,
the other base rp - as illustrated. Press down
the batteries while sliding the cover back to
close the compartment. The cover must be all
the way back to complete the electrical circuit.
l0
View original page 11
Page 12 · Read text
www.butkus.us
Taking Flash Pictures        I
To raise the Flasholder, first press the
nErEas-e n.ln to "pop-up" the Flasholder
slightly; then grasp the Flasholder and
raise it into the picture-taking position. The
Flasholder must be all the way up to make
electrical contact.
NOTE: With the Flasholder all the way up' the
shutter speed is automatically set to a nominal 1/40
second; with the Flasholder down, to a nominal 1/90
second. To permit acceptable exposure of outdoor
pictures under less lavourable  light conditions than
recommended on pageS(.e.when cloudy, butbright),
raise the Flasholder (remember to remove the bulb
 il one is fitted) to obtain the slower shutter speed.

                                            11
 RETEASE BAR
View original page 12Page 13 · Read text
Insert an AG-type flashbulb by sliding the
                    narrow edge of the glass base in between
                     the Flasholder coNrAcrs and pressing it
                   back against the ejector finger until it is
                        locked in place. To release a bulb, press the
                       bulb ErpcroR as far as it will go toward the
                         centre of the camera. Do not touch bulbs
                     during or after firing - they will be ex-
                       tremely hot.

                    NOTE: A lresh bulb can remain in the Flasholder
                             without firing when the Flasholder is retracted into
                            the body. Therefore, you can always be ready for a
                              quick flash shot - simply raise the Flasholder all the
                                vray and shoot.
coxT crs       EIECTOR      l2
View original page 13Page 14 · Read text
www.butkus.us
               A  transparent plastic FT,AsHGUARD  is
                          packed with the camera. When taking
                               close-ups and groups, the use of the
                              Flashguard is recommended. Never take
                                     flash pictures in an explosive atmosphere.
                                            After inserting a flashbulb, hold
                                               the Flashguard by the raised ran,
                                 and, as illustrated, seat one
                                      narrow end inside the left frame,
                                       flex the Flashguard slightly;
                                      then seat the opposite narrow
                             end inside the right frame.
                               Remove the Flashguard before
                                             ejecting the bulb or retracting


   I          FIASHGUARD                             the Flasholder.
?                                                                             t3
View original page 14Page 15 · Read text
The distance from the flashbulb to the
 subject is important for correctly exposed
pictures. Therefore, make sure that the
 subject is not closer than 4 feet (1.2 m), and
not farther away than 7 feet (2 m) with blue
bulbs or farther than l0 feet (3 m) with
c/ear bulbs.
I{OTE: The most pleasing appearance of the sub-
ject's eyes will result when the flash picture is taken
in a brlghtly lighted room, and the subject is not
looking directly at the camera.
View the picture with your eye close to the
rear opening of the viewfinder, and steadily  I
                                                                                                                                                                                       'press the shutter release to flash the bulb
and take the picture.
14r
View original page 15Page 16 · Read text
www.butkus.us
 .ffiHffi                  SFW           IMPORTANT TIPS
O Keep at least 4 feet (1.2 m) from your subject, hold
   the camera steady and don't obstruct the lens (with
   fingers, case or strap).
O Keep the camera lens and viewfinder clean. Dust
   with a well-washed handkerchief, or, if necessary,
  use'Kodak' Lens Cleaner.
O Protect your camera with the 'Kodak' Ever-Ready
  Gase (Code 792) and always use the wrist strap when
  taking pictures.
O For colour slides of distant views, sea and snow
   pictures, use a'Kodisk' Haze Filter.
O To emphasize white clouds in a blue sky, with
  'Verichrome' Pan Film only, use a 'Kodisk' Cloud
   Filter.
O For close.ups between 2l in (.54 m) and 48 in (1.2 m)
  use a'Kodisk' Close-up Lens.
   lJse'Kodisk' lens Attachments No. 285
View original page 16
Page 17 · Read text
Insert lbr'Instamatic' 100, 300 and 400 Cameras
                             Since the publication of this bookFLASH PICTURES     certain changes have been made to
the flash recommendations. Therefore, please ignore all references
to flashbulbs and distances given on pages 9, (10) and l4,and follow the
details given below.
'lnstamatic' I00 Camera                 'lnstamatic' 300 and 400 Cameras
AII films Use AG-l8 (blue) bulbs    AIt films Use AG-lB (blue) bulbsic.r'.,r,    and a camera-to-subject     iijri,i.l.o and a camera-to-subjectblack-and-""0 distance of between 4 and    6lack-and- distance of between 5 andwhite)  8 feet (1.2_2.4m)        white)   l0 feet (1.5_3m)
Do not use bulbs if the blue spot has turned pink. Remove bulbs from
packing by sliding them from the plastic holder.
                                      lnstamatic  is a Uade mark
Printed in England                      KODAK LIMITED LONDON
 5/f  I l/f9 fP229lxHC 150/l-65
View original page 17Page 18 · Read text
www.butkus.us


    lnstamatic and product names quoted thus -'Kodak' - are trade marks


     KODAK LIMITED LONDON


Printed in England                                             5lr1r 117 RLI 85764(228lax)
View original page 18Related documents and language editions
KodakPDF
Kodak Instamatic 104
User manual
17 pages · EnglishRead →
KodakPDF
Kodak Instamatic 300
User manual
17 pages · EnglishRead →
KodakPDF
Kodak Instamatic 324
User manual
17 pages · EnglishRead →
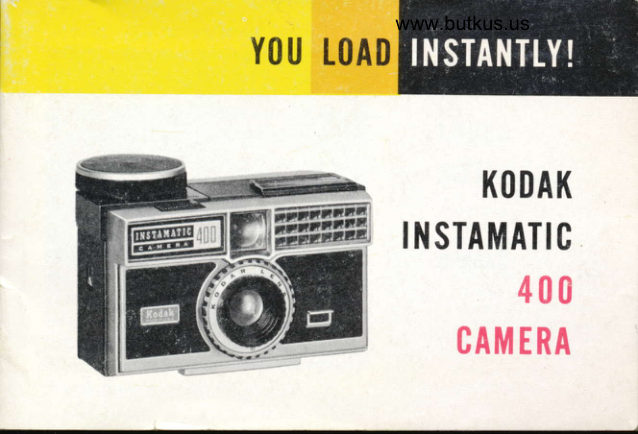
KodakPDF
Kodak Instamatic 400
User manual
37 pages · EnglishRead →
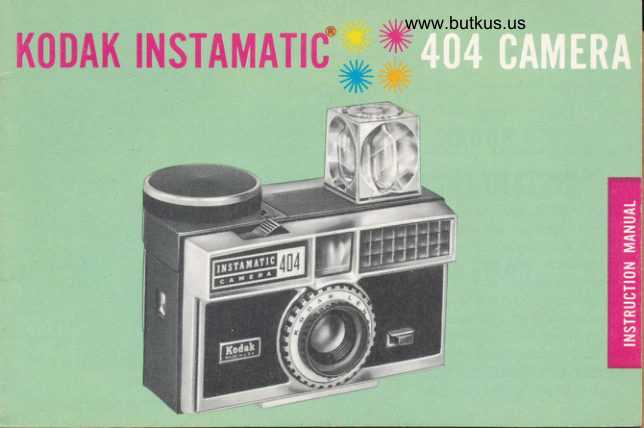
KodakPDF
Kodak Instamatic 404
User manual
17 pages · EnglishRead →
KodakPDF
Kodak Instamatic 414
User manual
16 pages · EnglishRead →
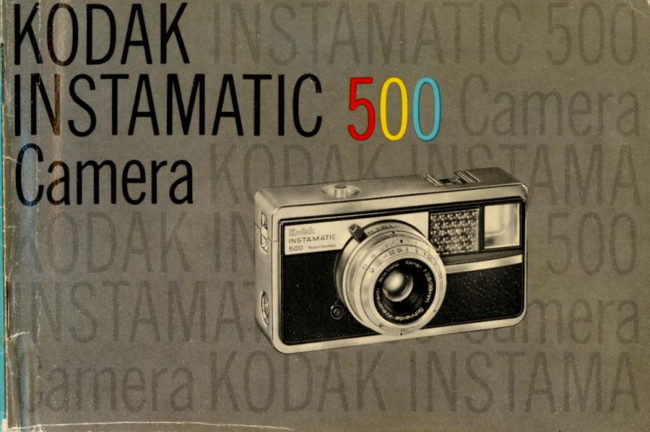
KodakPDF
Kodak Instamatic 500
User manual
21 pages · EnglishRead →
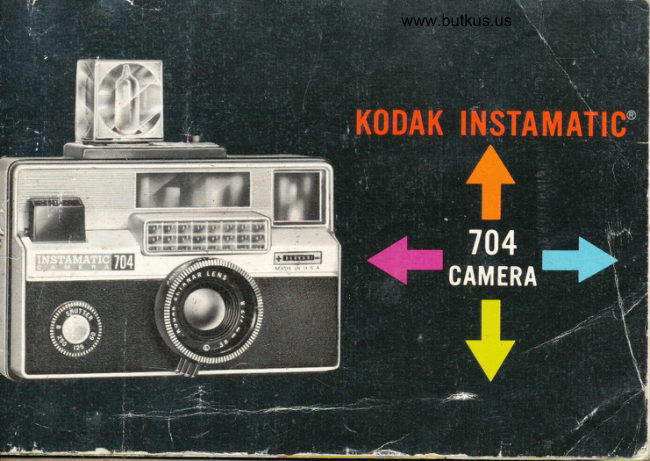
KodakPDF
Kodak Instamatic 704
User manual
20 pages · EnglishRead →
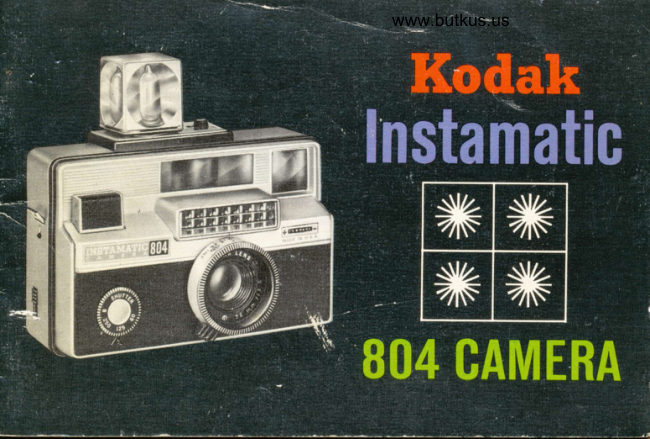
KodakPDF
Kodak Instamatic 804
User manual
21 pages · EnglishRead →
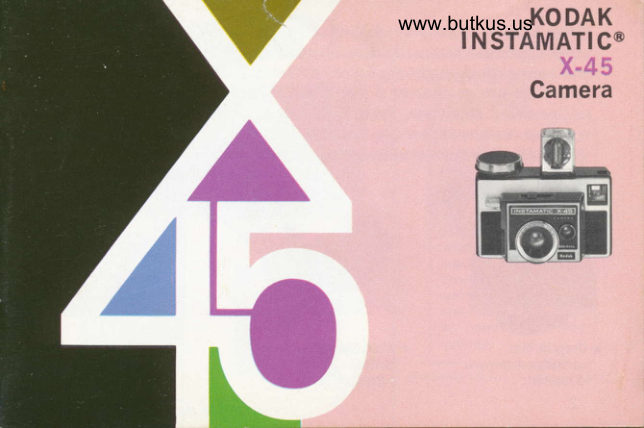
KodakPDF
Kodak Instamatic X45
User manual
18 pages · EnglishRead →

KodakPDF
Kodak Instamatic X90
User manual
23 pages · EnglishRead →
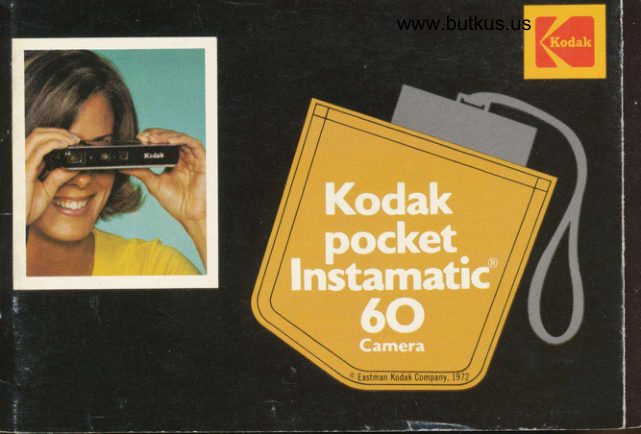
KodakPDF
Kodak Pocket Instamatic 60
User manual
33 pages · EnglishRead →
From the M. Butkus archive. Original publisher and archive notices are retained.
Check the model and edition against your equipment.
PDF verified 2026-10-10.