Film cameras
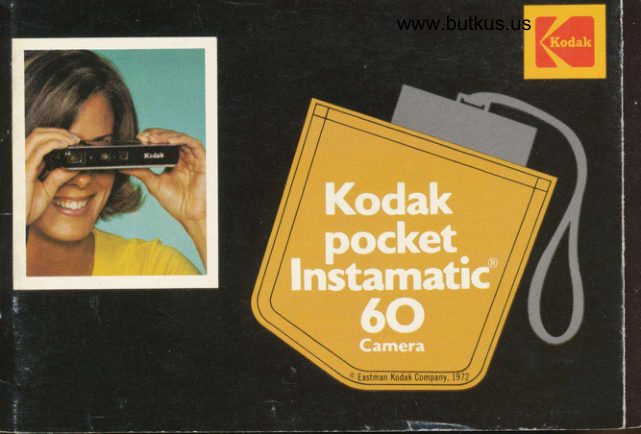
Kodak Pocket Instamatic 60 User manual
User manual for Kodak Pocket Instamatic 60. 33 pages in English. Read the original PDF, download or print a copy without registration.
33 pagesEnglish5.8 MB PDF
Loading your manual…Open PDF directly
Document details
- Brand
- Kodak
- Model / document
- Kodak Pocket Instamatic 60
- Document type
- User manual
- Language
- English
- Pages
- 33
- File size
- 5.8 MB
- Category
- Film cameras
- Document date
- Not specified in catalog
Search available document text
Find a term, then jump to its page in the original PDF. Image-only pages may not be searchable; check the PDF for exact wording and diagrams.
Page 2 · Read text
Congratulations! You've just joined millions of Kodak camera owners who
have fun taking pictures. At Kodak, we know how important your pictures
are to you. To help make them the best possible pictures, we hope that
you'll read this manual thoroughly.
  With your new camera, you enter the exciting world of existingJight
photography. In any light, the electronic shutter automatically times each
exposure. When you take pictures in lowJight levels, an amber light will ap-
pear in the viewfinder as you press the shutter release. This indicates an
exposure too long for you to hold the camera in your hand. For these expo-
sures, follow the instructions on pages 12-15 and you can take pictures like
this without flash.
  Chances are you've never used a       THIS          NOT THIS
camera with an electronic shutter
before, so be sure to follow the in-
structions carefully. If you don't,
your pictures will be blurred.
   If you feel that you need help or advice on using your camera, please
write to our staff of photographic experts at Eastman Kodak Company,
Photo Information, Dept. 841, Rochester, New York 14650. (Should your
camera ever require service, the warranty and instructions for obtaining
service are printed at the back of this manual.)
View original page 2
Page 4 · Read text
Venmo @mike-butkus-camera  Ph. 2083
PayPal Name  Lynn@butkus.org      www.PayPal.me/lynnbutkus
View original page 4
Page 6 · Read text
www.butkus.us


            FOCUS SLIDE


3 Set the camera-to-subject  dis-   the shutter release-if the amber
tance (page 10).                   indicator light appears in the
4 Aim through the eye-level   finder, place the camera on a firm
viewfinder for a bright, clear im-   support (page 15) or insert a magi-
age of your subject (page 8). Hold   cube. Gently s-q-u-e-e-e-z-e the
the camera steady; slowly depress    shutter release to take the picture.
                                                         . . . read on for important instructions
NEVER F0RCE ANY CAMERA OPERATION; CHECK INSTRUCTI(INS F(}R 0PERAT|0N.l
View original page 6Page 7 · Read text
Your camera takes all three-
     I  Black-and-white prints
   2 Color prints
   3 Color slides (in 3omm
       x 3Omm plastic
      mountsor2x2-inch
       cardboard mounts)

      Before you take any
      especially important
     pictures, expose a
      cartridge of film and
     have it processed to
    check the camera
    and your operation
     of it. Take pictures
     outdoors and also
     indoors with flash.
View original page 7Page 9 · Read text
installing batterg e e po sut e - cotutr ol batter g
                                           I  Clean the contact surfaces of
                               the battery with a rough cloth.To power the camera's indicator                            (The camera contacts, recessedlights and electronic shutter, a                             within the camera, are self-size K battery is supplied with                                   cleaned by the back cover of theyour camera. This batterv must                         camera pushing the batteryb_e good to give you well-exposed                                    against the contacts.)flash and daylight pictures. Check
the battery when you install it and                     2 Open the back cover of thethen check it again periodically.                              camera by depressing the rercnReplace the battery after about a                          and gently lowering the cover.year of use. (Mark the date on a                              Holding the battery as shown,new battery when you install  it.)
To prevent battery drain, lock the
shutter release whenever you're
not taking pictures.
View original page 9Page 10 · Read text
www.butkus.us
push it down and toward the  you may notice this light while
outer edge of the camera until the   you are taking flash Pictures. This
battery slips behind its retainer.   doesn't mean that the battery is
(To remove the batterY, Push it  good-you must use the green
down and toward the center of   button to check the batterY.)
the camera; then lift out the
battery.)
checlsing batterg
Firmly press the green BATTERY-
cHEcK BUTToN. located near the
FrLM ADvANcE on the underside
of the camera. If the batterY is   NOTE: To change the batterY when the
good, the green light next to the   camera is loaded, open the back cover,
                                                                      onebutton will glow brightlY. If the   Hold the cartridge in place with                                  hand as you change the batterY withbattery is weak or dead, the light   the other hand. Don't lift the cartridge
will glow weakly or not at all; in-   away from the camera or You will fog
stall a new batterY. (Sometimes   a frame of film. Close the back cover.
View original page 10Page 11 · Read text
loading eo;tnero-


                     2 After removing the 110 car-
                                        tridge from its box and protective
                                 wrapping, insert the cartridge in-7 Open the hinged back cover   to the camera as shown. Close the
by depressing the LArcH and low-   cover by pressing firmly against
ering the cover.                  the center of the cover until it
                                     locks with the camera body. (TheNOTE: Removing and replacing par-
tially exposed cartridges, even under   film name and number of expo-
darkroom conditions, will result in the   sures appear in the wrNDow in
loss of at least one exposure.           the cover.)
View original page 11Page 12 · Read text
www.butkus.us


         FILM
        ADVANCE              t
                                 ber that you see serves as an ex-
3 Push the FILM ADvANCE re-   posure counter.
peatedly with your right thumb                              wrist stro,puntil the advance locks-about 8                   A removable wnIST srRAP, pro-full strokes. (You may need to                              vided for your carrying conve-press the shutter release before                                    nience, is furnished with the cam-you can advance the fllm.) You
will see arrows in the window as    era. Attach the strap to the wRIST-                              srRAP cLIP. (Keep the wrist strapyou advance the film. The num-                                 behind the front edge of the cam-IMFORTANT: Always operate the film
advance until it locks and allow it to    era, especially when you take ver-
return-don't pull it back!                tical pictures.)
View original page 12Page 13 · Read text
oieustinder

A bright, eye-level optical view-
finder provides an easy-to-viewimage of your subject. Hold the           USED           lr
                                                            BULBcamera as shownon pageg,bring-
                                                                               cLosE-uPing the rear opening of the view-                       Ifinder close enough to your eye                    L.,lt"J:II9I: 1i
                                                                FUSH OR TIMEfor you to see all four sides of the
                                                               VIEWFINDERLUMrNous FRAME in the finder.
At normal distances, the image       To get this        you should seeseen within the luminous frame        (3 to 6             this in the finder.
will appear in your picture.
  At close distances (3 to 6 feet),
the camera lens and viewfinder
"see" slightly different areas. To
adjust for this effect (called        feet)MM
View original page 13Page 14 · Read text
www.butkus.us
"parallax"), hold the camera as
shown and position your subject
slightly to the left of center in the
viewfinder for horizontal pic-
tures, or slightly above center for
vertical pictures. In these in-
stances, the cross-uP INDICAToRS
within the luminous frame will
show the right or bottom limits
of your picture.
  Warning lights for used bulbs
and extended exposures (rresn      For                                              Horizontal
on rrve) may appear in the view-       Pictu res
finder as you press the shutter
release.
View original page 14
Page 15 · Read text
tance. There are two ways of fo-
    toeusing eoitlr',ero.               cusing your camera-rangefinder
                                       focusing and scale focusing. For
    For the sharpest pictures, you   close-up pictures (especially with
      will need to set (focus) the camera    flash or in low-light levels), you
     lens for the camera-to-subject dis-   must focus the camero carefully.
                                     Ron gefi nder focusing-Look at                  FOCUS SLIDE                                your subject through the view-         FoorAGE scALE I   urrntc scALE    m                                       finder. In the center of the finder
                                you will see a circular area with
                                   two images of your subject. Move
                                         the rocus sLrDE until the two im-
               CABLE.RELEASE SOCKET
                                   OUT OF FOCUS       CORRECT
                             SHUTTER
                                RELEASE


10  w@
View original page 15Page 16 · Read text
www.butkus.us
     ages coincide; you have set the Ij    lens correctly for that distance.   shutter release
     Scole focusing-Estimate the cam-
  I    era-to-subject distance; then move  To prevent battery drain or acci-
                                 red   dentally releasing the shutter anda   the Focus sLrDE until the     pointer is opposite the estimated   losing an exposure, lock the ssur-
     distance. (You can use either the  TER RELEess of your camera by
    footage scale or the metric scale.)   pushing  it lightly in the direction
                                         of the LocK arrow.
                     A cABLE-RELEAsE socKET is
    double-erpoaure              provided for smoothly releasing
    preoention                       the shutter when the camera is on
                                    a firm support for long exposures
    After taking a picture, you must   (page 15). The mark (-o-) along-
    operate the film advance until it   side the shutter release and above
    locks or you can't take another   the viewfinder indicates the film
    picture-no double exposures.       plane within the camera.

                                                                           11
View original page 16Page 17 · Read text
rrutornlr,tico,llg timed erp,osur€$  . . . in ang tight
    Your camera's electronic shutter   or 2) place the camera on a tripod
    and lens opening are set auto-   or other firm support for a long
     matically by the light existing in   exposure (page 15).
    a scene. The shutter speed ranges    While taking pictures, don't
    from 11250 second to 5 seconds   cover the ELECTRIC EyE, and
    or longer. The camera's amber   don't point the camera directly
     indicator light (nresu on rrvre)   toward the sun or any other un-
    comes on a.r you press the shutter    us.ually bright light source. Other-     release when the exposure will be   wlse, exposures will be incorrect.      iII     longer than | 130 second (the light   When you take pictures out-
    remains on during exposure).   doors in bright sunlight, the shut-
   When the indicator light comes   ter speed will usually be fast
     on, you have a choice-l) insert a  enough to stop motion (for ex-
    magicube (page 16) and take a   ample, people walking or children
     flash picture (from 4 to 30 feet),   playing). The bright sunlight willt2
View original page 17Page 18 · Read text
www.butkus.us
also cause the automatic exposure
control to set the lens to a small   toking the pieture
opening. The small opening pro-
duces a large range of sharpness                              o Unlock the shutter release.in your pictures.                              o Set the focus slide for the cor-
                                rect camera-to-subject distance.
   Store your camera and film away     o Frame your subject (within the
  from heat and direct sunlight-    luminous frame) the way you
   never in the glove compartment,                              want it to appear in your picture.  on the rear-window shelf, or in   any other "hot spot" in a car.      Keep your hands and the wrist
                                     strap behind the front edge of the
                            camera so that you don't block
NOTE: The color films listed on page 3   the lens.
are intended primarily for daylight or   o Hold the camera steady andblue-flash illumination. Pictures taken                                     partially depress the shutter re-by tungsten light may appear orange;pictures by fluorescent light may ap-  lease-the indicator light may
pear green.                     come on momentarilY as the elec-
                                                                       13
View original page 18Page 19 · Read text
tric eye adjusts for the lighting   next picture, hold the camera at
     condition (don't accidentally re-  eye level while you advance the
     lease the shutter while watching    film.                                                                 t
     for the indicator light). If the am-
     ber indicator light does not come                                                                   I
   on and remain ofl, gently                                                            I
     s-q-u-e-e-€-Z-e the shutter release
     to take the picture. Don't jerk the
    camera by punching the shutter
     release or your pictures will be
     blurued. (To hold the camera ex-
     tra steady, stand still, keep your
    elbows close to your body, and
    momentarily hold your breath
    while you take the picture.)                                                      I
                                      IMPORTANT: Do not hold your    o Push the film advance with
                                                                            release while    your right thumb until it locks     youfingeradvanceon the shutterthe film.    (lVz strokes). To be ready for thet4
View original page 19Page 20 · Read text
www.butkus.us
                                  IMPORTANT:  If the amber indica-
                                         tor light (nresH oR TrME) comes
                            on and remains on, place your
                                camera on a tripod, a solid flat
                                   support such as a table or wall
                                   (keep the camera near the edge
                                so the support won't appear in
                              your picture), or the optional
         .**.nSl*SX-rS\,..                   Kooer Compact Camera Stand,
                \N                   Model 2 (with cable release). In-
                                                    stall a cable release in the cABLE-
                                 RELEASE SocKET. Then hold the
                              cemera firmly on its support;
                                      press and hold the cable releaseI                                           (or shutter release) until the indi-
                                        cator light goes out. Any comero   The Koorr Compact Camera Stand,    Model 2 (with cable release), provides    or subiect movemenl during expo-
      firm support and adjusts to any position.    sure will couse blurred piclures.
                                                                                15
View original page 20Page 21 · Read text
tlo,sn-platures

    Your camera features easy, rapid
      flash picture-taking (from 4 to 30
    feet) with self-powered magi-
     cubes. As you advance the film,
     the cube rotates counterclockwise
     to bring one of its four bulbs into
     firing position.
      Although magicubes will flash   camera as shown on page 9. This    without a battery, your camera's                                           positions the magicube above the     battery must be good to set the                                  camera lens to help prevent un-
     correct shutter speed for well-   usual shadows in flash pictures.    exposed flash pictures. (See page
     5, "checking battery.")            IMPORTANT: Be sure to use only self-                                      powered magicubes. You will damage
      For the most pleasing vertical-   your camera if you try to use battery.
    format flash pictures, hold the   powered flashcubes.t6
View original page 21Page 22 · Read text
www.butkus.us
                      2 Instqlt mogicube-Press a magi-
                               cube onto the extender until the
                                cube snapJocks in place. (If nec-
                                  essary, rotate the cube until a
                                    fresh bulb faces forward.) To re-
                           move a cube, simply lift it off.
                                NOTE: Although it's handy to store a
                                    cube on the extender, we don't recom-
                              mend it. lf you accidentally drop the
I  lnserl exlender-For flash pic-   extender with a cube installed, all four                                       bulbs may flash.tures of people and animals, insert
the supplied Kooer Magicube  3 Set focus slide-The camera-
Extender into the cube socket on   to-subject distance must be set
the camera. (This increases the   correctly for proper flash expo-
distance between the magicube   sure. If you are closer than 4 feet,
and camera lens to minimize red  your subject will appear very
reflections in people's eyes, some-    light (overexposed) in the picture;
times visible in flash pictures.)      farther than 30 feet, your subject
                                                                   T7
View original page 22Page 23 · Read text
will appear dark in the picture. If  ToR LIGHT will appear in the view-
    you do not set the focus slide cor-   finder as you press the shutter
     rectly, your pictures will not be   release. To observe this signal, it
    sharp or correctly exposed.           is very important that you press
  4 loke the picture-Frame your   the shutter release very slowly.
     subject in the viewfinder (page
     8). Hold the camera steady and
     gently s-q-u-e-e-e-z-e the shutter
                                                                       USED     release to flash the bulb and take
    the picture. The red rNDrcAToR           BULA
    LrcHT-usED surn-will appear                     i-"'*i    in the finder as the bulb flashes.                FWH OR TIXE
    Then advance the film to the next                     VIEWFINDER
    exposure. The magicube will ro-
    tate automatically to bring an-   NOTE: Disregard the amber indicator
     other bulb into firing position.         light when taking flash pictures. With
                                    a magicube in the socket, the shutter
    Used-Bulb Worning-When a used   speed is set automatically for flash
    bulb faces forward, a red rNorcl-   and no extended exposures will occur.18
View original page 23Page 24 · Read text
www.butkus.us
Fill-ln Flosh-When you take pic-
tures outdoors, shadows may ap-
pear on the faces of your subjects
in some lighting conditions. To
help lighten these shadows, place
a magicube on the camera, set the
focus slide (4 to 30 feet), and then
take the picture.

serialnurnber                     Your pictures will be more interest-
                                            ing if you include close-ups of peo-
A serial number is stamped on      ple. Move in as close as 3 feet.
the bottom of your camera near
the film advance. Make a note of
this number for your records.

                                                                                                         1,9
View original page 24Related documents and language editions
KodakPDF
Kodak Instamatic 100
User manual
18 pages · EnglishRead →
KodakPDF
Kodak Instamatic 104
User manual
17 pages · EnglishRead →
KodakPDF
Kodak Instamatic 300
User manual
17 pages · EnglishRead →
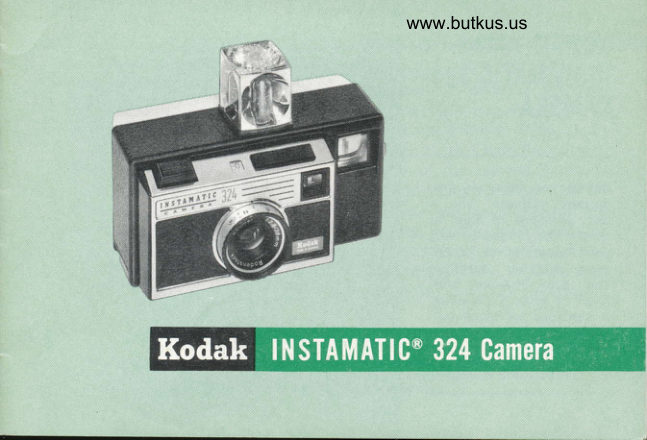
KodakPDF
Kodak Instamatic 324
User manual
17 pages · EnglishRead →
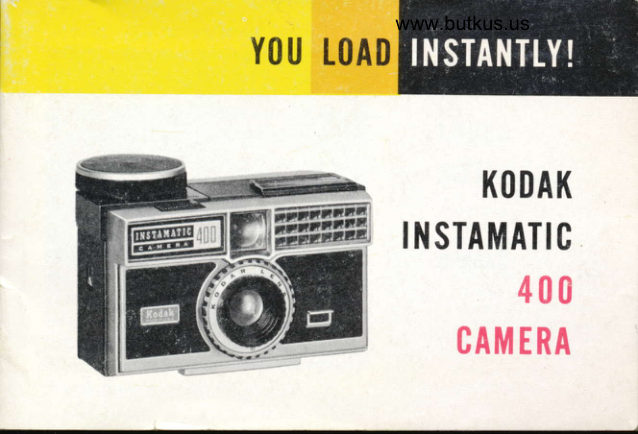
KodakPDF
Kodak Instamatic 400
User manual
37 pages · EnglishRead →
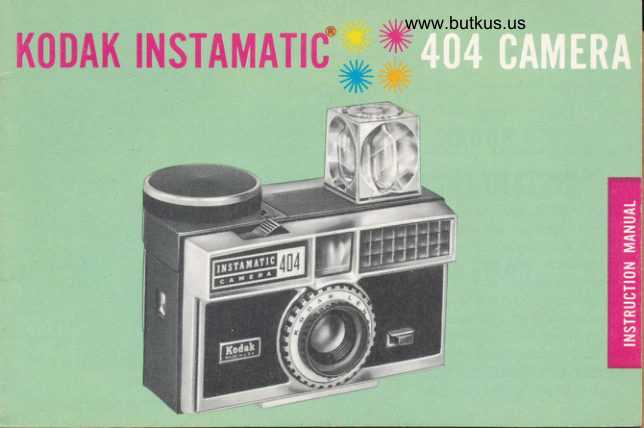
KodakPDF
Kodak Instamatic 404
User manual
17 pages · EnglishRead →
KodakPDF
Kodak Instamatic 414
User manual
16 pages · EnglishRead →
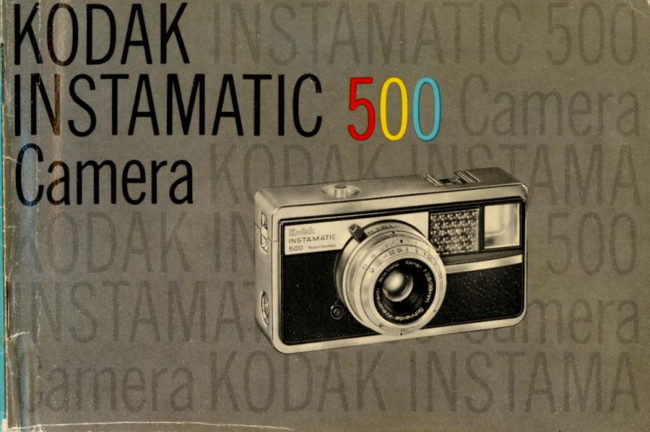
KodakPDF
Kodak Instamatic 500
User manual
21 pages · EnglishRead →
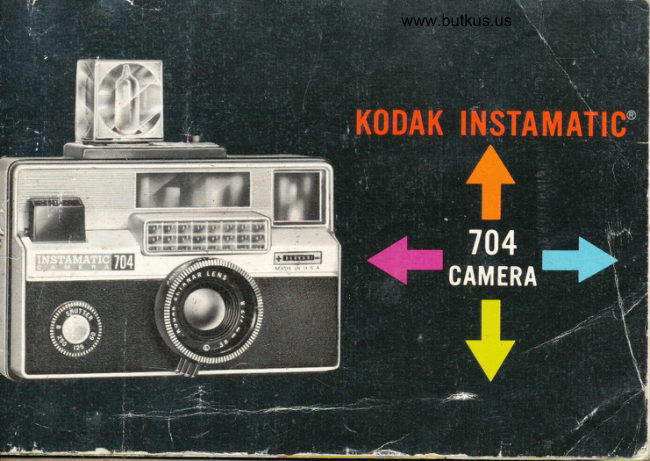
KodakPDF
Kodak Instamatic 704
User manual
20 pages · EnglishRead →
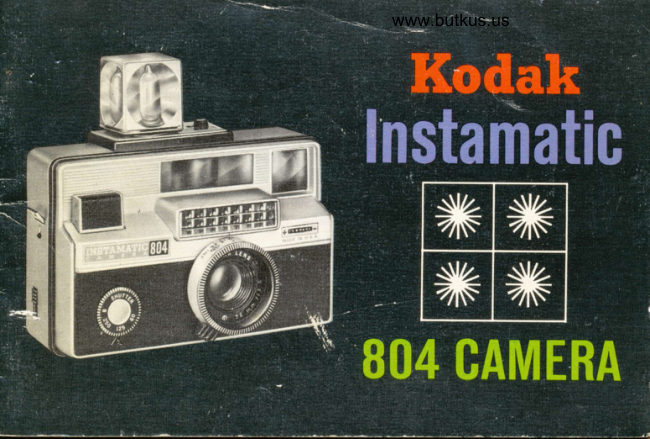
KodakPDF
Kodak Instamatic 804
User manual
21 pages · EnglishRead →
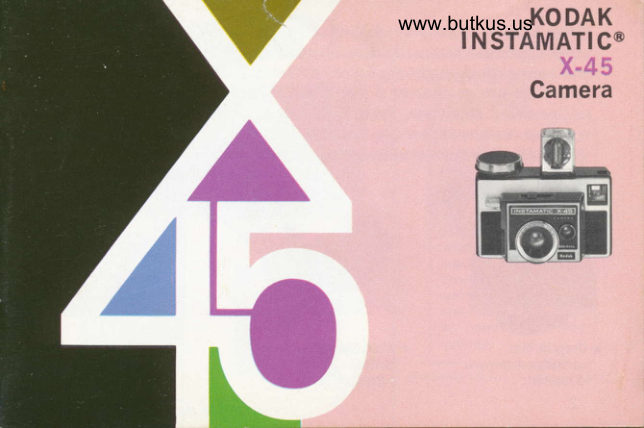
KodakPDF
Kodak Instamatic X45
User manual
18 pages · EnglishRead →

KodakPDF
Kodak Instamatic X90
User manual
23 pages · EnglishRead →
From the M. Butkus archive. Original publisher and archive notices are retained.
Check the model and edition against your equipment.
PDF verified 2026-10-10.