Film cameras
Kodak Instamatic 400 User manual
User manual for Kodak Instamatic 400. 37 pages in English. Read the original PDF, download or print a copy without registration.
37 pagesEnglish6.0 MB PDF
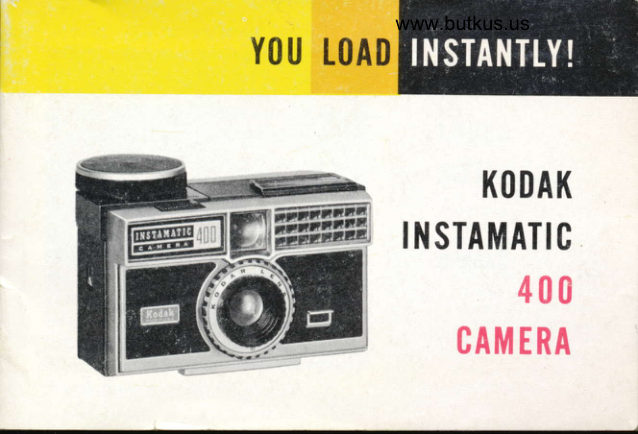
Loading your manual…Open PDF directly
Document details
- Brand
- Kodak
- Model / document
- Kodak Instamatic 400
- Document type
- User manual
- Language
- English
- Pages
- 37
- File size
- 6.0 MB
- Category
- Film cameras
- Document date
- Not specified in catalog
Search available document text
Find a term, then jump to its page in the original PDF. Image-only pages may not be searchable; check the PDF for exact wording and diagrams.
Page 3 · Read text
(osu3^ nv uto^)                                     www.butkus.us
                       'gsnlu sBd        CHECK YOUR
lsa,u llajBdd8,l snbslol sif?4pj e4?           BATTERIES
Ue^md setld sal Jlaredde,g ep slcel        FOR FTASH
-uoc sel unulxout na ratglord no4
                    luauenbgpo
-p9d n19d9g '1gardde,; susp Jor?su!      During storage somo batteries
sal ep pele sa;1d sap ounceqc op       acquire a slight deposit which can
s?l!ru?4xa set apil aEug; un corc       cause flash failure. To ensure posi-
zollul tceluoc uoq un JeJnssB Jnod        tive contact, rub each end of aach
'aduepyod np iltaueuuollouol nB       battery with a rouglt cloth before
grnu atelcols ol lusrnp sag;d sau;e1        inserting them into your camora.
                                      Repeat periodically.-.rec Jns lusurlol es $d?p retl  a'1
                                      For maximum protection of camera
     Sdurv-t'3ruod                contacts, bafteries may be removed                                       camera is to be stored.     no $]td                          if
    s31 Z3lJrUlA
View original page 3Page 5 · Read text
Your Kooer INsrevrertc 400 Camera,
                    with l/8 lens, gives you automatic film             advance  automatic electric-eye ex-
                      posure . . . built-in "pop-up" flash. These
                   and many other features combine to pro-
     K(IDAK       vide instant, eff ortless picturetaking.
                      Simply do this . .  .INSTAMATIC               o DroF in Film Cartridge  camera  is                                               -
        400        loaded                     r Wind Spring-power Motor . . . first ex-
                        posure is ready      Camera               o Aim through EyeJevel Finder-you see
                    a bright, clear image of your subject
              o Press the Shutter Release   you've                                                  -                      snapped the picture. Film will advance
                         automatically to next frame
                                                  . . . read on lor the important details
View original page 5Page 7 · Read text
Your camera accepts Kodak No. 126
Film in the Kodapak Cartridge for in-
stant loading and unloading.
  You can make black-and-white snap-
shots, color snapshots or color slides, de-
pending on which of four film types is
loaded in the camera.
Kodok Verichrome Pon Film - For l2 block-ond-white snopshols. Standard enlarged
3t/2 x 3 Vz-inch black-and-white prints
from your 26 x 26 mm negatives can be
ordered from your photo dealer.
Kodocolor-X Film - For | 2 color snopshots.Standard enlarged 3Vz x 3Vz-inch color
View original page 7
Page 8 · Read text
www.butkus.us

 prints (like that shown in reduced size on
page 3) or even greater enlargements                               fromyour 26 x 26mm negatives are avdilable
from your photo dealer.                        COLOR-XNOTE: AlthoughFilm isKODA-pri-
                                                          marily for color prints,
                                             slides.        and KODAK EKTA-Kodachrome-X Film - For 20 colorColor slides, mounted in standard 2 x        CHROME-X and KODA-
2-inch cardboard mounts, are for showing          colorCHROME-Xslides, Filmsneverthe-forin slide projectors and can be obtained            less, color slides can
through your photo dealer.                    be made from KODA-                                       COLOR-X and color
Kodok Ektachrome-X Film-For 20 color          prints from KODAK
slides. Color slides, mounted in standard        KODACHROME-XEKTACHROME-XFilms.and
2 x 2-inch cardboard mounts, are for
showing in slide projectors and can be ob-
tained through your photo dealer.
View original page 8Page 10 · Read text
www.butkus.us
                   :#FEi                           ii  fiifi

iigFigiFigiiFiiii
  oozY                  iiiiiiiifjiii          .{{I
   Afozt                    iigiEi;iliIIgg
View original page 10Page 11 · Read text
The size of the lens opening is automati-
                               cally controlled by the amount of light re-
                             flected to the electric eye by the subject.
    \t,              Makeobstructed,sure thutduringthepicturetaking,etgcrRlc EYEbyis notthe
                             fingers or ony other obiect, and that the  ii,,"fi[r                          contere is rtot pointed toward the sun or
                           other brigltt light-source.
                          NOTE: Look through the viewfinder window. lf, in
www.butkus.us                  the light rectangle at the right of the viewfinder'
                          you can see any portion of the WARNING BAR'
                                 there is not sufficient light for a properly exposed
                                     picture. Also, see note, Page 11.
                     Keep at least 5 feet from your subject for
        VIEW.               sharp pictures.
       FINDER
                       WARNING BAR
View original page 11Page 12 · Read text
www.butkus.us
o View the picture with your eye close to and centered on the rear
  viewfinder opening, as shown.
o Hold the camera steady and take the picture by srowly pressing
  down the ssurrER RELEAse all the way.
r with the motor wound, film advances automatically to the next
  frame when pressure is removed from the shutter release.
 FLASH PICTURES
  Films, Bulbs ond Distonce-Flash shots are as easy as outdoor shots.
  Just be sure to use the right color bulb (clear or blue) for the film
  loaded in the camera, and observe the recommended camera-to-
  subject distance ranges as described below. For handy reference,
  distance ranges are shown on the back of the flasholder.
o For color slides, indoors, use Kooex ErrecHnoue-X or Kooe-
 csnove-X Film and AGI-B (blue) bulbs. The camera-to-subject
  distance must be between 5 and 10 feet.
View original page 12
Page 13 · Read text
For color prints, indoors, use Kooecolon-X Film and AG-l (clear)
        bulbs. Camera-to-subject distance must be between 5 and 14 feet.
       For black-and-white prints, indoors, use Kooer VrRrcnRoME Pan
       Film and AG-l (clear) bulbs. The camera-to-subject distance must
       be between 5 and 14 feet.
         Botteries: Two fresh photoflash or flashlight, size AAA, batteries
       are required. Weak battefies may cause flash failures. To install
         batteries, first open the battery compartment on the bottom of the
       camera, as shown below, by sliding the raised nts of the battery
       cover to the opposite end of the recess. Insert the batteries - one                            base down; the other base up- as illus-
        El                   trated. Press down slightly against the bat-                                                    the cover back to close        IOI       t          teries while sliding
       EI    E      the compartment. The cover must be all          --              Ilif             't *,,    the way closed to complete the circuit'
l0   I,=
View original page 13Page 14 · Read text
www.butkus.us

              Toking Flosh Pictures
          To raise the flasholder, first press the flasholder
             RELEASE BAR to "pop up" the flasholder slightly;
             then grasp the flasholder and raise it into pic_
               ture-taking position. Flash exposure is not con_
                trolled by the electric eye, but depends on the
               distance from the flash bulb to the subject. Dis_
                     the appearance of the warning bar. The              legard
               flasholder ntust be all the way up to make elec_
                  trical contact, and to insert and eject bulbs.
             NOTE: lf in outdoor picturetaking, the warning bar (in
                 viewfinder window) indicates insufficient  light f6r proper
                exposure because of heavy overcast or shaded light con-
RETEASE          ditions, take a flash picture. Under these conditions.
                acceptable exposure of subjects, 5 to l0 feet from the
               camera, can be made with a blue bulb in the flasholder.

                                                                                                  ll
View original page 14Page 15 · Read text
Carefully remove a flash bulb from the
                          package by sliding it out the end of the
                         tube so that the wire contacts are not
                           damaged.
                                Insert an AG-l type flash bulb, as shown
                             at the left, by sliding the narrow edge of
                             the glass base in (from the front) between
                          the flasholder coNracrs and pressing it
                           back until it is locked in place. Never flash
                            bulbs in an explosive atmosphere. To re-
                                lease a used bulb, press the bulb EJEcroR
                             as far as it will go toward the center of the
                            camera. Do not touch bulbs during or im-
CONTACT                      mediately after flashing-they are extreme-
            CONTACT     i        ly hot.
                               t2
View original page 15Page 16 · Read text
www.butkus.us
              Toking Flosh Picrures                                                                         t
          To raise the flasholder, first press the flasholder
             RELEASE BAR to '.pop up', the flasholder slightly;
             then grasp the flasholder and raise it intJ pic_
               ture-taking position. Flash exposure is not con_
                trolled by the electric eye, but depends on the
               distance from the flash bulb to thjsubject. Dis_
                    the appearance of the warning bar. The            leggg
               flasholder must be all the way up to make elec-
                  trical contact, and to insert and eject bulbs.
             NOTE: lf in outdoor picturetaking, the warning bar (in
                 viewfinder window) indicates insufticient  light f5r proj".
                exposure because of heavy overcast or shaded  tigtrt cbn-RETEASE          ditions, take a flash picture. Under these conditions,
                acceptable exposure of subjects, 5 to lO feet from the
               camera, can be made with a blue bulb in the flasholder.

                                                                       1l
View original page 16Page 17 · Read text
Carefully remove a flash bulb from the
                          package by sliding it out the end of the
                         tube so that the wire contacts are not
                           damaged.
                                Insert an AG-l type flash bulb, as shown
                             at the left, by sliding the narrow edge of
                             the glass base in (from the front) between
                          the flasholder coNracrs and pressing it
                           back until it is locked in place. Never flash
                            bulbs in an explosive atmosphere. To re-
                                lease a used bulb, press the bulb EJEcroR
                               as far as it will go toward the center of the
                            camera. Do not touch bulbs during or im-
CONTACT                      mediately after flashing-they are extreme-
             CONTACT         ly hot.
                             t2
View original page 17Page 18 · Read text
www.butkus.us

       A transparent plastic FLASHGUARD  is
            packed with the camera. Since bulbs may
              shatter when flashed, use of this protective
           guard is recommended. After inserting a
              fla.sh bulb, grasp the flashguard by its
              raised TAB, and, as illustrated, seat one nar-
                row end inside the left frame, flex the
                   flashguard slightly; then seat the op-
                  posite narrow end inside the right
                    Remove guard before ejecting                   frame.
                  bulb or retracting flasholder.             TAB
                NOTE: A fresh bulb can remain in the
                     flasholder without firing when ttre flaih-
www.butkus.us        older is retracted into thi case. Therefore,
                    you.can always be ready for a quick flash
                 shot-merely  raise tn-e ttasn6lder and                      shoot.
                                                           l3
View original page 18Page 19 · Read text
The distance from the flash bulb to the
                              subject is important for proper exposure.
                            Therefore, make sure that the subject is
                         not closer than 5 feet, or farther away
                         than 10 feet with blue bulbs or 14 feet
                             with clear bulbs.
                             NOTE: The most pleasing appearance  of the sub-
                                      iect's eyes will result when the flash picture is                                 taken in a brightly lighted room, and the subiect
                                          is not looking directly at the camera.
                         View the picture with your eye close to the
                               rear opening of the viewfinder, and slow-
                            ly press the shutter release to flash the
                           bulb and take the picture.

I4
View original page 19Page 20 · Read text
t--                                      www.butkus.us

              Don't obstruct the rens or erectric eye (with fngerc, GasG, or strap).

               Hold the crmera steady. Koep at least 5 feet from the subfect

          Keep the motor wound-you'il arways be ready for a series of pictures.

                     Keep the Gamora lens and yieuvllnder clean;
                    use KODAK Lens Cleaner or a soft linfless cloth.

               With outdoor pictures, check to see if the warning bar in the
                  viervfinder window is showing. This indicates insurftcient right.
View original page 20Page 22 · Read text
Votre Camera Kooaxwww.butkus.usINsraunrrc 40O e
                              objectif /8 vous offre I'avance automatique du                       film .     l'exposition automatique pai oeil
                      6lectrique .  un porte-flash escamotable i                    m€me. GrAce i ces perfectionnements et i de
                       nombreuses autres caract6ristiques, vous pouvez
                          prendre des photos instantanhment et sans efort,
    Cam e ra
                      Vous n'ovez qu'd foire ceci . .  .
     KO DAK        . Ins6rez la cartouche de film-la camera est
                           charg6e
IIISTAMATIC       r Remontez le moteur i ressort . . . vous €tes
                              pr€t  ir prendre la premidre photo
           4ilG       . Visez ir travers le viseur i niveau d'oeil-vous
                         voyez une image claire et brillante de votre
                                  sujet.
                              . Appuyez sur le d6clencheur de I'obturateur-
                                   la photo est prise. Le film avancera automati-
                       quement i  la pose suivante
                                                 . . . Iisez les ditails importants qui suivent
View original page 22Page 24 · Read text
www.butkus.us
 Utilisez pour votre cameraleFilmKodakNo 126
en Cartouche Kodapak pour un chargement et
un d6chargement  instantan6s.
  Vous pouvez prendre des instantan6s en noir
et blanc, des instantands en couleurs ou des
diapositives en couleurs, selon le type de film
que vous employez parmi les quatre films
disponibles.
Flfm Kodo& Vorichroap Pan-Pour 12 Inrtonton6r
ca noir el blonc. Vous pouvez commander chez
votre marchand d'articles photographiques des
6preuves agrandies standard en noir et blanc de
3Vzx3Vz pouces de vos n6gatifs de26x26mm.
Fllm Kodocolor-X-Pour   l 2 Intionionrir en couleun.
Vous pouvez faire faire par votre marchand
d'articles photographiques des 6preuves
agrandies standard en couleurs de 3/2 x 3V2
View original page 24
Page 25 · Read text
pouces (comme celle illustr6e en format r6duit
en page 3) ou m€me des agrandissements  de
plus grand format de vos n6gatifs de26x 26mm.
Fifm Kodochrome-X-Pour 2O dioposilives en     REMARQUE: Le Film                                 KODACOLOR-X estcouleurs. Les diapositives en couleurs, mont6es      congu principalement
dans des passe-partout standard de2x 2 pouces       pour des 6preuves en
en carton, peuvent 6tre utilis6es avec des pro-        couleurs, et les Films                                      KODAK EKTACHROME.
jecteurs ir diapositives. Vous pouvez les obtenir     X et KODACHROME-X
par I'interm6diaire de votre marchand d'articles        pour des diapositives en
                                                       couleurs, mais on peutphotographiques.                                        laire laire des diaposi-
                                                                                                      le                                                    en                                                                 couleurs avec                                                                 tivesFifm Kodok Ektochrcne-X-Pour 2O dioposilives en                                                                                         et                                               KODACOLOR-X                                               Film
couleurs. Les diapositives en couleurs, montEes      des 6preuves en cou-
dans des passe-partout standard de2x 2 pouces        leurs avec !es Films
en carton, peuvent €tre utilis6es avec des pro-        etKODAKKODACHROME-X.EKTACHROME.X
jecteurs i diapositives. Vous pouvez les obtenir
par I'interm6diaire de votre marchand d'articles
photographiques.
View original page 25Page 28 · Read text
www.butkus.us
               PHoTos   L'ExTInlrun                             i                           r L'ouverture du diaphragme est automatique-
                          ment contr6l€e par la quantit6 de lumidre re-
                                        fl6tee par le sujet dans I'oeil6lectrique. Assurez-
           -ds     pendantvous quequeI'oEILvousEI-Bcrnreueprenez la photo,n'est parpas unobstrui,doigt'
oEcrrNcxeun                 ou un objet quelconque, et que la camera n'est                          pas tournie vers Ie soleil ou toute autre source
                              lumineuse brillante.        3
                            REilIARQUE: Regardez  i  travers la fen€tre du                                    viseur. Si la lumidre est trop faible pour prendre                Elecrruoue       une bonne photo, une bCrre d'aiertis'sement
            ^tr         ''           apparaitraviseur. Voirdans6galementle rectanglela remarquelumineux eni droitepage 11.du
                     o Pour prendre des photos claires et nettes, tenez-
                           vous i une distance minimum de 5 pieds du
                                      sujet.
                                . Regardez  ir travers le viseur en centrant bien la

                                   BARRE D'AVERTISSEMENT
View original page 28Related documents and language editions
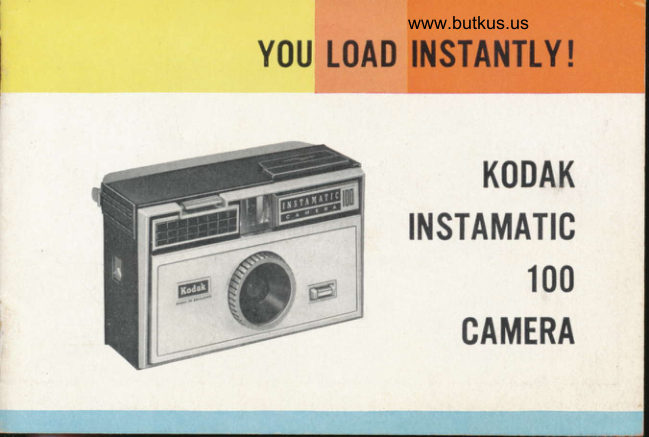
KodakPDF
Kodak Instamatic 100
User manual
18 pages · EnglishRead →
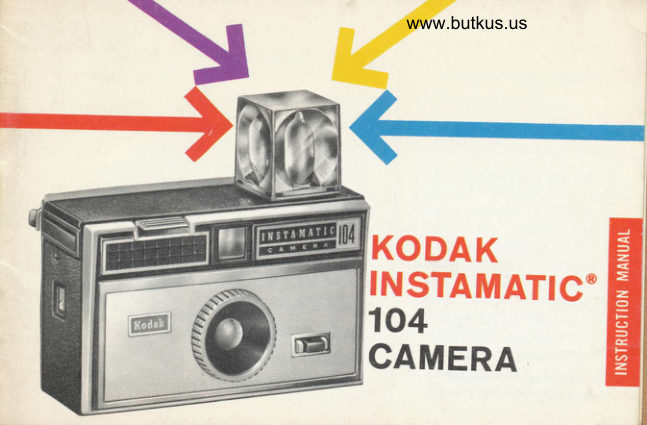
KodakPDF
Kodak Instamatic 104
User manual
17 pages · EnglishRead →
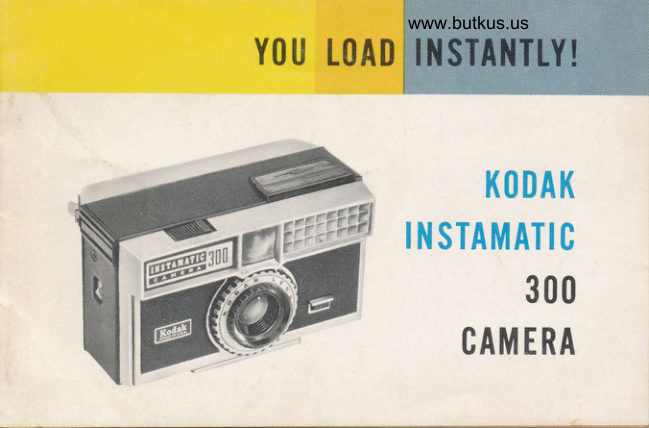
KodakPDF
Kodak Instamatic 300
User manual
17 pages · EnglishRead →
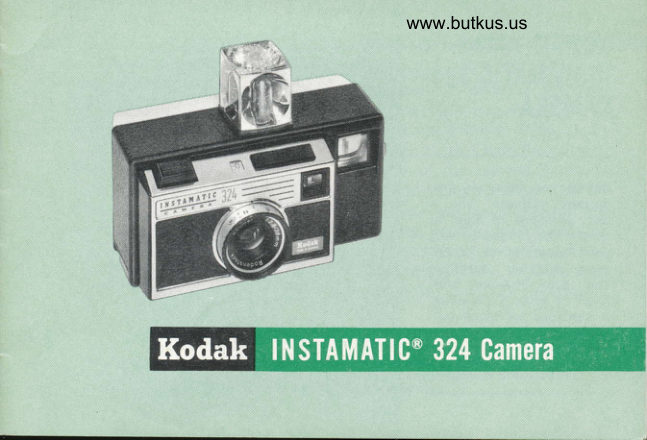
KodakPDF
Kodak Instamatic 324
User manual
17 pages · EnglishRead →
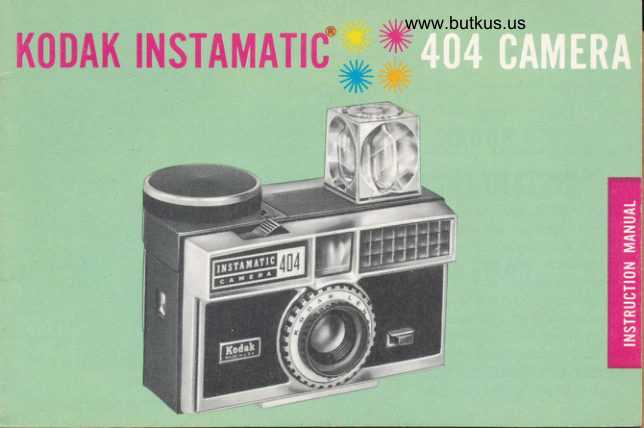
KodakPDF
Kodak Instamatic 404
User manual
17 pages · EnglishRead →
KodakPDF
Kodak Instamatic 414
User manual
16 pages · EnglishRead →
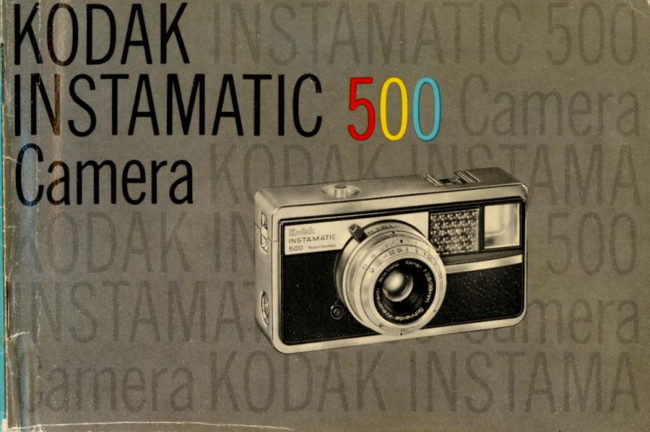
KodakPDF
Kodak Instamatic 500
User manual
21 pages · EnglishRead →
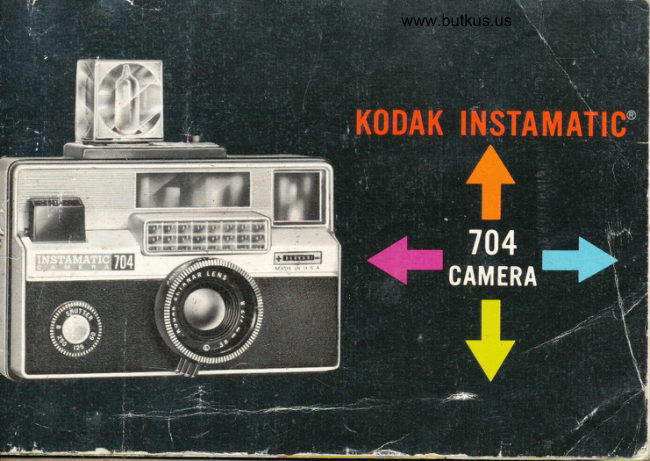
KodakPDF
Kodak Instamatic 704
User manual
20 pages · EnglishRead →
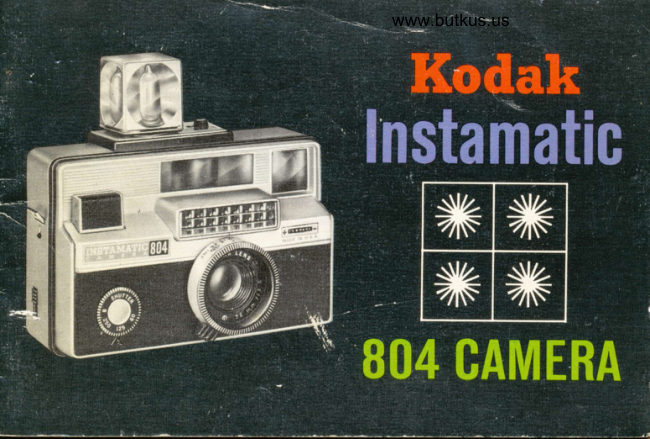
KodakPDF
Kodak Instamatic 804
User manual
21 pages · EnglishRead →
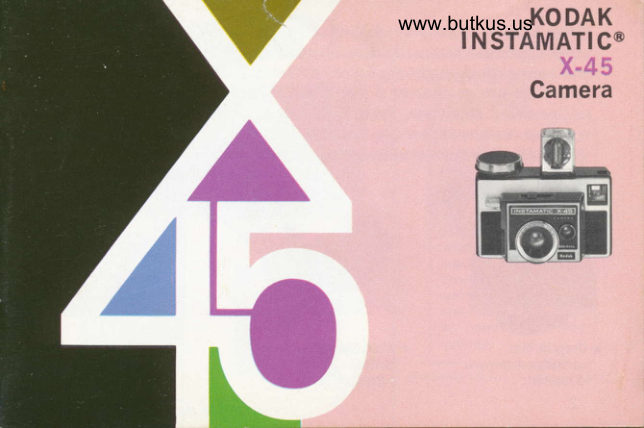
KodakPDF
Kodak Instamatic X45
User manual
18 pages · EnglishRead →
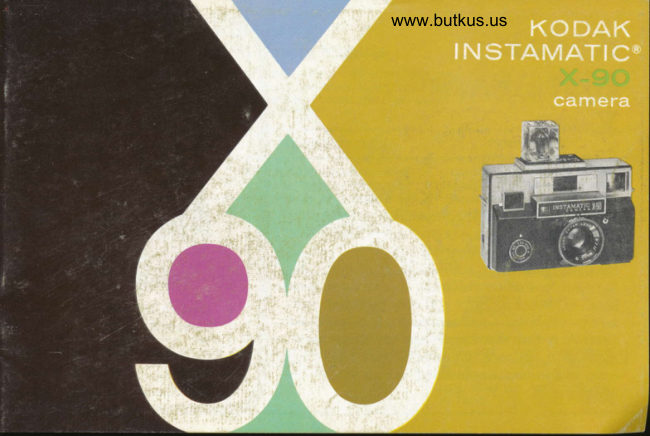
KodakPDF
Kodak Instamatic X90
User manual
23 pages · EnglishRead →
KodakPDF
Kodak Pocket Instamatic 60
User manual
33 pages · EnglishRead →
From the M. Butkus archive. Original publisher and archive notices are retained.
Check the model and edition against your equipment.
PDF verified 2026-10-10.