Film cameras
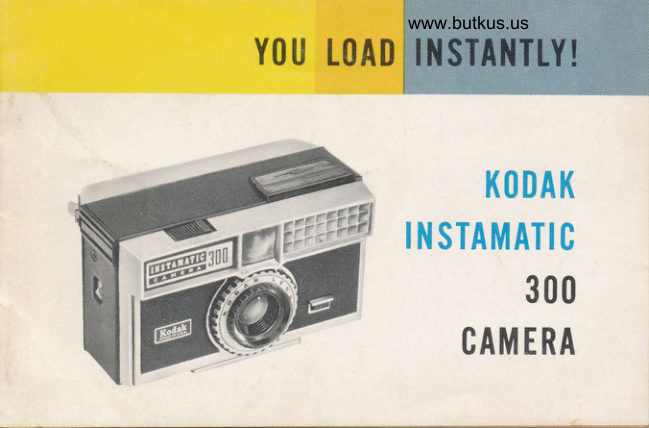
Kodak Instamatic 300 User manual
User manual for Kodak Instamatic 300. 17 pages in English. Read the original PDF, download or print a copy without registration.
17 pagesEnglish2.9 MB PDF
Loading your manual…Open PDF directly
Document details
- Brand
- Kodak
- Model / document
- Kodak Instamatic 300
- Document type
- User manual
- Language
- English
- Pages
- 17
- File size
- 2.9 MB
- Category
- Film cameras
- Document date
- Not specified in catalog
Search available document text
Find a term, then jump to its page in the original PDF. Image-only pages may not be searchable; check the PDF for exact wording and diagrams.
Page 2 · Read text
There are no exposure settings to make
                     with your new Koox INsr.luenc 300
                   Camera-the built-in electric eye does it
                         automatically. This, and many other fea-
                          tures, such as built-in flasholder, combine
        K(| DAK       to give you instant, effortless picturetak-
                             ing.
INSTAMATIC       Simply do fhis . .  .
                       * Drop in Kooeper Cartridge-camera  is
         300         loaded
                         r Operate Film Advance Lever    first ex-      Camera                                        -                         posure is ready
                         r Aim through Eye-level Finder   you see                                                         -                        a bright, clear image of your subject
                                                           you've                         r Press the Shutter Release -                       snapped the picture.
                                                         . . . read on for the important details
View original page 2Page 5 · Read text
Your camera accepts Kodak No. 126
Film in the Kodapak Cartridge for in-
stant loading and unloading.
  You can make black-and-white snap-
shots, color snapshots or color slides, de-
pending on which of four film types is
loaded in the camera.
KodokVerichrome Pon Film-For l2 block-
ond-white snopshots. Standard enlarged
3V2 x 3Vz-inch black-and-white prints
from your 28 x 28 mm negatives can be
ordered from your photo dealer.
Kodocolor-X Film - For  I 2 color snopshots.Standard enlarged 3Vz x 3Vz-inch color
View original page 5
Page 6 · Read text
www.butkus.us

prints (like that shown in reduced size on
page 3) or even greater enlargements from
your 28 x 28 mm negatives are available         NOTE: Although KODA-
from your photo dealer.                        COLOR-X Film is  pri-
                                                          marily for color prints,Kodschrome-X Film-For 20 color slides.        and KODAK EKTA-
Color slides, mounted in standard 2 x        CHROME-X and KODA-                                        CHROME-X Films for2-inch cardboard mounts, are for showing          color slides, neverthe-
in slide projectors and can be obtained            less, color slides can
through your Kodak dealer.                   be made from KODA-                                       COLOR-X and color
Kodok Ekfochrome-X  Film  For 20 color          prints from KODAK                           -                   EKTACHROME-X  andslides. Color slides, mounted in standard        KODACHROME-X  Films.
2 x 2-inch cardboard mounts. are for
showing in slide projectors and can be ob-
tained through your Kodak dealer.
View original page 6Page 10 · Read text
www.butkus.us
I    r Viewclose enoughthe subjectto yourby bringingeye (aboutthe rearan inch)openingto seeof thetheviewfinderentire outlinejust
       of the front viewfinder frame. See illustration. When adjusting the
         field of view, move the head and camera as a unit.l    q Hold the camera steady and take the picture by slowly pressing
      down the sHurrER RELEAsr all the way.*
     * Operate the film advance until it locks. The next exposure is ready.
        Double Exposure Prevention: The shutter release cannot be depressed after
         tripping until the film advance lever is again operated until it locks.
    FTASH PICTURES
         Films, Bulbs ond Distonce-Flash shots are as easy as outdoor shots.
        Just be sure to use the right color bulb (clear or blue) for the film
t'      loaded in the camera, and observe the recommended camera-to-
        subject distance ranges as described below. For handy reference,
        distance ranges are shown on the back of the flasholder.
          ':'Make sure that the lens is clean and unobstructed by fingers, case, or strap.
View original page 10Page 11 · Read text
s For color slides, indoors, use Kooer Errecnnovrn-X or Kooe-
 cnnove-X Film and AG1-B (blue) bulbs. The camera-to-subject
  distance must be between 5 and 10 feet.
r For color prints, indoors, use Kooecoron-X Film and AG-1 (clear)
  bulbs. Camera-to-subject  distance must be between 5 and 14 f.eet.
* For black-and-white prints, indoors, use Kooer Venrcsnovn Pan
  Film and AG-1 (clear) bulbs. The camera-to-subject distance must
 be between 5 and 14 feet.
  Bofteries: Two fresh photoflash or flashlight, size AAA, batteries
  are required. Weak batteries may cause flash failures. To install
  batteries, first open the battery compartment on the bottom of the
 camera, as shown below, by sliding the raised nrs of the battery
             cover to the opposite end of the recess. Insert the bat-
                teries - one base down' the other base rzp - as illus-               trated. Press down slightly against the batteries while
              sliding the cover back to close the compartment.
            Cover must be entirely closed to complete circuit.
View original page 11Page 12 · Read text
www.butkus.us

                                                                                                                                              "d6
              Toking Ftosh Pictures                      re
          To raise the flasholder, first press the flasholder
             RELEASE nen to "pop up" the flasholder slightly;
             then grasp the flasholder and raise it into pic-
               ture-taking position. Flash exposure is not con-
                trolled by the electric eye, but depends on the
               distance from the flash bulb to the subject. Dis-
              regard the appearance of the warning bar. The
               flasholder must be all the way up to make elec-
                  trical contact, and to insert and eject bulbs.
             NOTE: lf in outdoor picturetaking, the warning bar (in
                 viewfinder window) indicates insufficient  light for proper
                exposure because of heavy overcast or shaded light con-
RETEASE          ditions, take a flash picture. Under these conditions,
                acceptable exposure of subjects, 5 to 10 feet from the
               camera, can be made with a blue bulb in the flasholder.

                                                                   11
View original page 12Page 13 · Read text
Carefully remove a flash bulb from the
                         package by sliding it out the end of the
                         tube so that the wire contacts are not
                          damaged. Insert an AG-1 type flash bulb,
                               as shown at the left, by sliding the narrow
                          edge of the glass base in (from the front)
                         between the flasholder coNTAcrs and
                               pressing it back until it is locked in place.
                        Never flash bulbs in an explosive atmos-
                             phere. To release a used bulb, press the
                           bulb nrncroR as far as it will go toward
                          the center of the camera. Do not touch
                             bulbs during or immediately after flashing
                          -they are extremely hot.CONTACT
             CONTACT
View original page 13Page 14 · Read text
www.butkus.us

A transparent plastic FLAsHGUeno is
packed with the camera. Since bulbs may
shatter when flashed, use of this protective
guard is recommended. After inserting a
flash bulb, grasp the flashguard by its
raised TAB, and, as illustrated, seat one nar-
        row end inside the left frame,
             flex the flashguard slightly; then
          seat the opposite narrow end
           inside the right frame. Remove
         guard before ejecting bulb or
           retracting flasholder.
           NOTE: A fresh bulb can remain in the
            flasholder without firing when the
             flasholder is retracted into the case.
            Therefore, you can always be ready
             for a quick flash shot - merely raise           the flasholder and shoot.
                                                 l3
View original page 14Page 15 · Read text
The distance from the flash bulb to the
subject is important for proper exposure.
Therefore, make sure that the subject is
not closer than 5 feet, or farther away
than 10 feet with blue bulbs or 14 feet
with clear bulbs.
View the subject by bringing the rear
opening of the viewfinder just close
enough to your eye (about an inch) to see
the entire outline of the front viewfinder
frame. When adjusting the field of view,
move the head and camera as a unit. Slow-
ly press the shutter release to flash the
bulb and take the picture.
View original page 15
Page 16 · Read text
www.butkus.us
PHIITO AI 1IS
You can extencl your picturetaking scope and enjoyment with the
photo aids clescribed below. See your Kodak dealer for these and
others.
KSDAK INSTAMATIC Field Case, Model B-This attractively lined, simulated leather field
case will provide maximum protection for your camera. The special drop-front feature
permits instant picturetaking without removing the camera from its case. Adjustable
neck strap supplied with case.
K0DAK [ens Attachments-For  extra-close pictures of people, flowers, etc., merely slip
a K0DAK Close-Up Attachment, No. 13 over the lens. The subject can then be as close to
the camera as 2Vz ft., or as Iar away as 4 ft.
  With a KODAK Cloud Filter No. 13 over the lens, you can picture fluffy clouds by mak-
ing the blue sky appear darker. Use this filter with KODAK VERICHR0ME Pan Film-never
with Kodak color films.
K0DAK Projectorq-A Kodak projector will show your color slides big, bright, and sharp
on the screen. Ask your dealer to see the low-cost, compact KODAK READYMATIC 500
Projector which provides powerful 500-watt projection and handles up to 36 slides  in
its changer at one time.
                                                                     15
View original page 16Page 17 · Read text
GUARAI{TEE
              Withfn a year after purchase, any repairs necessary to
                this KODAK INSTAMATIC Camera due to a defect in ma-
                terials or workmanship  will be made or, at our option,
             the camera will be replaced without charge. No other
             warranty or guarantee, express or implied, shall be ap-
                plicable to this equipment. Nor are we responsible for
                loss of film, for other expenses or inconveniences,  or for
           any consequential damages occasioned by the equip-
              ment.
                   ln case of a defect, the camera should be sent direcily
               or through a Kodak dealer to Eastman Kodak Company
              or a repair firm authorized by us to make such repairs.
                        It should be accompanied by a description of the trouble
             encountered and other available information regarding
             the camera, including the date ahd place of purchase.
          EASTMAN KODAK COMPANY, Rochester, N. y. f4650
Pt. No.  I 64756
2-64-CH-AXX                                                   Printed in the United Sloles of Americo
View original page 17Related documents and language editions
KodakPDF
Kodak Instamatic 100
User manual
18 pages · EnglishRead →
KodakPDF
Kodak Instamatic 104
User manual
17 pages · EnglishRead →
KodakPDF
Kodak Instamatic 324
User manual
17 pages · EnglishRead →
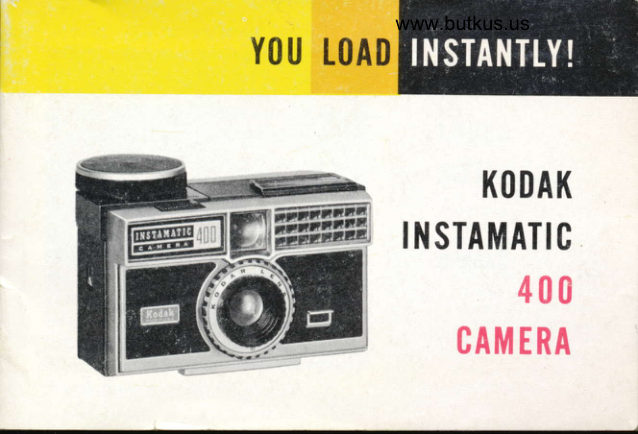
KodakPDF
Kodak Instamatic 400
User manual
37 pages · EnglishRead →
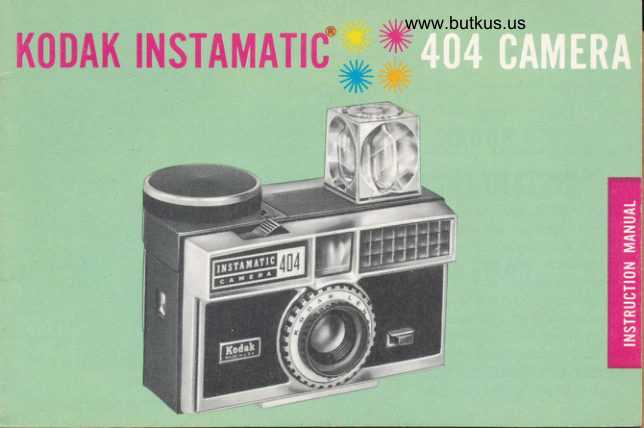
KodakPDF
Kodak Instamatic 404
User manual
17 pages · EnglishRead →
KodakPDF
Kodak Instamatic 414
User manual
16 pages · EnglishRead →
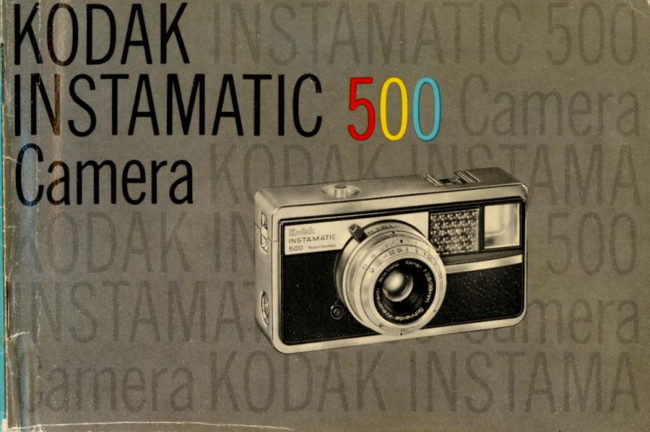
KodakPDF
Kodak Instamatic 500
User manual
21 pages · EnglishRead →
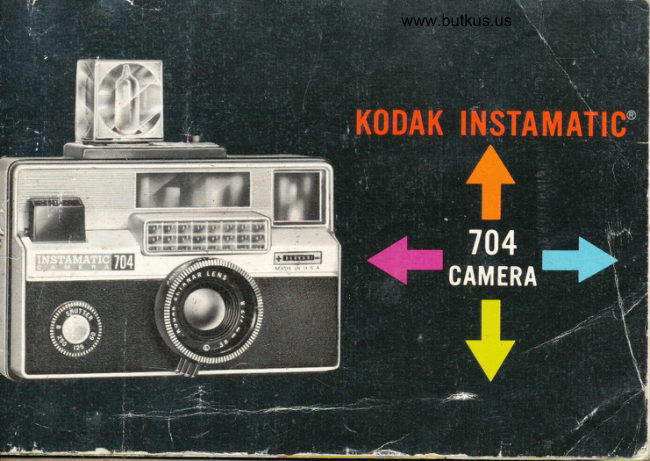
KodakPDF
Kodak Instamatic 704
User manual
20 pages · EnglishRead →
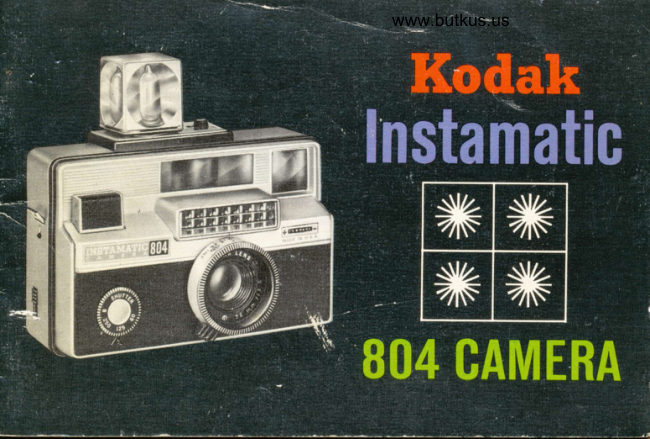
KodakPDF
Kodak Instamatic 804
User manual
21 pages · EnglishRead →
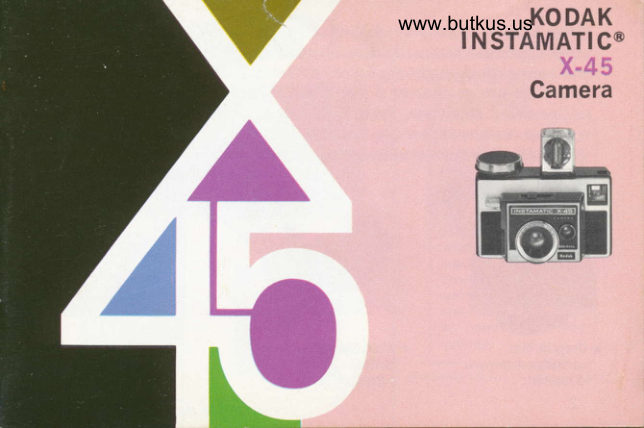
KodakPDF
Kodak Instamatic X45
User manual
18 pages · EnglishRead →

KodakPDF
Kodak Instamatic X90
User manual
23 pages · EnglishRead →
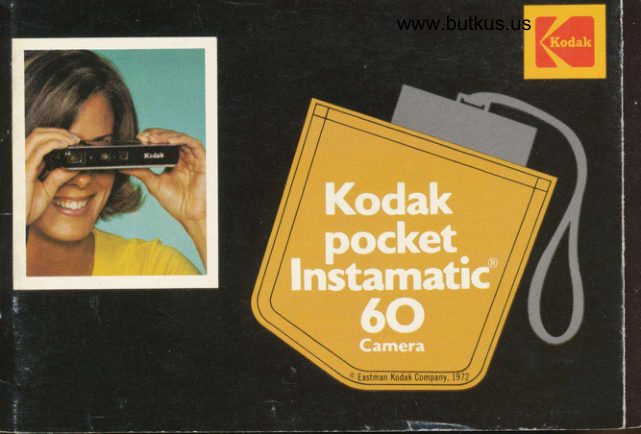
KodakPDF
Kodak Pocket Instamatic 60
User manual
33 pages · EnglishRead →
From the M. Butkus archive. Original publisher and archive notices are retained.
Check the model and edition against your equipment.
PDF verified 2026-10-10.