Film cameras
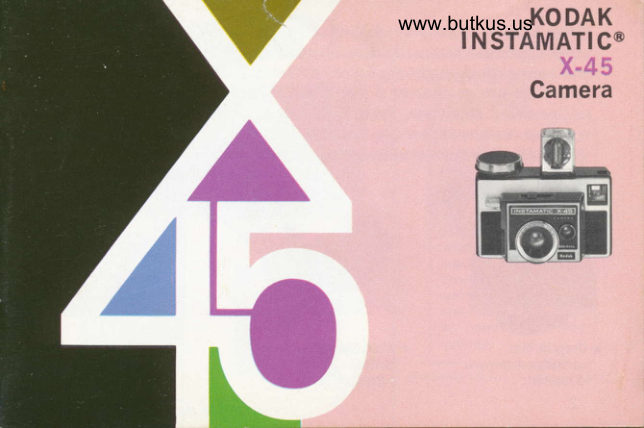
Kodak Instamatic X45 User manual
User manual for Kodak Instamatic X45. 18 pages in English. Read the original PDF, download or print a copy without registration.
18 pagesEnglish2.7 MB PDF
Loading your manual…Open PDF directly
Document details
- Brand
- Kodak
- Model / document
- Kodak Instamatic X45
- Document type
- User manual
- Language
- English
- Pages
- 18
- File size
- 2.7 MB
- Category
- Film cameras
- Document date
- Not specified in catalog
Search available document text
Find a term, then jump to its page in the original PDF. Image-only pages may not be searchable; check the PDF for exact wording and diagrams.
Page 2 · Read text
Your Kooer INsrnveuc X-45 Camera provides many fine auto-
  matic features-automatic film advance, automatic flashcube rotation,
  and automatic daylight exposure control (battery-powered).  It lets you
  take close-ups d.r close as 2 leet. Flash pictures are lighted by the new
  self-powered Magicube, Type X. If a used bulb faces forward, a red
  warning curtain appears in the viewfinder.
  Insed exposure-control battery; then simply do this . .  .


o Drop in film            o Wind Spring-power         o Aim through Finder;
  cartridge-camera         Motor.  . . first                  press Shutter Release
  is loaded.                  exposure  is ready.                to snap picture.
       .)
                                                                              . read on for the important details
View original page 2Page 3 · Read text
www.butkus.usYour camera takes all three-
        I  Black-and-white  prints
    2 Color prints
    3 Color slides
        Before you take any
        especially important
        pictures, try a test
        cartridge of film to
      check the camera
     and your operation
        of it. Expose pictures
      outdoors and also
        indoors with flash. lf
      time is pressing, a
       cartridge of  black-
       and-white film can
     be processed very
         quickly.

    (Pictures shown in reduced size)
                                                 aJ
View original page 3Page 5 · Read text
FllMI     Your camera accepts Kodak film in the 126 cartridge for in-  '  -r'r  stant loading and unloading. From the table below, choose the      .
 film that produces the type of pictures you want. Do not use film with a
 speed higher than ASA 125.

Type ol                                                               l{0. of             Processing                   Film               Produces
Picture                                               Exposures   KODAK
Black-     KODAK         3Vz x 3r/z-inch                        Mailer
and-White  VERICHROME      black-and-white prints       T2      None    0rder from photo                                                                                        retailerPrints      Pan              or enlargements
                                  3r/z x 3Vz-inch             t2     DPT2Color                                                                        0rder from retailer          KODACOLOR-X     color prints or                0rPrints                                                                                           0r                                   enla rgements*             20     DP2O.3S                                                                     Purchase Prepaid
          KODACHROME.X   Color slides, mounted                         Processing Mailer                                                  20Color                     in2x2-inchcardboard                      from retailer. Proper
Slides          KODAK          mounts                                                                                     mailers                                          for projection      20      PK2O    Kodak          EKTACHROME.X                               or viewingt                                                               shown                                                                                        at leftl
 *Color slides are also available from your K0DAC0LOR-X negatives.
 tDuplicate slides or enlarged color prints can be made from your original slides.
 tColor films will be processed and mailed to the address you specify.
   4
View original page 5Page 7 · Read text
Hf
                    Mike Butkus     Digitally                                                                                                                                        DN:ou=butkus.org,Date:cn=Mike2021.07.27signedButkus,email=mike@butkus.org,by19:17:31Mikeo=ButkusButkus-04'00'camera manuals,c=US


  Open the back of the     Place a film cartridge in     Close the back of the cam-
   camera by pressing up    the camera, with the    era by pressing it against
  the locx button a nd     larger cylindrical end    the camera body until  it
   swinging out the hinged    down and toward the     locks. The film name and
    cover.                    lock button, as illus-    number of exposures for
                                     trated.                       that cartridge will appear in
                                                      the wtnoow on the back ol
                                                         the camera. (When motor is
                                                  wound, first exposure posi-
                                                               tions itself immediately.)
View original page 7Page 8 · Read text
EtittflIiIlwww.butkus.us           4                                                                picture, the yellow paper willTurn the wtNDUP KNoB counter'        r  After the lastclockwise (or back and forth like       automatically move past the window, pro'
a watch) until the sPring motor is      vided sufficient power remains in the motor'
fully wound. This winduP Posi'           lf an "X" shows in the center of the window,
tions the first exposure and Pro'       before opening the back of the camera' turn
vides power to advance the film       the windup knob a few turns counterclockwise
automatically. The appearance of       to restore power for advancing the yellow pa'
an arrow in the window indicates      per beyond the window. Do not remove the
that the first exposure has not        cartridge from the camera until all the yellow
been reached, thus indicating in-       paper with the "X's" has been moved past
sufficient windup.                      the window; otherwise several exposures will
  The number that appears in      be "light-fogged."
the window on the back of the    2  Slide up the lock button and open the
camera (the same number may       camera.
appear in duplicate) serves as    3 Remove the cartridge by turning the cam'
your exposure counter.                 era over to allow the cartridge to fall into your
                                  hand. Do not open the cartridge-your pic'
 IMPORTANT: Store camera         tures may be ruined.
 and film away from heat and       NOTE: Removing and replacing partially ex'
  direct sunlight-never in dash        posed cartridges, even under darkroom condi'
  pocket, on rear-window shelf,          tions, may result in the loss of one or more
  or other "hot spot" in a car.          exposures due to possible loss of tension on                                        the cartridge take'up sPool.                                                              7
View original page 8Page 9 · Read text
(lUTD(|tlR PICTURES
                      . The size of the lens opening is automati-
                       cally controlled by the amount of light re-
                     flected to the electric eye by the subject.
                 During picture-taking, tnake sure that the       I
                 ELEcrRrc EyE is not obstructed by your
                     fingers or arD' otlter object, and that the
                   catnera is not pointed toward the sun or
                   sotne other bright light source.
                  r Set the 2-position focus. For normal sub-
                     ject distances (beyond 6 feet) allow the        j
LUMINOUS            ribbed nurroN of the focus slide to remain
 FRAME
                    NOTE: Look through the viewfinder window.  lf there
            -                is not sufficient light to take a properly exposed
                         picture, a red WARNTNG LrcHr will appear in the
                            right side of the viewfinder as the sHUrrER RELEASE
                              is almost fully depressed. Also, see note, page 12.

                     8
View original page 9Page 10 · Read text
www.butkus.us  in its normal position, that is, toward the
  shutter release.
    For close-up pictures (2 to 6 feet), move
  the ribbed button as far as it will go away
  lrortr the shutter release. After each expo-
  sure made with the slide in this close-up
  position, the slide button automatically re-
  turns to the normal (beyond 6 feet) posi-
  tion. It rttust be reset lor anotlrcr close-up
  picture. The focus-slide setting is indicated
 on the slide.
r View the subject by bringing the rear
  opening of the viewfinder close enough to      Color prints and enlarge-
  your eye for you to see the four sides of      ducedments, likesizetheabove,one showncan re-be
  thc r-uMrNous FRAME in the viewfinder; re-      produced from KoDAcoLoR.X
  tain this position and move your head and      Film and other color films.                                                    Actuaf standard size is 3!2  canlera as a unit to outline the subiect in      x 3% inches,
View original page 10Page 11 · Read text
the luminous frame. For proper centering    FLAS H PI CTU RES  of your subject at close distances (2 to 4
  feet), frame the subject so that the two
  imaginary broken lines, shown in the view-
  finder on page 8, indicate the top and left-
  hand boundaries of the picture.
o Hold the camera steady and take the pic-
  ture by slowly pressing down the snurren
  RELEASE all the way. Make sure that the
  lens is clean and unobstructed by fingers,
  case, and strap.
. With the motor wound, the film advances
  automatically to the next frame when pres-
  sure is removed from the shutter release.      Be sure to use onlY the new
                                                           self-powered M
                                                                   x.
                                                    cube
                                                                     camera.
    l0
View original page 11Page 12 · Read text
Your camera features easy, rapid flash picture-takingwww.butkus.uswith the new
Magicube, Type X (shown at left), which contains its own flash power
(draws no battery power). Each Magicube incorporates four blue
bulbs, reflectors, and flashguards. As pressure is removed from the
shutter release after you take a flash picture, the cube rotates one-
quarter turn clockwise to bring another flashbulb into firing position.
Do not take daylight pictures with a used cube in place.
Distance: For properly focused and exposed flash pictures, follow the
table below.

                                                      Camera-To-Subject             Films              Focus Setting                                                           Distance Range
   Koolx VrnrcxnouE Pan       beyond 6 feet       Between 6 and 18 feet
    Kooncolon-X               2 to 6 feet         Between2and6feet
   KooncxRour-X                            beyond 6 feet       Between 6 and 13 feet         or                           2 to 6 feet         Between2and6feet   Koonx ExrncxRone-X

                                                                          11
View original page 12Page 13 · Read text
TAKING FLASH PICTURES
                                  l'  lnsert a Magicube-Insert the base of the
                 MAGTCUBE into the socket on the top of the
                  camera; then press down the cube until it
                     snap-locks in place with one of its four sides
                    facing forward. If a rrserl bulb is in the for-
                ward position. a red wARNTNG cuRTArN ap-
                   pears in the upper area of the viewfinder.
                   Flash exposure is not controlled by the elec-
                      tric eye, but depends on camera-to-subject
                     distance. Disregard the appearance of the
                   warning light in the viewfinder.
                   The cube revolves one-quarter turn as pres-
                    sure is removed from the shutter release after
.::$ll             NOTE:light (inlfviewfinderin outdoorwindow)picture-taking,indicates theinsufficientred warninglight
                        for proper exposure, or if you just wish to lighten
                      shadows on the subject, take a flash picture. This is
                           for subjects in the 2- to l3-foot range.
                    t2
View original page 13Page 14 · Read text
www.butkus.usyou make an exposure, thus providing flash for 4 successive exposures
 if a fresh cube is in place. To use a partially used cube, insert a cube
with a  f resh bulb forward. The cube can also be rotated clockwise by
hand to position a bulb for firing. To remove a cube, lift it off the
camera.
2. Check Gamera-to-Subject Distance-The distance from the cube
to the subject is important for proper exposure. Therefore, make sure
that the subject is within the distance range shown in the table on
page 1 1, and that the  f ocus slide is correctly set  f or the subject distance.
3. Flash the Picture-View the subject by bringing the rear opening of
the viewfinder just close enough to your eye for you to see the four
sides of the luminous frame in the viewfinder; move your head and
camera as a unit to outline the subject in the luminous frame-then
slowly press the shutter release to flash the bulb and take the picture.*
  When pressure is removed from the shutter release, the cube re-
volves one-quarter turn to position another bulb for the next exposure.
 ':'lf for any reason the camera shutter release will not operate, remove the Magi-
 cube. Press the shutter release to advance film before you take another picture.
                                                                13
View original page 14Page 15 · Read text
PH0T0 AIDS You can extend your picturetaking scgpe and en-                ioyment with the photo aids described below. See
                  your photo retailer for these and others.


 KODAK lI{STAMATIC  Field Case, Model [-This attractively lined, molded field case will
 provide maximum protection for your camera. lts special design permits instant picture-
 taking, loading, and unloading without removing the camera from its case. Fasten the
 camera in the case by tightening the screw in the base of the case into the case-retainer
 socket in the base of the camera.
 |(0DAK Projectors-A KODAK Projector will show your color slides big, bright and sharp
on the screen. Ask your dealer to see the popular KODAK CAROUSEL Projectors.
 Kodak Publications-The keys to snapshot fun and success are to be found in How to
Male Good Pictures-perhaps  the most popular picture-taking book of all time. Your
Kodak dealer will be glad to show you this and other inexpensive books on photography.

   ilORE lNFORMAT|0ll-lf you have questions about the use of this camera, write to
   Dept. 841, Eastman Kodak Co., 343 State Street, Rochester, N.Y. 14650.

L4
View original page 15Page 16 · Read text
SERVICE FACILITIES www.butkus.us
 lf your Kodak camera should    Eastman Kodak Company, Central Equipment Service Center
require service, complete    800 Lee Road, Rochester, New York 14650
facilities are provided in    Eastman Kodak Gompany, Regional Equipment Service Center
Rochester and at Kodak Re-    1901 West 22nd Street, Oak Brook, lllinois 60521
gional Marketing and Distri-
bution Centers at the ad-    Eastman Kodak Company, Regional Equipment Service Center
dresses opposite. Also, ser-    1400 Hi Line Drive, Dallas, Texas 75207
vice covered under the war-    Eastman Kodak Company, Regional Equipment Service Centerranty is available through    5315 Peachtree Industrial Blvd., Chamblee, Georgia 30341
independent service shops in
many cities. For such local,    Eastman Kodak Company, Regional Equipment Service Center
warranty-covered  service,    9100 Alcosta Blvd., San Ramon, California 94583
please see your photo retail-    Eastman l(odak Company, Regional Equipment Service Center
er or refer to the yellow    1334 York Avenue, New York, New York 10021
pages of your telephone di-
rectory under Photographic    Eastman Kodak Company, Regional Equipment Service Center                             12100 Rivera Road, Whittier, California 90606Equipment and Supplies-Re-
tail (Kodak Factory.Approved    Eastman Kodak Company, Regional Equipment Service Center
Warranty Service).             1065 Kapiolani Blvd., Honolulu, Hawaii 96807


                                                                15
View original page 16Page 17 · Read text
HEIPFUt HITITS FtlR BETTER PICTURES
 Taking pictures with your camera is fun and easy. We believe you'll be
 happy with the many fine pictures  it turns out for you. lf, occasionally, one
 of your pictures isn't all that you expected, consult the chart below. When
you know what went wrong, you can make sure it won't happen again.
    WHAT             PROBABLE
   HAPPENED            CAUSE               CORRECTION
Daylight  pictures   Battery incorrectly in-   Check battery; positive (*)
too light or too   serted (lack of power to   side must face inside of
dark.                   electric eye).             camera (page 5).
Daylight pictures  Red warning light (for   Observe red warning light
too dark.              insufficient  light) not ob-    (page 8).
                      served.
Daylight pictures    (a) Weak or dead battery    (a) Check battery (NOTE,
too light.              (lack of power to      page 5).
                            electric eye).             (b) Clean battery (page 5).
                      (b) Battery needs clean.     (c) Make sure electric eye
                        ing (lack of power to         isn't obstructed by fin-
                            electric eye).            gers or other object
                       (c) Electric eye ob-       (page 8).
                      structed during pic-
                                  tu re.ta king.
View original page 17Page 18 · Read text
WHAT          PROBABLE
           HAPPENED          CAUSE      www.butkus.usCORRECTION
           Flash pictures too   Subject too far   Keep within distance range s lf yor            dark.            away from flash.     in table on page 11. Do not  rrequ  i                                                          film on longer distances.facili
Rochr      Flash pictures too   Subject too close   Keep within distance range shown
giona        light.                to flash.                in table on page 11.
butio       Pictures blurred.      (a) Camera            (a) Hold camera steady; depress
dress                            movement.           shutter release slowly.
vice                              (b) Subject           (b) Subject should be stationary
ranty                            movement.        or moving slowly toward or
indep                                (c) 2-position fo-      away from camera.
many                             cus button not    (c) Set 2-position focus (pages 8
warra                               properly set.        and 9).
pleas
                          cen-   lmproper use of   View the subject within the lumi-er ol     Subject not
pagel      tered or partly cut    viewfinder.         nous frame (page 9), except at 2
recto       off in picture.                         to 4-foot range use dotted lines
Equ ip                                                  for top and left boundary of pic-
tail  (                                                ture (shown page 8).
Warri      oggy, misty pic-    Dirty camera lens.   Clean lens periodically with a
                      J re.                                clean, lintless cloth or Koonx
                                            Lens Cleaning Paper.
View original page 18Related documents and language editions
KodakPDF
Kodak Instamatic 100
User manual
18 pages · EnglishRead →
KodakPDF
Kodak Instamatic 104
User manual
17 pages · EnglishRead →
KodakPDF
Kodak Instamatic 300
User manual
17 pages · EnglishRead →
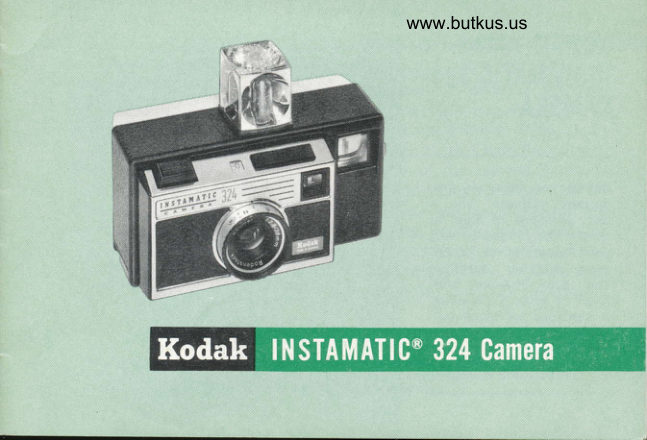
KodakPDF
Kodak Instamatic 324
User manual
17 pages · EnglishRead →
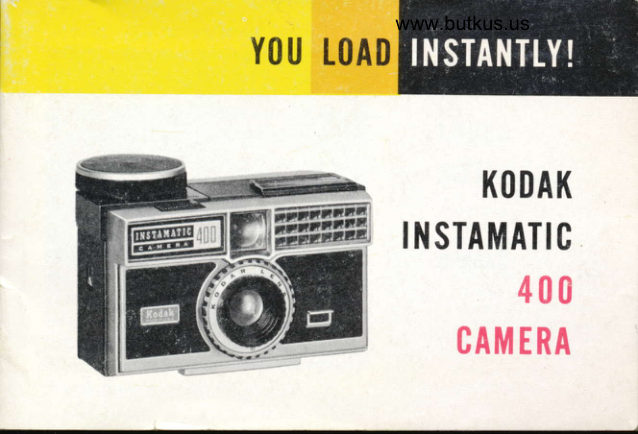
KodakPDF
Kodak Instamatic 400
User manual
37 pages · EnglishRead →
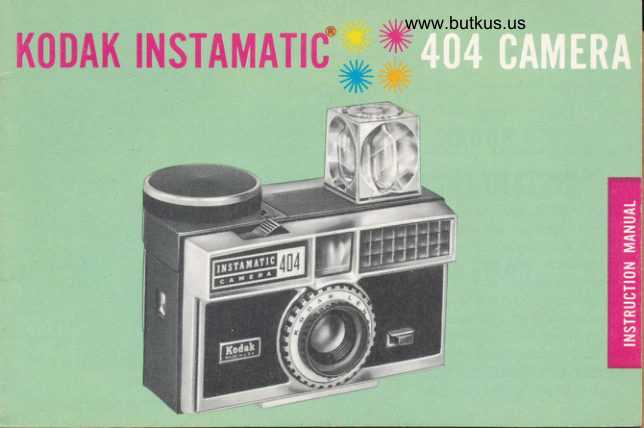
KodakPDF
Kodak Instamatic 404
User manual
17 pages · EnglishRead →
KodakPDF
Kodak Instamatic 414
User manual
16 pages · EnglishRead →
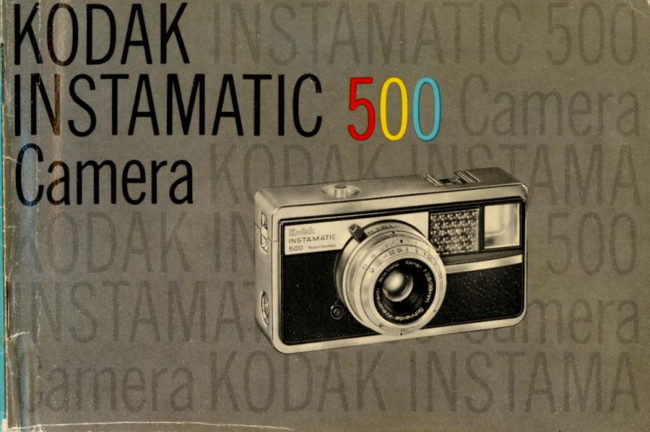
KodakPDF
Kodak Instamatic 500
User manual
21 pages · EnglishRead →
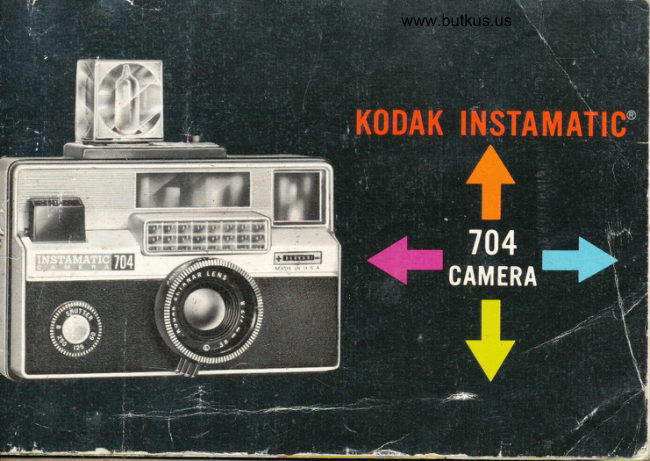
KodakPDF
Kodak Instamatic 704
User manual
20 pages · EnglishRead →
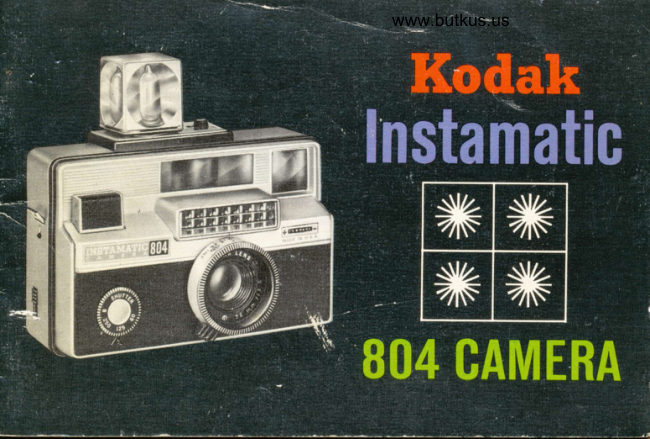
KodakPDF
Kodak Instamatic 804
User manual
21 pages · EnglishRead →

KodakPDF
Kodak Instamatic X90
User manual
23 pages · EnglishRead →
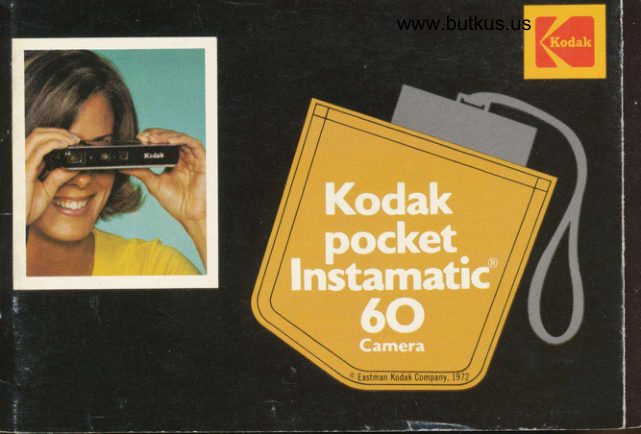
KodakPDF
Kodak Pocket Instamatic 60
User manual
33 pages · EnglishRead →
From the M. Butkus archive. Original publisher and archive notices are retained.
Check the model and edition against your equipment.
PDF verified 2026-10-10.