Film cameras
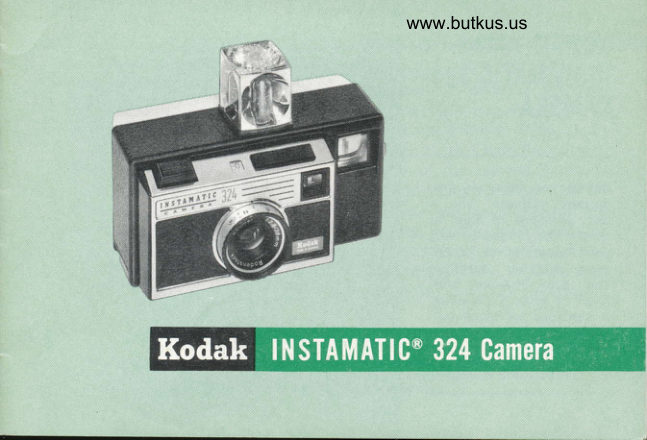
Kodak Instamatic 324 User manual
User manual for Kodak Instamatic 324. 17 pages in English. Read the original PDF, download or print a copy without registration.
17 pagesEnglish3.2 MB PDF
Loading your manual…Open PDF directly
Document details
- Brand
- Kodak
- Model / document
- Kodak Instamatic 324
- Document type
- User manual
- Language
- English
- Pages
- 17
- File size
- 3.2 MB
- Category
- Film cameras
- Document date
- Not specified in catalog
Search available document text
Find a term, then jump to its page in the original PDF. Image-only pages may not be searchable; check the PDF for exact wording and diagrams.
Page 2 · Read text
K()DAK              Your Kooer INsrlvrettc 324 Camera
                             features instant loading, automatic day-
INSTAMATIC 324       light exposure control (battery-powered
                      cadmium sulphide cell), automatic flash-CAMERA                           exposure control, plus automatic flashbulb
                          advance with the new flashcube.
                         For daylight pictures, after having in-
Before you take any im-        stalled the batteries and set the exposure
portant pictures, try  a       control at A (Automatic), you simply . .  .
test cartridge of film to      o Drop in a 126 film cartridge-camera  ischeck the camera and
your operation of it. Ex-         loadedpose pictures outdoors      o Operate Film Advance Lever-first ex-
and also indoors with         posure is ready
flash. lf time is pressing,        r Adjust Focus, then aim through the Eye-a cartridge of black-and-                           Level Finder*you see a bright, clearwhite film can be proc-
essed very quickly  in        image of your subjectmost metropolitan areas.         I Press the Shutter Release-you've
                            snapped the picture
View original page 2Page 3 · Read text
www.butkus.us
                 INSTATL BATTERIES
                    Batteries must be installed before taking any pictures.
                     Install two fresh N-size batteries* (alkaline type rec-
              ommended) to power the daylight exposure control
                and to fire flashbulbs.Do  this as follows: First, clean
                   battery contacts with a rough cloth. Open the battery
                compartment on the bottom of the camera by push-
 ing the covER in the direction of the arrow and swinging it open on its
 hinge, as shown. Position the batteries exactly as follows,.otherwise, the
 exposure control will not operate: Insert the inside battery (nearer
 camera lens) with its minus (-) terminal toward the cover; insert the
 outside battery with its plus (f) terminal toward the cover, as illustrated
 above and shown in the compartment. Close the cover by pressing it
 down firmly until it is locked.
'SlMPORTANT: Power failure (exposure control or flash) usually results from tarnish
 (often invisible) on battery and camera contacts. Clean battery and battery-compart-
 ment cover contacts often with a rough cloth. Clean deep contacts in battery com-
 partment often by rotating a pencil eraser several times against the contacts.  lf
 power failure persists after cleaning, install fresh batteries.
View original page 3Page 5 · Read text
Your camera accepts Kooer Film in the
                            1.26 cartridge for instant loadine and un-
                             loading.

                      Koonx VenrcxnouE Pan Film-For 12 black-
                          and-white snapshots. You can order stand-
                          ard 3Vz x 3lz-inch black-and-white prints
                        or enlargements from your film negatives
                        through your photo dealer.
                        Koorcolon-X Film-For 12 or 20 color snap-
                        shots. Standard 31/2 x 3Vz-inch color
                         prints or enlargements from your film
Clip the wrist strap, packed   negatives are available from your photo
with the camera, to the met-   dealer.
al eyelet on the side of thecamera.                 Kooacxnone-X Film-For 2O color slides.
                        This film produces color slides which can
View original page 5Page 6 · Read text
www.butkus.us
be obtained, mounted in standard 2 x 2-
inch cardboard mounts for projection or
viewing, through your photo dealer.                NOTE:
Koom Exrrcxnone-X Film-For 20 color              tivesYou obtainfrom Kooncoton-Xcolor nega-slides. This film produces color slides            Film. These negatives                                                                primarily                                                                                          en-                                                                           forwhich can be obtained, mounted in stand-          are                                                             larged                                                                        color prints,                                                                                      but
ard 2 x 2-inch cardboard mounts for pro-         you can also obtain
jection or viewing, through your photo            color slides from the                                                              negatives. From Koor-
dealer.                                                 cunoue-X, Kooex High
Koorx High Speed Exrncxnoue Film-For         Speed Exrncnnoue, or                                                  Koonx ExrecnRoue-X,
20 color slides. This extremely fast film is           you obtain color slides,
ideal for taking daylight pictures of dimly         ready for  projection.                                               You can also have du-lighted subjects. It produces color slides            plicate slides or  en-
which can be obtained, mounted in stand-          larged  color   prints                                             made from the originalard 2 x 2-inch cardboard mounts for pro-               slides.
jection or viewing, through your photo
dealer.
View original page 6
Page 9 · Read text
Zone Focusing: For quick focusing, rotate
                        the rENs MoUNT until one of the three
                      symbols on the mount is opposite the
                        INDEX MARK. Set at the head-and-shoulder
                       symbol for close-ups, at the middle sym-
                        bol for groups, at the mountain symbol
                         (end of dial) for distant scenes.
                          Scale Focusing: For accurate distance set-
                             ting, rotate the lens mount until the red
                         figure corresponding to the camera-to-
                          subject distance in feet is opposite the
                         index mark. The red dot between 6 and
                       18 feet indicates 12 feet. Note: The red
                               figures on the scale indicate feet, the black
                               figures indicate meters.


                                                                  Digitally signed by Mike Butkus
                                                 DN: cn=Mike Butkus, o=Butkus camera manuals,
                                                       ou=butkus.org, email=mike@butkus.org, c=USMike Butkus     Date: 2022.07.20 22:20:45 -04'00'
View original page 9Page 10 · Read text
www.butkus.us
     For accurate centering of the picture   .
      o-Bring your eye close to the rear-opening
      of the viewfinder.
I     o Adjust your eye position to see all lour
iI     sides of the luminous frame. It may be
     necessary to shift the eye slightly to make
     the edges stand out.
     o Retain this eye position and move head
    and camera together to outline the subject
     within the gray frame.
     Glose-ups: For subject distances between
    2Vz and 4 feet, frame the subject so that
    an imaginary line drawn between the up-
     per and lower pointers in the finder frame           i,:1rli'
                                                                                                         #'re'.     indicates the left-hand boundarv of the                        ff     picture. An equal area will be added to                   -:.:  .i  ;i    :l h     the right-hand boundary of the picture.         i
View original page 10Page 11 · Read text
o The letter A (for Automatic)
                                       ntust be set in the window, indi-
                                    cated by the arrow in the illustra-
                                       tion at the lelt, lor correct expo-
                       co,llTRoL$HUTTER                                                              the black,                    BAR                 sure. lf  it is not, moveRELEASE
                                       serrated coNTRoL BAR toward the
                                   viewfinder as far as it will go.
                                This engages the exposure con-
                                       trol so that the size of the lens
                              opening is automatically con-
                                       trolled by the amount of light
                                         reflected to the ELECTRIC EYE by
                                  the subject. The shutter speed is
                           now set for  I I 125 second.
                     Do not obstruct the electric
                                 €!€, during picturetaking, with


10
View original page 11Page 12 · Read text
www.butkus.us
      the fingers or qny other object, and do not point the camera toward the
     sun or other bright light source.v
     o Set the camera-to-subject distance by the symbol scale or footage
      scale on the lens mount, as described previously. ls
     o View the subject by bringing your eye close to the rear opening of                                                                ^releai     the viewfinder as described previously. If , as the shutter             is
      slightly depressed, the red warning spot appears in the lower right-hand
     side ol the viewfinder, there's insufficient right for proper exposure.
     Flash can then be used for near-by subjects
     o Hold the camera steady and take the pictureby slowly pressing the
    SHUTTER RELEASE all the way down.
     o operate the film advance lever repeatedry until it locks (1,v2 to 2
      strokes). The next exposure is ready.
      Double Exposure Prevention: The shutter release cannot be depressed after tripping        until the film advance lever is again operated until it locks.


                                                                                   11
View original page 12Page 13 · Read text
Flash picturetaking is easy and rapid-
                          your camera accepts the new four-bulb
                                 flashcube and features automatic flash con-
                                       trol with Konex VEnIcnnoME Pan, Erre-
                        cnnowe-X, Kooecoron-X and Kone-
                         csnoue-X Films. This automatically  sets
                                the correct lens opening as you focus the
                         camera for subject distances between 4
                           and 18 feet.
                      1 Set Camera for Flash-Push the black,
                                  serrated coNTRoL BAR toward the exposure
                                    release as far as it will go. The blue nresnI-_F"d.SE                          syMBoL will appear in the window located
                            between the control bar and the shutter
                                  release. This symbol indicates that the
                           camera is now set for flash, including the
                                     flash shutter speed of 1/30 second.

    T2
View original page 13Page 14 · Read text
www.butkus.us
 2 lnsert Flashcube-Insert a FLAsHcusn in the flash socket on the top
 of the camera; with one of its four bulbs facing forward, press it down
 until it snaplocks in place.
  The cube revolves one quarter turn as pressure is removed from the
 shutter release after making an exposure, thus providing flash for four
 exposures  if a fresh flashcube is in place. To use a partially used cube,
 insert the cube with a fresh bulb forward, keeping in mind the clock-
wise rotation of the cube (arrow on top of cameral to brittg succeeding
fresh bulbs to the frontal firing position. The cube can alJo be rotatei
by hand to position a bulb for firing.
  To remove a flashcube, lift it out of the socket.
3 set Distance-Rotate the lens mount until the red figure, representing
the subject distance in feet (between 4 and 18 feet, ai indica?ed by thE
blue band on the lens mount) is opposite the index mark.
4 nasn the Picture-compose the picture within the luminous view-
frame of the viewfinder, hold the camera steady, and press down the
shutter release to flash the bulb and take the piciure.
                                                                        l3
View original page 14Page 15 · Read text
Koolx 6srnulnc 324 Ever-Ready Case-This attractive, black leather field case
will provide maximum protection for your camera. The case attaches to the cam-
era by two snap fasteners that fit the two sockets on the base of the camera. The
fold-down front permits instant picturetaking while the camera is in the case. The
case is supplied with a leather hand strap and adjustable extension strap.
Adapter Ring, Series 5 (Screw-in type)-Permits Series 5 filters and lens attachments.
Koonx Rerlrr Lens Attachments (32mm)-The Koonx RErlnr Close-up Lens Set
N/32 tor ultra-close pictures, filters for both black-and-white and color, and the
Koorx RrrrNn 32 Lens Hood to provide protection against extraneous light, are
available for your camera.
Koonx Flashcube Extender-This desirable attachment increases the distance be-
tween the lens and flashcube to produce more pleasing modeling and shadow
effects in close-ups.
Koolr Projectors-A Kooax projector or viewer will show your color slides big,
bright, and sharp on the screen. Ask your dealer to see the low-cost' compact
Koonx Renoyunrrc Viewer or the popular Koonx Cnnousel Projectors.

 l4
View original page 15
Page 16 · Read text
www.butkus.us
                       SERVICE FAGILITIES
 lf your KoDAK camera should Eastman Kodak company  Eastman Kodak company
require attention, complete Apparatus Service         Apparatus Service
service facilities are pro-  800 Lee Road             3250 Van Ness Avenue
vided at Rochester and in   Rochester, New York 14650 San Francisco, California 94119
K0DAK Regional Sales Divi-
sions at the addresses, op-  Eastman Kodak Gompany Eastman Kodak Company
posite. Also, service, covered Apparatus Service         Apparatus Service
under the guarantee, is   1901 West 22nd Street     1334 York Avenue
available through indepen- 0ak Brook, lllinois 60523  New York, New York 10021
dent service shoos in many
cities. For such local, guar-  Eastman Kodak Company Eastman Kodak Company
antee_covered service,   Apparatus Service         Apparatus Serviceplease see your KODAK 6300 Cedar Springs Road   808 Rivera Roaddealer or refer to the yellow  Dallas, Texas 75235         Whittier, California 90606
                                                  EastmanKodakcompanvfi't';rJtr.J#;rJ$;lri'"l: :a:tma.nKodak.companr                                                             Apparatus ServiceEquipment        and Supplies                    -   lq?lrlrus,rervrceFactorv       Approved              warrantvservice'            i'.i','#::iui?:    l::: ffi "rflI,?'J|;.,                             chamblee, Georgia 3ooo5


                                                                 15
View original page 16Page 17 · Read text
UUAI{AN?UARAIITEEI EE
            Within a year after purchase, any repairs necessary to
               this KODAK INSTAMATIC Camera due to a defect in ma'
               terials or workmanship  will be made or, at our option,
            the camera will be replaced without charge. No other
            warrangr or guarantee, express or implied, shall be ap'
               plicable to this equipment. Nor are we responsible for
               loss of film, for other expenses or inconveniences, or for
          any consequential damages occasioned by the equip-
             ment.
                   ln case of a defect, the camera should be sent directly
             or through a Kodak dealer to Eastman Kodak Company
             or a repair firm authorized by us to make such repairs.
                       It should be accompanied by a description of the trouble
            encountered and other available information regarding
            the camera, including the date and place of purchase.
       EASTMAN KODAK COMPANY, Rochester, N. Y. 14650

I  l -66-CH-AX                                                    Printed in the United Stoler of Americo
View original page 17Related documents and language editions
KodakPDF
Kodak Instamatic 100
User manual
18 pages · EnglishRead →
KodakPDF
Kodak Instamatic 104
User manual
17 pages · EnglishRead →
KodakPDF
Kodak Instamatic 300
User manual
17 pages · EnglishRead →
KodakPDF
Kodak Instamatic 400
User manual
37 pages · EnglishRead →
KodakPDF
Kodak Instamatic 404
User manual
17 pages · EnglishRead →
KodakPDF
Kodak Instamatic 414
User manual
16 pages · EnglishRead →
KodakPDF
Kodak Instamatic 500
User manual
21 pages · EnglishRead →
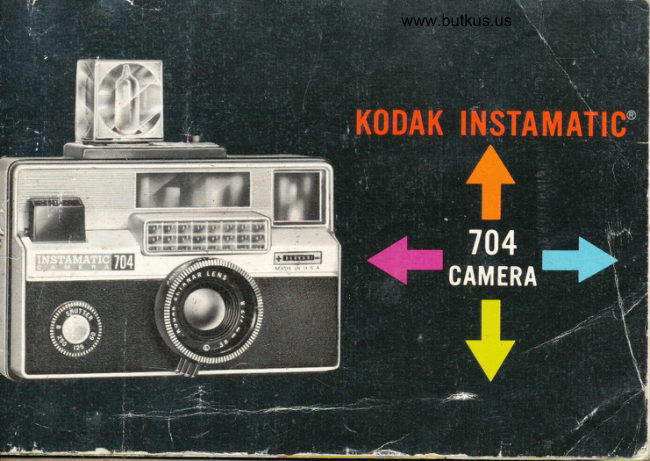
KodakPDF
Kodak Instamatic 704
User manual
20 pages · EnglishRead →
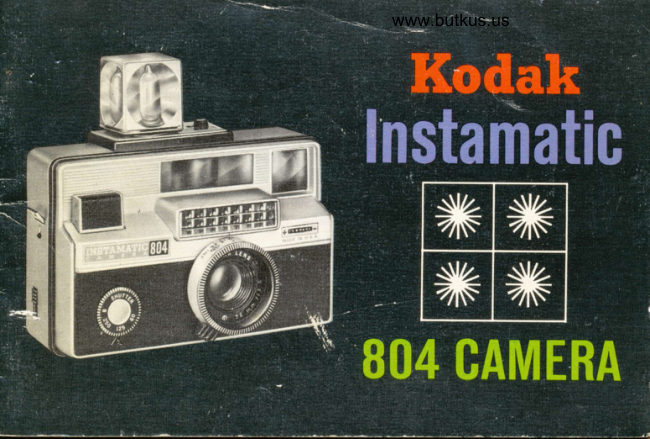
KodakPDF
Kodak Instamatic 804
User manual
21 pages · EnglishRead →
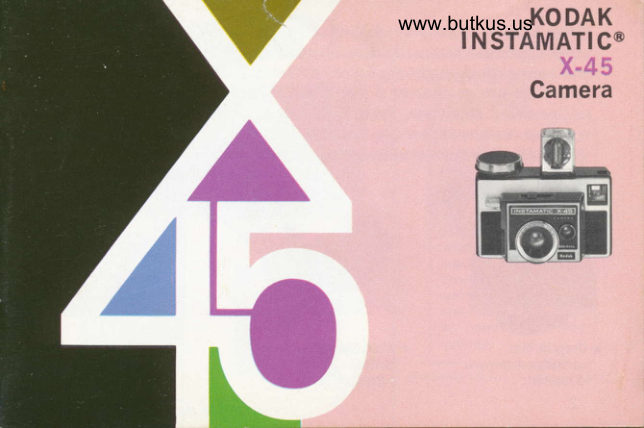
KodakPDF
Kodak Instamatic X45
User manual
18 pages · EnglishRead →
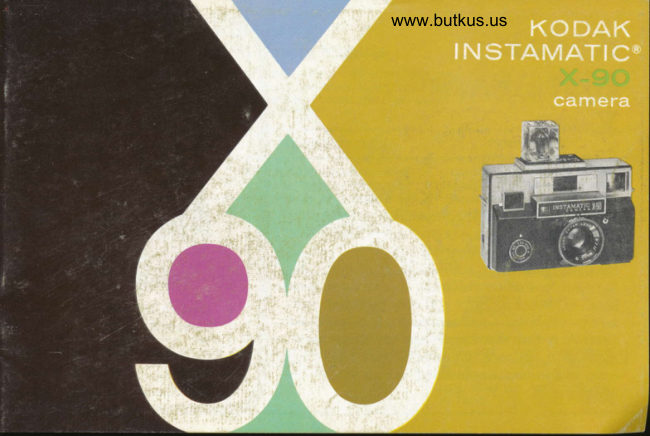
KodakPDF
Kodak Instamatic X90
User manual
23 pages · EnglishRead →
KodakPDF
Kodak Pocket Instamatic 60
User manual
33 pages · EnglishRead →
From the M. Butkus archive. Original publisher and archive notices are retained.
Check the model and edition against your equipment.
PDF verified 2026-10-10.