Film cameras
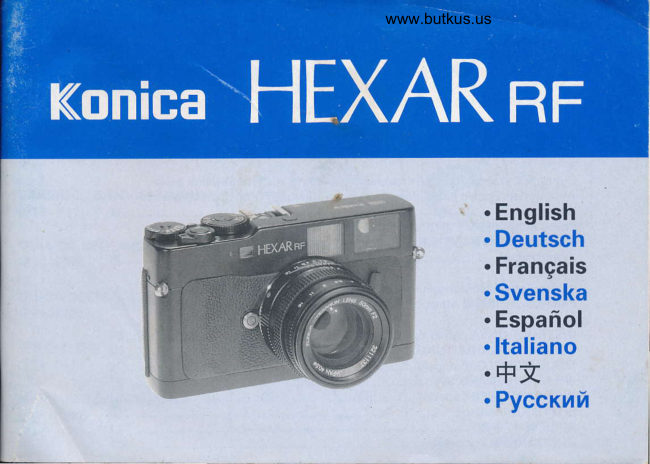
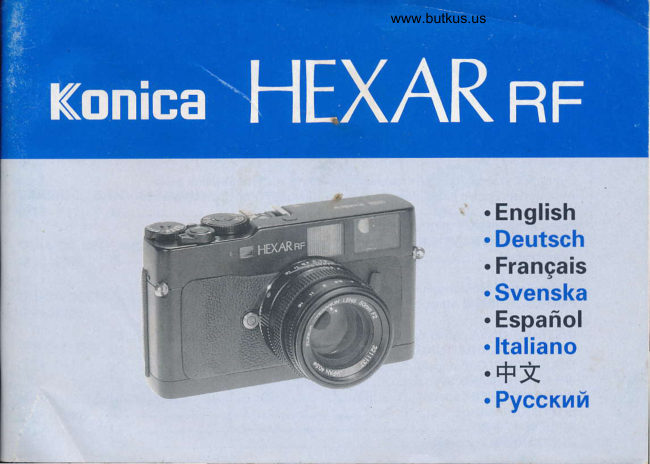
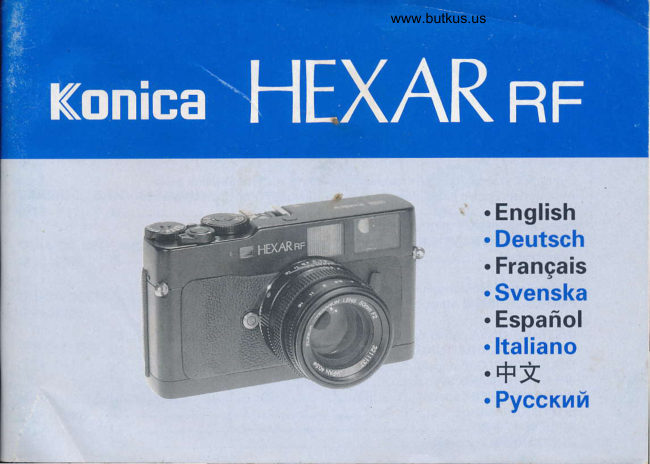
Konica HEXAR RF User manual
User manual for Konica HEXAR RF. 29 pages in German, Swedish, English. Read the original PDF, download or print a copy without registration.
29 pagesGerman, Swedish, English1.8 MB PDF
Loading your manual…Open PDF directly
Document details
- Brand
- Konica
- Model / document
- Konica HEXAR RF
- Document type
- User manual
- Language
- German, Swedish, English
- Pages
- 29
- File size
- 1.8 MB
- Category
- Film cameras
- Document date
- Not specified in catalog
Search available document text
Find a term, then jump to its page in the original PDF. Image-only pages may not be searchable; check the PDF for exact wording and diagrams.
Page 4 · Read text
Bezeichnungder           D6signation             Delarnasnamn
Gerdteteile                                                         lfl crlre  d'allumage             Q Blixtutlosare
Q Blitzschuh               @ Bague de r6glage ISO/exposition   @ ISO/exponeringsratt
@ tSO-leetlchtungseinstellring      @ Bague de vitesse d'obturation    @ Slutaratt
@ VerschluBzeiten-Einstellring      @ Bouton de d6blocagede la bague   @ Upplisningsknapp fcir slutarratten
@ Veniegelungsknopffiir                   des vitesses            @ Huvudomkopplare
   Verschlu8zeiten-Einstellring          @Levier d'interrupteur principal       @Avtryckare
@ Hauptschalter-Hebel          @ D6clencheur            @ Klamma fcir remfdste
@ Ausl<iser               @ Oeittet d'attache de courroie        G) Sjalvutldsarlampa
@ Befestigung fiir Tragriemen       @ Voyant du retardateur        @ OU.lettivfaste/frigcirningsknapp/
@ Anzeige fiir Selbstausliiser       @ Bouton de fixation/d6pose               objektivindex
@ Knopf zum Anbringen/Abnehmen des       d'objectif/Repbre d'objectif     @ I-jusstyrka scikare
   Objektivs/Objektiv-Index                 (E Illuminateur du viseur        @ eitAsmrdFilmriikneverk
@ Sucher-Helligkeit            @ Panneau d'affichage/Compteur de  @ Scikare
@ Fli.issigkristall-Display/Bildziihlwerk      vues                @ Ramens omkopplingsspak
@ Sucherfenster             @ FenOtrede viseur          @ Avstindsmdtarruta
@ Sucherrahmen-Umschalthebel      @ Levier de s6lection de cadre du    @ Scikarensokular
@Entfernungsmesserfenster                    viseur               @ Avtryckarens vajerfattning
@ Sucherokular                      @Fen0tre de t6l6mdtre        @ Bakstyckets frigcirningsknapp
@ Drahtausloser-AnschluB        @ Oculaire du viseur          @ Knapp fcir manuell returspolning
@ Ruckwandverriegelung         @ Prise de d6clencheursouple         (D Filmkontrollruta
@ Taste fiir manuell gesteuerte            (D Bouton de lib6ration du dos     @ Bakstycke
   Rtickspulung              @ Bouton de r6embobinage manuel   @ Batterilock
@ Filmfenster              @ Fen€tre d'indentification de la    @ Stativfriste
@ Ruckwand                                    pellicule
@ Batteriefachdeckel           @ Porte du boitier pellicule
@ Stativgewinde             @ Couvercle de pile
                     @ Embase de tr6pied
                                                                                                          31
                                   www.orphancameras.com
                 . 5*-a#iira;-ror-ri$x;*,            -                                           ibi'.J,o,,         ,   "   ..            :i..    ;,L-..    , .             *
View original page 4Page 5 · Read text
www.orphancameras.com..,'w
  \)5


Simplified  steps in taking  pictures                         Vereinfachte Vorgehensweise  beim Aufnehmen
*  For more detailed information, see the Figure numbers given       ;t Fijr we iter e Infor m ationen sich auf die angegebenen
   Insertins the batteries(Fis. 2)                              Abbildungsnummernbeziehen.
  Attilchiriethe lenstFie.3)                                    Einlegender Batterien(Fig. 2)
  Open th6 back cover"@ and insert the film roll, then close the     Einsetzendes ObjektivetFig. .l)
  back cover.(Fig. l3)                                        Die Rtickwandoffnen @. Oanndie Filmspuleeinlegenund die
  Turn main switch lever @ and set the index to "S". (Fig. 5)        Rtickwand wieder schlieBen(Fis. l3).
  Turn shutter di4l @ to set the exposuremode to'AE".  (Fig. 23)  V Den Hebel des Hauptschalters@ drehen, dann <lenIndex auf
   Pull out hood @) and set the fbcus viilue (b). After determining the     "S" stellen(Fie. 5).
   picture structure,turn fbcus ring Q  to place the camera in shalp  V De n Ve rschllBzeiten- Einstellr ing @  dr ehen, um den
   focus. (Fis. 17 and 23)                                    Belichtungsmodusauf "AE" ginzustellen(Fig. 23).
Z Pressthe ihutter releasebutton @ partially down. Shutter speecl Y D i e G e g e n l i c h t b l e n d e G ) h e r a u s z i e h e n , d a n n d e n
    will now be displayed inside the finder. Now press the shutter     Schdrfeneinstellwert (b) fixieren. Nach dem Festlegen des
   releasebutton all the way down to take the picture. (Fig 23)        Bildausschnittsden SchdrfeneinstellringQl drehen,um das Bild
                                                                scharfzustellen(Fis. l7 und 23).
                                                V De n A u sl dser knopf @  zur Hiilfte nieder dr ticken.Die
                                                          VerschluBzeitwird nun im Sucher angezeigt.Um das Bild
                                                             a u f z u n e h m e n , d e n A u s l d s e r k n o p f n u n v o l l k o m m e n
                                                                   niederdriicken (Fi e. 23)


34
View original page 5Page 6 · Read text
a^\


                                                                                      a^l\Y,


Etapes simplifi6es de la prise de vues                     F<irenklade steg att ta bilder.
*  Pour des informationsd6taill6es,consultezles num6rosde figure     t   Fcir mera detaljerad infbrmation, se bilden vars nummer ges.
   indiqu6s.                                                                                     [/  Iszittningav batterier (Fig. 2)
T  Metiez les piles en place. (Fig. 2)                       V  Att sdra fast objektivet (Fig. 3)
V Fixe t l' o b iec ri lr'.F i g . 3 . 1                            V  6ppna bakstycket@ och lidda en frlm, srdng sedan bakstycket
V (hvrez le dos @, initallez un rouleau de film et refermez le dos.      ordentligt.(Fig. l3)
   (Fig. l3)                                                       Vrid pi huvudomkopplaren@ och strillin index pi "S". (Fig. 5)
   Tournez             le levier                                                                                   pi                                                                           slutarratten                    d'interrupteur principal @ et r6glez son repdre     Vrid                                                                                        €) for att stdltain exponeringsfunktionpi                                                                                                                                                                                 ' A E "       "S". (Fig.   sur                 -5)                                                                                                                                   t F                                                                                                                                                                          i s . 2 - 1 ) .
  Tournez la baguede vitessed'obturation @ pour r6gler le mode  V Dra ut klpan  4 och stiill in bliindarviirdet @. Efter att ha
   d'expositione'AE"  (expositionautomatique).(Fig. 23)          komponerat bilden, vrid pir skiirpeinstiillningen(c-)for att sHlla
  D6posez le paresoleil l.f et r6glez la valeur de diaphragme ($.       in skrirpantFig. l7 och 2.31.
   Apris lvoir composdl'image. lournezla baguede mise uu poinr  Z  Tryck'in avtryckaren@ halvvrigs.Slutatticlenkommer nu att
   c p()urobtenirune imagenette.(Fig. l7 er 23t                   visas i scjkarcn.Tryck nu ner avtryckaren helt for att kniippa
   Acfionnez le d6clencheui@ i mi-couise.La vitessed'obturation     bilden(Fig. 23).
   s'afllche alors dans le viseur. Appuyez ensuite i fond sur le
  d6clencheurpour prendrela photo. (Fig 23)


                                                                           35
                                  www.orphancameras.com
View original page 6Page 24 · Read text
Manual Rewind Gig.22l                                     2) When "4000"  is blinking rapidly,  it is a warning that the
To rewind the film manually (forced rewind) before the roll  is        camera is outside the highly luminosity linked range. Turn
finished.Use the Strap Ring tip to pressthe Manual Rewind Switch         the fbcus rins to a hisher number.
@. fne film will beginto rewind.                                           * Whenindicatestwothatlink-edthe shuttershutierspeedspeedsis betweenare lightedthe steadytwo indicationson, that
                                                                  (Fie.25).*Bff3icffiottrffiryfi'b
                                         12.Manual exposurephotography(Fig.26)
11.Focuspriority AE photography(Fig.23)   Thisfocusistothebemodeset atthatanyallowslevel desired.the combinationThis alsoof makesshutteritspeedeasierandto
This is the mode for automatically setting a designatedF stop and    intentionallvraiseor louer lhe exposuresetting.
changing shutter speed.This is an excellent features for use in   V Turn po*e, on and turn the shutterdial @ to set the shutter
photography where you are taking depth of field into consideration      speedfor picture-taking to the index value.
becauseol the F stop held at a fixed point.                                 * When the shutter dial is locked, press and hold the shutter dial
V Tumpower on tFig. 5 r, turn shutter dial @ and set the exposure      unlock button @ and turn the shutter dial.  mode          to         AE.                                                 V                                                                                 putl out                                                                               the lenihood @, turn the fbcus ring @ and set to the F-   pultout7           the              lens hood @, turn the focus ring @ and set to the F-                                                                  stoo                                                                          value.
   stoo       value.                                                                                                   focus                                                                                                                       ring                                                                                                 and                                                                                                                           adjust focus.                                                 V                                                                                     the                                                                                                finder                                                                     Lo;k                                                                         through                                                      @                                                                     @, turn         soeed is set automaticallv to a correct speed in line with*   Shutter                                                                                                                    display                                                                                                                              inside                                                                                                              halfl'ay                                                                                                                     to                                                                                                                                 light                                                                                                               the                                                                                  hutton                                                                       down                                                 Y                                                             Press                                                                          the shutter
   the focus that has been set.                                         the finder.^The set shutter speed ($) will  light.
Z Look throughthe finder @. turn focus ring @ and adjust focus.    *  Indicator (9) will not be on steady but will be blinking, indicating
7  Pressthe shutter releasebutton @ down halfway to light the      the correct shutter speed for the focus and film sensitivity.
   indictor inside the flnder. The indicator showing automatically      However, pictures can be taken in manual photography at the
   set shutter speed (correct value) will now light.                     focus value and shutter speed(1) set.
*  The light meter will stay on for about 15 secondsand the power     *  rlyou want to take pictures with the settings on the correct value
    will then go off automatically and the indicators will go off. To                                                                                €), turn the focus ring or shutter dial.to make both indications
    light them again press the shutter button down halfway.             the same.When the light state is at (9, you can take pictures at
*  The AE lock can also be operated. See Fig. 31.                     the correct exposure.
Z Press the Shutter ReleaseButton all the way down to take the   V Press the Shuiter Release Button all the way down to take the
   oicture. The film will advanceone frame.                             oicture. The film will advanceon frame.
 *   If the shutter speed should go beyond the linked range (correct     *   if the set shutter soeed and correct value are slower than one-
   value) the LED indicator "4" or "4000" will rapidly blink (Fig.       half second.the LilD indicator inside the finder will be on "4"
    24). Change the focus value at this time.                       and blinking slowly.
      l)  lf "4" is blinking rapidly, this is a warning that the camera is     *   If the "4" or "4000" is blinking rapidly, this is a warning that the
      outside the low luminosity linked range. Turn the focus to a       shutter speedis outside the linked range. If you want to set it to
      lower value. If the shutter speed is slower than l/2 seconds      the correct value, change the focus value.      within the linked range. "4" witl slowly blink.
56                                www.orphancameras.com
                                                                                                                     ,nr"             :;J;..r                                               *.  "t lt
View original page 24Page 25 · Read text
*  In.manual exposure,you can shift consciously the indicator   range set to 5 meters and F stop set to F8. When we read the ranse
    blinking on and off or steady on to make the exposure either   graduationslwirhin rhe "8" rangelhat is on both sidesof the indei.y
   under or over to take the kind of picture desired.                  that coffespondsto F8 at this time, the range is about 3.4 meters to
                                                              about^9.7meters and subjectswithin that range will generally be in
                                                                     clear focus.ffi u"ahcedInstrudti6fit*
                                          14.Infraredphotography(Fig.29) 13.Depth of Field                               An offset in lbcus in infiared photography must be compensated
When focusing on a certain subject, there is an area both in front     for becausethe positions at which the subie'ctwill be in fbcus under
and behind the subjectthat can be held in focus. This rangeis called    in.frrrredlight and under visible light are different.
the.depth of field. When the range is wide it is a deep defth of field    N/ Moye the distance at which the subiect is in focus to the red line
and when the^rangeis narrow it is a shallow depth of field. Depth of       (inl'raredline) nexr to lhe index.
 field has the followins characteristics                                                     If the focus results are 5 meters,for example, move the number
 ( l)The higher the F v:aluethe deeper the depth of field, the lower       "5" on the lens distancescaleto the infrared line index oosition.
   the F value the shallower the depth of field.                            *  Infrared photography requires the use of infrared film and filters.
(2)At the same F value, the shorter the focirl length of the lens. the      For more detailed information, see the instructions that
   deeper.thedepthof field. and likewise. the lonfer-   the fbcal length     accompany infrared film.
    of the lens. the shallower the depth of field.                            *  The 90mm/F2.8 KM rnount type M-Hexanon lens has no infiared
(3)The farther the distance from the subject. the deeper the depth      index becauseof the subject depth of field eraduations. For
   of field and the shorter the distance from the^subiect.ihe     more detailed information, see the instructiois that come with
   shallower the depth of field.                                       the 90mm/F2.8 lens.
(4)From.the p-ositionat which the subject is in focus, the depth of
    fleld is shallower                      to the rear                         and deeper to                                           the front.                                        15. Exposure                                                compensation                                                             photography*  Fig.27             is a test photograph                         showing-how                                       depth                                                        offield works.    lncorrect                                                                  exposuremay                                                                                                 result when you snap                                                                                                            the shutter in taking
                                                                pictures against backlight or extreme difl'erencesin brightnesi
Depth of Field Checking                            between the main subject and the background. At those times,
Therange. for depth of field can be read by the graduations for   compensatefor exposure. There are two methods of exposure
d.epthof field that are on every lens. The figureslowed on both   compensation(see Figs. 30 and 3l).
sides.of the lens range/F index are the depthbf field graduations.
The depth of field graduations are written in relation-io the ranse   1) Using the exposurecompensationdial (Fig.30)
graduationsso that the depth range can generally be read from t[e    In both focus priority AE photography and manual exposure
distancegraduations.                                         photography, the standard values set for exposure compensation
                                                               are shown in the finder.
How to read depth of field graduations       V Tum exposurecompensation dial @to set the index to the desired
                                                            exposure                                                                              value.                                                                    The exposure                                                                                           values can be set in stcps of one-    28)tFis.
                                                                                   third each                                                                           from -2EV                                                                                                        to +2EV.Say,      lbr       example, we are taking pictures with a 50mm/F2 lens and
                                                                            57
         .".ff*xiiri*:",... .   .*&rr.                        ..  .:,oaiuuixffJ$u*i*5gakr..                 tait***'*-                . ;dsei#              ,Jil.
View original page 25Page 26 · Read text
*  However, settings for'ISO6  film  sensitivity are only from 0 to   Z  First turn the shutter dial @ to set the exposure mode on'AEL".
  +2EV and for ISO12 sensitivity settings from -1 to +2EV.         Then look through the finder, get the main subject inside the
V  If the exposure compensation dial is set to another value than      focus frame and adiust the focus.
   "0", the +/- indicator inside the finder will light to show that   Z  Pressing the shutter button down halfway makes the camera
  exposureis being compensated.                                   record the exposure and places it in AE lock state. Now, with the
;t  Ordinarily, the exposure composition dial is set to "0". After       shutter button still pressed halfway down, decide the desired
   taking pictures, don't forget to return the exposure compensation       picture composition, then take the picture by gently pushing the
   dial to "0".                                                         shutter butbn  all the way down.
*  Compensation in focus priority AE photography controls shutter     *  The shutter will now remain at the recorded exposure no matter
   speeo.                                             how the background changes.
* When a bright background occupies most of the picture such as     *  The camera stays in AE lock state as long as the shutter button is
  when a picture is taken against backlight, under a bright sky or      pressedhalfway down. Releasingthe finger holding the button
   near a window, the people who are subjects will be underexposed      halfway down clears the AE lock.
  and may appear as dark silhouettes.For pictures such as these,     ;t When consecutivepictures are taken, and the AE lock is preset
   increase the amount of exposure by placing compensation       to a certain subject brightness, pictures can be taken with the
  between +1/3 to +2EV. You can also use this feature in taking     same exposurewith no effect from changesin background.
   pictures where you want to intentionally increaseexposuresuch     *   If the alarm for being outside the exposurelinked range is given
   as in giving a bright finish to the entire picture or the dark sections     when an attempt is made to AE-lock the camera, it cannot be
   of a building with strong contrastsbetween dark and light.          AE-locked.
J< When you have a dark background such as people posed against     *  This camera records shutter speed for AE lock mode. When the
   a black backdrop or when they are illuminated by a spotlight,      focus is changed after AE-locking, the exposure quantity will
   the people will be overexposed and appear whitish. For these      cnange.
   pictures, set the exposurecompensationto -ll3  to -2EV to reduce
   exposure.You can use this feature in taking pictures where you   16.Bulb photography(Fis.32)
   want to intentionally decreaseexposuresuch as in giving a dark   Use this mode when taking pictures at shutter speedslonger than 1
   finish to the entire picture or creating a sccneof the background   second,such as of nighttime scenesor of the nighttime sky.
   with sky emphasized.                                                      *  To prevent the camera from shaking, mount it on a tripod or on
* When it is difficult to determine what the exposure should be,     some other stable stand and use a commercially available cable
  we recommend taking a number of pictures with the exposure      release.
   quantity changed in one-third steps negative and positive for   V  Turn shutter dial @ and set the exposure mode to "B".  Set the F
   each one.                                                         value, focus and take the picture. The shutter will be open and
                                                                    the film exoosedas lons as the shutter button is held down.
2) Using the AE lock (Fig.31)                                     * When the shutter dial iJ locked, press and hold the shutter dial
This is the method of exposure compensation used during focus       unlock button @ and turn the shutter dial.
priority AE photography (Fig. 23). Use this when you want to fix
exposuresuch as when taking consecutive pictures at fixed exposure
of moving subjectsor subjectsagainst backlight.
58                                 www.orphancameras.com
                                                                   - . * - , " ' . * . i . .. :,                                                                                                                                    ,     l  lelei     t-r:
View original page 26Page 28 · Read text
2) Automatic              light adiust photography/manual  Others  exposurephotography
                                                l or                    AUTO-2 the same as with focus priority          either AUTO-( I )Select
                     (Fig.                          3-5).                                      Dedicatedaccessories(purchased  AE photography
(2)Look at the indications inside the finder and select the correct  separately)
   shuttersDeed.                               We have prepared a wide array of conversion lenses, flash
*  The camera cannot be synchronized to a speed higher than 1/    attachments and camera casesespecially for this camera' For more
  125second.                                                      detailed information, inquire at the store where you purchased this
(3)Check the flash indicator to make sure the battery is fully charged,   camera.
   focus the camera and take pictures.
                                                     set the rotary                                         or AUTO-2,             focus                   other                       than AUTO-1      select          a*  To
                                   what the correct                             Decide                 flash                        to "FULL".   switch        on            the                                                     focus  Lenses* We alsowithhave preparedadiustablea varietyviewof lensesanglewith adjustable view
   value is by using the formula below.                            angle (+2, +1,0, -2 and -3 deopter)(purchasableseparately).
                                                               For more detailed information, inquire at the store where you
                                                         purchasedthis cumera.
correctaperturevalue(F)=ffi""**#NI
*  For guide numbers according to llhn sensitivity, see the flash
   instructions.
Using the Konica HX-14 (purchased
separatelyl
The HX-14 is operatedin basically the same way as the HX-18W.
*  Automatic light adjustment can be used in the position A and
    full-light emission flash can be used in the P. FULL position-
   However, the focus in automatic light adjustment photography
   (positionA on the flash) is F4 with ISO 100.
*  fhe full-charge indicator (I25  r) does not light inside the finder
  when in position A.
Using a commerciallyavailableflash
(1)Set the shutter speedto 11125secondsor less.
(2)Setthe F value.
 *  Decide what the F value is bv consulting the instructions for the
    flash.
60                                 www.orphancameras.com
View original page 28Related documents and language editions
KonicaPDF
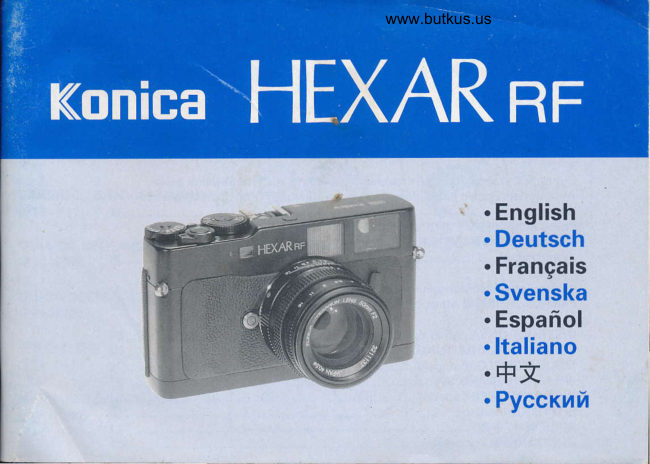
Konica Hexar RF
User manual
36 pages · FrenchRead →
KonicaPDF
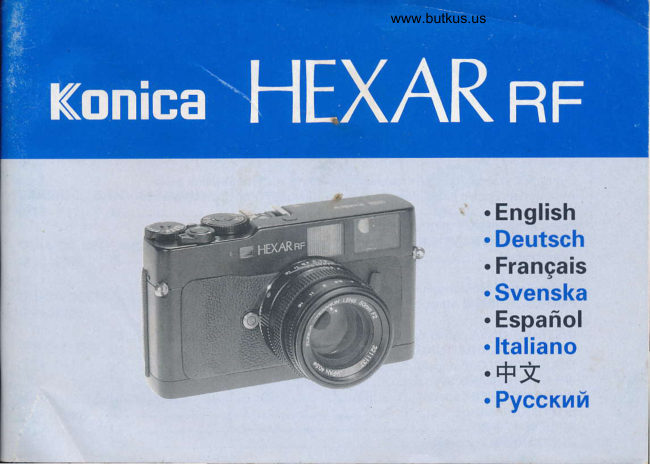
Konica Hexar RF
User manual
40 pages · GermanRead →
KonicaPDF
Konica Hexar RF Pyccknn
User manual
36 pages · German, Swedish, EnglishRead →
KonicaPDF
Konica Hexar RF liberetto D'istruzioni
User manual
36 pages · ItalianRead →
KonicaPDF
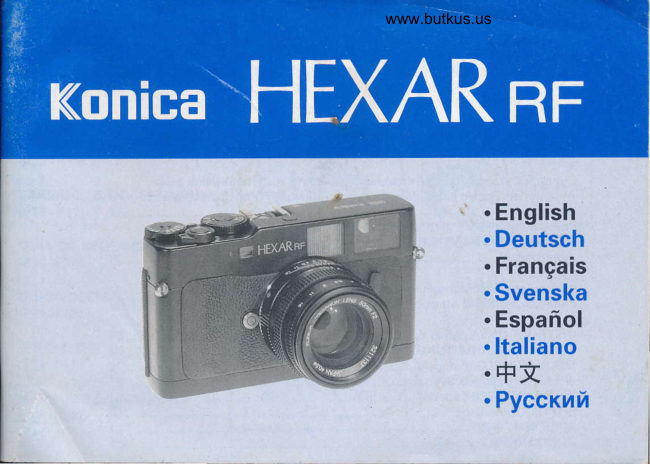
Konica Hexar RF
User manual
35 pages · JapaneseRead →
KonicaPDF
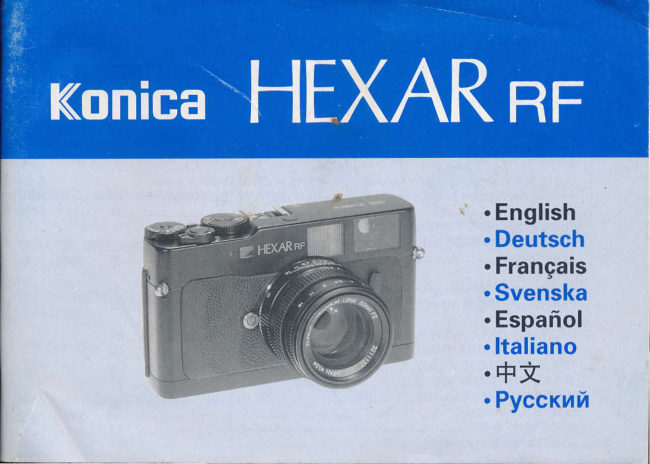
Konica Hexar RF
User manual
36 pages · SpanishRead →
KonicaPDF
Konica Hexar RF Svenska
User manual
35 pages · SwedishRead →
From the M. Butkus archive. Original publisher and archive notices are retained.
Check the model and edition against your equipment.
PDF verified 2026-10-10.