Lenses & filters
Pentax 67 Interchangeable Lenses User manual
User manual for Pentax 67 Interchangeable Lenses. 30 pages in English. Read the original PDF, download or print a copy without registration.
30 pagesEnglish7.7 MB PDF

Loading your manual…Open PDF directly
Document details
- Brand
- Pentax
- Model / document
- Pentax 67 Interchangeable Lenses
- Document type
- User manual
- Language
- English
- Pages
- 30
- File size
- 7.7 MB
- Category
- Lenses & filters
- Document date
- Not specified in catalog
Search available document text
Find a term, then jump to its page in the original PDF. Image-only pages may not be searchable; check the PDF for exact wording and diagrams.
Page 3 · Read text
www.butkus.us


Careful reading of this operating manual
will help you take advantages of all the
photographic capacities this equipment
has to offer.

Since accessories made by other manufac-
turers are not produced to the precise
Pentax specifications, they may cause
difficulties (inferior image quality, vignet-
ting, etc.) or actual damage.
Therefore, we suggest that you use only
genuine Pentax accessories on your Pentax
cameras and lenses.


Photographs and/or illustrations of the
products in this operating manual may
differ from the actual product in its details.
View original page 3
Page 6 · Read text
o Cleaning: Do not wipe the lens with a hand-
                                                         kerchief or other rough cloth which might
                                                       scratch the lens surface. Dust and dirt should be
                                             removed with a blower or lens brush. lf the lens
                                           becomes dirty, first blow or brush off loose dirt
                                                                   particles, then wipe it with a clear soft cloth or
                                                          tissue paper with a lens cleaning fluid available
                                             on the market (never use solvents such as thin-
                                                        ner or alcohol). Wipe in a spiral pattern from the
                                                      center out, changing the cloth or paper a few
                                                         times.
                              o When not using lenses regularly, especially
.  Moisture is not good for optical glass ele-          during humid weathei remove it from its case
ments. Protect your lens from humidity, salty air      and check for mildew. Dry out the case,  if neces-
and dust. lt is good practice to put on a filter to         sary. Light mildew can easily be wiped off. lf
protect the lens.                                 mildew has formed on the inside of the lens, the
.  Since storage in a damp place may cause           lens must be brought to a Pentax service facility
mildew keep your lens in as dry a place as            as soon as possible.
possible.                                                    .  Excessive heat, dropping and scratching will
                                                          also damage lenses.
                              o Always cover lenses with both front and rear
                                                   caps when not in use.
View original page 6Page 7 · Read text
www.butkus.us


To mount:                                      To dismount:
Align the red dots of the lens and lens mount of       Press the lens release lever and turn the lens to
the 67, and insert as shown in the photo' Turn         the left until it stops, then pull out the lens'
the lens to the right until it locks in place with a
click. Wiggle the lens back and forth to test
whether  it is mounted ProPerlY.
View original page 7
Page 8 · Read text
!.1q  !!.1           !l                                                    !.)r!)                                                                       q.l
              iiq                                                                                                                                            i.j


The 67 lenses listed below mount to the outer         Caution:
bayonet of the 67 camera.                         Check that the lens is mounted securely.  lf the
                                                 bayonet tabs have not caught properly, the lens
To mount:                                 may fall off.
Loosen the fastener ring surrounding the lens
mount until the white dot faces upward.
Then, match the lens mount with the outer
bayonet of the camera, insert the bayonet tabs                                     SMC Takumar             600mm f/4and turn the fastener ring to the right as shown
 in the photo.                             SMC Takumar             800mm f/4                                   SMC Reflex Takumar         1000mm  f/8
View original page 8Page 9 · Read text
www.butkus.us

                                                                       Manual


Automatic Diaphragm
With an automatic diaphragm lens, the              To preview the depth of field or to operate the
diaphragm stays fully open until the shutter  is        diaphragm manually, slide the lever downward
released as long as the depth of field preview         as shown in the photo. The lever will lock on
lever is set to AUTO.                             manual (MAN.). To reengage the automatic
                                                  diaphragm, press the lever. The lever will spring
                                                   back to the AUTO position.
View original page 9Page 10 · Read text
Preset Diaphragm                                      Glick Stop Diaphragm
SMC Pentax Shift 75mm lens features a preset       The lenses listed below feature a manual
diaphragm system, whereby the shooting aper-       diaphragm which is stopped down by rotating
ture is preset with a preset ring, so that focusing       the aperture ring to the various click stop
and composition are performed at full-aperture.       f-number settings. Focus with the lens set at
Then, the aperture is stopped down for ex-         maximum aperture then stop down to the
posure metering and shooting by turning the          shooting aperture before releasing the shutter.
aperture ring until it matches up with the preset
ring. Please also refer to the operating manual
furnished with the lens.
                                      SMC Takumar            600mm f/4
                                      SMC Takumar            800mm f/4
                                      SMC Pentax Soft          120mm f/3.5
View original page 10Page 11 · Read text
www.butkus.us


Aperture values and click stops
The white dot next to the full-open aperture
value indicates an aperture which is one full
stop slower. The click stops between aperture
values are equivalent to the in-between values
as shown below. No click stops are provided at                                                    Note:the extreme ends of the aperture scale.                                            The f/stop range varies from one lens to another.
View original page 11
Page 12 · Read text
Lens function and aperture setting               Minimum aperture
Selecting the proper aperture value will imBrove      The smallest aperture setting of all SMC
your pictures since the image reproduction            Penta>dTakumar 67 lenses isfl22 or smaller. The
capability of your lens varies in accordance with       use of these smaller f/stop increases depth of
the f/stop in use. Aperture between f/5.6 and 11           field. Except for extreme close-ups or special
will generally provide its highest resolution and         effects, it is advisable not to use an aperture
contrast throughout the entire image. For the          smaller than f/16. Smaller apertures than f/16
best performance, use apertures within this         may adversely influence focusing, due to the
range, except when you want less or more               diffraction effect. Avoid unnecessary  utilization
depth of field or when available lighting is not          of apertures fl22 or smaller.
sufficient.


                                                                                               9
View original page 12Page 13 · Read text
www.butkus.us


Pentax 67 lens hoods come in round and square
shapes, plus built-in types. Use only a hood
designed for your particular lenses. Otherwise,       PH-SB67mm       9Omm F2.8
vignetting may result.                                      1O5mm F2.4
Square hoods                            PH-SA77mm       55mm F4
To fit the hood for macro lens, screw  it into the                     75mm F4.5
front frame of the lens to the full, then turn it
counterclockwise  until the top and bottom of                     45mm F4
the hood are in parallel with those of the camera'      (PH=Plastic hood)
To remove it, further turn  it to the left' ln
addition, there is a bayonet spring type as for
the square hood. Attach  it to the lens while
depressing the knurled tabs on either side of the
hood. Be iure to keep the top and bottom of
the hood are in parallel with those of the camera
when attaching  it.
 o When a gelatin filter holder or polarizing filter
specially designed for 67 camera are attached
to the lens, the spring type square hood cannot
be fitted.


10
View original page 13
Page 15 · Read text
www.butkus.us


Screw-in filters                                     Attaching to the lens rear
Simply screwed into the front frame or the rear       The lenses listed below accept either screw-in
frame of the lens (M* 400mm, 600mm,                or bayonet type filters on the adapter ring at the
M*8o0mm and 1000mm).                                rear end of the lens. With the 600mm and
                                       1000mm lenses, first remove the adapter ring by
Bayonet type filters                                     turning counterclockwise and attach a77mm
Align the white dots on the filter and lens and             filter as shown in the photos.
turn the filter to the right until it bayonets into                      Lens                          Filter size
place.                               SMC Pentax M* +O0mm f/+       67mm
                                     SMC Takumar 600mm fi4        77mm
                                   SMC Pentax M* 800mm  f 16.7      67mm
                                     SMC Takumar 1000mm  f/8       77mm


12
View original page 15Page 16 · Read text
Built-in filters                         SMC Pentax Fish-Eye 35mm and SMC Pentax
SMC Pentax Fish-Eye 35mm lens features four      45mm lenses feature the filter clip, which
built-in filters (UV,Y2, 02 and R2). Turn the filter       accepts a gelatin filter as shown in the photo.
ring to employ the desired  filter.
                                                    Note:
                                           The polarizing filters consist of two glass ele-
                                                             rnents, making them thicker than ordinary filters.
                                                         For this reason,  if they are used on the 55mm f/4
                                                               lens, it may cause vignetting (underexposure)  at
                                                      the corners of the picture.


                                                                                               13
View original page 16Page 18 · Read text
HOLDING THE CAMERA


    The most recommended method to minimize           In handheld shooting, the surest way to prevent
     the camera shake is to use a good solid tripod'         blur is to select a high shutter speed. When you
    Howevel it is possible to shoot holding the 67        have to use slower shutter speeds, stabilize your
    camera in hand up to the 200mm telephoto lens.      camera/lens with a solid triPod.
    To obtain an excellent result with the handheld
     shooting, please practice the following method'
     Stand with your legs spread as if you were firing

T     a pistol. As shown in the photo, hold the 67's
    mount section and lens securely, and support
     the camera by pressing it to your face. When
     you are ready to release the shutter, bring your
    elbows against your body and gently depress
     the shutter button.

                                                                                                   15
View original page 18Page 19 · Read text
www.butkus.us


Dismounted lenses should be handled carefully.
Place them on a level surface to prevent falling
over or rolling away.
Generally, smaller lenses should be stood on
their front end, with the mount capped like the
three lenses in the center of the photo. The SMC
Pentax Fish-Eye 35mm lens must stand on its
rear end with mount cap to avoid scratching the
protruding front element. Long telephoto lenses
with tripod should be placed lengthwise on their
side as shown in the photo.

16
View original page 19
Page 20 · Read text
. Note on infinity (o) indication:              e Shooting landscapes with a telephoto lens:
With a powerful telephoto lens, there may be a        Telephoto lenses are frequently used for pho-
focus shift between the distance indicated on          tographing distant scenery. Climate conditions
the lens and the actual camera to subject dis-         such as heat, haze or mist may deteriorate reso-
tance, influenced by temperature conditions.             lution and/or contrast. lt is advisable to photo-
For this reason, the focusing ring is specially          graph landscapes when the weather is clear.
designed to rotate slightly past the infinity (oo)
indication. So, even when you take pictures at
infinity, be sure to confirm good focus through
the view finder.


                                                                                               17
View original page 20Page 21 · Read text
www.butkus.us


Tripod mount
The long telephoto lenses listed below feature a
tripod mount in order to give the lens added
support. As even the slightest movement can        SMC Pentax M* ED (t F)      400mm f/4
cause blur with high powered 67 telephoto          SMC Pentax              500mm f/5.6
lenses, a sturdy tripod sh,ould be used'             SMC Takumar            600mm f/4
Blur is most pronounced at shutter speeds of        sMc Pentax w* FO (tF)      800mm f/6.7
1i60 sec. or slower. When using telephoto lenses      SMC Takumar            800mm f/4
at these shutter speeds, attach a tripod firmly to      SMC Reflex Takumar        1000mm  f/8
the tripod mount. Even better results will be as-
sured  if a second tripod is attached to the
camera body. The 67's mirror lock-up feature
 further reduces the possibility of blur.

18
View original page 21
Page 22 · Read text
Mounting verticallY:
To shoot with the camera in vertical position,            . When using the M* 4oomm and M* 800mm
carefully loosen the fastener ring and position           lenses, position the camera vertically or horizon-
the camera vertically. Then, tighten the fastener          tally by loosening the vertical/horizontal position
ring by turning  it to the right. Always checkthat       lock screw For details, refer to the operating
the bayonet has locked ProPerlY'                     manual for these lenses.


                                                                                               19
View original page 22Page 23 · Read text
www.butkus.us


Sight:                                               Focusing:
With a high powered telephoto lens, it is often         Focusing with long telephoto lenses (600mm or
difficult to bring a subject into the limited angle        longer) is accomplished via two focusing knobs
of view Longer 67 telephoto lenses are                  at the rear of the lens.
equipped with a sight as shown in the photo.
Aim the lens at the subject using the sight as if
you were pointing a rifle at a target to place the
subject in the viewfinder.
View original page 23
Page 24 · Read text
This is a multi-functional  lens with a built-in leaf       Notes:
shutter. lt can be operated in either normal way,         .  Electronic flash units synchronize at all leaf
just as you operate the ordinary 67 lens without           shutter speed settings from 1/60 to 1/500 sec.
leaf shutter, or the other way by using its leaf       o Since the slowest shutter speed is 1/60 sec.,
shutter. For the detailed operating instructions,           the leaf shutter is not suitable for flash bulbs.
please refer to the operating manual which is             Please use the camera's shutter for syn-
supplied with the lens.                                    chronizing with flash bulbs.


                                                                                                      21
View original page 24Page 25 · Read text
www.butkus.us


                                                    Magnifications and Exposure Factors
                                   A reading of 3.2 on the magnification scale indi-
                                                        cates a magnification of 113.2. With close-up, the
                                               volume of light reaching to the film decreases in
Originally designed to deliver optimum perfor-         proportion to magnification increase. When
mance in close-up photography and copy work,       metering with a handheld light meter, exposure
this macro lens is also suitable for general pur-        must be increased as per the chart below.
pose photography from 0.75m (approx. 113'2X        However, exposure compensation is not required
magnification) to infinitY (oo)'                   when using the TTL Pentaprism.
                                             Macro Exposure Factors


22
View original page 25Page 26 · Read text
SMC REFLEX TAKUMAR IOOO.F/8


A diaphragm is not employed with the reflex         The Reflex Takumar 1000mm also has three
lens. The light adjustment  is made by built-in          types of filters built-in (Skylight, Y2 and R2). To
ND (Neutral Density)  filters. Depth of field can         use the filten rotate the filter ring next to the ND
not be controlled with this lens.                                 filter ring until the desired filter aligns with the
                                                         index. There is also a blank setting, which fea-
                                                                          ,.X'+',',       tures a neutral glass. To attach other types of
                                                                           filters, please refer to page 12.
 Equivalent F-number    fl8        f t11   ft13.5   fl16


                                                                                   23
View original page 26Related documents and language editions
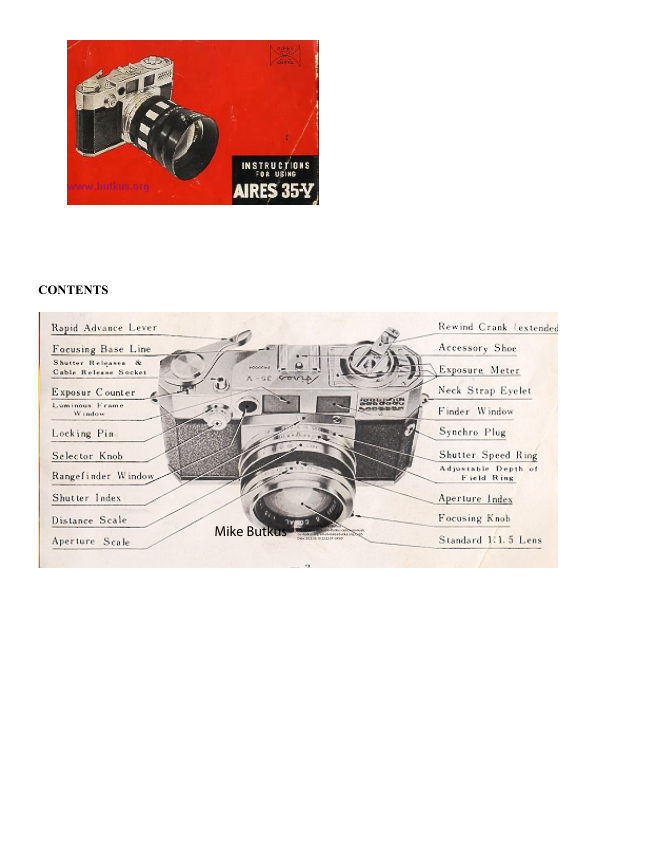
AiresPDF
AIRES 35-V lenses
User manual
15 pages · EnglishRead →

AccuraPDF
Accura Zoom Duplivar Slide / negative duplicator
User manual
11 pages · EnglishRead →

EdnalitePDF
Ednalite filters flier
Product booklet
2 pages · EnglishRead →
FocalPDF
Focal auto diaphragm lensesand tele-extenders
User manual
11 pages · EnglishRead →

Various brandsPDF
JC Penny Lens instructions
User manual
8 pages · EnglishRead →

KonicaPDF
Konica Autoreflex A lenses
User manual
66 pages · EnglishRead →

Various brandsPDF
Lens Guide - General (1960s)
Product booklet
97 pages · EnglishRead →
MinoltaPDF
Minolta Maxxum zoom lenses
User manual
20 pages · EnglishRead →
NikonPDF
Nikon 50-300
User manual
9 pages · EnglishRead →

Zeiss IkonPDF
Pantar lenses for Zeiss Ikon
Product booklet
17 pages · EnglishRead →
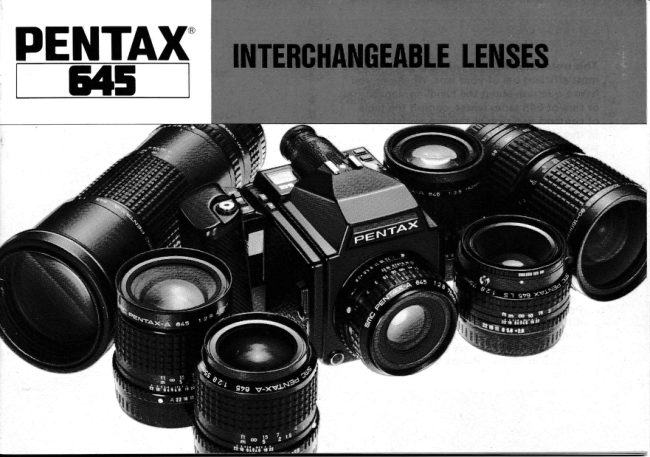
PentaxPDF
Pentax 645 lenses - '89
User manual
32 pages · EnglishRead →

PentaxPDF
Pentax SMC Pentax A lenses
User manual
46 pages · EnglishRead →
From the M. Butkus Camera Manual Library. Original publisher and archive notices are retained.
Check the model and edition against your equipment.
PDF verified 2026-10-10.