Film cameras
Voigtlander Vito C User manual
User manual for Voigtlander Vito C. 20 pages in English. Read the original PDF, download or print a copy without registration.
20 pagesEnglish1.6 MB PDF
Loading your manual…Open PDF directly
Document details
- Brand
- Voigtländer
- Model / document
- Voigtlander Vito C
- Document type
- User manual
- Language
- English
- Pages
- 20
- File size
- 1.6 MB
- Category
- Film cameras
- Document date
- Not specified in catalog
Search available document text
Find a term, then jump to its page in the original PDF. Image-only pages may not be searchable; check the PDF for exact wording and diagrams.
Page 1 · Read text
www.orphancameras.com


                                    This manual is for reference and historical purposes, all rights reserved.
                    This page is copyright@by_M=_Bu1kus'_NJ,
                 rhispasemav"" oi'b"ji.Ti:fil:5,1#H":11-;TJff:",llrffissionoftheproducer

             On-line cameramanuallibrary - www.orphancameras.com
This is the full text and images from the manual. This may ta
         the PDF file to download depending on your connection type
  If you find this manual useful, how about a donation of $3 to: .
Ave., High Bridge, NJ 08829-170l,and send your e-mail addres
Most other placeswould charge you $7.50 for a electronic copy
                                  to read Xerox copy.
 This will allow me to continue to buy new manuals and pay th
                                         ft'il make you feel better, won't it?
                          If you use Pay Pal or wish to use your credit card,
                       click on the securesite on my main page.
View original page 1Page 4 · Read text
www.orphancameras.com
R ' G H T H E R E


                  is the most importontpiece of odvice in this corefully
            prepored booklet: pleose reod il thoroughly before
            you do onything else. Prociicemokesperfect: so try
              out the vorious comero controls without o film in
             the comero.
          Rememberolso thot the VITO C, though very robust,
                 is on opticol ond mechonicolprecision instrument.
                      It iherefore needsgentle ond sensiblehondling.The
             cornero will repoy coreful treotment with perfecl
              picturesfor mony yeors to come.

           v 0 t 6 T t I i t 0 E RA .6 . E R A U N s c HE} tY6
View original page 4Page 6 · Read text
www.orphancameras.com

   Gel*ing   the  Camers   Reody      . o . wirh  Every  New   Film
I '  Inserting lhe film. Press.togetherthe locking'cotches (2i ond open the comero
   bqck. Push the  f ilm reversing lever (.|5) to the  left, ond  f u lly pu ll out the
   rewind knob (.|3)which springs up (see illustrotion3). Pushthe film leoder into
   the  slit of the toke-up spool qnd qnchor  it to the hook (20 und 24) with
   o perforotion hole. Drow ihe cossette qcross the film trock, insert it in the
   cosseftechomber (15)ond fully push bock the rewind knob. The rewind shoft
   (22)must engoge in the centre spool of the cossette,ond the lower sprocket of
   the tronsport shqft (23)should engoge the film perforotions (see illustrotion 4)
   Close the cqmero bqck.
I  Seiling the film counler. Turn the milled knob (12) until the diomond  t mqrk
    (for o 36-exposure cossette) or the O mork (with o 20-exposure cossette) is
   opposite the red dot. Alternotely operote the ropid wind ing lever ond the
   releose button until the film counter indicotes No. 36 or No. 20 respectively
   for the first exposure.
  While you ore ot it, set olso the film indicotorfl) beforeloqdingthe film -  while the
                                                                                                                                :   rewind        knob                         out.                        Turn                                the indicotor                                            disc occordingly:                                                                  block-ond-                   .is pulled                                                                    td                '&t:   white         film;                  doylight                              colour                         type                                           film; ond€:                                                             ortificiollight                                                            type                                                                  colour                                                                                      film.
    - 2 -
View original page 6Page 7 · Read text
www.orphancameras.com
  Unlosding  the Camers      qfter the lqst Exposure
  Rewindingqnd removing fte film. Pushthe reversinglever (.|5)to the left,I     fetting the rewind knob (21)iump up. Turn the knob in the directionof the
  orrow until the I or the O mork reoppeqrsin the film counterwindow. Then
  open the comerobock,fully pull ouf the rewindknob,ond removethe cossette.
  Changing   Partly  Exposed  Films
  With the VITO C you con olwoys removeo portly exposedfilm ond chongeit
   for onofherone (for instonceto switchover from block-ond-whiteto colour
   film) withoutthe needfor o dqrkroom.
   Moke o note of the number of the lost exposed frqme, ond rewind the portly exposedI  film  into  its cossette. When  relooding  this portly exposed film  loter on, proceed os
   olreody, described.
   As soon os the  I oppeors in the film counter window, depress the releose button, ond
   hold  it down  in this position. Keep on pulling out the ropid winding  lever os for os  it
    will go until the film counter ogclin indicotes the number of the frome you noted before.
   Now  let go  of the releose, work' the ropid winding  lever once more, qnd you con
   corry on shooting.
                                                                                                                    - 3 -
View original page 7Page 8 · Read text
www.orphancameras.com
  Seffing the Exposure.   . . Shutter Speed ond Aperture
I  Sefiing the shuller speed. Rotote the shutter speed ring (5) until the red line
   clicks into posiiion opposite the required exposuretime.
  The exposure times from 1/zsosecond Io 1/sosecond ore outomoticolly timed bV
   the shutter. When set to B the shutter remqins open qs long qs you keep the
   releose depressed. For such time exposure (support the comero firmly or
  mount  ii on o tripod) use q coble releose which screws into the socket (B).

I  Seiling the operluFe. Rotote the operture ring by the lever (1) until the required
   operture figure is opposite the triongulor A  index mork. See olso poge 5 for
  notes on qperture ond depth of field.
      With someexperienceyou con eosilyestimotethe correctshutterspeedond oper-     I
       ture required.The leofletsenclosedwith most films olso give usefulhints.To be     I
     I    reolly sure,however,useo photo-electricexposuremeter.
    - 4 -
View original page 8Page 9 · Read text
www.orphancameras.com
  Aperture ond DePth of Field
  The depth of field zone depends on the operlur.e setting, gn{ covers thot port
   oi  th" subiect qreo in front  of, qnd behind the focused distonce, which  is
   reproduced'on the film with occeptoble shorpness.Note thot:
         lorge operlures (e.g. tn.B\ yield  limited depth of  field;
         smqll opertures (e.g. tl16) yield greoler depth of  field.                            .
I '  neoaing off the depth of field. -  After hoving set the distonce (see next pcge)
   hold th; comero so thot you con reod the operture mqrks on the depth of field
   scole (4) os well os the distonce scole (3) ot the some time. The depth of field
   extends from the distonce figure obove ony given left-hond operture number
   to the distonce figure obovJ the corresponding operture number of the right
   side of the A  mork.
     I   Considerthe depth of field when you odiust the.op.ertqrglq motch o pre'selected                                                                thon obtoinoble                                                      zone                                                               of field                                               depih                                           foio                                              "oiii                                 tubil.r                  ;p;;d.li-t;r;           ;i';ii;;                                            sreoter     I                                                                          time in                                                            exposure                                                      o longer                                                       to                                 moy-hove                               s-d*ing,.                    op'erture         ;i]h;   correct                                                    $re-set                                             io,     I
     I   order to orrive of o smoller operture.
                                                                     _ 5 _
View original page 9Page 10 · Read text
www.orphancameras.com

Seffing   the  DisfonGe     .  .  . by  Simple  Symbols

The distonce scole (3) corries the following red symbols for three-point distonce
settings between the distonce figures:
              o   :- PORTRAITS -  subiect distqnce  4tlcfeet
           Y  = GROUPS       -  subiect distonce 11   feet
                = VIEWS          -  subiect distonce 33   feet.          C
According to your subiect, set the distonce scole simply to one of these three
symbols. This gives yoU, qmong olhers, the following depth of  field Zoo€s:
Aperture      o (4rlnfeet)         V (11feet)       C (33feet)
     f t5.6        3r/ato 5    ft.            8r/t to 16t/, ft.          16t1,ft. to oo
   flB         3 r / r t o 5 r / + f t .         71lzto 23    ft.           13,/, ft. to oo
     f t11        Srloto6    ft.             6rl, Io 40    ft.            l0     ft. to oo
You con of course set individuol subiect distonces on the distqncescole. Here the
          "Voigtlcinder                       rongefinder' is o greot help.occessorv
- 6  -
View original page 10Page 11 · Read text
www.orphancameras.com
      Shoof ing     Frqme by Frqme
       The Voigtltinder crystol-frqme viewfinder. The unique brilliont reflected-frome
        finder system shows you the subiect in nqturql size. When sighting, you con
        therefore keep both eyes open ond hove o cleor view over the surroundings
         of the subiect os well.
        Pleosenote: with subiectsot obout 31/zfeet the limits of the field of view or.edisp.loced
       Oownwoidror sidewirys(occordingto whether_youh.qld the comero horizontollyor
         upright)os shownby tlie two short i-ineson the reflectedimogefrome.
        Releosing. Alwoys press the releose genfly; never ierk  it, os thot wou ld
       produce blurred pictures.
       The ropid winding lever. After every shot pull out the lever os for os it will go
         (with one full stroke or severql short ones). This tensions the shutler, odvqnces1    the film counter qnd tronsportsthe film. An outomotic lock prevents o second
        operotion of the !ever before you hove mode qn exposure. Similorly, you -con
             releose the shutter ofter working the ropid winding lever. This thereforeI      only
        prevents double exposuresond blonk fromes.
                                                                                                                             - 7   -
View original page 11Page 12 · Read text
www.orphancameras.com

The  Seff-fimer
Once you hove set exposure (shutter speed ond operture) ond the distqnce,
qnd tensioned the shutter, pull down ihe smoll red lever (10) qs fqr qs if will
go. On pressing the releose, the exposure now tokes ploce outomoticolly ofter
o deloy of obout 10 seconds. You therefore hove time to toke your ploce
quickly in front  of the comero. Do not however use the self-timer with the
shutter set lo B.

Synchronized     Flash  Shofs
Smoll light-weight flosh guns con be mounted in the occessoryshoe on top of
lhe comero. Lorger guns or the lomp holders of eledtronic flosh guns ore
generolly mounted to one side of the cqmero with o speciol brocket. The flosh
coble completes the electnic circuit between the flosh unit ond the shutter; it
plugs into the flosh socket (9) on ihe shutter.
The Pronto shutter is only X-synchronised. For flosh shots (with or without the
self-timer) you must therefore use only the shutter speeds shown in the toble
opposite.
- 8  -
View original page 12
Page 13 · Read text
www.orphancameras.com
The lens operlure required for correct      Floshbulbs        Shutter speed
exposure con be obtoined from  so-
colled guide numbers,usuolly quoied      PhilipsPF I
on the flosh bulb pocking or  in the          P F 5
leoflets issued with the bulb or elec-          P F1 4
tronic flosh unit. To find the correct          PF 25
operture divide the oppropriote guide     Osrom XM I
number by the distonce in feet between          X M 5                  I /30 second
the subiect ond   f losh gun on  the
                                M 2co merq.
                                M 5
Aperlure = guide number *  dislsnce           No. 0
E x q m p  l e :                                 No. 5
     guide number   75                       No. 25
                             =  5
      Distqnce       15 feet               Electronic flosh      Shutterspeed
So set the operture holf-woy between      lnstontoneous      1/aoto 1/2so second
 f/4 ond  f/5.6.                                  releose
                                                                                                                - 9 -
View original page 13Page 15 · Read text
www.orphancameras.com

   Inslructions   for  use  of  Focor  lenses:
o Focusing -  Approoch the subject with the comero unfil you see it in the vievvfinder
   in the size desired. Then -  occording to the distonce (toble, columns  ll  to  lV)
   fit the oppropriote Focor lens or both lenses over the comero lens mount (F 2 on
  the comero lens ond F I on top of the F 2 lens).
  Meosure the exoct distonce from the summii of the lens to the centre of the subiect
  qnd set the lens to the oppropriqle distonce os per column I of the toble corresponding
  to whqt  is given by columns ll to  lV.
o Aperture qnd depth of  field  -  To moke sure of odequote depth of  field, stop down
  to  of  leost f15.6 or  fl8. For copying of  text motter  flll  or  fl16  is recommended.
o Viewfinder lmoge      Fit the  Proxirect ottochment  into  the occessory shoe of  the
  comero so thot  it  is in front of the viewfinder. Then rotote the front ond reor scole
  rings to set the distonce corresponding to the subiect distonce. You now see the
  finder imoge free from  porollox. The slight vignetting of the corners, due to the
  rounded shope of the Proxirect, will,  of course, not oppeor in the picture.
o Exposure -  The Focor lenses do  not offect the exposure volue determined  in the
  normol woy. When using o colour filter, mount  it in front of the Focor lens ond toke
   into occount its foctor.
                                                                                                                                 -      l l   -
View original page 15Page 19 · Read text
f*rr:**                         --
                               www.orphancameras.com

         l3  Rewind knob fully extended            Toke-up spool with hook for
         l4  Viewfinder eyepiece                     ottoching the film leqder
        t5  Film reversing lever                       Film rewind knob
                                            pushed into the comero body      16  Cqssette chqmber
                                                       Shofi of rewind knob      17  Film lrqck                                                           to engoge cossette spoof
         l8  Ropid winding lever                                                  Sprocket of trqnsport shqft
             for tensioning the shutter                                           engoged in the film perforotions         qnd qdvoncing the film
                                                    Film leqder
      19  Film tronsport shoft                        fixed io the toke-up spool

                     4ll bronds of films in the morker con be used in the vlro   c.
             The doylight coss_eneswirh rhe pJrfotorea 35;;lii;       ;ft  36 or z0               fromes, resp., 24 x 36 mm     io  mqfter wherhei bi;A;-;;d-;hite
                 or colour negotiveor colour reversolfilm.
View original page 19Page 20 · Read text
www.orphancameras.com
C A R E O F T H E C A M E R A A N D    I E N S


                        Successful results ond long  life of your VITO C
                      depend  lorgely  on  proper  core  ond  correct
                          operotion.

                        Therefore olwoys hondle the comero gently; never
                       use force. ln porticulor protect the comero ogoinstL@   hord knocks ond do not drop  it.
 Cleon the lens only with o soft, flufftess, cloth. However, first dust off
 coorseporticlesof grit (or sond of "*he:'seqsjdelcqrefutlywilh o soft soble
 brush. Finger morks ond other troces of greose on the lens surfqce con
 be removed with o piece of cotton wool moistenedwith pure olcohol
 or elher.
View original page 20Related documents and language editions
VoigtländerPDF
Voigtlander Vito Automatic
User manual
25 pages · EnglishRead →
VoigtländerPDF
Voigtlander Vito B
User manual
37 pages · EnglishRead →
VoigtländerPDF
Voigtlander Vito BL
User manual
38 pages · EnglishRead →
VoigtländerPDF
Voigtlander Vito BR
User manual
29 pages · EnglishRead →
VoigtländerPDF
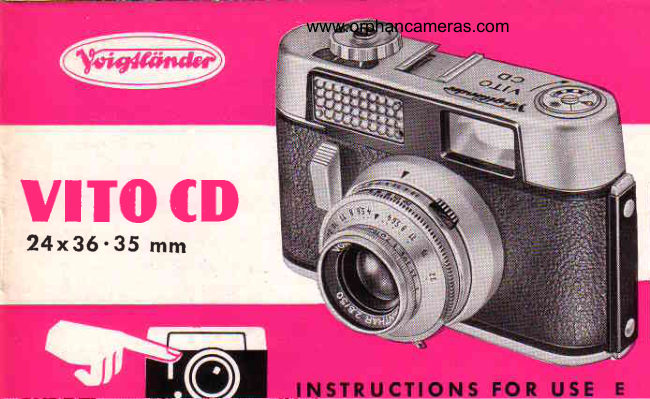
Voigtlander Vito CD
User manual
21 pages · EnglishRead →
VoigtländerPDF
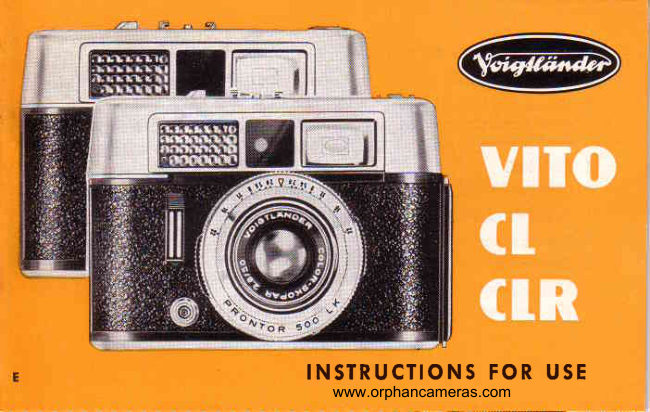
Voigtlander Vito CL_CLR
User manual
26 pages · EnglishRead →
VoigtländerPDF
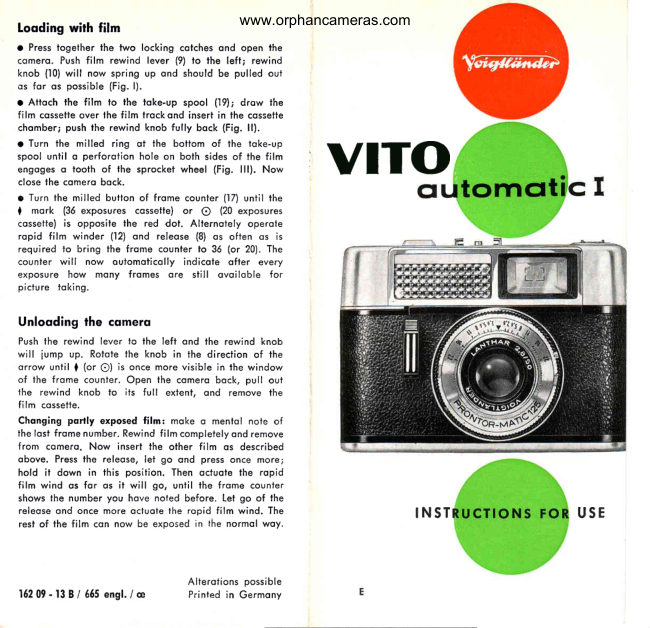
Voigtlander Vito automatic I
User manual
5 pages · EnglishRead →
VoigtländerPDF
Voigtlander Vito automatic II
User manual
22 pages · EnglishRead →
VoigtländerPDF
Voigtlander VITO Automatic
User manual
18 pages · FrenchRead →
VoigtländerPDF
Voigtlander Vito B
User manual
33 pages · FrenchRead →
VoigtländerPDF
Voigtlander Vito C
User manual
24 pages · FrenchRead →
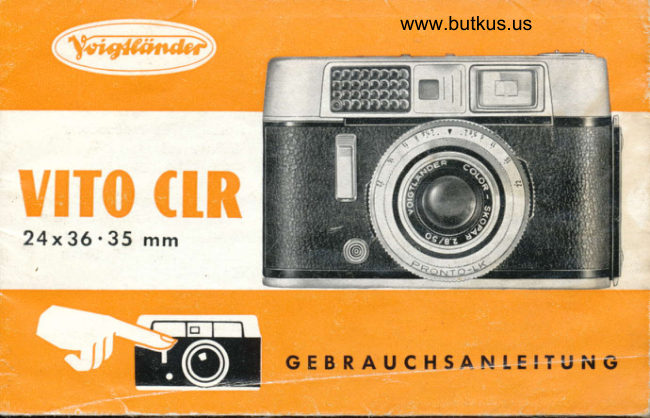
VoigtländerPDF
Voigtlander CLR Gevrauchsanleitung
User manual
29 pages · GermanRead →
From the M. Butkus archive. Original publisher and archive notices are retained.
Check the model and edition against your equipment.
PDF verified 2026-10-10.